
Sushi Amigurumi Crochet Pattern
This sushi amigurumi combines a rounded rice body, a salmon-colored…
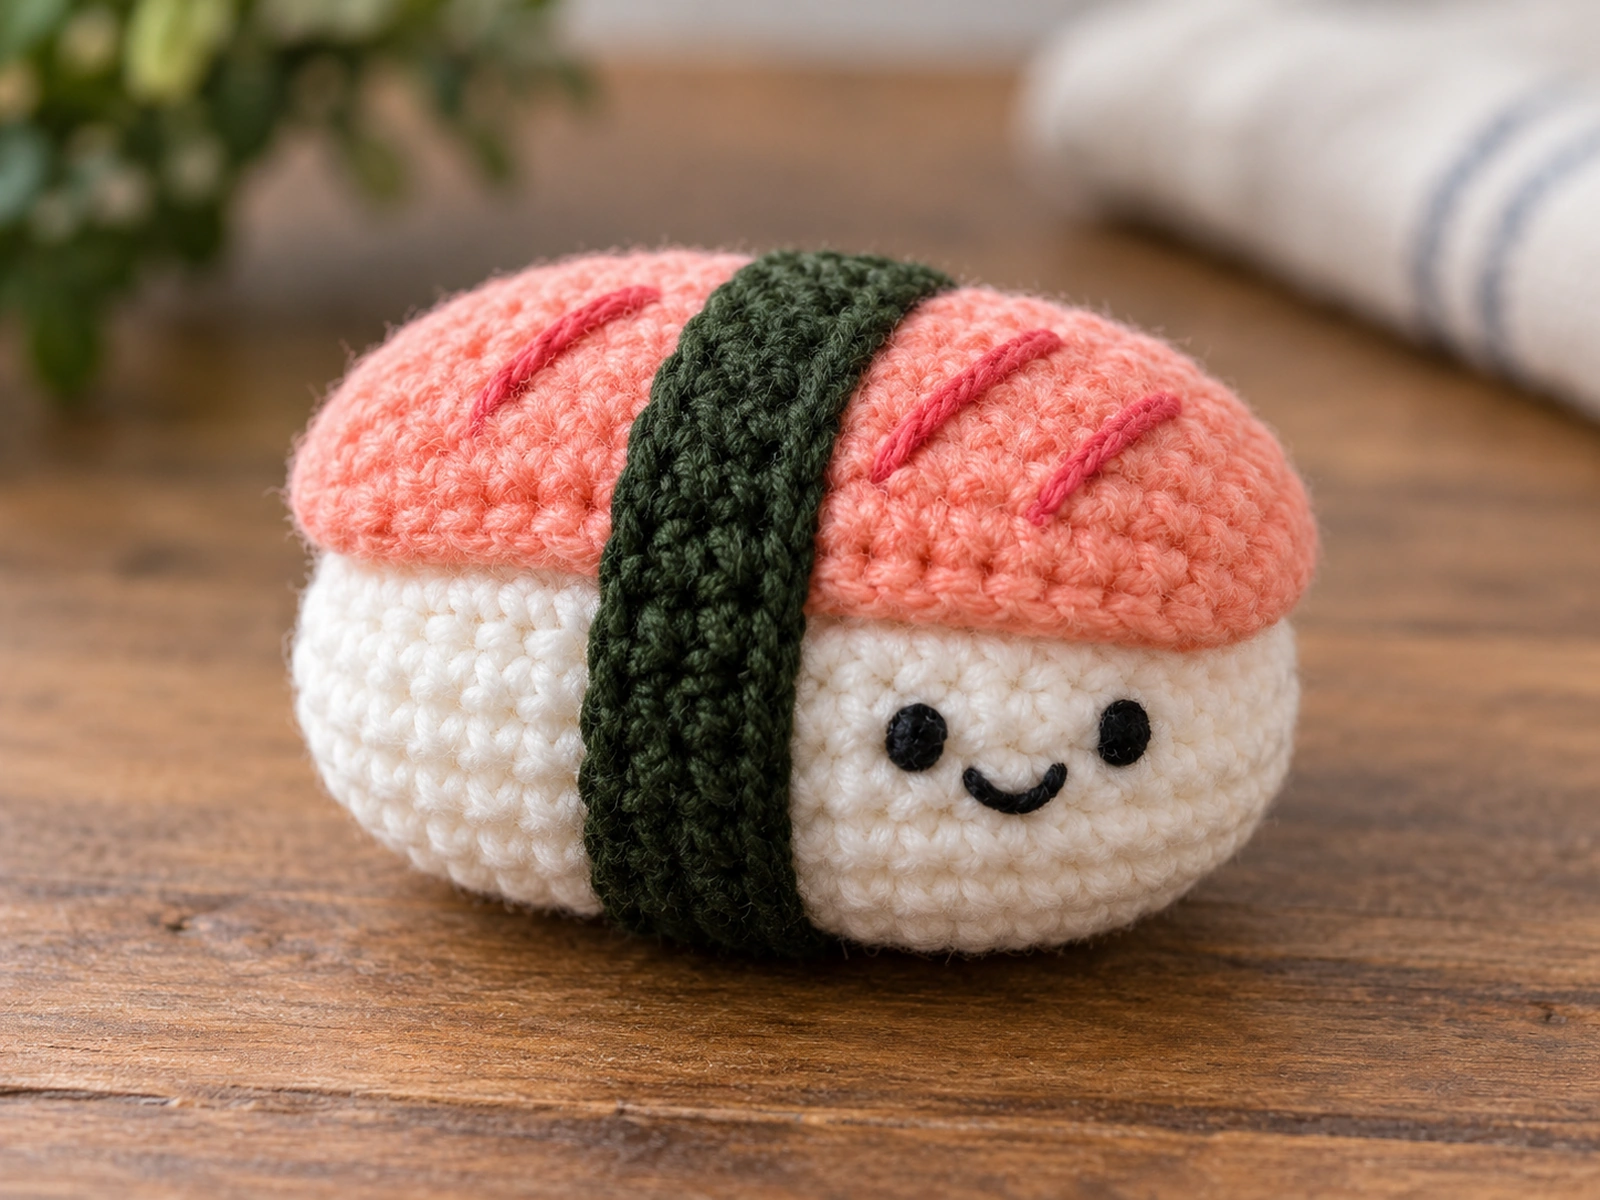
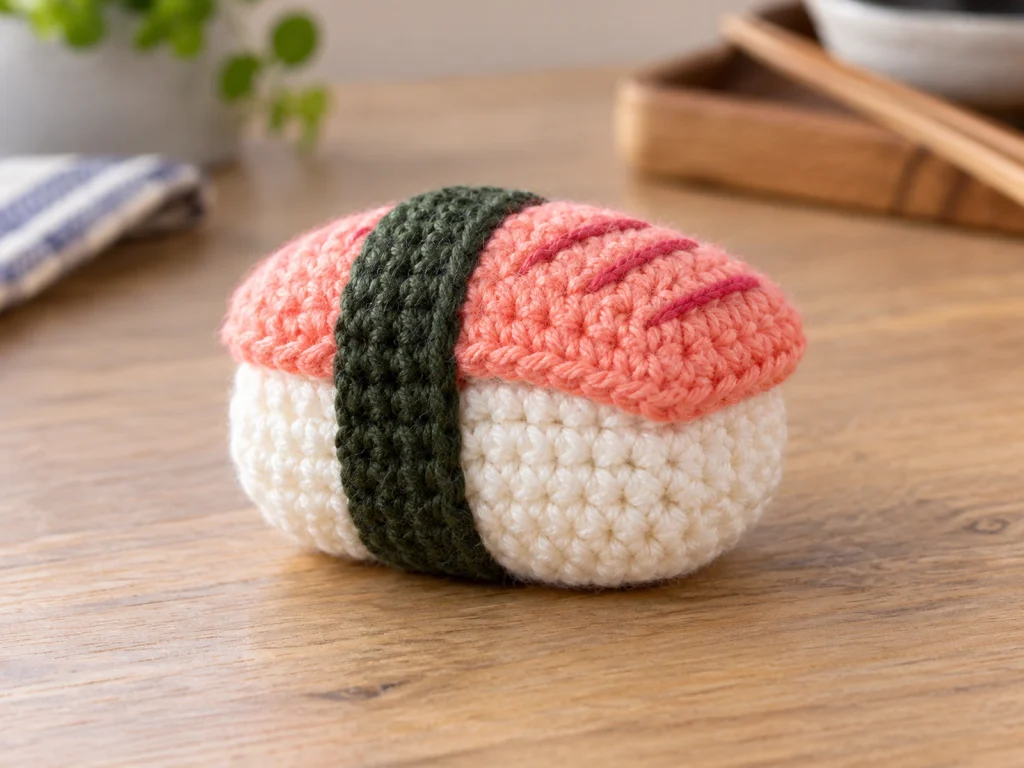
This sushi amigurumi combines a rounded rice body, a salmon-colored topping, and a dark green nori band for a cute crochet food project. The finished piece also features an embroidered face and optional decorative lines on the topping.
The pattern is worked in separate components and then assembled into the finished sushi shape.
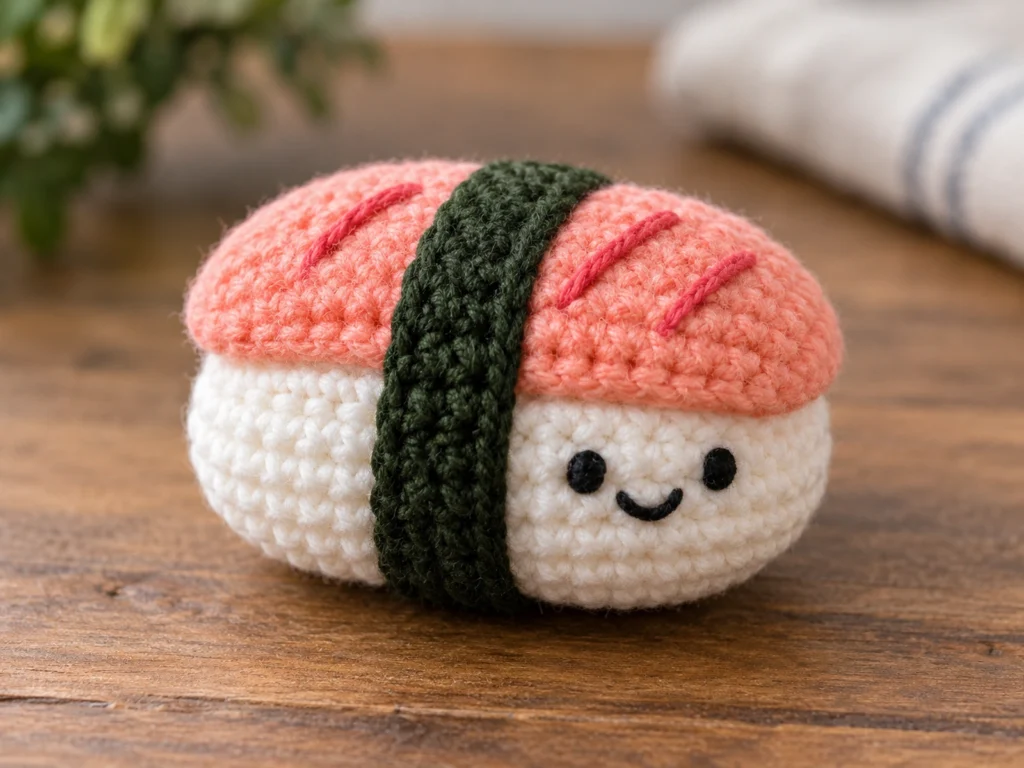
Project Overview
What You’ll Make
You’ll crochet a compact sushi amigurumi with:
- A stuffed white or warm-white rice body
- A flat salmon-pink topping
- A dark green nori band
- Embroidered eyes and a smile
- Optional darker pink or coral topping details
The design is intended to measure approximately 2.25–2.75 inches across and 1.75–2.25 inches tall. Actual size will vary depending on yarn, hook size, tension, stuffing, and individual technique.
Project Details
- Technique: Amigurumi crochet
- Yarn: Worsted-weight yarn
- Hook: 3.5 mm crochet hook
- Face: Embroidered
- Filling: Polyester fiberfill
- Construction: Crochet separate components and sew them together
This pattern has been mathematically reviewed and constructionally checked, but it has not been physically crocheted and tested yet. Finished measurements should therefore be treated as approximate.
Materials & Tools
Yarn
You’ll need worsted-weight yarn in the following colors:
- White or warm white
- Salmon pink
- Dark green
- Optional darker pink or coral
- Black embroidery thread or black yarn
Other Supplies
- 3.5 mm crochet hook
- Polyester fiberfill
- Tapestry or yarn needle
- Stitch marker
- Scissors
Abbreviations
The pattern uses standard US crochet terminology:
- MR — magic ring
- ch — chain
- sc — single crochet
- inc — increase; 2 sc in the same stitch
- dec — decrease; single crochet two stitches together
- sl st — slip stitch
- FO — fasten off
Before You Start
Work in Continuous Rounds
The rice body and salmon topping are worked in continuous rounds. Use a stitch marker to keep track of the beginning of each round.
Count Your Stitches
Check your stitch count at the end of every round. Keeping the correct count is especially important during the increase and decrease sections of the rice body.
Stuff as You Go
Stuff the rice body gradually as you work toward the final rounds. Aim for a firm, rounded shape without adding so much stuffing that the stitches stretch open.
The salmon topping is designed to remain relatively flat and should not be heavily stuffed.
Check the Nori Fit
Because crochet tension varies, wrap the finished nori strip around the body before sewing it permanently. If necessary, adjust the starting chain slightly so the band fits comfortably.
Construction Order
The project is completed in this order:
- Crochet the rice body.
- Crochet the salmon topping.
- Crochet the nori band.
- Attach the salmon topping.
- Secure the nori band.
- Embroider the face.
- Add the optional salmon details.
Sushi Amigurumi Pattern
Rice Body
Make 1 in white or warm white.
Work in continuous rounds.
Round 1
6 sc in MR. (6)
Round 2
6 inc. (12)
Round 3
(sc, inc) × 6. (18)
Round 4
(2 sc, inc) × 6. (24)
Round 5
(3 sc, inc) × 6. (30)
Round 6
(3 sc, dec) × 6. (24)
Round 7
24 sc. (24)
Round 8
24 sc. (24)
Round 9
(sc, dec) × 8. (16)
Round 10
8 dec. (8)
Begin stuffing the body before closing it completely. Add enough polyester fiberfill to create a firm, rounded shape without overstuffing.
Round 11
4 dec. (4)
Fasten off, leaving a yarn tail. Use a tapestry needle to close the remaining opening and weave in the end.
Salmon Topping
Make 1 in salmon pink.
Work in continuous rounds.
Round 1
6 sc in MR. (6)
Round 2
6 inc. (12)
Round 3
(sc, inc) × 6. (18)
Round 4
(2 sc, inc) × 6. (24)
Round 5
24 sc. (24)
Fasten off, leaving a yarn tail for sewing.
Keep the topping relatively flat rather than heavily stuffed.
Nori Band
Make 1 in dark green.
Work back and forth in rows.
Foundation: Ch 31.
Row 1
Starting in the 2nd chain from the hook, sc across. (30)
Row 2
Ch 1, turn. 30 sc. (30)
Row 3
Ch 1, turn. 30 sc. (30)
Fasten off, leaving a yarn tail for sewing.
Wrap the strip around the center of the rice body before joining the ends. Since yarn tension can affect the finished circumference, make sure the band sits comfortably before sewing it permanently.
Assembly
Step 1: Attach the Salmon Topping
Center the salmon topping on the top of the rice body.
Use the yarn tail to sew around the edge of the topping, working evenly around the perimeter.
Once the topping is secure, weave in the remaining yarn end.
Step 2: Add the Nori Band
Wrap the dark green band horizontally around the center of the rice body.
Bring the two short ends together and sew them securely.
Add a few discreet stitches through the band and body to keep it positioned evenly.
Step 3: Add the Facial Details
Using black embroidery thread or black yarn, embroider two small eyes on the salmon topping.
Place them with a balanced visual gap, then add a small curved smile underneath.
Because this pattern has not been physically tested, use visual placement rather than a fixed eye-spacing measurement.
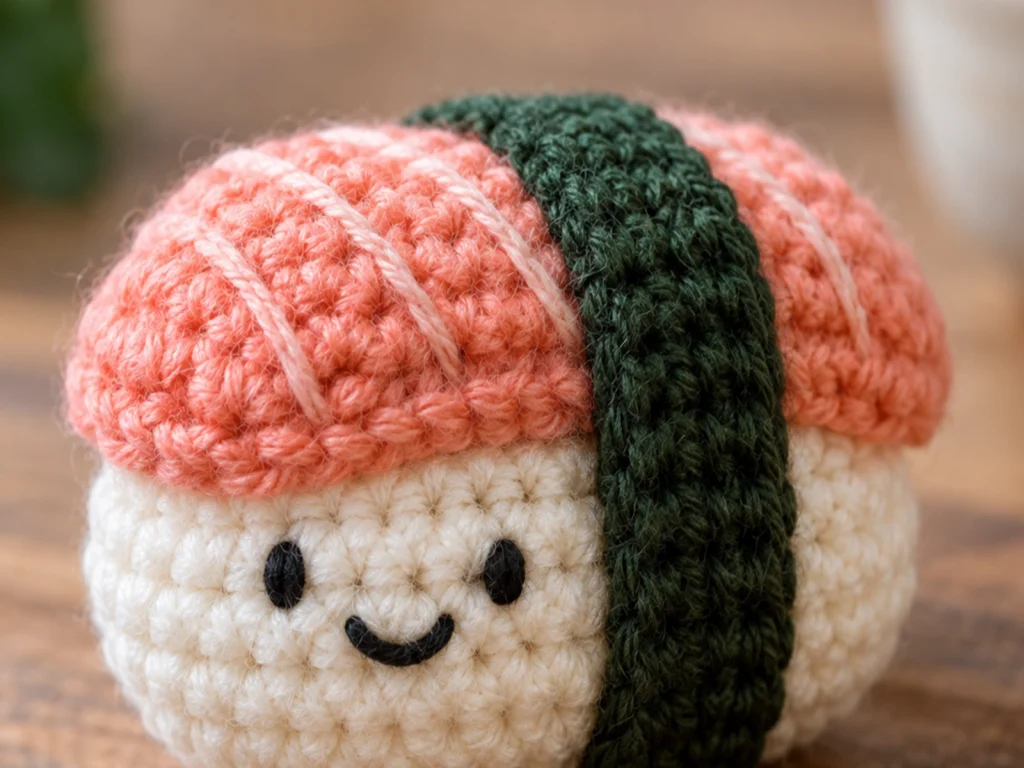
Step 4: Add the Optional Salmon Details
Using darker pink or coral thread, embroider three short diagonal lines across the salmon topping.
Keep the lines visually balanced and adjust their placement as needed for the finished look.
Finishing
Check the finished sushi carefully for:
- Loose yarn ends
- Exposed stuffing
- Uneven topping placement
- Twisted nori
- Loose embroidery
- Any areas that need additional shaping
Weave in remaining yarn ends and trim excess yarn neatly.
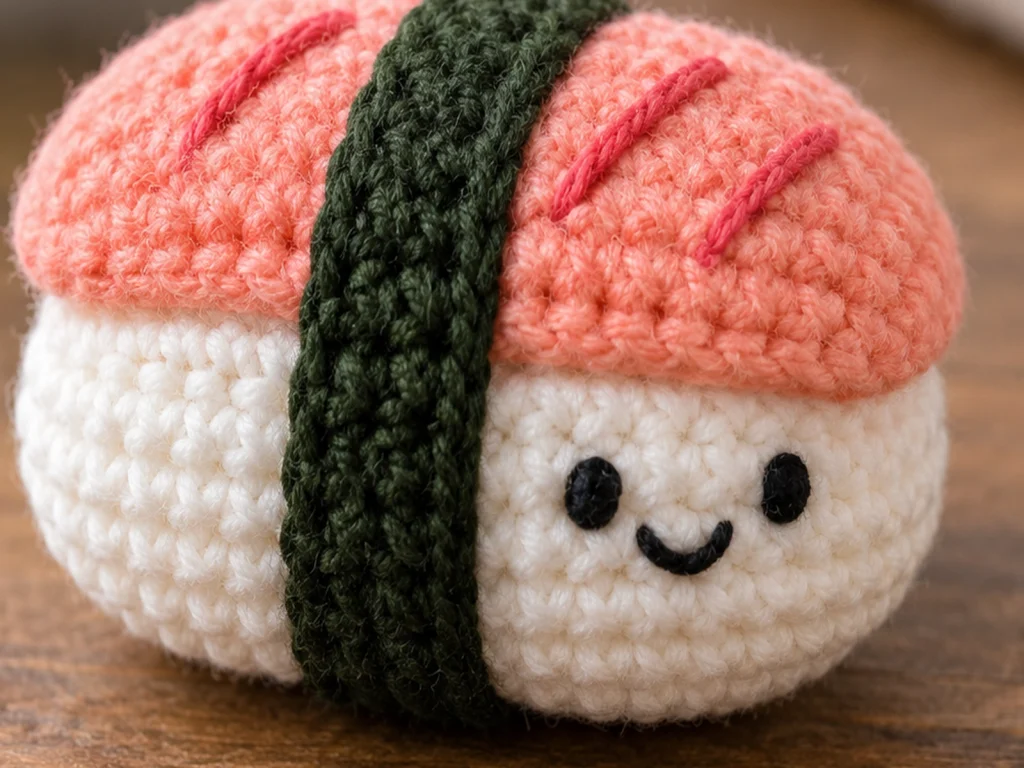
Helpful Tips
Keep Track of Your Stitch Count
If your stitch count is different at the end of a round, stop and correct the mistake before continuing.
Stuff Gradually
Adding fiberfill a little at a time makes it easier to maintain an even, rounded shape.
Center the Topping Before Sewing
Place the salmon topping on the body first, then check it from several angles before securing it permanently.
Test the Nori Before Sewing
Wrap the finished band around the body and make sure it sits evenly without twisting.
Add the Face Last
Embroidering the face after assembly makes it easier to judge the expression and placement.
Troubleshooting
My Stitch Count Is Wrong
Go back to the previous round and check for a missed increase or decrease before continuing.
The Rice Body Looks Uneven
Check your tension and make sure the increases and decreases are worked exactly as written.
There Are Gaps in the Body
The piece may be overstuffed or worked with looser tension. Reduce the stuffing slightly and check your stitch tension.
The Salmon Topping Does Not Sit Flat
Make sure the topping has not been heavily stuffed and that it is centered before sewing.
The Nori Band Twists
Undo the securing stitches, straighten the band, and reattach it while checking its direction around the body.
The Face Looks Uneven
Compare the eye positions visually before securing the embroidery. Small placement adjustments can make the expression look more balanced.
Customization Ideas
Change the Topping Color
Try another color for a different sushi-inspired look.
Change the Expression
Experiment with the shape of the smile or the style of the eyes to give your sushi a different personality.
Adjust the Salmon Details
Change the color, spacing, or direction of the optional embroidered lines for a different visual effect.
Experiment With Size
You can try different yarn weights and appropriately sized hooks, but changing the materials will also affect the final proportions and finished size.
Frequently Asked Questions
What yarn weight is used for this sushi amigurumi?
The design uses worsted-weight yarn. The finished size can vary with yarn, hook size, tension, stuffing, and individual technique.
What hook size is used?
The pattern is designed around a 3.5 mm crochet hook.
Does this pattern use safety eyes?
No. The face is embroidered with black thread or yarn.
How large is the finished sushi?
The design is intended to measure approximately 2.25–2.75 inches across and 1.75–2.25 inches tall, although actual dimensions will vary.
How do I make the nori band fit?
Wrap it around the finished rice body before sewing the ends together. If your tension produces a noticeably different circumference, adjust the starting chain count slightly.
Can I change the colors?
Yes. You can change the topping, nori, or embroidery colors while keeping the same basic construction.
Has this pattern been physically tested?
Not yet. The pattern has been mathematically reviewed and constructionally checked, but it has not been physically crocheted and tested.
Final Thoughts
This sushi amigurumi combines a rounded rice body, a flat salmon topping, and a contrasting nori band with a simple embroidered face.
Take your time with the stitch counts, stuffing, and placement of the decorative details. Those finishing steps help bring the completed sushi design together neatly.