
Crochet Spider Plant Pattern: Hanging Amigurumi Plant
Bring a little handmade greenery into your space with this…
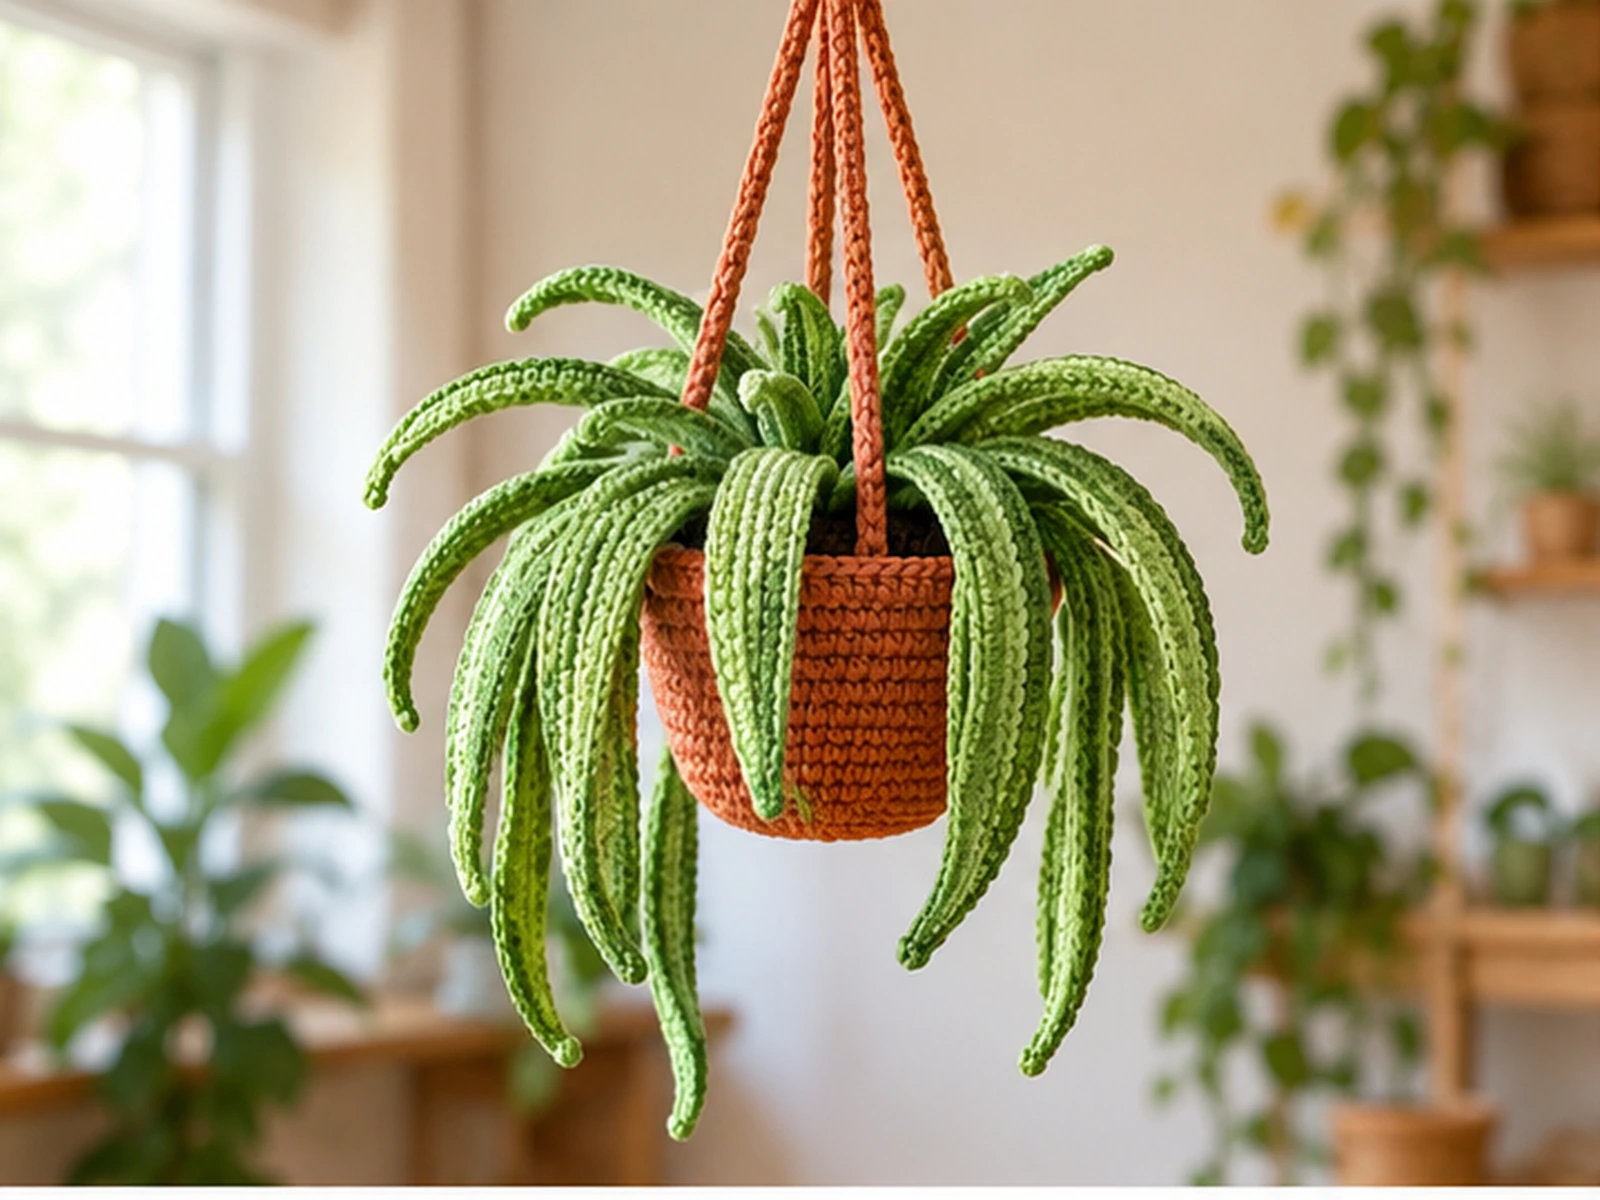
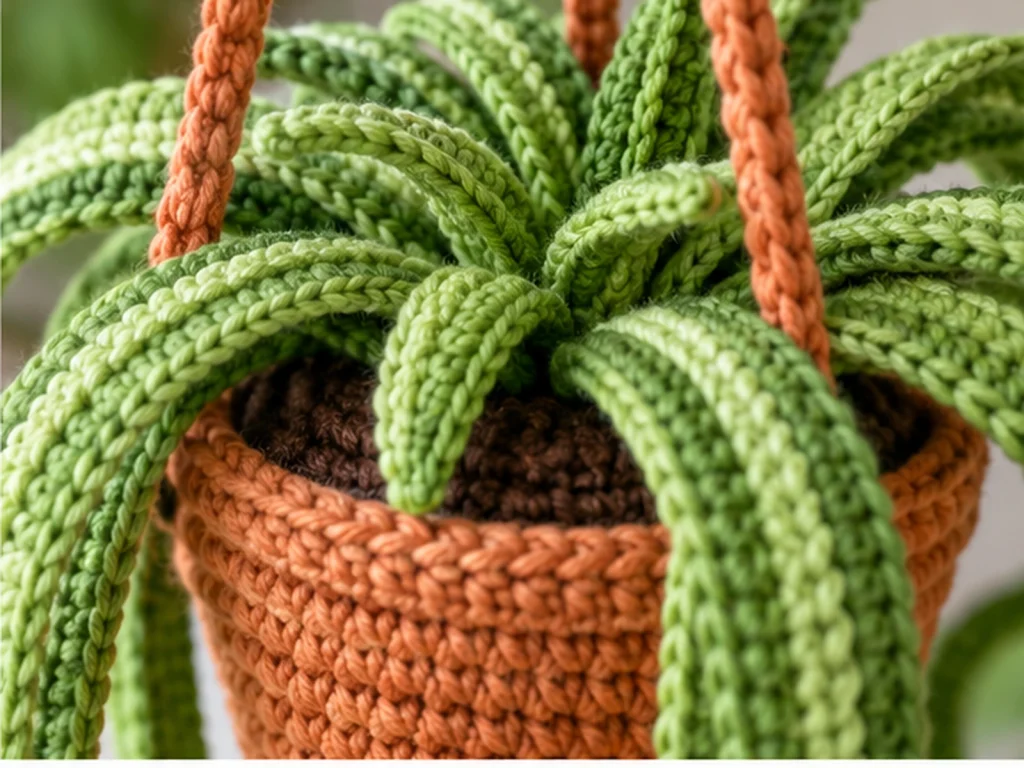
Bring a little handmade greenery into your space with this hanging crochet spider plant pattern. This decorative project combines a crocheted terracotta pot, a dark brown soil insert, cascading green leaves, and a three-point hanging harness for a botanical-inspired display.
The finished design is approximately 9–11 inches from the top hanging loop to the longest leaf, depending on yarn, hook size, tension, stuffing, and individual technique.

Project Overview
What You’ll Make
This pattern creates a hanging crochet spider plant made from several crocheted components that are assembled together.
The project includes:
- 1 crocheted pot
- 1 soil disk
- 8 long leaves
- 4 short leaves
- 3 hanging straps
- 1 top hanging loop
The foliage is arranged in two layers so the longer leaves can cascade around the outside while the shorter leaves fill the center.
Project Details
- Project type: Hanging crochet plant
- Approximate overall size: 9–11 inches
- Approximate pot width: 4–4.5 inches
- Approximate pot height: 3–3.5 inches
- Suggested skill level: Intermediate
- Construction: Separate crocheted components with sewn assembly
- Crochet terminology: US terms
- Gauge: No formal gauge is required; consistent tension is recommended
The final size and shape may vary depending on yarn, hook size, tension, stuffing, and individual technique.
Testing note: This pattern has been mathematically reviewed and constructionally checked, but it has not been physically crocheted and tested yet.
Materials & Tools
You will need:
- Worsted-weight (#4) yarn in leaf green
- Worsted-weight (#4) yarn in terracotta
- Worsted-weight (#4) yarn in dark brown
- 4.0 mm crochet hook
- Polyester fiberfill
- Yarn needle
- Scissors
- Stitch marker, optional
Exact yarn yardage is not established, so make sure you have enough yarn in each color to complete the project.
Abbreviations
This pattern uses standard US crochet terminology.
- MR — magic ring
- ch — chain
- sc — single crochet
- inc — increase; work 2 sc in the same stitch
- dec — single crochet decrease
- sl st — slip stitch
- BLO — back loop only
- FO — fasten off
- st/sts — stitch/stitches
Before You Start
Keep Track of Your Stitch Counts
The increase rounds determine the shape of both the pot and soil disk, so checking your stitch count at the end of each round will help keep the components consistent.
Mark the Beginning of Your Rounds
A stitch marker can help you keep track of where each continuous round begins.
Stuff the Pot Lightly
The pot needs enough stuffing to hold its shape, but overstuffing can distort the opening and make the soil disk more difficult to attach.
Plan the Assembly
The project is easiest to assemble after all of the crocheted components have been completed.
A useful order is:
- Crochet the pot.
- Crochet the soil disk.
- Crochet all leaves.
- Crochet the hanging straps and top loop.
- Attach the soil to the pot.
- Position and sew the leaves.
- Attach the hanging straps.
- Join the straps to the top loop.
- Shape the foliage.
Crochet Spider Plant Pattern
Pot Body — Make 1
Work in terracotta.
Round 1
6 sc in MR. (6)
Round 2
6 inc. (12)
Round 3
(sc, inc) × 6. (18)
Round 4
(2 sc, inc) × 6. (24)
Round 5
(3 sc, inc) × 6. (30)
Round 6
(4 sc, inc) × 6. (36)
Round 7
sc around. (36)
Round 8
sc around. (36)
Round 9
sc around. (36)
Round 10
sc around. (36)
Round 11
sc around. (36)
Round 12
sc around. (36)
Round 13
sc around. (36)
Round 14
sc around. (36)
Round 15
BLO sc around. (36)
Round 16
(5 sc, inc) × 6. (42)
Round 17
sc around. (42)
Round 18
(6 sc, inc) × 6. (48)
Fasten off, leaving a long sewing tail.
Lightly stuff the pot so it holds its shape without putting excessive pressure on the opening.
Soil Disk — Make 1
Work in dark brown.
Round 1
6 sc in MR. (6)
Round 2
6 inc. (12)
Round 3
(sc, inc) × 6. (18)
Round 4
(2 sc, inc) × 6. (24)
Round 5
(3 sc, inc) × 6. (30)
Round 6
(4 sc, inc) × 6. (36)
Round 7
(5 sc, inc) × 6. (42)
Round 8
(6 sc, inc) × 6. (48)
Fasten off, leaving a long sewing tail.
Long Leaves — Make 8
Work in leaf green.
Foundation Chain
ch 26.
Round 1
sc in 2nd ch from hook and in next 23 ch, 3 sc in last ch, sc in next 23 sts along the opposite side of the foundation chain, 2 sc in the first ch. (52)
Round 2
sc around. (52)
Fasten off, leaving a sewing tail.
Make 8 identical long leaves.
Short Leaves — Make 4
Work in leaf green.
Foundation Chain
ch 20.
Round 1
sc in 2nd ch from hook and in next 17 ch, 3 sc in last ch, sc in next 17 sts along the opposite side of the foundation chain, 2 sc in the first ch. (40)
Round 2
sc around. (40)
Fasten off, leaving a sewing tail.
Make 4 identical short leaves.
Hanging Straps — Make 3
Work in terracotta or leaf green.
Row 1
ch 34.
sl st in 2nd ch from hook and in each ch across. (33 sl sts)
Fasten off, leaving long sewing tails.
Make 3 identical straps.
Top Hanging Loop — Make 1
Work in the same color used for the hanging straps.
Round 1
ch 10.
Join with a sl st to the first chain to form a closed 10-chain loop.
Fasten off, leaving a sewing tail.
Assembly
Step 1: Attach the Soil Disk
Place the dark brown soil disk inside the upper opening of the pot.
Use the long sewing tail to sew the soil disk around its edge to the inside/top edge of the pot.
The pot opening and soil disk both contain 48 stitches, allowing them to be joined around the same-sized circumference.
Do not pull the sewing stitches excessively tight.
Step 2: Arrange the Long Leaves
Place the 8 long leaves around the soil surface before sewing them into place.
A balanced arrangement can be created by spacing four leaves around the first layer and placing the remaining four between them.
Angle the leaves outward over the pot rim to create the hanging silhouette.
Take time to adjust the arrangement before making the attachments permanent.
Step 3: Add the Short Leaves
Place the 4 short leaves closer to the center of the soil disk.
Use them to fill the spaces between the longer leaves and create a fuller central cluster.
Step 4: Sew the Leaves in Place
Sew the base of each leaf securely to the soil disk.
Keep the attachment stitching concentrated around the base so the rest of each leaf can curve naturally.
Step 5: Attach the Hanging Straps
Position the three hanging straps around the upper portion of the pot.
Aim for approximately even spacing around the rim.
Sew one end of each strap firmly to the pot.
Before finishing the attachments, hold the straps upward and check how the pot hangs.
Step 6: Attach the Top Loop
Bring the three upper strap ends together.
Position them evenly and sew all three securely to the 10-chain top loop.
Check the balance of the hanging plant before trimming the remaining yarn tails.
Finishing
After all components are attached:
- Secure and weave in loose yarn ends.
- Check each leaf attachment.
- Reinforce the hanging strap connections as needed.
- Make sure the soil disk is securely attached.
- Check the top hanging loop.
- Gently shape and spread the leaves.
- Check the overall balance of the hanging plant.
Helpful Tips
Count the Increase Rounds Carefully
The pot and soil disk rely on consistent increases. If a stitch count is off, later rounds may not have the intended size.
Avoid Overstuffing
Use light stuffing in the pot. Too much fiberfill can push the walls outward and distort the opening.
Arrange Before Sewing
Lay the leaves out before permanently attaching them. Moving them around first makes it easier to create an even, natural-looking arrangement.
Compare the Hanging Straps
Check the position of all three straps from different angles before finishing the upper attachment.
Shape the Leaves Gently
The foliage does not need to be perfectly symmetrical. Small differences in the direction of the leaves can create a more natural handmade appearance.
Troubleshooting
The pot opening does not match the soil disk
Check the stitch count at the end of Round 18 of the pot and Round 8 of the soil disk. Both should contain 48 stitches.
The pot looks too full
Remove some stuffing and reshape the pot. The project calls for light stuffing rather than a densely packed form.
The leaves look uneven
Lay all twelve leaves out before sewing them down. Rearranging the short and long leaves can help create a more balanced foliage cluster.
The hanging pot does not look level
Check that the three straps are positioned as evenly as possible around the pot rim before permanently securing them to the top loop.
The foliage feels too flat
Gently curve the leaves outward from their bases rather than pressing them all into the same position.
Customization Ideas
Change the Pot Color
Swap the terracotta for another shade that works with your space. Cream, beige, muted pink, or other coordinated colors can change the overall look without changing the stitch structure.
Change the Hanging Strap Color
Use the pot color for a coordinated finish, or use green so the hanging structure blends more closely with the foliage.
Try Different Leaf Arrangements
Keeping the same crocheted components, you can position some leaves more upright and others farther outward to change the finished silhouette.
Create Different Foliage Layers
Arrange the longer leaves around the outside and the shorter leaves toward the center for a layered look, or adjust their resting positions to create a different visual balance.

Frequently Asked Questions
What size is the finished crochet spider plant?
The finished project is approximately 9–11 inches from the top hanging loop to the longest leaf. Actual size can vary depending on yarn, hook size, tension, stuffing, and individual technique.
What crochet hook size is used?
The pattern uses a 4.0 mm crochet hook with worsted-weight yarn.
What yarn weight does the pattern use?
The project is designed for worsted-weight (#4) yarn.
How many leaves are included?
The pattern makes 8 long leaves and 4 short leaves, for a total of 12 leaves.
How does the plant hang?
Three crocheted hanging straps are attached around the pot and joined together at a single top loop.
Does this project require safety eyes?
No. This is a decorative plant project and does not have facial features.
Does the pattern require a specific gauge?
No formal gauge is required. Consistent tension is recommended so the components maintain their intended proportions.
Can I change the colors?
Yes. The pattern structure does not depend on the specific colors, so you can choose a different palette for the pot, soil, leaves, and hanging straps.
Has this crochet spider plant pattern been physically tested?
Not yet. The stitch mathematics and construction have been reviewed, but the completed project has not been physically crocheted and evaluated as a prototype.
Final Thoughts
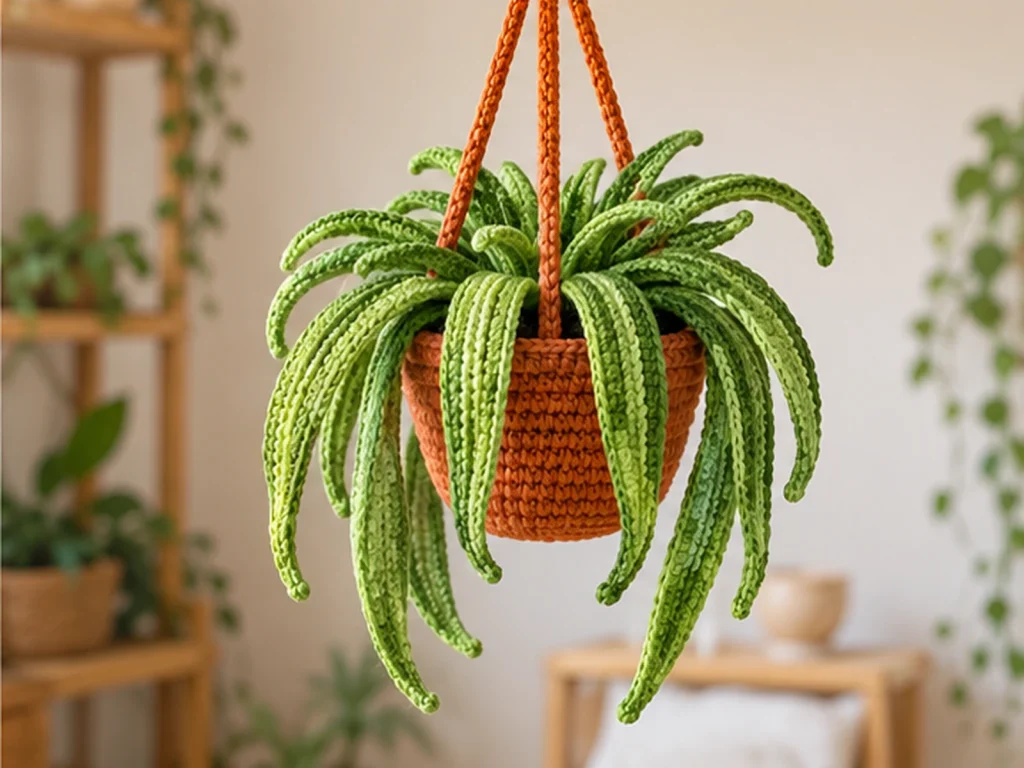
This crochet spider plant brings together simple crocheted components to create a hanging botanical-inspired decoration.
The pot, soil disk, leaves, straps, and top loop are made separately and then assembled into the finished project. The final look comes from the balance of the three hanging straps and the arrangement of the twelve leaves.
For the most consistent result, keep your tension steady, check your stitch counts carefully, and arrange the foliage before sewing it permanently in place.
Remember that the finished size and drape are approximate, since crochet tension varies from maker to maker.