Crochet Bonsai Tree Pattern
Create a miniature piece of handmade greenery with this crochet…

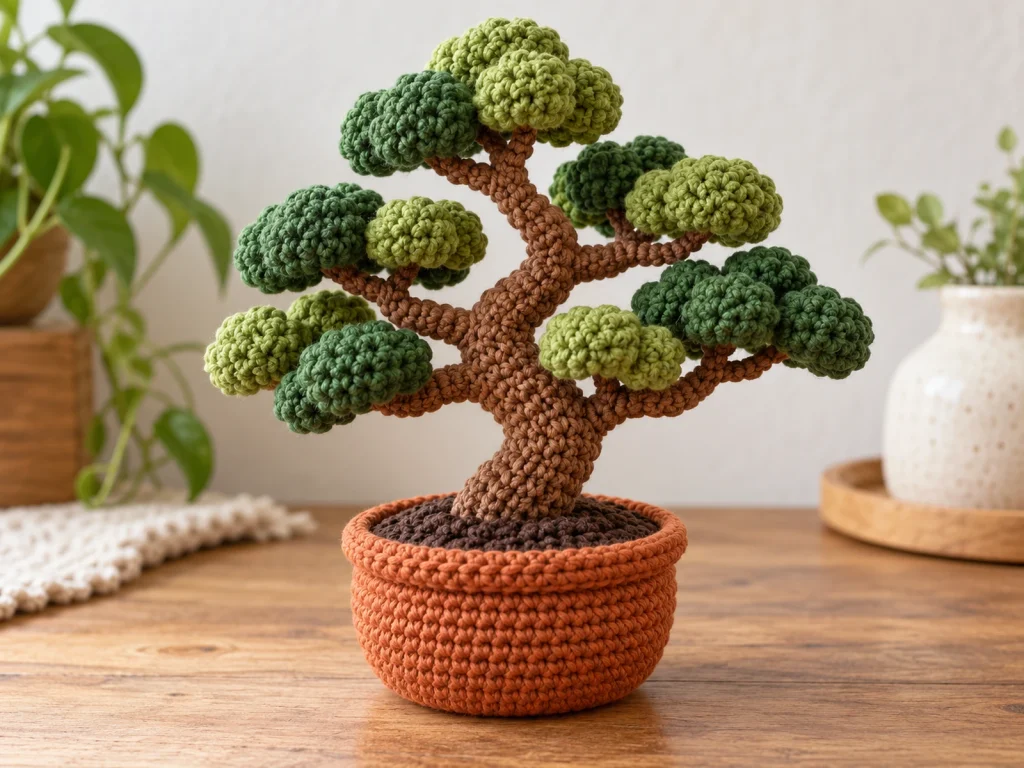
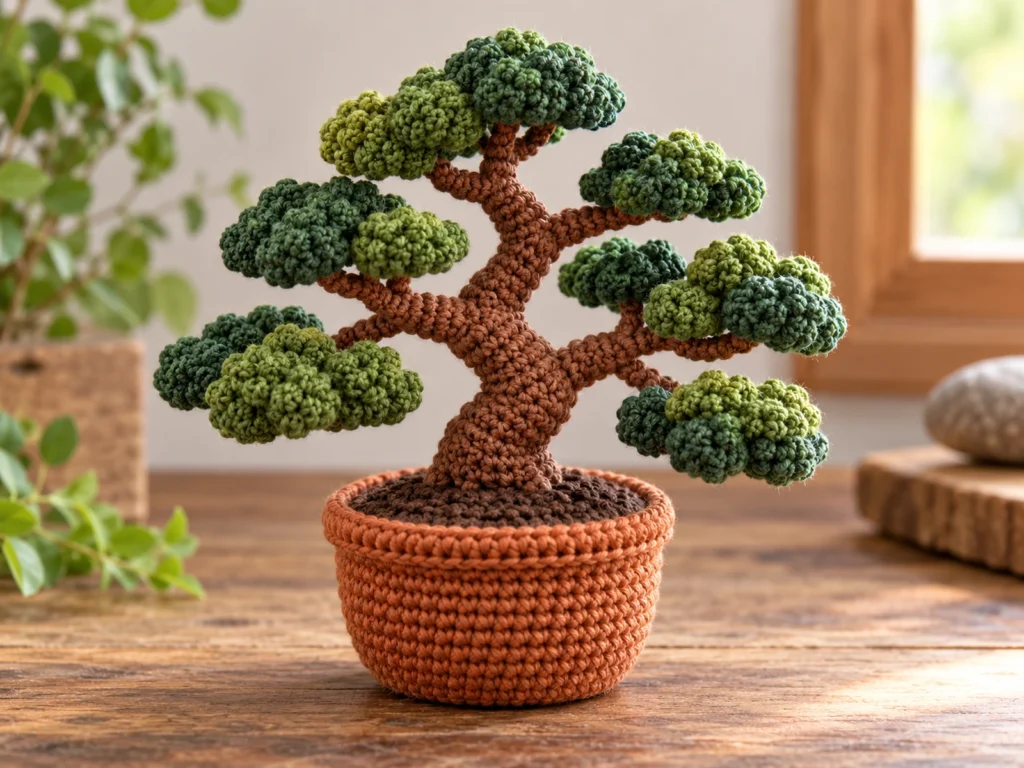
Create a miniature piece of handmade greenery with this crochet bonsai tree pattern. The design combines a crocheted pot, soil disk, shaped trunk, six branches, and ten rounded foliage clusters to create a layered bonsai-inspired silhouette.
The finished tree is approximately 7–8 inches tall, with a pot about 3.5–4 inches wide. These measurements are approximate and can vary with yarn, hook size, tension, stuffing, and individual crochet technique.
Pattern status: This pattern has been mathematically reviewed and constructionally checked, but it has not been physically crocheted and tested yet.
Project Overview
This crochet bonsai is made in separate components so the tree can be assembled gradually and shaped by hand.
You will make:
- 1 crocheted pot
- 1 soil disk
- 1 main trunk
- 6 branches
- 10 foliage clusters
The branch lengths vary slightly to create a more natural, irregular silhouette rather than a perfectly symmetrical tree.
Materials & Tools
Yarn
Use medium-weight #4 worsted-weight yarn in:
- Terracotta for the pot
- Dark brown for the soil
- Brown for the trunk and branches
- Dark green for 6 foliage clusters
- Olive green for 4 foliage clusters
Tools and Supplies
- 3.5 mm crochet hook
- Polyester fiberfill
- Yarn needle
- Scissors
- Stitch marker
No safety eyes are used for this project.
Abbreviations
| Abbreviation | Meaning |
|---|---|
| MR | Magic ring |
| ch | Chain |
| sc | Single crochet |
| inc | Increase — 2 sc in the same stitch |
| dec | Single crochet decrease |
| sl st | Slip stitch |
| BLO | Back loop only |
| rev sc | Reverse single crochet |
| FO | Fasten off |
Before You Start
Work in Continuous Rounds
Most pieces are worked in continuous rounds. Use a stitch marker to identify the beginning of each round.
Count Your Stitches
Check the stitch count at the end of every round, especially after increase and decrease rounds.
Stuff as You Go
Stuff the trunk firmly enough to hold its shape without stretching the stitches. Use lighter stuffing in the branches so they remain easier to position.
Shape Before Sewing
Arrange the branches and foliage before permanently attaching them. A few small changes in placement can dramatically affect the finished bonsai silhouette.
Construction Order
The project is assembled in this order:
- Crochet the pot and soil disk.
- Make the trunk and branches.
- Make the foliage clusters.
- Attach the branches to the trunk.
- Attach the foliage.
- Attach the trunk to the soil disk.
- Secure the soil disk to the pot.
- Shape the finished tree.
Crochet Bonsai Tree Pattern
Pot
Make 1 using terracotta yarn.
Work in continuous rounds.
Round 1
6 sc in MR. (6)
Round 2
6 inc. (12)
Round 3
(sc, inc) × 6. (18)
Round 4
(2 sc, inc) × 6. (24)
Round 5
(3 sc, inc) × 6. (30)
Round 6
(4 sc, inc) × 6. (36)
Round 7
36 sc. (36)
Round 8
36 sc. (36)
Round 9
36 sc. (36)
Round 10
36 sc. (36)
Round 11
36 sc. (36)
Round 12
36 sc. (36)
Round 13
36 sc BLO. (36)
Round 14
36 rev sc. (36)
Fasten off and weave in the end.
Leave the top open.
Soil Disk
Make 1 using dark brown yarn.
Round 1
6 sc in MR. (6)
Round 2
6 inc. (12)
Round 3
(sc, inc) × 6. (18)
Round 4
(2 sc, inc) × 6. (24)
Round 5
(3 sc, inc) × 6. (30)
Round 6
(4 sc, inc) × 6. (36)
Round 7
36 sc. (36)
Fasten off, leaving a sewing tail.
The outer round of the soil disk contains 36 stitches, matching the 36-stitch opening of the pot.
Main Trunk
Make 1 using brown yarn.
Stuff gradually as you work.
Round 1
8 sc in MR. (8)
Round 2
8 inc. (16)
Round 3
16 sc. (16)
Round 4
16 sc. (16)
Round 5
16 sc. (16)
Round 6
16 sc. (16)
Round 7
(6 sc, dec) × 2. (14)
Round 8
14 sc. (14)
Round 9
14 sc. (14)
Round 10
14 sc. (14)
Round 11
14 sc. (14)
Round 12
(5 sc, dec) × 2. (12)
Round 13
12 sc. (12)
Round 14
12 sc. (12)
Round 15
12 sc. (12)
Round 16
12 sc. (12)
Round 17
(4 sc, dec) × 2. (10)
Round 18
10 sc. (10)
Round 19
10 sc. (10)
Round 20
10 sc. (10)
Round 21
(3 sc, dec) × 2. (8)
Round 22
8 sc. (8)
Round 23
4 dec. (4)
Add the final stuffing before completely closing the top.
Fasten off, leaving a long sewing tail.
Branches
Make 6 branches using brown yarn.
Each branch begins with the same structure. The different lengths help create a less uniform canopy.
Branch A
Round 1
6 sc in MR. (6)
Round 2
6 sc. (6)
Round 3
6 sc. (6)
Round 4
6 sc. (6)
Round 5
(sc, dec) × 2. (4)
Round 6
2 dec. (2)
Lightly stuff as you work. Fasten off, leaving a sewing tail.
Branch B
Round 1
6 sc in MR. (6)
Round 2
6 sc. (6)
Round 3
6 sc. (6)
Round 4
6 sc. (6)
Round 5
6 sc. (6)
Round 6
(sc, dec) × 2. (4)
Round 7
2 dec. (2)
Lightly stuff as you work. Fasten off, leaving a sewing tail.
Branch C
Round 1
6 sc in MR. (6)
Round 2
6 sc. (6)
Round 3
6 sc. (6)
Round 4
6 sc. (6)
Round 5
6 sc. (6)
Round 6
6 sc. (6)
Round 7
(sc, dec) × 2. (4)
Round 8
2 dec. (2)
Lightly stuff as you work. Fasten off, leaving a sewing tail.
Branch D
Round 1
6 sc in MR. (6)
Round 2
6 sc. (6)
Round 3
6 sc. (6)
Round 4
6 sc. (6)
Round 5
6 sc. (6)
Round 6
6 sc. (6)
Round 7
6 sc. (6)
Round 8
(sc, dec) × 2. (4)
Round 9
2 dec. (2)
Lightly stuff as you work. Fasten off, leaving a sewing tail.
Branch E
Make the same as Branch B.
Branch F
Make the same as Branch C.
Foliage Clusters
Make 10 clusters total.
Use dark green for 6 clusters and olive green for 4 clusters.
Round 1
6 sc in MR. (6)
Round 2
6 inc. (12)
Round 3
(sc, inc) × 6. (18)
Round 4
18 sc. (18)
Round 5
(sc, dec) × 6. (12)
Round 6
6 dec. (6)
Add moderate stuffing before the final closure.
Fasten off and close neatly, leaving a sewing tail.
Assembly
Step 1: Attach the Branches to the Trunk
Arrange the six branches around the middle and upper sections of the trunk.
A suggested starting arrangement is:
- Branch A — lower left
- Branch B — lower right
- Branch C — middle left
- Branch D — middle right
- Branch E — front or side
- Branch F — upper center
These are visual placement guidelines rather than fixed measurements.
Before sewing, check the silhouette from the front, side, and back. Adjust the angles until the tree looks balanced.
Sew the branches securely to the trunk.
Step 2: Attach the Foliage
Attach the ten foliage clusters across the branches.
A useful starting arrangement is:
- Branch A: 2 clusters
- Branch B: 2 clusters
- Branch C: 2 clusters
- Branch D: 1 cluster
- Branch E: 1 cluster
- Branch F: 2 clusters
Mix the dark green and olive green clusters throughout the canopy.
Step 3: Attach the Trunk to the Soil Disk
Center the bottom of the trunk on the soil disk.
Sew the trunk securely to the center area of the disk, keeping it as upright as practical.
Step 4: Secure the Soil Disk to the Pot
Place the soil disk across the top opening of the pot.
The soil disk and pot opening are both worked to 36 stitches, allowing their edges to be sewn together.
Sew around the perimeter to secure the soil disk.
Step 5: Shape the Finished Tree
Rotate the bonsai and check it from several angles.
Adjust the branches and foliage so:
- No side feels excessively heavy.
- The foliage has some visual depth.
- The branches remain visible.
- The canopy feels balanced rather than perfectly mirrored.
Finishing
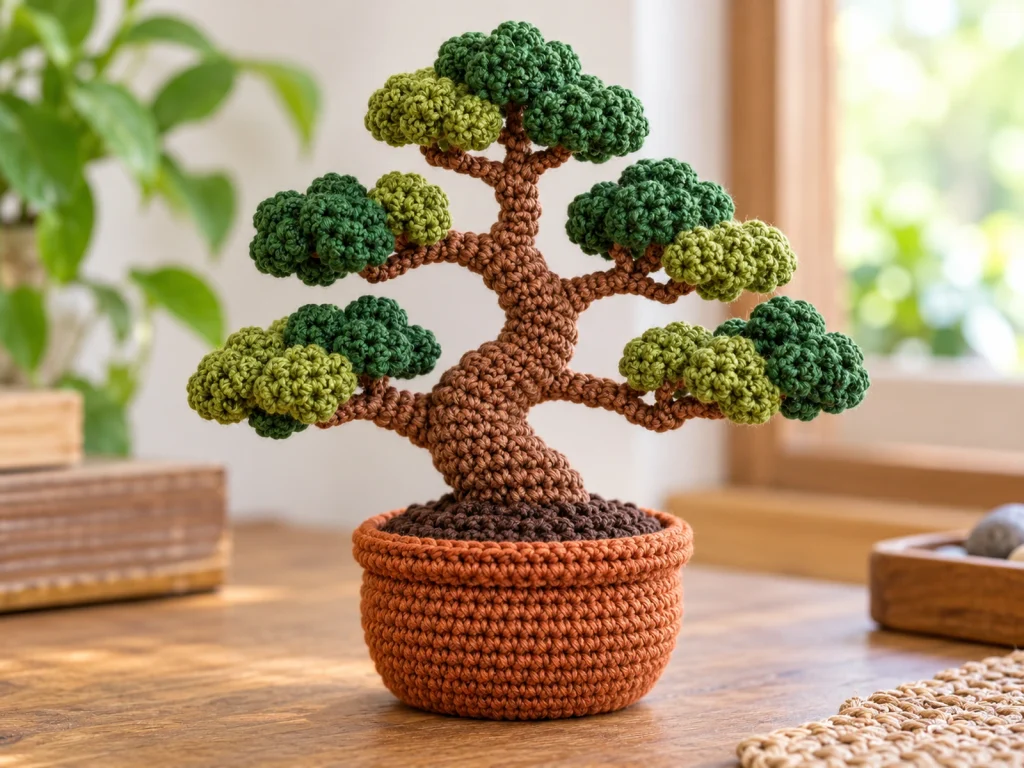
Weave in all remaining yarn ends securely.
Check the finished tree from every side and make any small shaping adjustments before trimming the final tails.
Pay particular attention to:
- Branch attachments
- Foliage connections
- Trunk stability
- Soil-to-pot attachment
- Any stuffing visible through the stitches
Helpful Tips
Keep Your Tension Consistent
Consistent tension helps the trunk, branches, and foliage maintain their intended proportions.
Use a Stitch Marker
Continuous rounds are easier to track when the beginning of each round is clearly marked.
Avoid Overstuffing the Branches
The branches need enough stuffing to maintain their shape, but lighter stuffing keeps them easier to position.
Shape Before Sewing Permanently
Arrange the branches first. Once you are happy with the silhouette, sew them securely.
Distribute the Foliage Colors
Mix the two green shades throughout the canopy rather than keeping each color in one section.
Troubleshooting
My Trunk Looks Too Soft
Check that the trunk is stuffed firmly enough to hold its shape without stretching the stitches. Very loose tension can also make the trunk appear softer or wider.
My Branches Look Too Straight
Try adjusting their angle before permanently securing them. Small changes in positioning can noticeably change the overall silhouette.
My Bonsai Looks Too Symmetrical
Use the different branch lengths to your advantage. Avoid placing every foliage cluster at exactly the same height.
My Foliage Looks Too Crowded
Reposition the clusters before making the final attachments. Small spaces between clusters help the branch structure remain visible.
My Pot and Soil Do Not Line Up Neatly
Check that the pot opening and soil disk have both been worked to the stated 36-stitch count. Differences in tension can affect the final shape.
Customization Ideas
Change the Foliage Colors
Try different combinations of green shades while keeping the same foliage construction.
Create a Fuller Canopy
You can experiment with a denser arrangement of the existing foliage clusters, keeping the branches visible.
Create a More Open Silhouette
Spread the foliage clusters farther apart to emphasize the branch structure.
Change the Branch Arrangement
The branches do not need to form a perfectly mirrored design. Slight variation can give the bonsai more character.
Adjust the Overall Size
Changing yarn weight or hook size will change the finished dimensions. The stated finished size is approximate and has not been physically tested.
Frequently Asked Questions
What size is the finished crochet bonsai?
The design is approximately 7–8 inches tall, with a pot about 3.5–4 inches wide. Actual measurements can vary with yarn, hook size, tension, stuffing, and individual technique.
What yarn weight is used?
The pattern uses medium-weight #4 worsted-weight yarn.
What crochet hook size is used?
A 3.5 mm crochet hook is used.
How many branches does the bonsai have?
The design uses six branches with intentionally varied lengths.
How many foliage clusters are included?
There are 10 foliage clusters in total.
Does the bonsai have a face?
No. This is a decorative plant design and does not use facial features or safety eyes.
Can I change the foliage colors?
Yes. Changing the yarn colors is a simple way to personalize the finished bonsai while keeping the same construction.
Has this pattern been physically tested?
No. The pattern has been mathematically reviewed and constructionally checked, but it has not been physically crocheted and tested yet.
Final Thoughts
This crochet bonsai tree pattern brings together a tapered trunk, varied branches, layered foliage, and a simple potted base to create a miniature handmade tree.
Take your time with the assembly and let the silhouette develop gradually. Small adjustments to branch angles and foliage placement can give the finished bonsai a natural, individual look.