
Crochet Baby Whale Ornament Pattern
Create a sweet little crochet whale ornament with a rounded…
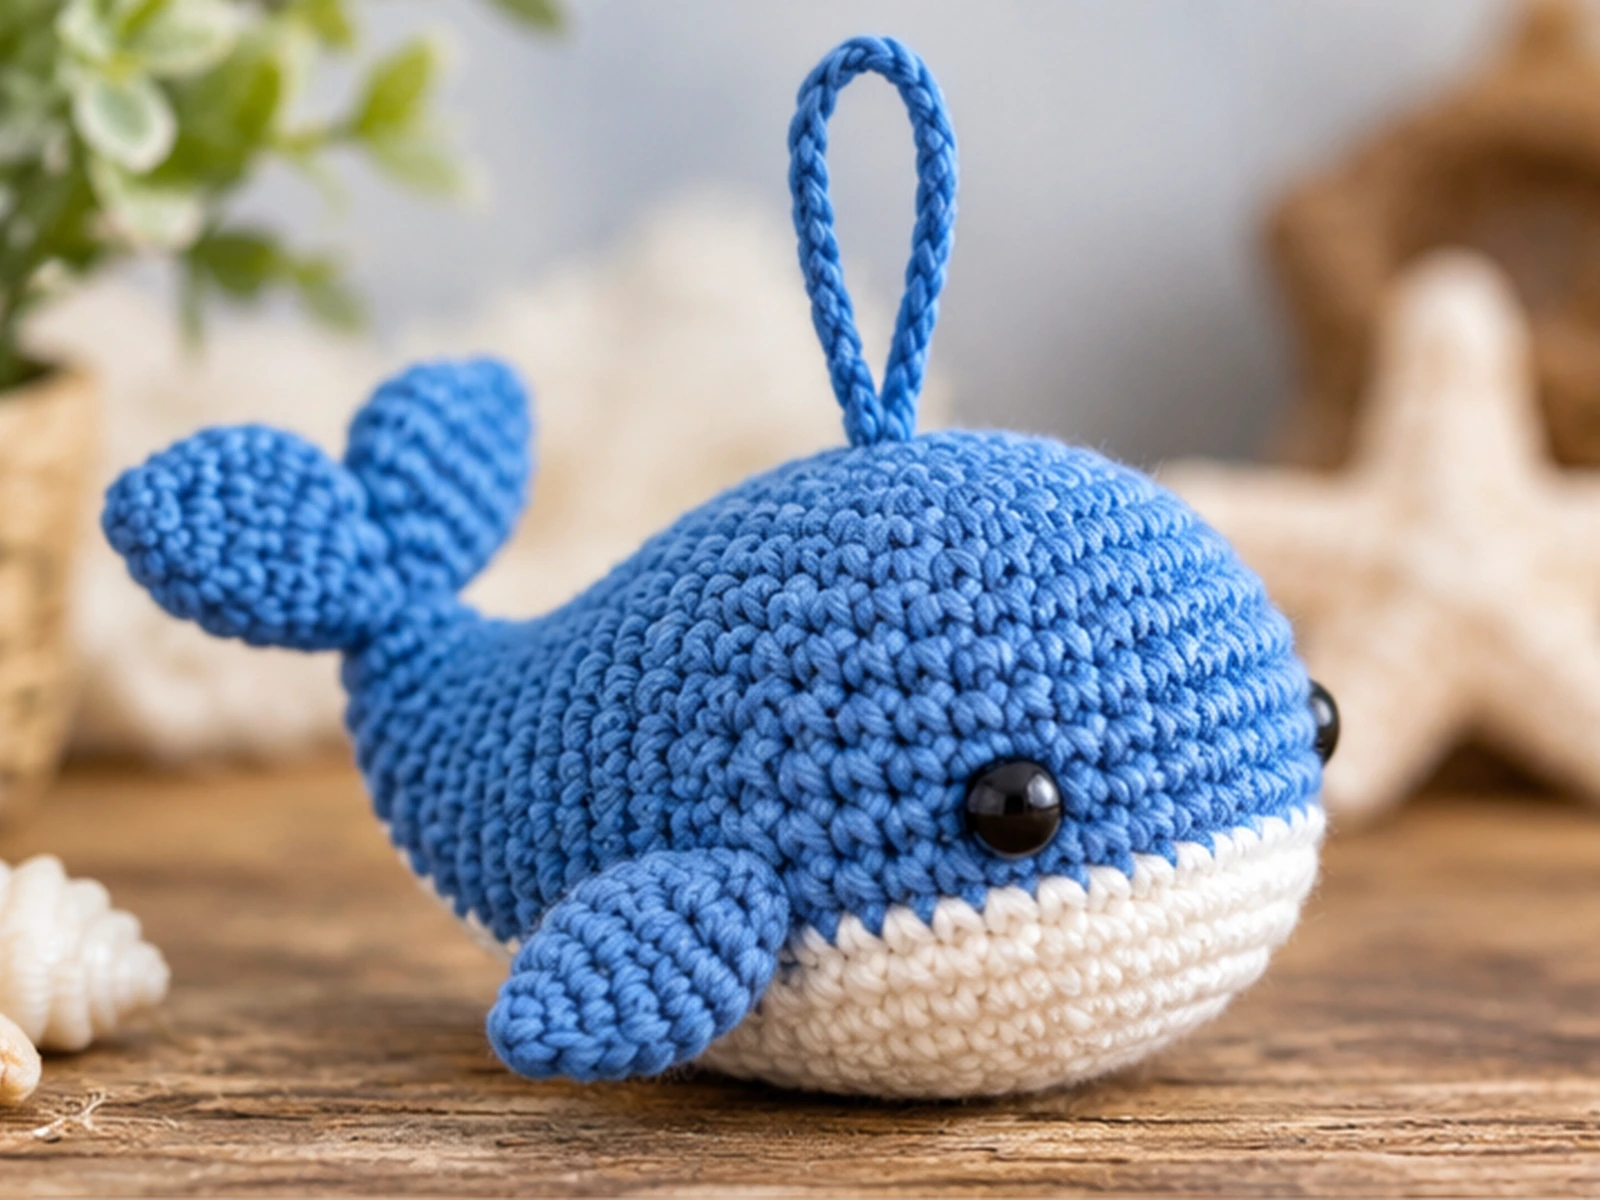
Create a sweet little crochet whale ornament with a rounded blue body, contrasting white belly, small fins, a split tail, and a simple hanging loop. This original crochet whale ornament pattern is worked mainly in continuous rounds, with the decorative pieces crocheted separately and attached during finishing.
The finished whale is approximately 3.5–4.5 inches (9–11.5 cm) long, depending on your yarn, hook, tension, stuffing, and individual technique.
Project Overview
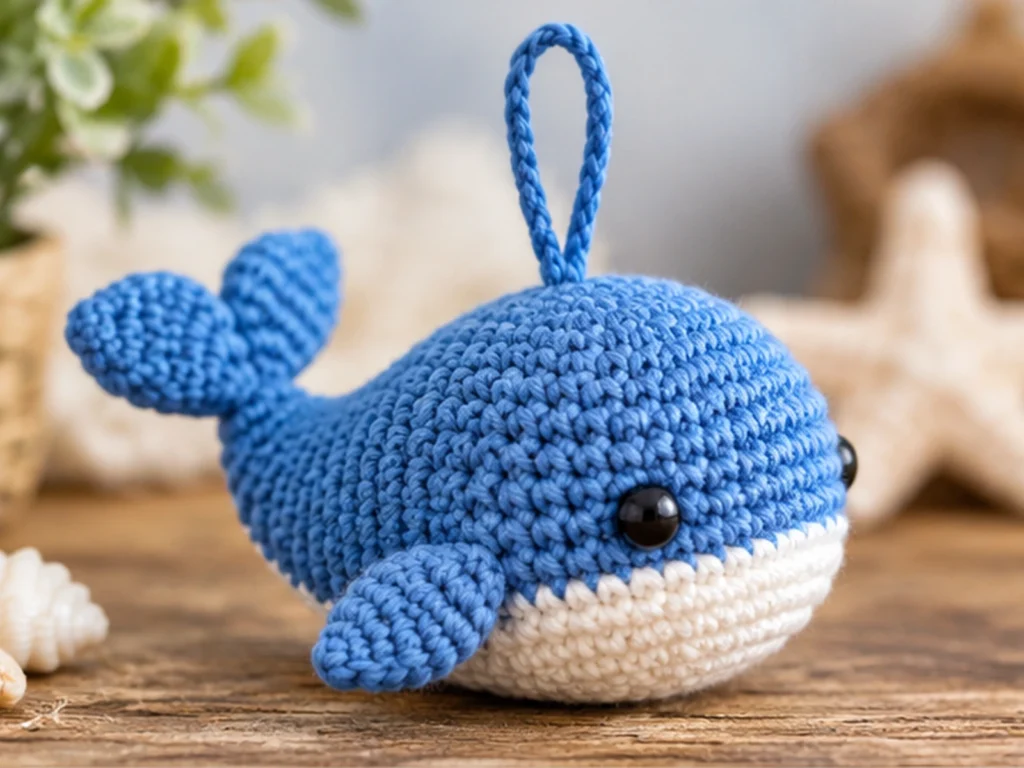
What You’ll Make
This crochet baby whale is built from:
- One rounded blue body
- Two blue pectoral fins
- One white belly patch
- Two blue tail flukes
- Two 6 mm safety eyes
- One blue hanging loop
The main body is stuffed gradually as it tapers toward the end. The fins, belly patch, and tail flukes are made separately and sewn onto the finished body.
Project Details
- Technique: Crochet amigurumi
- Main yarn: Medium/worsted weight (#4), blue
- Accent yarn: Medium/worsted weight (#4), white
- Hook: 3.5 mm
- Eyes: 6 mm safety eyes
- Filling: Polyester fiberfill
- Finished size: Approximately 3.5–4.5 inches (9–11.5 cm) long
The finished size is approximate and will vary with yarn, hook, tension, stuffing, and individual technique.
Materials & Tools
- Medium/worsted weight (#4) yarn in blue
- Medium/worsted weight (#4) yarn in white
- 3.5 mm crochet hook
- 6 mm safety eyes
- Polyester fiberfill
- Yarn needle
- Scissors
- Stitch marker
Safety Note
Safety eyes can present a choking hazard and are not appropriate for children under 3. This finished project should not be described as baby-safe or child-safe.
Abbreviations
This pattern uses standard US crochet terminology:
- MR — magic ring
- ch — chain
- sc — single crochet
- inc — increase; work 2 sc in the same stitch
- dec — decrease; sc 2 stitches together
- sl st — slip stitch
- FO — fasten off
Before You Start
Work in Continuous Rounds
The main body is worked in continuous rounds. Use a stitch marker to keep track of the beginning of each round.
Count Your Stitches
Check your stitch count at the end of every round, especially after increase and decrease rounds. Keeping the counts consistent helps maintain the intended shape.
Stuff as You Go
Begin adding polyester fiberfill during the final shaping portion of the body. Add the stuffing gradually and avoid overfilling, which can stretch the stitches and distort the shape.
Shape Before Sewing
The fins, belly patch, and tail flukes are separate pieces. Compare paired pieces visually and check their placement before sewing them permanently.
Construction Order
The main body is crocheted first. The fins, belly patch, tail flukes, and hanging loop are then prepared separately and added during assembly.
Crochet Baby Whale Pattern
Main Body — Blue Yarn
Work in continuous rounds.
Round 1
6 sc in MR. (6)
Round 2
6 inc. (12)
Round 3
(sc, inc) × 6. (18)
Round 4
(2 sc, inc) × 6. (24)
Round 5
(3 sc, inc) × 6. (30)
Round 6
(4 sc, inc) × 6. (36)
Round 7
36 sc. (36)
Round 8
36 sc. (36)
Round 9
36 sc. (36)
Round 10
36 sc. (36)
The body is now at its widest point.
Round 11
(4 sc, dec) × 6. (30)
Round 12
30 sc. (30)
Round 13
(3 sc, dec) × 6. (24)
Round 14
24 sc. (24)
Round 15
(2 sc, dec) × 6. (18)
Round 16
18 sc. (18)
Round 17
(sc, dec) × 6. (12)
Round 18
12 sc. (12)
Begin adding polyester fiberfill gradually. Shape the body as you stuff it so it stays rounded and smooth.
Before the final round is closed, place the safety eyes on opposite side surfaces of the body. Check their symmetry from several angles before permanently securing them.
Round 19
6 dec. (6)
Add a small amount of final stuffing if needed, then fasten off and close the remaining opening securely.
Pectoral Fins — Make 2
Make two identical fins in blue yarn.
Round 1
6 sc in MR. (6)
Round 2
(sc, inc) × 3. (9)
Round 3
9 sc. (9)
Round 4
(sc, dec) × 3. (6)
Fasten off, leaving a sewing tail.
Flatten each fin gently. The fins are designed to remain unstuffed. If a fin needs a little extra body to hold its shape, use only a very small amount of fiberfill.
Belly Patch — White Yarn
The belly patch is crocheted separately and sewn onto the finished body.
Round 1
6 sc in MR. (6)
Round 2
6 inc. (12)
Round 3
(sc, inc) × 6. (18)
Round 4
(2 sc, inc) × 6. (24)
Round 5
24 sc. (24)
Fasten off, leaving a sewing tail.
Flatten the patch gently before attaching it.
Tail Flukes — Make 2
Make two identical tail flukes in blue yarn.
Row 1
Ch 5.
Sc in the 2nd ch from the hook and across. (4)
Row 2
Ch 1, turn.
Inc, 2 sc, inc. (6)
Row 3
Ch 1, turn.
6 sc. (6)
Row 4
Ch 1, turn.
Dec, 2 sc, dec. (4)
Row 5
Ch 1, turn.
2 dec. (2)
Fasten off, leaving a sewing tail.
Repeat for the second fluke.
Place the two flukes with their narrow inner ends touching and their wider ends pointing outward. Sew the inner ends together first to create the split-tail shape.
Hanging Loop
Using blue yarn, attach the yarn at the top center of the body.
Hanging Loop
Ch 16.
Sl st back into the body close to the starting point to form a loop.
Fasten off and weave in the ends securely.
Check that the loop is centered before trimming the yarn.
Assemble and Finish the Whale
Step 1: Position the Safety Eyes
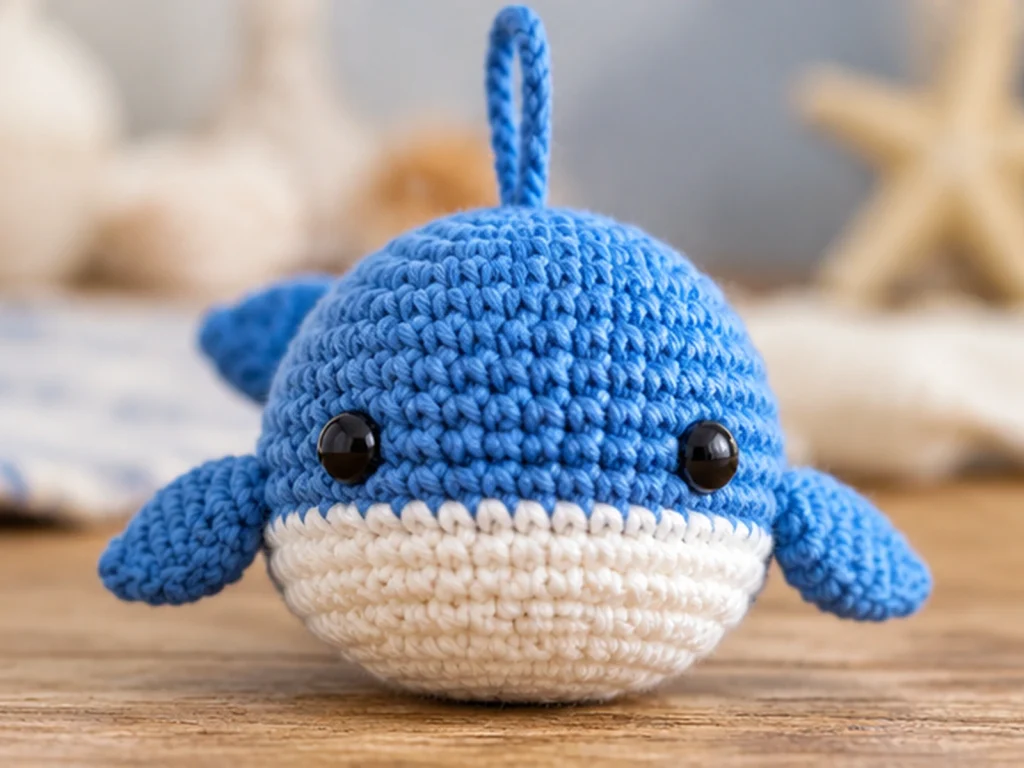
Place one safety eye on each side of the upper portion of the body.
The eyes should sit on the same general round and appear balanced from the front and side views.
Do not rely on a fixed measurement. Use the stitches as your visual guide and compare both sides before securing the eyes.
Step 2: Attach the Belly Patch
Center the white patch on the lower/front portion of the whale.
Hold it in position first so you can check that it sits evenly.
Sew around the outer edge, keeping the stitches neat and secure.
Step 3: Attach the Pectoral Fins
Place one fin on each side of the body.
Angle them slightly backward so they follow the whale’s shape.
Compare both sides before sewing permanently.
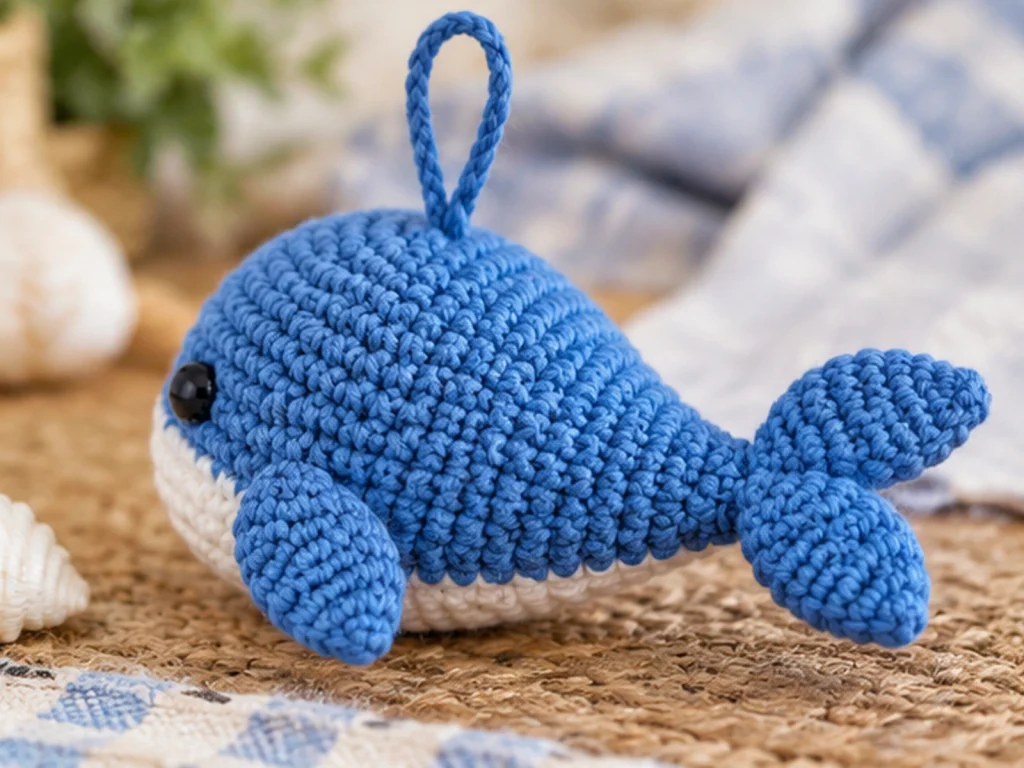
Step 4: Attach the Tail
Take the two joined tail flukes and position them at the rear center of the body.
Keep the flukes spread evenly to either side.
Sew the tail securely to the body while checking the overall silhouette.
Step 5: Add the Hanging Loop
Center the hanging loop on the top of the body.
Before trimming the yarn, make sure the loop is firmly attached and properly aligned.

Finishing
Give the completed whale a final shaping check.
Look for:
- A smooth, rounded body
- Evenly positioned eyes
- Balanced fins
- A centered tail
- A neatly attached belly patch
- A secure hanging loop
- No exposed stuffing
- Securely woven yarn ends
Gently adjust the stuffing if one side looks flatter than the other.
Avoid pulling too tightly when sewing the separate pieces, since excessive tension can distort the body.
Helpful Tips
Count Before Continuing
If your stitch count is different from the listed count, stop and recount before moving to the next round.
The main body follows this progression:
6 → 12 → 18 → 24 → 30 → 36 → 36 → 36 → 36 → 36 → 30 → 30 → 24 → 24 → 18 → 18 → 12 → 12 → 6
Keep the Stuffing Moderate
Use enough fiberfill to maintain the rounded body without stretching the stitches.
Compare Paired Pieces
When attaching the fins, compare both sides before sewing them permanently.
Troubleshooting
My Stitch Count Is Off
Recount the current round from the beginning. Check for a missed stitch, an accidental extra stitch, or an increase or decrease worked into the wrong stitch.
The Body Looks Too Lumpy
Check your tension and stuffing. Uneven tension or overfilling can make the increase and decrease transitions look more pronounced.
The Stuffing Is Showing Through
Remove a small amount of stuffing and reshape the body. Overfilling can stretch the stitches and create visible gaps.
The Fins Look Uneven
Compare both fins before attaching them. Use the same general body round as a reference and adjust the angle as needed.
The Tail Looks Crooked
Check that the two flukes meet evenly at the center. Then position the joined tail at the rear center of the body before sewing.
The Belly Patch Does Not Sit Flat
Reposition the patch rather than pulling harder on the sewing yarn. It should follow the body’s surface without puckering.
Customization Ideas
Change the Body Color
Try another shade such as dusty blue, seafoam, soft gray, or teal while keeping the same stitch structure.
Change the Belly Color
White creates a classic contrast, but pale cream or light gray can give the whale a softer look.
Create a Character Whale
You can experiment with different eye placements or subtle color changes while keeping the same overall construction.
Changing yarn weight or hook size will also affect the finished proportions.
Care
The pattern does not establish a specific care method for the finished ornament. Handle the piece gently, especially around the safety eyes and sewn-on components.
Frequently Asked Questions
How large is the finished crochet whale?
The design is approximately 3.5–4.5 inches (9–11.5 cm) long, but final size will vary with yarn, hook size, stuffing, tension, and individual technique.
What crochet terminology does this pattern use?
The pattern uses standard US crochet terms, including single crochet, increase, decrease, slip stitch, chain, and magic ring.
Does the whale need to be stuffed?
Yes. The main body is stuffed gradually during the final shaping rounds. The fins, belly patch, and tail flukes are not designed as fully stuffed pieces.
How should I position the safety eyes?
Place them on opposite sides of the upper body, keeping them on the same general round. Compare both sides visually before permanently securing them.
How do I make the whale into an ornament?
The finished design includes a separate hanging loop attached to the top center of the body.
Can I change the colors?
Yes. The body and belly patch can be made in different colors while keeping the same stitch structure.
Is this whale safe for young children?
No safety claim should be made for children under 3 when using safety eyes. Safety eyes can present a choking hazard.
More Animal Amigurumi
Final Thoughts
This crochet baby whale ornament combines a rounded body with a contrasting belly, small fins, a split tail, and a hanging loop.
The project is assembled from several separate pieces, allowing the whale’s shape and decorative details to be adjusted during finishing. Keep your stitch counts consistent, add stuffing gradually, and compare paired pieces before sewing them permanently into place.
The finished size is approximate, and the design has been mathematically reviewed and constructionally checked but has not been physically crocheted and tested yet.