
Bee Turtle Crochet Pattern: A Bee-Inspired Amigurumi Turtle
This Bee Turtle crochet pattern combines a rounded turtle with…
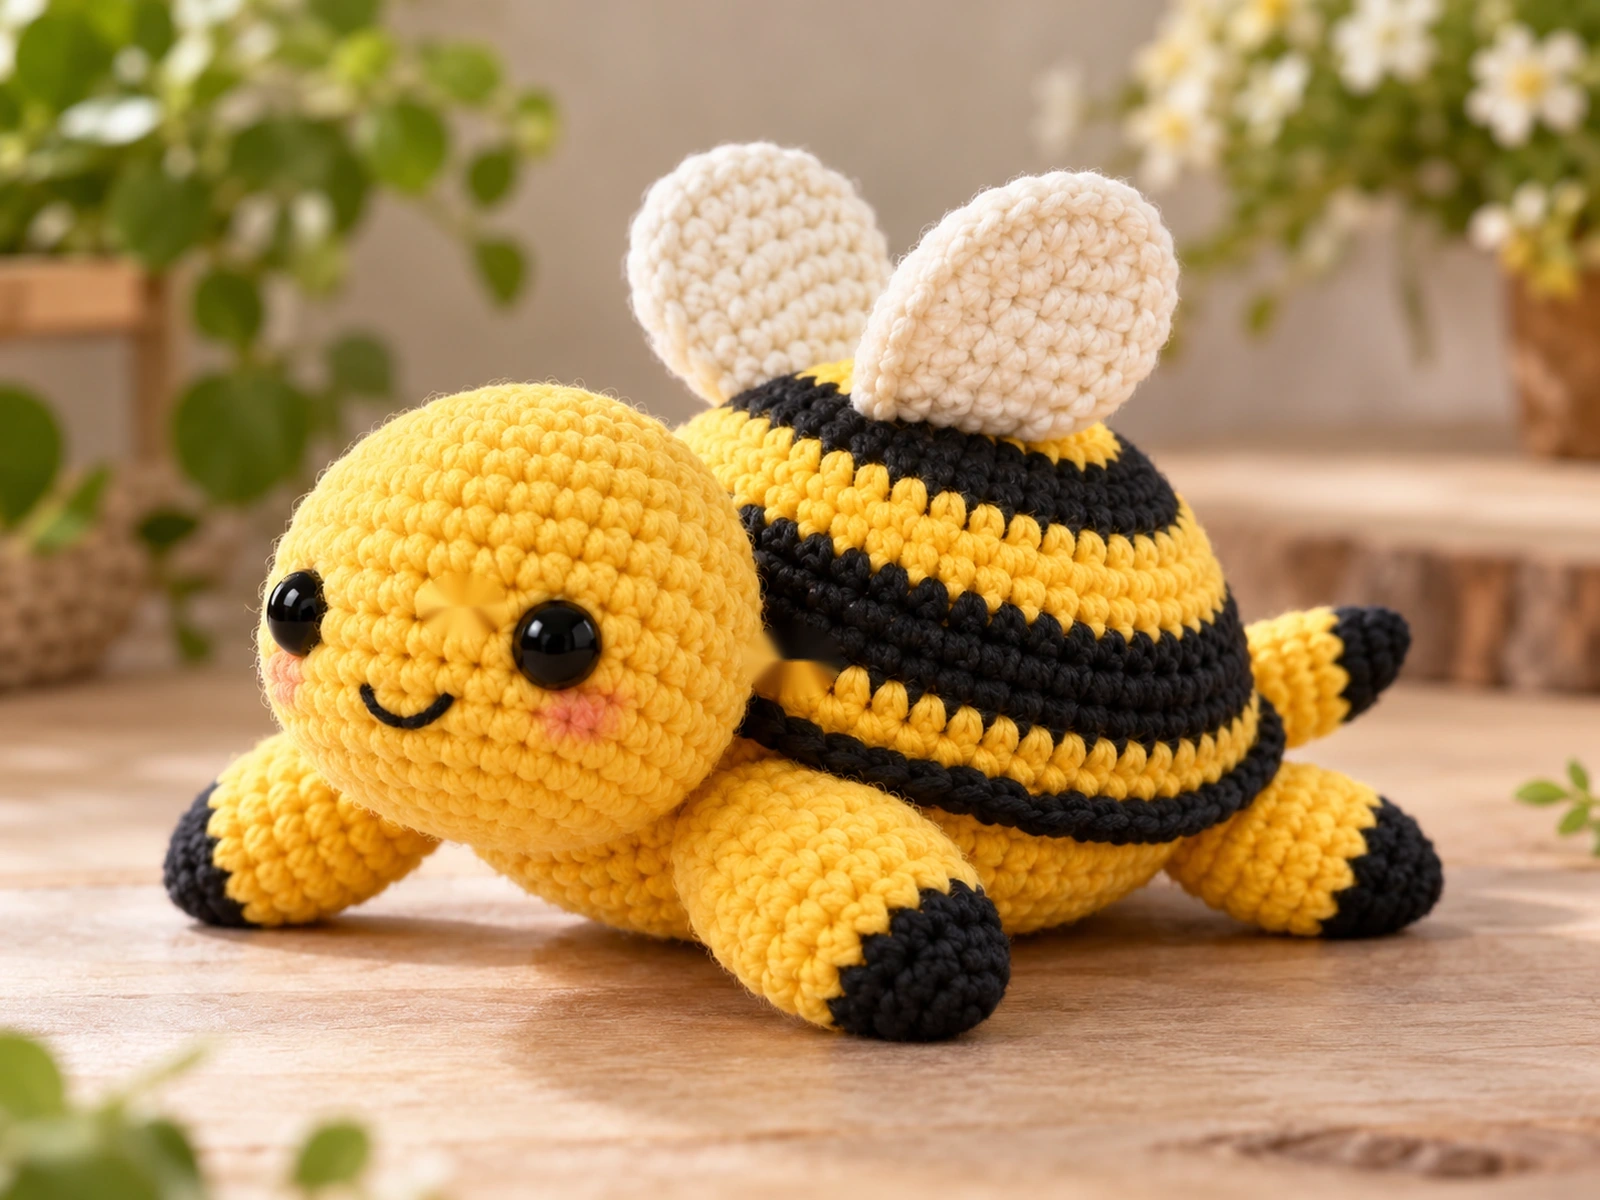
This Bee Turtle crochet pattern combines a rounded turtle with bee-inspired yellow-and-black striping and two small wings. The finished design is approximately 5–6 inches, depending on your yarn, hook, tension, and stuffing.
The pattern includes the head, body, shell, four flippers, two wings, and a small tail. It uses standard US crochet terminology and is designed for crocheters who are comfortable with basic amigurumi shaping, color changes, stuffing, and sewing pieces together.
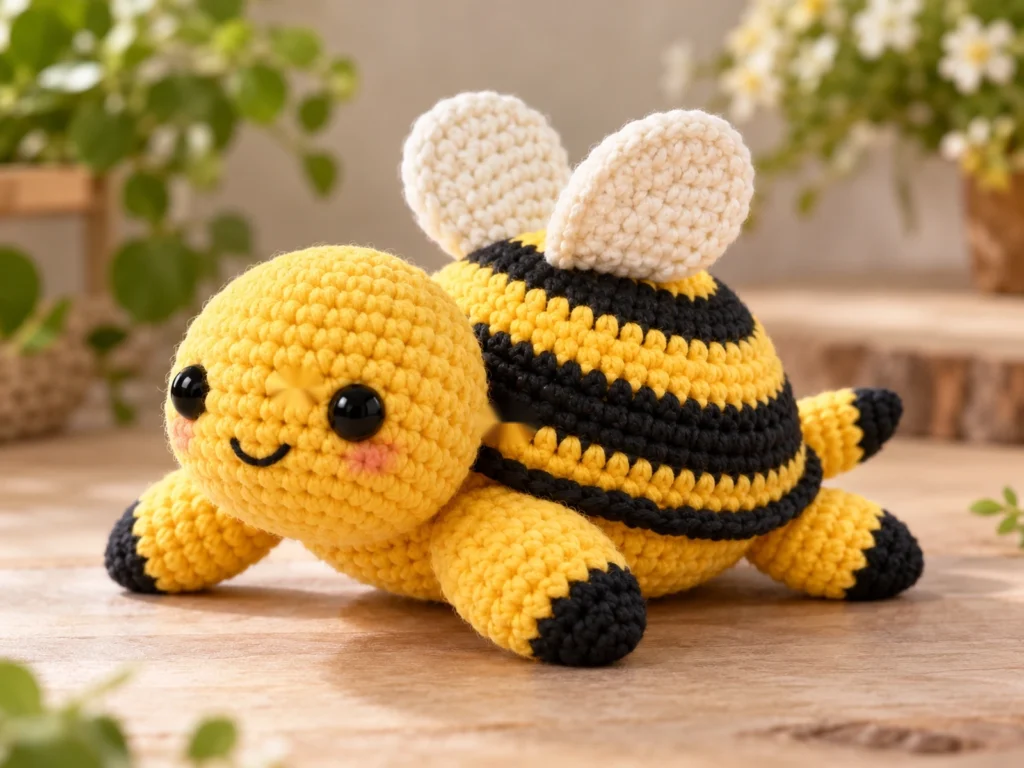
Testing note: This design has been mathematically reviewed and constructionally checked, but it has not been physically crocheted and tested yet. Finished size and physical proportions should therefore be considered approximate.
Project Overview
The Bee Turtle is made from several separate crocheted pieces that are assembled into one compact amigurumi.
What You’ll Make
- 1 head
- 1 body
- 1 shell
- 4 flippers
- 2 wings
- 1 tail
- 2 safety eyes
The main visual feature is the yellow-and-black bee-inspired color pattern, paired with a rounded turtle shape and small ivory wings.
Project Details
- Project: Bee Turtle Amigurumi
- Technique: Crochet amigurumi
- Yarn: Worsted-weight (#4)
- Hook: 3.5 mm
- Main color: Golden yellow
- Accent color: Black
- Wing color: Ivory or off-white
- Eyes: 8 mm safety eyes
- Filling: Polyester fiberfill
- Approximate finished size: 5–6 inches
- Construction: Multiple crocheted pieces sewn together
The exact finished size can vary with yarn, hook size, tension, stuffing, and individual technique.
Materials & Tools
Yarn
Use worsted-weight (#4) yarn in:
- Golden yellow
- Black
- Ivory or off-white
A small amount of black yarn can also be used for the optional embroidered smile.
Tools and Supplies
- 3.5 mm crochet hook
- 8 mm safety eyes
- Polyester fiberfill
- Tapestry needle
- Stitch marker
- Scissors
- Sewing or craft pins
Safety Note
Safety eyes can present a choking hazard and are not appropriate for children under 3. For a project intended for young children, embroidered eyes can be used instead.
Abbreviations
This pattern uses standard US crochet terminology.
- MR — magic ring
- ch — chain
- sc — single crochet
- inc — increase; work 2 sc in the same stitch
- dec — decrease; sc 2 stitches together
- FO — fasten off
Unless otherwise stated, work in continuous rounds.
Before You Start
Work in Continuous Rounds
The head, body, shell, wings, and tail are worked in continuous rounds. Use a stitch marker to identify the beginning of each round and move it as you work.
Count Your Stitches
Keep track of the stitch count at the end of every round. The stitch count shown in parentheses makes it easier to catch an increase or decrease mistake before it affects the next round.
Stuff Gradually
Add stuffing in small amounts rather than filling a piece all at once. This makes it easier to control the shape and avoid overstuffing.
The head and body should hold their shape without becoming overly firm. The shell should remain a shallow dome, while the flippers and wings are left flat.
Compare Paired Pieces
The four flippers and two wings should be positioned symmetrically. Pin paired pieces before sewing and compare both sides from the front and top.
Construction Order
A simple order for this project is:
- Crochet all of the pieces.
- Add the eyes and stuff the head.
- Stuff and close the body.
- Lightly stuff the shell.
- Attach the head and tail.
- Attach the four flippers.
- Attach the shell.
- Add the two wings.
- Finish the facial details and weave in the loose ends.
Original Bee Turtle Crochet Pattern
Head — Make 1
Use golden yellow.
Round 1
6 sc in MR. (6)
Round 2
6 inc. (12)
Round 3
(sc, inc) × 6. (18)
Round 4
(2 sc, inc) × 6. (24)
Round 5
24 sc. (24)
Round 6
24 sc. (24)
Round 7
24 sc. (24)
Round 8
(2 sc, dec) × 6. (18)
Round 9
(sc, dec) × 6. (12)
Round 10
6 dec. (6)
Fasten off, leaving a long tail for sewing.
Insert the 8 mm safety eyes symmetrically between Rounds 4 and 5. Use the shape of the finished head as a visual guide rather than relying on a fixed measurement.
Add stuffing gradually. Keep the small lower opening available for attaching the head to the body.
Body — Make 1
Work in golden yellow and black as indicated.
Round 1
6 sc in MR. (6) — golden yellow
Round 2
6 inc. (12) — golden yellow
Round 3
(sc, inc) × 6. (18) — golden yellow
Round 4
(2 sc, inc) × 6. (24) — golden yellow
Round 5
(3 sc, inc) × 6. (30) — black
Round 6
30 sc. (30) — black
Round 7
30 sc. (30) — golden yellow
Round 8
30 sc. (30) — golden yellow
Round 9
30 sc. (30) — black
Round 10
30 sc. (30) — black
Round 11
30 sc. (30) — golden yellow
Round 12
(3 sc, dec) × 6. (24) — golden yellow
Round 13
(2 sc, dec) × 6. (18) — golden yellow
Round 14
(sc, dec) × 6. (12) — golden yellow
Round 15
6 dec. (6) — golden yellow
Begin stuffing before the opening becomes too small. Add the final amount of stuffing before closing the body.
Fasten off and cinch the remaining 6 stitches closed.
Shell — Make 1
Work in black and golden yellow.
Round 1
6 sc in MR. (6) — black
Round 2
6 inc. (12) — black
Round 3
(sc, inc) × 6. (18) — golden yellow
Round 4
(2 sc, inc) × 6. (24) — golden yellow
Round 5
(3 sc, inc) × 6. (30) — black
Round 6
30 sc. (30) — black
Round 7
30 sc. (30) — golden yellow
Round 8
30 sc. (30) — golden yellow
Round 9
30 sc. (30) — black
Fasten off, leaving a long sewing tail.
Add only a small amount of stuffing. The shell should form a shallow dome rather than a tightly inflated ball.
Keep the opening available for sewing the shell to the body.
Flippers — Make 4
Make four identical flippers.
Use golden yellow first.
Row 1
ch 6, sc in 2nd ch from hook and across. (5)
Row 2
inc, sc 3, inc. (7)
Row 3
7 sc. (7)
Change to black.
Row 4
dec, sc 3, dec. (5)
Row 5
5 sc. (5)
Row 6
dec, sc, dec. (3)
Fasten off, leaving a sewing tail.
Flatten each flipper. Do not stuff them.
The wider end will be attached to the body, with the tapered end pointing outward.
Wings — Make 2
Use ivory or off-white yarn.
Round 1
6 sc in MR. (6)
Round 2
6 inc. (12)
Round 3
(sc, inc) × 6. (18)
Round 4
18 sc. (18)
Round 5
(sc, dec) × 6. (12)
Round 6
6 dec. (6)
Fasten off and close the remaining opening.
Flatten each wing gently. Do not stuff the wings.
Tail — Make 1
Begin in golden yellow.
Round 1
6 sc in MR. (6)
Round 2
6 sc. (6)
Round 3
(sc, inc) × 3. (9)
Round 4
9 sc. (9)
Change to black.
Round 5
(sc, dec) × 3. (6)
Round 6
6 sc. (6)
Fasten off.
Do not heavily stuff the tail. Flatten the open end for sewing.
Facial Details
The safety eyes provide the main facial expression.
For an optional additional detail, embroider a small smile beneath the eyes using black yarn.
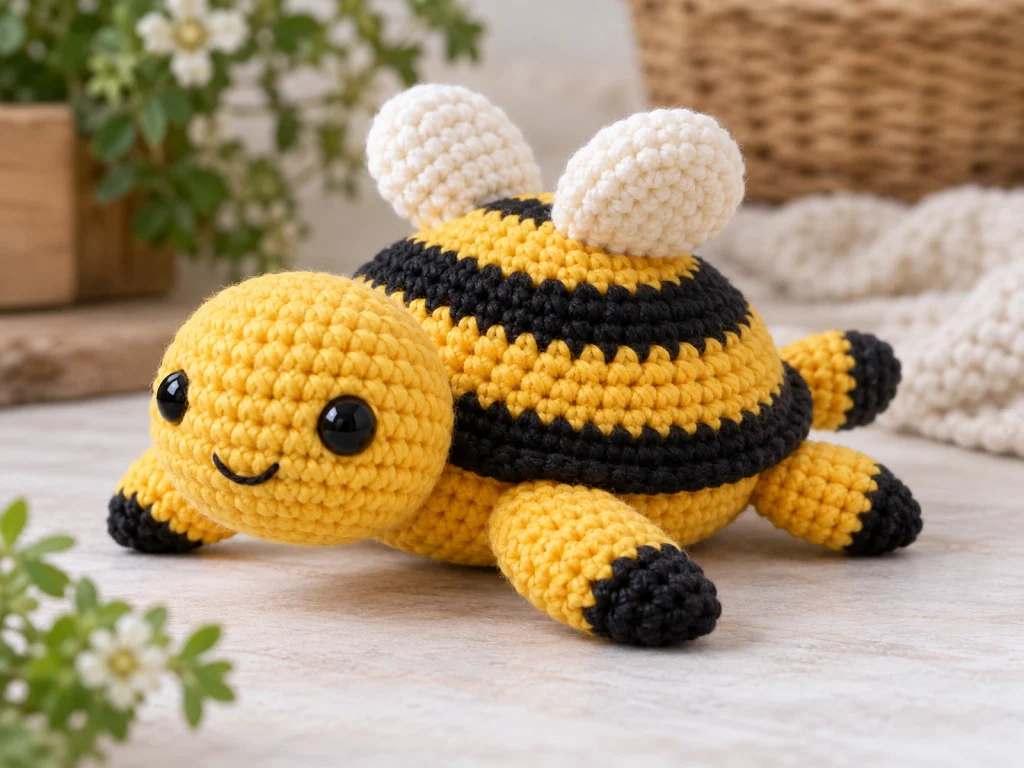
Bee Turtle Assembly
Step 1: Attach the Head
Choose one rounded end of the body as the front.
Position the head centrally and check it from the front and both sides before sewing.
Sew the head securely to the body, keeping the face centered.
Step 2: Attach the Tail
Place the tail at the end opposite the head.
Center the tail and sew the flattened end securely to the body.
Check that it points outward rather than sharply downward.
Step 3: Attach the Flippers
Arrange the four flippers in matching pairs.
Place two toward the front half of the body and two toward the rear half.
Pin all four before sewing. Compare the left and right sides from the front and top, then sew them securely to the body.
Step 4: Attach the Shell
Place the shell centrally on top of the body.
The shell should sit as a shallow dome, with some of the body visible beneath its lower edge.
Sew gradually around the shell opening, keeping the shell centered as you work.
Step 5: Attach the Wings
Place one wing on each side of the shell, slightly behind the head.
Angle them gently outward and upward.
Pin both wings first so you can compare their height and orientation.
Sew the base of each wing securely to the shell.
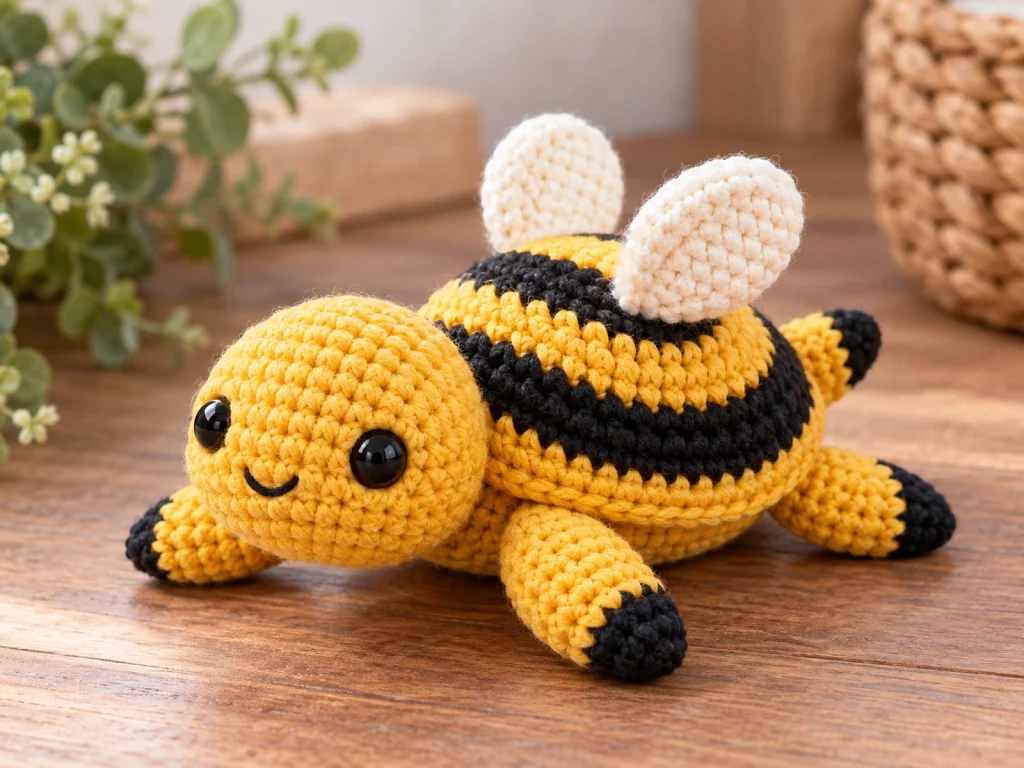
Finishing
Before weaving in your final ends, inspect the turtle from the front, top, and side.
Check that:
- The eyes look level.
- The head is centered.
- The shell is centered.
- The wings are balanced.
- The four flippers have similar placement.
- The tail sits opposite the head.
- No stuffing is visible.
- All attachments feel secure.
Weave in the loose ends and trim the remaining yarn neatly.

Helpful Tips
Keep Your Tension Firm
Firm, even tension helps the crocheted fabric hold its shape and reduces visible gaps when stuffing is added.
Stuff in Small Amounts
Adding a little stuffing at a time makes it easier to control the shape of the head, body, and shell.
Pin Before Sewing
Pinned pieces are easier to reposition than pieces that have already been sewn. Take a moment to compare both sides before making permanent attachments.
Shape Pieces Before Final Assembly
Gently reshape the shell, flatten the wings and flippers, and adjust stuffing before sewing the components together.
Troubleshooting
My Stitch Count Is Off
Stop before continuing to the next round.
Count the stitches in the current round and compare them with the expected number shown at the end of the instruction. An early missed increase or accidental extra stitch can change the shape of the next rounds.
My Stuffing Is Showing
Check your tension and remove a small amount of stuffing.
Adding too much fiberfill can push the stitches apart and make the stuffing visible.
My Shell Looks Too Puffy
The shell is intended to form a shallow dome.
Remove some stuffing and reshape it before attaching it to the body.
My Wings Look Uneven
Pin both wings before sewing and compare them from the front and top.
Adjust their height or angle until they look balanced.
My Flippers Do Not Match
All four flippers use the same pattern.
Compare them side by side before sewing and check that matching flippers are attached at similar heights.
The Head Looks Crooked
Check the head from the front and both sides before completing the attachment.
Reposition it until the face looks centered, then sew it securely.
Customization Ideas
Change the Bee-Inspired Colors
Try different combinations such as:
- Bright yellow and black
- Mustard and charcoal
- Honey yellow and dark brown
- Pale yellow and black
Change the Wing Color
The ivory wings can be replaced with white or pale gray for a slightly different look.
Adjust the Expression
Keep the safety eyes as the main facial feature or add the optional embroidered smile for a different expression.
Larger structural changes may require adjustments to stitch counts or construction to maintain the original proportions.
Frequently Asked Questions
What yarn is best for this Bee Turtle crochet pattern?
The original design uses worsted-weight (#4) yarn in golden yellow, black, and ivory or off-white.
What crochet hook size is used?
The pattern uses a 3.5 mm crochet hook.
How big is the finished Bee Turtle?
The finished design is approximately 5–6 inches, although the final size can vary with yarn, hook size, tension, stuffing, and individual technique.
Is this Bee Turtle pattern beginner-friendly?
The design is suggested for an intermediate crocheter because it combines amigurumi shaping, color changes, stuffing, sewing, and multi-piece assembly.
Does the Bee Turtle use safety eyes?
Yes. The design uses 8 mm safety eyes.
Safety eyes can be a choking hazard and are not appropriate for children under 3. Embroidered eyes are an alternative for projects intended for young children.
Can I change the Bee Turtle colors?
Yes. The yellow-and-black palette can be customized while keeping the same basic construction.
Do the flippers and wings need stuffing?
No. The flippers and wings are designed to remain flat.
More Animal Amigurumi
Explore more animal-inspired crochet projects from Tiny Yarn Tales as you build your amigurumi collection.
Final Thoughts
This Bee Turtle crochet pattern brings together a rounded turtle shape, bee-inspired stripes, and small wings for a playful amigurumi design. The project is built from clearly separated pieces, making it easier to crochet the components individually before completing the final assembly.
Remember that this design has been mathematically reviewed and constructionally checked, but it has not been physically crocheted and tested yet. Treat the finished size and physical proportions as approximate until a sample has been made and evaluated.