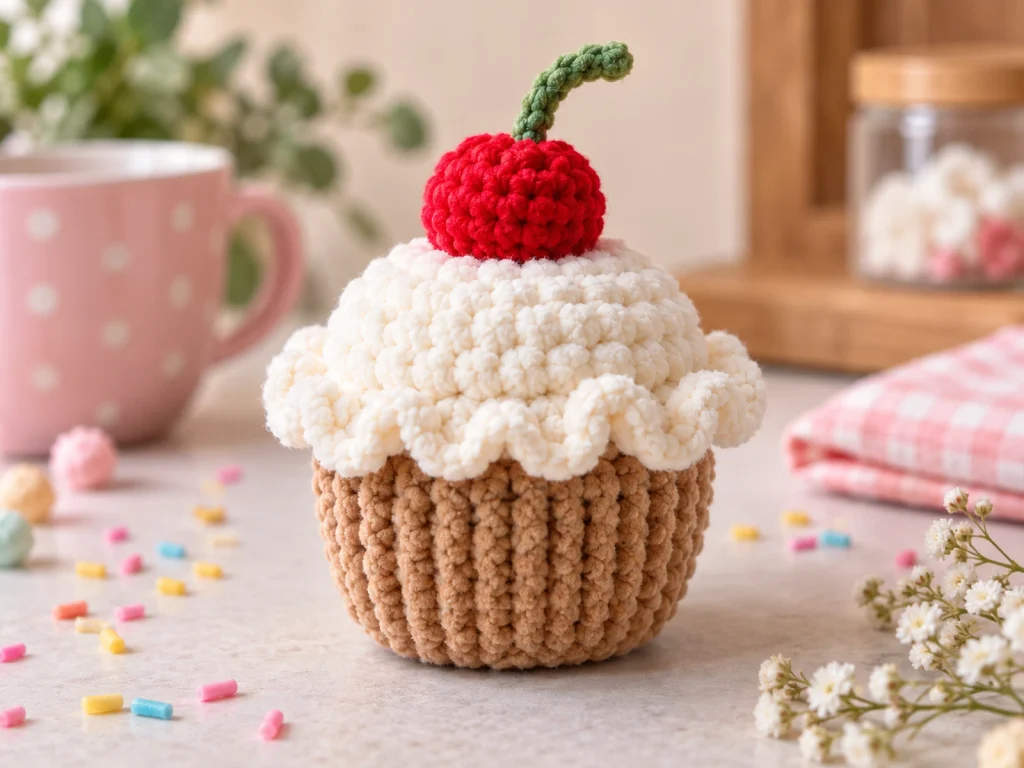
Crochet Cupcake Pattern
This crochet cupcake amigurumi is a small plush-style project with…
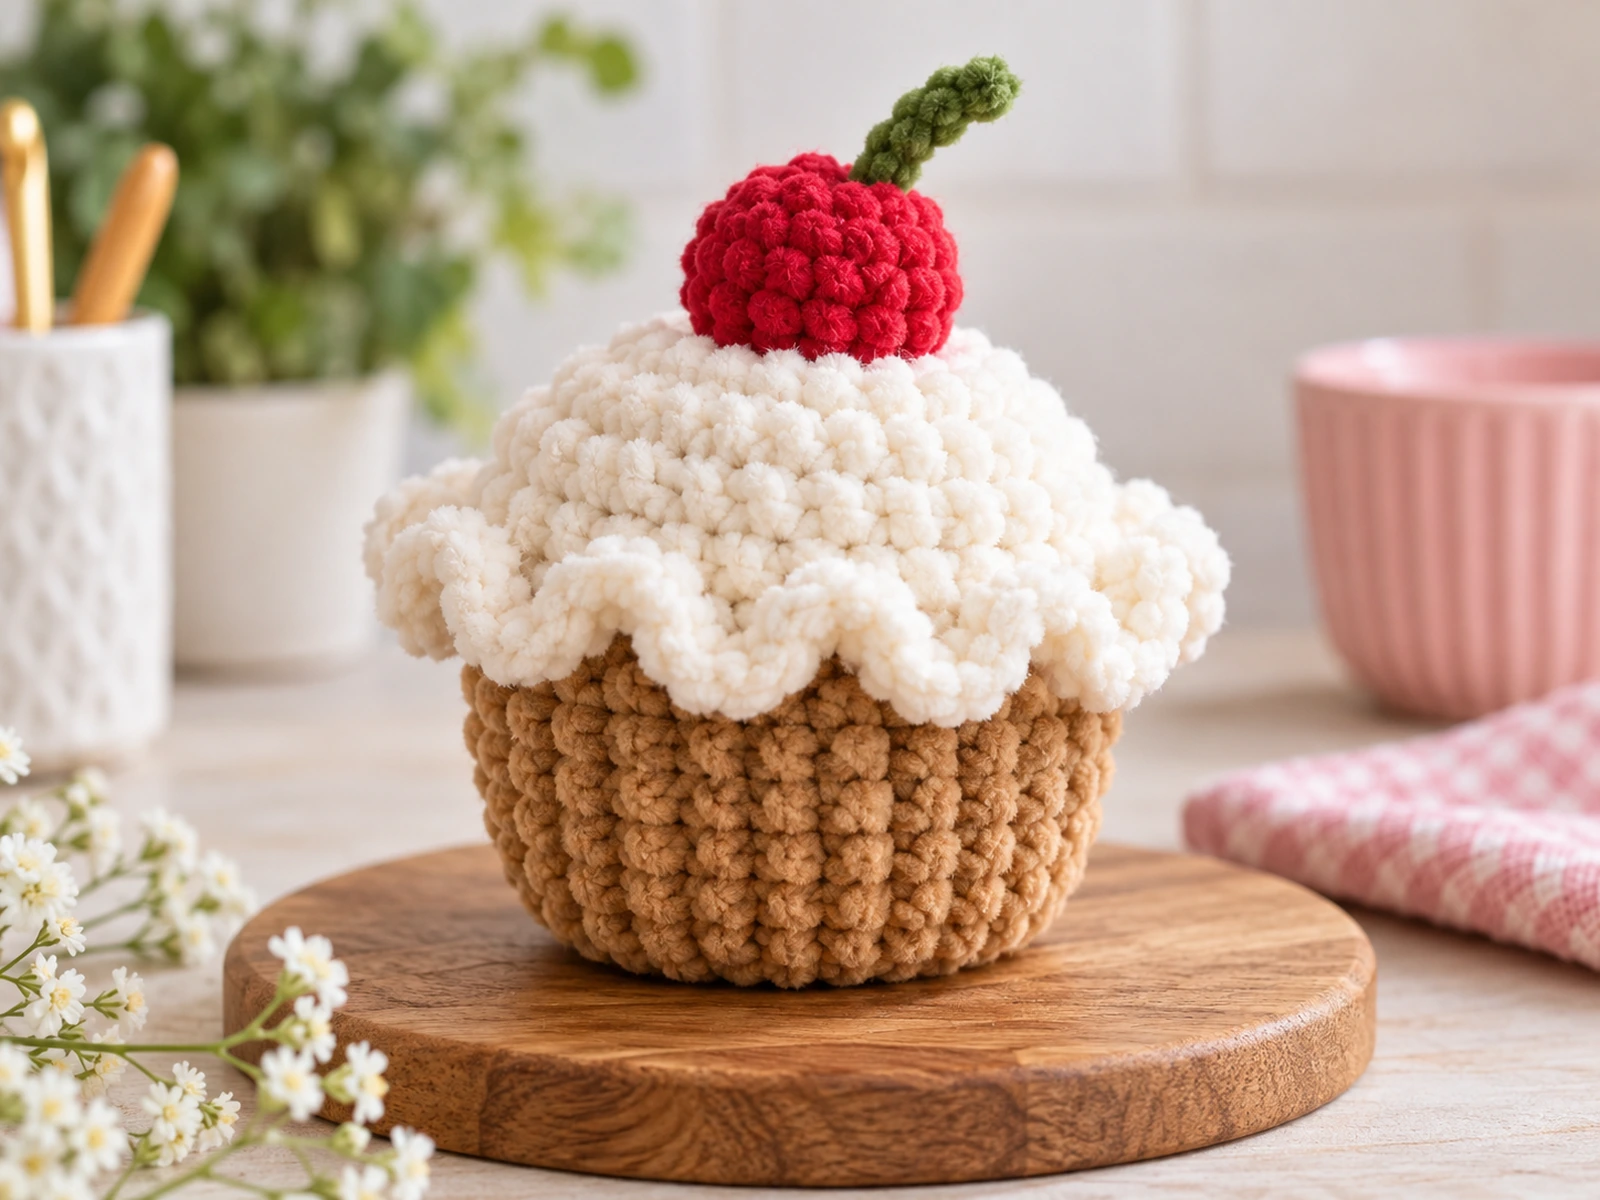
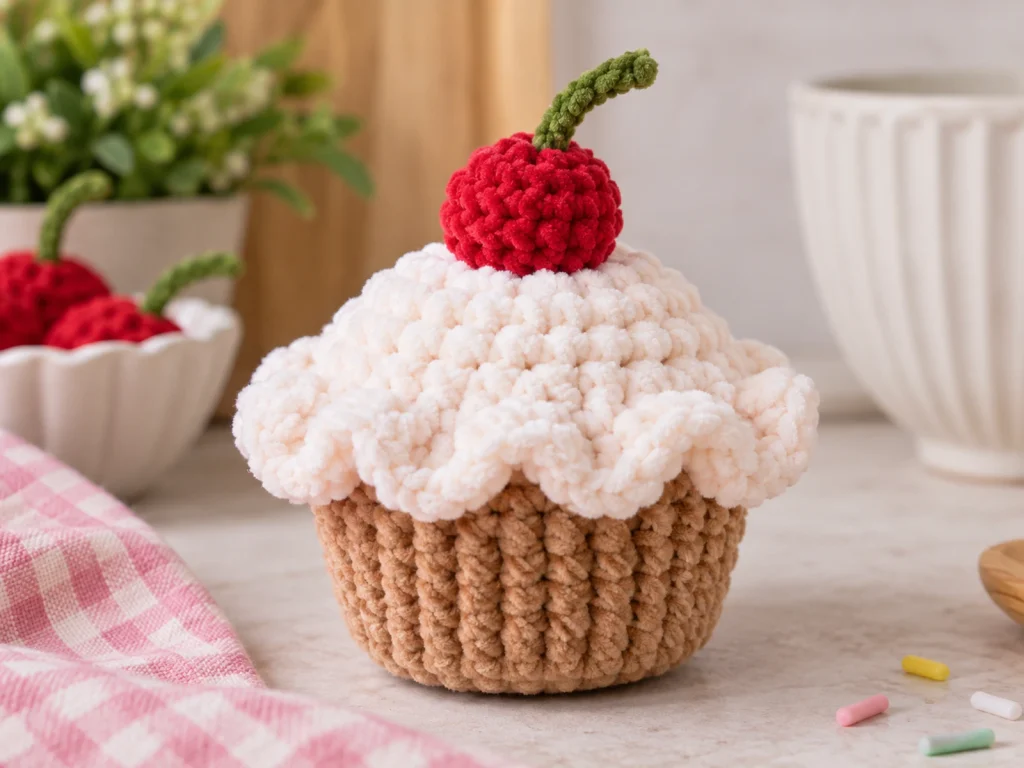
This crochet cupcake amigurumi is a small plush-style project with a rounded cupcake base, a soft frosting cap, and a tiny cherry on top. The design is made in separate pieces and then assembled into a finished cupcake.
The finished cupcake is approximately 3–4 inches tall, depending on your yarn, hook, tension, stuffing, and individual technique.
Project Overview
What You’ll Make
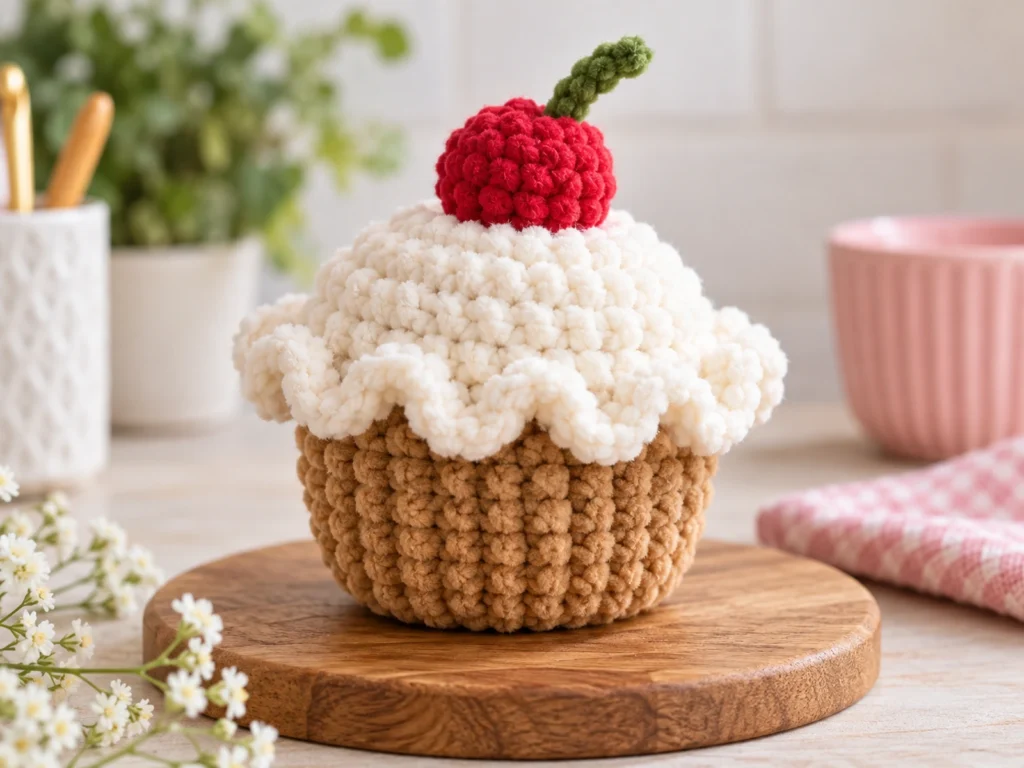
This crochet cupcake is made from three main pieces:
- A rounded cupcake base
- A frosting cap with a ruffled edge
- A small cherry
An optional yarn stem can be added to the cherry for an extra finishing detail.
Project Details
- Project: Crochet cupcake amigurumi
- Yarn: Bulky or chenille-style yarn
- Hook: 4.0 mm crochet hook
- Filling: Polyester fiberfill
- Finished size: Approximately 3–4 inches tall
The finished size is approximate and can vary with yarn, hook size, tension, stuffing, and individual crochet technique.
Materials & Tools
- Bulky or chenille-style yarn in a cake or wrapper color
- Bulky or chenille-style yarn in a frosting color
- Red yarn for the cherry
- Green or brown yarn for the optional cherry stem
- 4.0 mm crochet hook
- Polyester fiberfill
- Yarn needle
- Scissors
- Stitch marker
Abbreviations
This pattern uses standard US crochet terminology.
- MR — magic ring
- ch — chain
- sc — single crochet
- inc — increase; 2 sc in the same stitch
- dec — decrease; single crochet 2 stitches together
- sl st — slip stitch
- dc — double crochet
- FO — fasten off
Before You Start
The cupcake base, frosting, and cherry are crocheted separately.
Work in continuous rounds unless otherwise noted. A stitch marker can help you keep track of the beginning of each round.
Keep an eye on the stitch count at the end of every round. If your count is different from the number shown, it is best to stop and check the previous round before continuing.
The base is stuffed before the frosting is attached. Use enough stuffing to help the cupcake hold its shape without stretching the stitches.
The frosting does not require substantial stuffing.
Crochet Cupcake Pattern
Cupcake Base
Using the cake or wrapper color, begin with a magic ring.
Round 1: 6 sc in MR (6)
Round 2: 6 inc (12)
Round 3: (sc, inc) × 6 (18)
Round 4: (2 sc, inc) × 6 (24)
Round 5: (3 sc, inc) × 6 (30)
Round 6: 30 sc (30)
Round 7: 30 sc (30)
Round 8: 30 sc (30)
Round 9: 30 sc (30)
Round 10: 30 sc (30)
Fasten off and leave the top open for stuffing and assembly.
Add a moderate amount of polyester fiberfill so the base keeps its shape.
Frosting Cap
Using the frosting color, begin with a magic ring.
Round 1: 6 sc in MR (6)
Round 2: 6 inc (12)
Round 3: (sc, inc) × 6 (18)
Round 4: (2 sc, inc) × 6 (24)
Round 5: (3 sc, inc) × 6 (30)
Round 6: 30 sc (30)
Ruffled Frosting Edge
Round 7: (sc, 3 dc, sc) × 10 (50)
Each repeat uses three stitches from the previous round and creates five stitches in the new round, giving the frosting its flared edge.
Fasten off and leave a long yarn tail for assembly.
Cherry
Using red yarn, begin with a magic ring.
Round 1: 6 sc in MR (6)
Round 2: 6 inc (12)
Round 3: (sc, inc) × 6 (18)
Round 4: 18 sc (18)
Round 5: (sc, dec) × 6 (12)
Round 6: 6 dec (6)
Round 7: 3 dec (3)
Add a small amount of stuffing before the opening becomes too small.
Fasten off and close the remaining opening.
Optional Cherry Stem
Using green or brown yarn, ch 5.
Work sl st back along the chain to create a narrow stem.
Fasten off, leaving enough yarn to attach the stem to the cherry.
Assembly
Step 1: Prepare the Finished Pieces
Make sure the cupcake base, frosting, and cherry are complete before assembly.
The cupcake base should remain open until the frosting is attached.
Step 2: Attach the Frosting
Place the frosting cap over the open top of the cupcake base.
The frosting has a 30-stitch attachment edge, matching the 30-stitch opening of the cupcake base.
Using the long frosting yarn tail and a yarn needle:
- Align the frosting evenly around the top of the cupcake.
- Check the spacing around the entire circumference before securing it.
- Stitch the frosting securely to the base.
- Keep the ruffled outer edge free so it can spread around the cupcake.
Step 3: Shape the Frosting
Gently arrange the ruffled edge so it spreads evenly around the cupcake.
Avoid pulling one section too tightly, as this can make the frosting look uneven.
Step 4: Attach the Cherry
Center the finished cherry over the frosting.
Use small stitches through the bottom of the cherry and into the frosting to secure it.
For the optional stem, attach it to the top center of the cherry.
Step 5: Final Check
Before trimming the remaining yarn ends, check the cupcake from all sides.
Make sure:
- The base keeps its shape
- The frosting is centered
- The ruffle is evenly distributed
- The cherry is secure
- No stuffing is visible
Finishing
Weave in and trim the remaining yarn ends neatly.
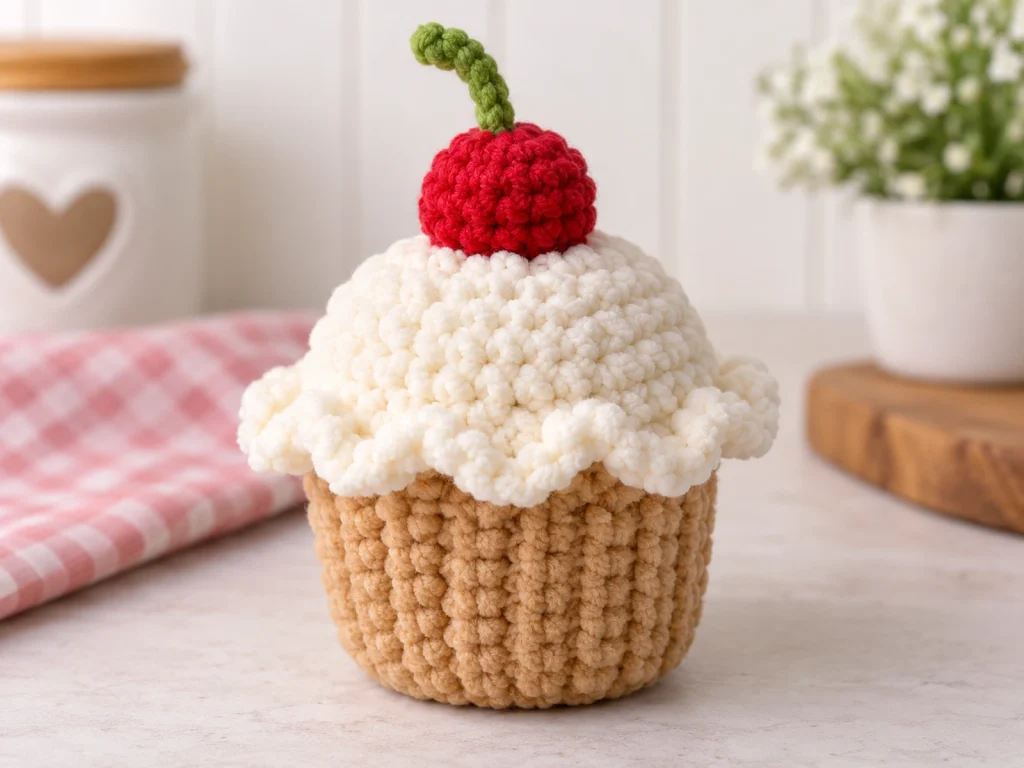
Gently reshape the cupcake after assembly so the base, frosting, and cherry sit naturally together.
The final silhouette should have a compact cupcake base, a rounded frosting top, and a small cherry centered above it.
Helpful Tips
Count your stitches carefully. Increase and decrease rounds are the most important places to check your count.
Avoid overstuffing. Too much stuffing can stretch the stitches and alter the shape.
Check the frosting before sewing it permanently. A quick alignment check can help keep the attachment balanced.
Arrange the ruffle after assembly. Small adjustments can make the frosting edge look more even.
Troubleshooting
My stitch count is off. What should I do?
Check the previous round before continuing. Pay particular attention to increases and decreases, since a missed or extra stitch can affect the next round.
My cupcake is larger or smaller than expected.
Finished size can vary with yarn thickness, hook size, personal tension, and stuffing.
The frosting looks uneven.
Before securing it completely, compare the frosting placement around the entire opening and adjust it until it looks balanced.
My cupcake feels too firm.
Remove a small amount of stuffing and reshape the base. The stitches should hold their form without looking stretched.
The frosting ruffle is bunching.
Gently distribute the ruffle around the cupcake instead of pulling it toward one side.
Customization Ideas
Changing the colors is an easy way to create different cupcake looks.
Try different combinations for:
- The cupcake base
- The frosting
- The cherry
- The optional stem
You can create several color combinations from the same basic pattern while keeping the original construction.
Remember that changing yarn weight or hook size can also change the finished dimensions.
Care
No specific care method has been established for this pattern.
For the safest approach, follow the care guidance provided by the manufacturer of the yarn you use.
Frequently Asked Questions
How big is the finished crochet cupcake?
The cupcake is approximately 3–4 inches tall. The final size can vary with yarn, hook, tension, stuffing, and individual technique.
What yarn should I use?
The pattern is designed for bulky or chenille-style yarn.
Does the cupcake require sewing?
Yes. The frosting is attached to the cupcake base with a yarn needle, and the cherry is secured to the frosting.
Does the frosting need to be stuffed?
No substantial stuffing is required for the frosting.
Can I change the colors?
Yes. The cupcake base, frosting, cherry, and optional stem can all be customized with different color combinations.
Why does my cupcake look different from the sample?
Small differences are normal. Yarn type, hook size, tension, and stuffing can all affect the final appearance and dimensions.
Has this crochet cupcake pattern been physically tested?
The pattern has been mathematically reviewed and constructionally checked, but it has not been physically crocheted and tested yet. The finished size and physical fit of the components should therefore be treated as approximate.
More Animal Amigurumi
Explore more crochet amigurumi projects from Tiny Yarn Tales to find your next small handmade project.
Final Thoughts
This crochet cupcake comes together from a simple set of crocheted components: a rounded base, a ruffled frosting cap, and a small cherry.
Work through each section carefully, keep your stitch counts consistent, and take a little extra time during assembly to center the frosting and cherry.
The pattern has been mathematically reviewed and constructionally checked, but it has not been physically crocheted and tested yet, so the finished dimensions should be considered approximate.