
Crochet French Fries Pattern: Mini Food Amigurumi
Make a playful crochet French fries amigurumi with a bright…
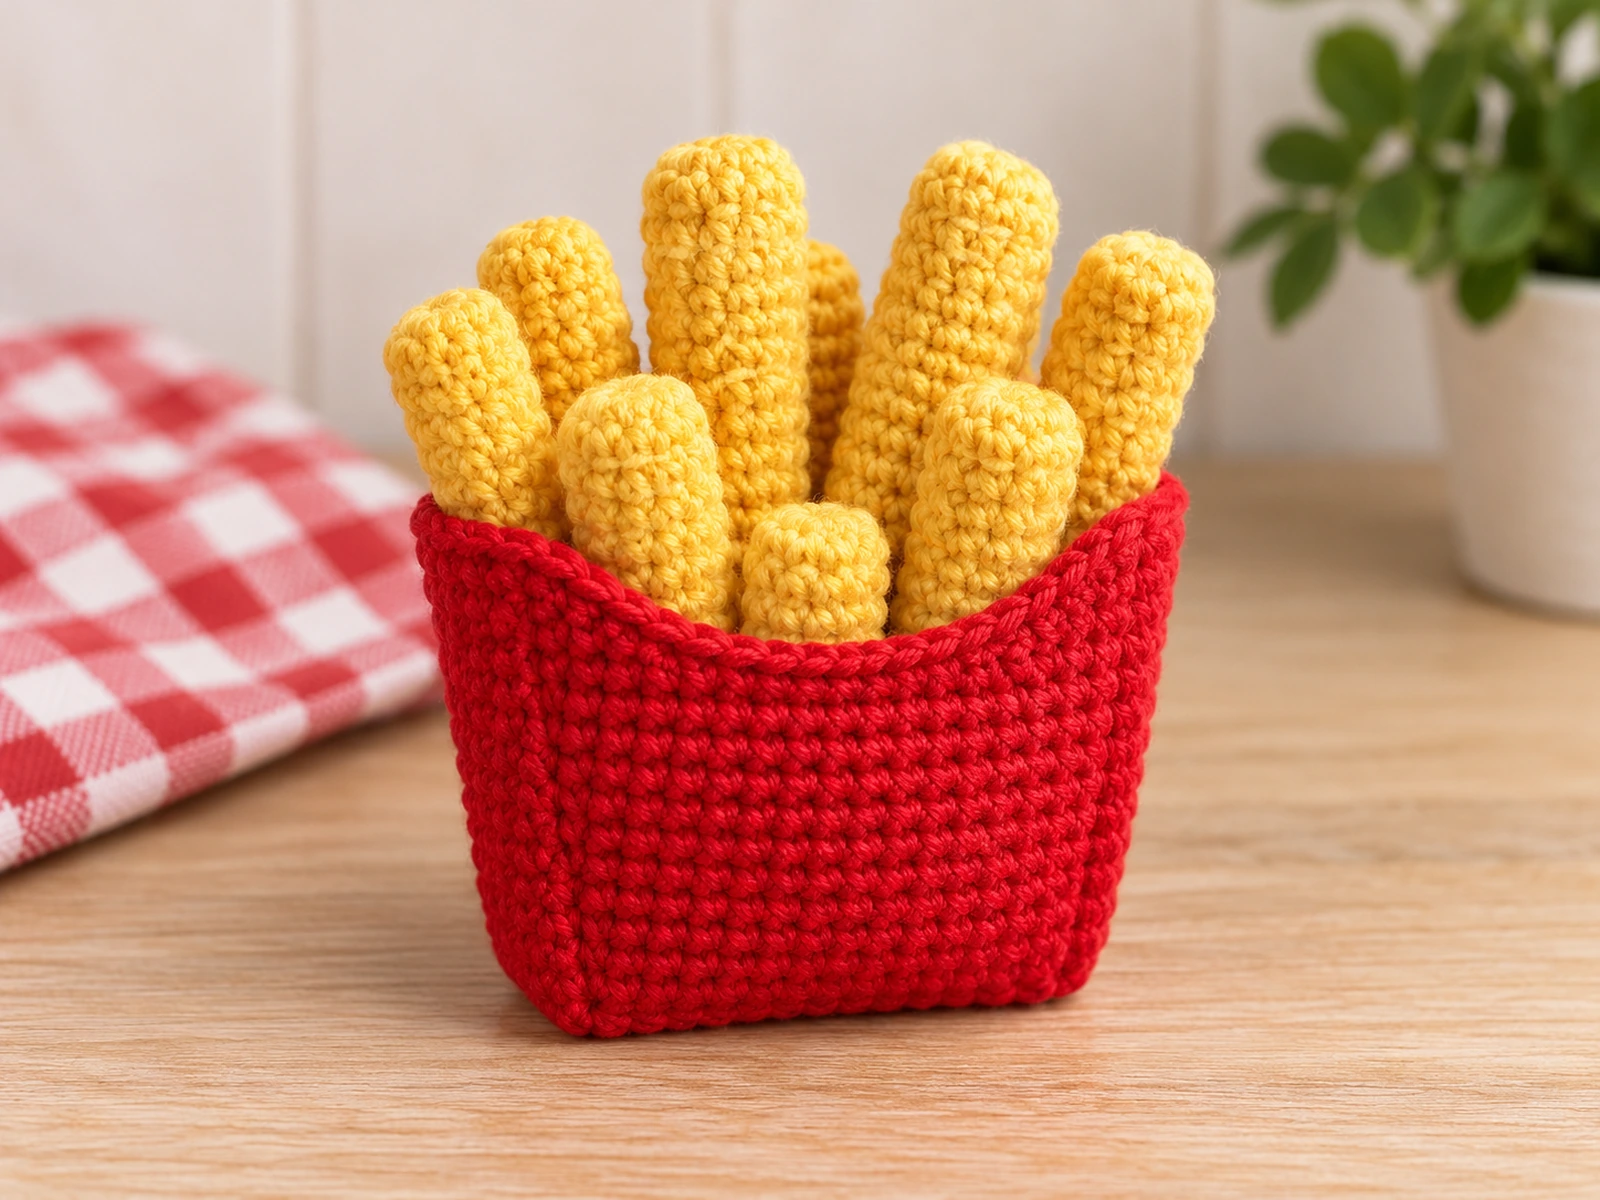
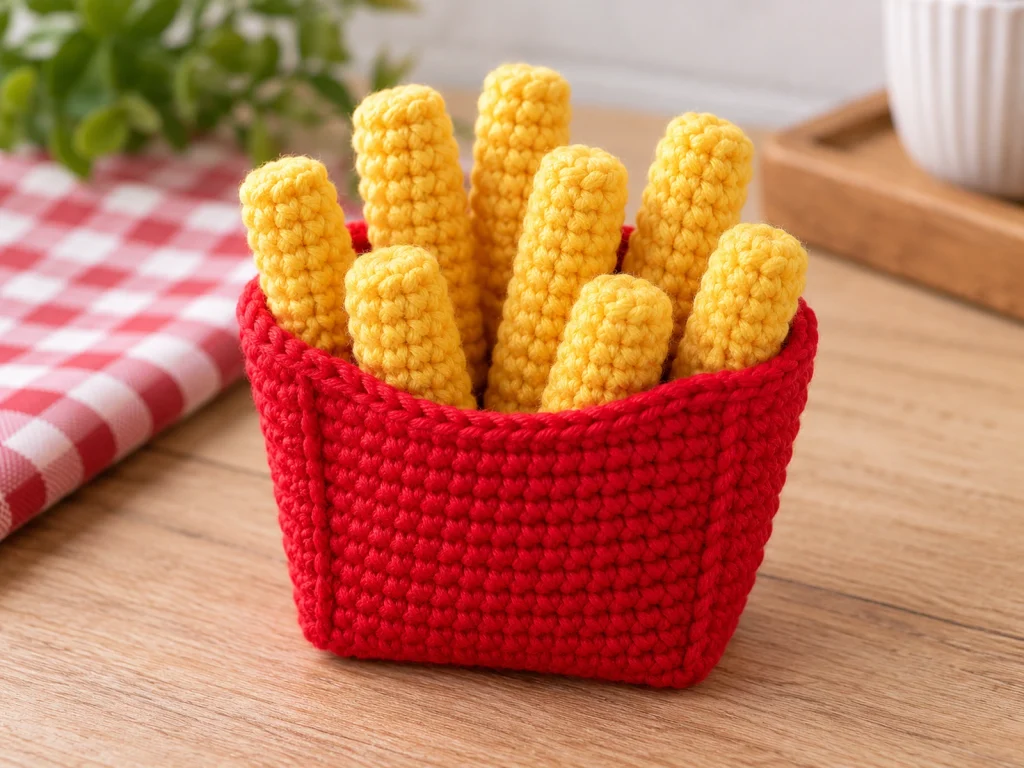
Make a playful crochet French fries amigurumi with a bright red carton and eight golden-yellow fries. This original pattern uses four longer fries and four shorter fries to create a fuller, more natural-looking serving.
The fries are worked as narrow stuffed tubes, while the carton is built from separate crocheted panels and sewn together. The pattern has been mathematically reviewed and constructionally checked, but it has not been physically crocheted and tested yet.
Project Overview
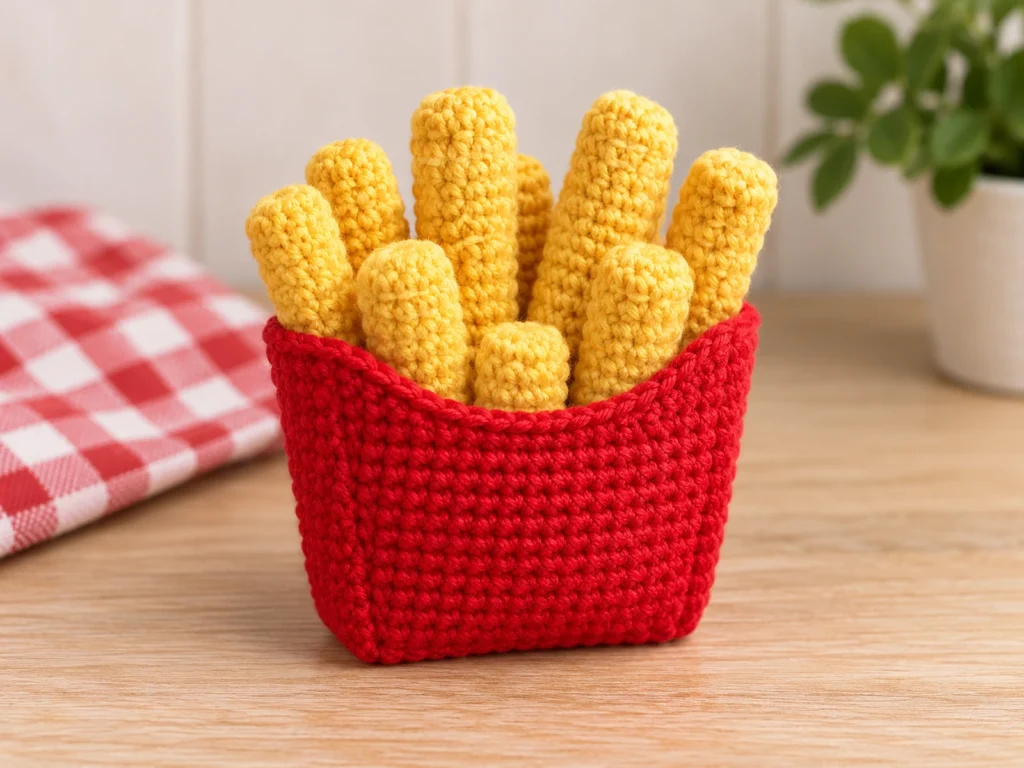
What You’ll Make
This crochet French fries project includes:
- 4 long fries
- 4 short fries
- 1 front carton panel
- 1 back carton panel
- 2 side carton panels
- 1 carton base
The finished design has an open, slightly tapered red carton filled with golden-yellow fries.
Project Details
- Project type: Food amigurumi
- Yarn: Worsted-weight (#4)
- Hook: 3.5 mm crochet hook
- Colors: Red and golden yellow
- Filling: Polyester fiberfill for the fries
- Approximate target size: 4–4.5 inches wide × 1.5–2 inches deep × 2.5–3 inches tall
- Construction: Separate stuffed fries with a sewn carton
- Eyes: None
The finished size is approximate and can vary with yarn, hook size, crochet tension, stuffing, and individual technique.
Materials & Tools
Yarn
- Worsted-weight (#4) yarn in red
- Worsted-weight (#4) yarn in golden yellow
Other Supplies
- 3.5 mm crochet hook
- Polyester fiberfill
- Yarn needle
- Scissors
- Stitch marker
Safety Note
This design does not use safety eyes or other facial components.
Crochet Abbreviations
This pattern uses standard US crochet terminology.
| Abbreviation | Meaning |
|---|---|
| MR | Magic Ring |
| ch | Chain |
| sc | Single crochet |
| dec | Single crochet 2 together |
| sl st | Slip stitch |
| FO | Fasten off |
Before You Start
Work the Fries in Continuous Rounds
The long and short fries are worked in continuous rounds rather than joined rounds. A stitch marker can help you keep track of the beginning of each round.
Count Your Stitches
Keep the stitch count at the end of every round or row. This is especially important when shaping the carton panels.
Stuff Lightly
The fries need only a small amount of polyester fiberfill. Adding too much stuffing can make these narrow pieces look stiff or uneven.
Construction Order
Make all the fries first, then crochet the carton panels. Assemble the carton before arranging the fries inside.
Crochet French Fries Pattern
Long Fries
Make 4.
Work in continuous rounds with golden-yellow yarn.
Round 1
8 sc in MR. (8)
Round 2
sc around. (8)
Round 3
sc around. (8)
Round 4
sc around. (8)
Round 5
sc around. (8)
Round 6
sc around. (8)
Round 7
sc around. (8)
Round 8
sc around. (8)
Begin adding a small amount of stuffing.
Round 9
sc around. (8)
Round 10
sc around. (8)
Round 11
sc around. (8)
Round 12
sc around. (8)
Add enough stuffing to give the fry a lightly rounded shape without overfilling it.
FO, leaving a long yarn tail. Thread the tail through the front loops of the remaining stitches, pull the opening closed, secure, and weave in the end.
Repeat until you have 4 long fries.
Short Fries
Make 4.
Work in continuous rounds with golden-yellow yarn.
Round 1
8 sc in MR. (8)
Round 2
sc around. (8)
Round 3
sc around. (8)
Round 4
sc around. (8)
Round 5
sc around. (8)
Begin adding a small amount of stuffing.
Round 6
sc around. (8)
Round 7
sc around. (8)
Round 8
sc around. (8)
Round 9
sc around. (8)
Finish with light stuffing.
FO, leaving a long yarn tail. Close the opening in the same way as the long fries.
You should now have 4 long fries and 4 short fries.
Front Carton Panel
Make 1.
Use red yarn and work flat, turning after each row.
Foundation Chain
ch 19.
Row 1
sc in the 2nd ch from the hook and across. (18)
Row 2
ch 1, turn, sc across. (18)
Row 3
ch 1, turn, sc across. (18)
Row 4
ch 1, turn, sc across. (18)
Row 5
ch 1, turn, sc across. (18)
Row 6
ch 1, turn, sc across. (18)
Row 7
ch 1, turn, sc across. (18)
Row 8
ch 1, turn, sc across. (18)
Row 9
ch 1, turn, sc across. (18)
Row 10
ch 1, turn, sc across. (18)
Row 11
ch 1, turn, dec, sc 14, dec. (16)
Row 12
ch 1, turn, sc across. (16)
FO and leave a sewing tail.
Back Carton Panel
Make 1.
Work the back panel the same way as the front panel.
- Row 1: 18
- Row 2: 18
- Row 3: 18
- Row 4: 18
- Row 5: 18
- Row 6: 18
- Row 7: 18
- Row 8: 18
- Row 9: 18
- Row 10: 18
- Row 11: 16
- Row 12: 16
FO and leave a sewing tail.
Side Carton Panels
Make 2.
Use red yarn and work each panel flat.
Foundation Chain
ch 7.
Row 1
sc in the 2nd ch from the hook and across. (6)
Row 2
ch 1, turn, sc across. (6)
Row 3
ch 1, turn, sc across. (6)
Row 4
ch 1, turn, sc across. (6)
Row 5
ch 1, turn, sc across. (6)
Row 6
ch 1, turn, sc across. (6)
Row 7
ch 1, turn, sc across. (6)
Row 8
ch 1, turn, sc across. (6)
Row 9
ch 1, turn, sc across. (6)
Row 10
ch 1, turn, sc across. (6)
Row 11
ch 1, turn, dec, sc 2, dec. (4)
Row 12
ch 1, turn, sc across. (4)
FO and leave a sewing tail.
Repeat for the second side panel.
Carton Base
Make 1.
Use red yarn and work flat.
Foundation Chain
ch 19.
Row 1
sc in the 2nd ch from the hook and across. (18)
Row 2
ch 1, turn, sc across. (18)
Row 3
ch 1, turn, sc across. (18)
Row 4
ch 1, turn, sc across. (18)
Row 5
ch 1, turn, sc across. (18)
Row 6
ch 1, turn, sc across. (18)
FO and leave a sewing tail.
Assemble the French Fries
Step 1: Attach the Front Panel to the Base
Place the bottom edge of the front panel against one long edge of the base.
Both edges contain 18 stitches, so they are designed to match.
Sew the pieces together securely.
Step 2: Attach the Back Panel
Place the back panel against the opposite long edge of the base.
Sew the matching 18-stitch edges together.
Step 3: Attach the Side Panels
Attach one side panel to each short edge of the base.
The short edges contain 6 stitches, matching the bottom edge of each side panel.
Step 4: Close the Carton Corners
Sew the vertical edges of the side panels to the corresponding edges of the front and back panels.
Keep the top opening completely clear.
The carton tapers slightly toward the top:
- Front and back panels: 18 stitches at the base → 16 at the top
- Side panels: 6 stitches at the base → 4 at the top
Check the shape before securing the final yarn tails.
Step 5: Arrange the Fries
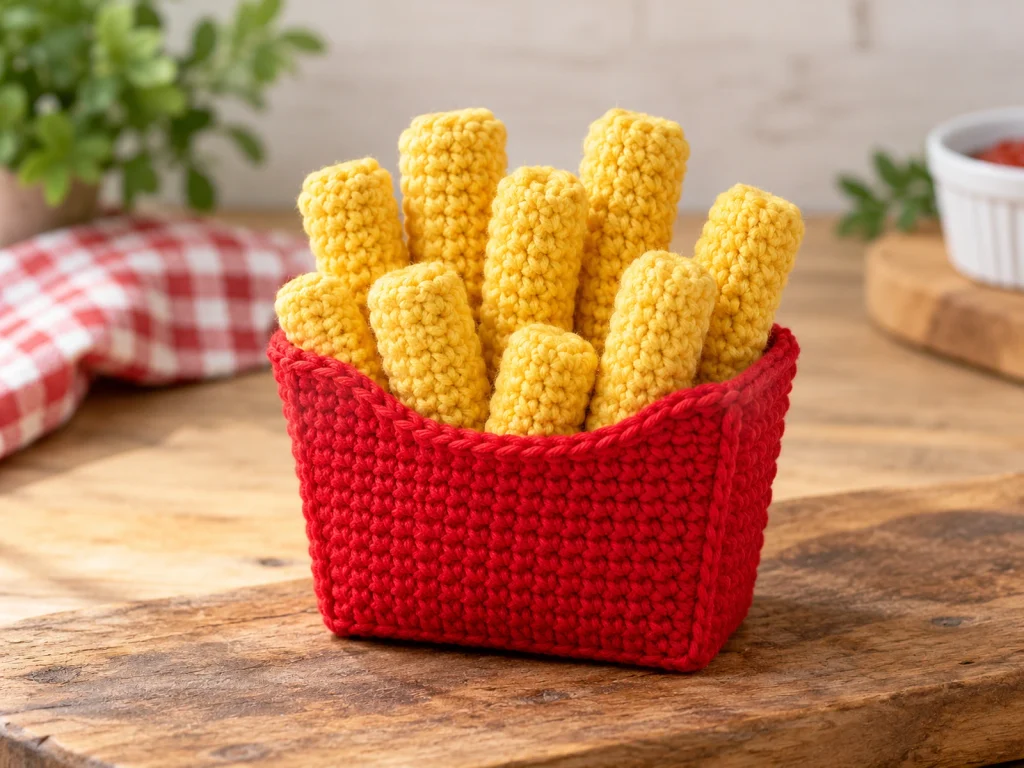
Place the 4 long fries toward the center and back of the carton.
Place the 4 short fries toward the front and sides.
Adjust the pieces visually so the different heights remain visible and the serving looks full without forcing the fries tightly into place.
Finishing
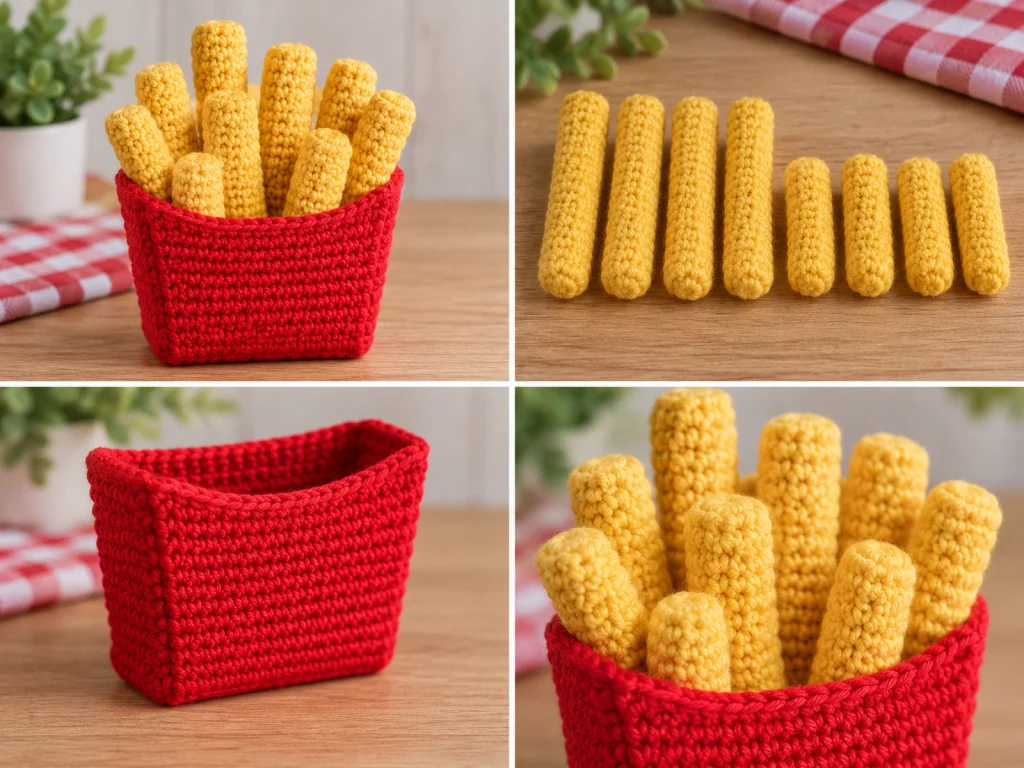
Before you finish, check the entire project for loose ends, exposed stuffing, and uneven seams.
Make sure:
- All yarn tails are secured and woven in.
- No stuffing is visible.
- The carton sits evenly on its base.
- The carton opening remains clear.
- The side seams are secure.
- The fries are distributed naturally throughout the opening.
A little hand shaping can help the fries and carton settle into their final form.
Helpful Tips
Keep the stuffing light
The fries are narrow tubes, so adding stuffing gradually gives you more control over their shape.
Use a stitch marker
A marker helps maintain accurate continuous rounds while crocheting the fries.
Check the carton before finishing
Look at the carton from above before hiding the last yarn tails. Make sure the opening is centered and both sides taper evenly.
Compare the side panels
Place the two side panels next to each other before sewing them permanently. They should have the same shape and proportions.
Troubleshooting
My fries look too stiff.
Try removing a little stuffing and reshaping the fry. These pieces are designed to have a lightly rounded feel.
My carton looks uneven.
Check the placement of the side panels and seams before weaving in the final tails. Small seam adjustments can improve the overall shape.
My stitch count is off.
Stop before continuing and recount the previous row. On the shaping rows, make sure both decreases were worked correctly.
The fries do not stand the way I want.
Rearrange them instead of forcing them tightly into the carton. Keep the shorter fries toward the front and the taller fries toward the center and back.
The carton looks too empty.
Redistribute the fries so the long pieces are more visible through the center while the shorter pieces fill the front and sides.
Customization Ideas
Change the Carton Color
Keep the fries golden yellow and experiment with a different carton color for a different look.
Vary the Fry Lengths
The pattern already provides two different fry lengths. You can experiment with additional lengths while keeping the overall carton proportions in mind.
Add More Fries
Additional fries can be added if the carton still has enough room to hold them without overcrowding the opening.
Add Decorative Details
You can personalize the carton with your own simple surface decoration as long as any added elements are securely attached.
Care
Because this is an amigurumi-style crochet project with stuffed yarn components, keep it away from excessive moisture and rough handling. Spot cleaning and gentle surface care are preferable to soaking the finished project.
Frequently Asked Questions
How many fries are included in the pattern?
The pattern makes 8 fries total: 4 long fries and 4 short fries.
Is the carton stuffed?
No. The carton is constructed from crocheted panels and sewn together. Only the individual fries are lightly stuffed.
Does this pattern use safety eyes?
No. The design does not use eyes or facial features.
Are the fries worked in continuous rounds?
Yes. Both the long and short fries are worked in continuous rounds.
Is the carton worked in rounds?
No. The carton pieces are crocheted flat in rows and then sewn together.
How big is the finished project?
The approximate target size is 4–4.5 inches wide × 1.5–2 inches deep × 2.5–3 inches tall. Actual size varies with yarn, hook, tension, stuffing, and individual technique.
Can I make the fries different lengths?
Yes. The current design already uses two lengths, and additional length variations can be used while keeping the overall arrangement balanced.
Has the pattern been physically tested?
Not yet. The pattern has been mathematically reviewed and constructionally checked, but it has not been physically crocheted and tested.
More Crochet Food Amigurumi
This project pairs naturally with other miniature crochet food and amigurumi designs. Browse your Tiny Yarn Tales collection for more small crochet projects with simple shapes, playful colors, and display-friendly designs.
Conclusion
This crochet French fries pattern combines simple stuffed fry tubes with a structured red carton to create a recognizable miniature food amigurumi.
The two fry lengths add visual variety, while the separate carton panels make the construction straightforward to assemble. For the cleanest result, pay close attention to stitch counts, use light stuffing, and take time to arrange the finished fries before securing the final details.