Crochet Fried Egg Pattern
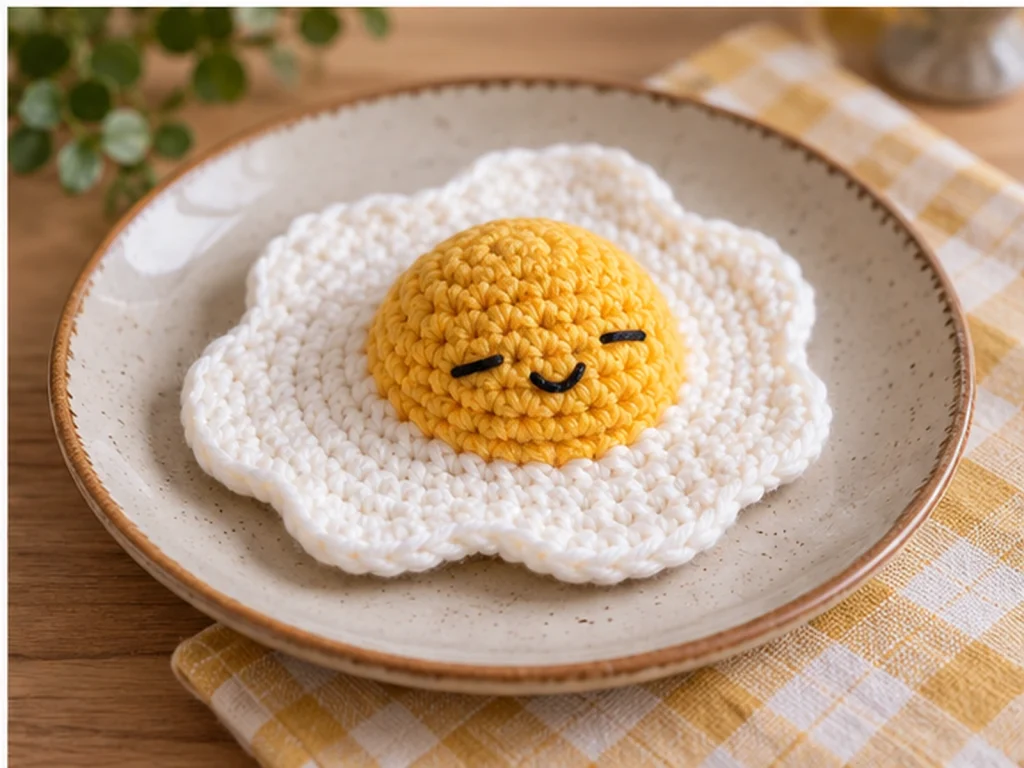
This crochet fried egg is a fun little food amigurumi…
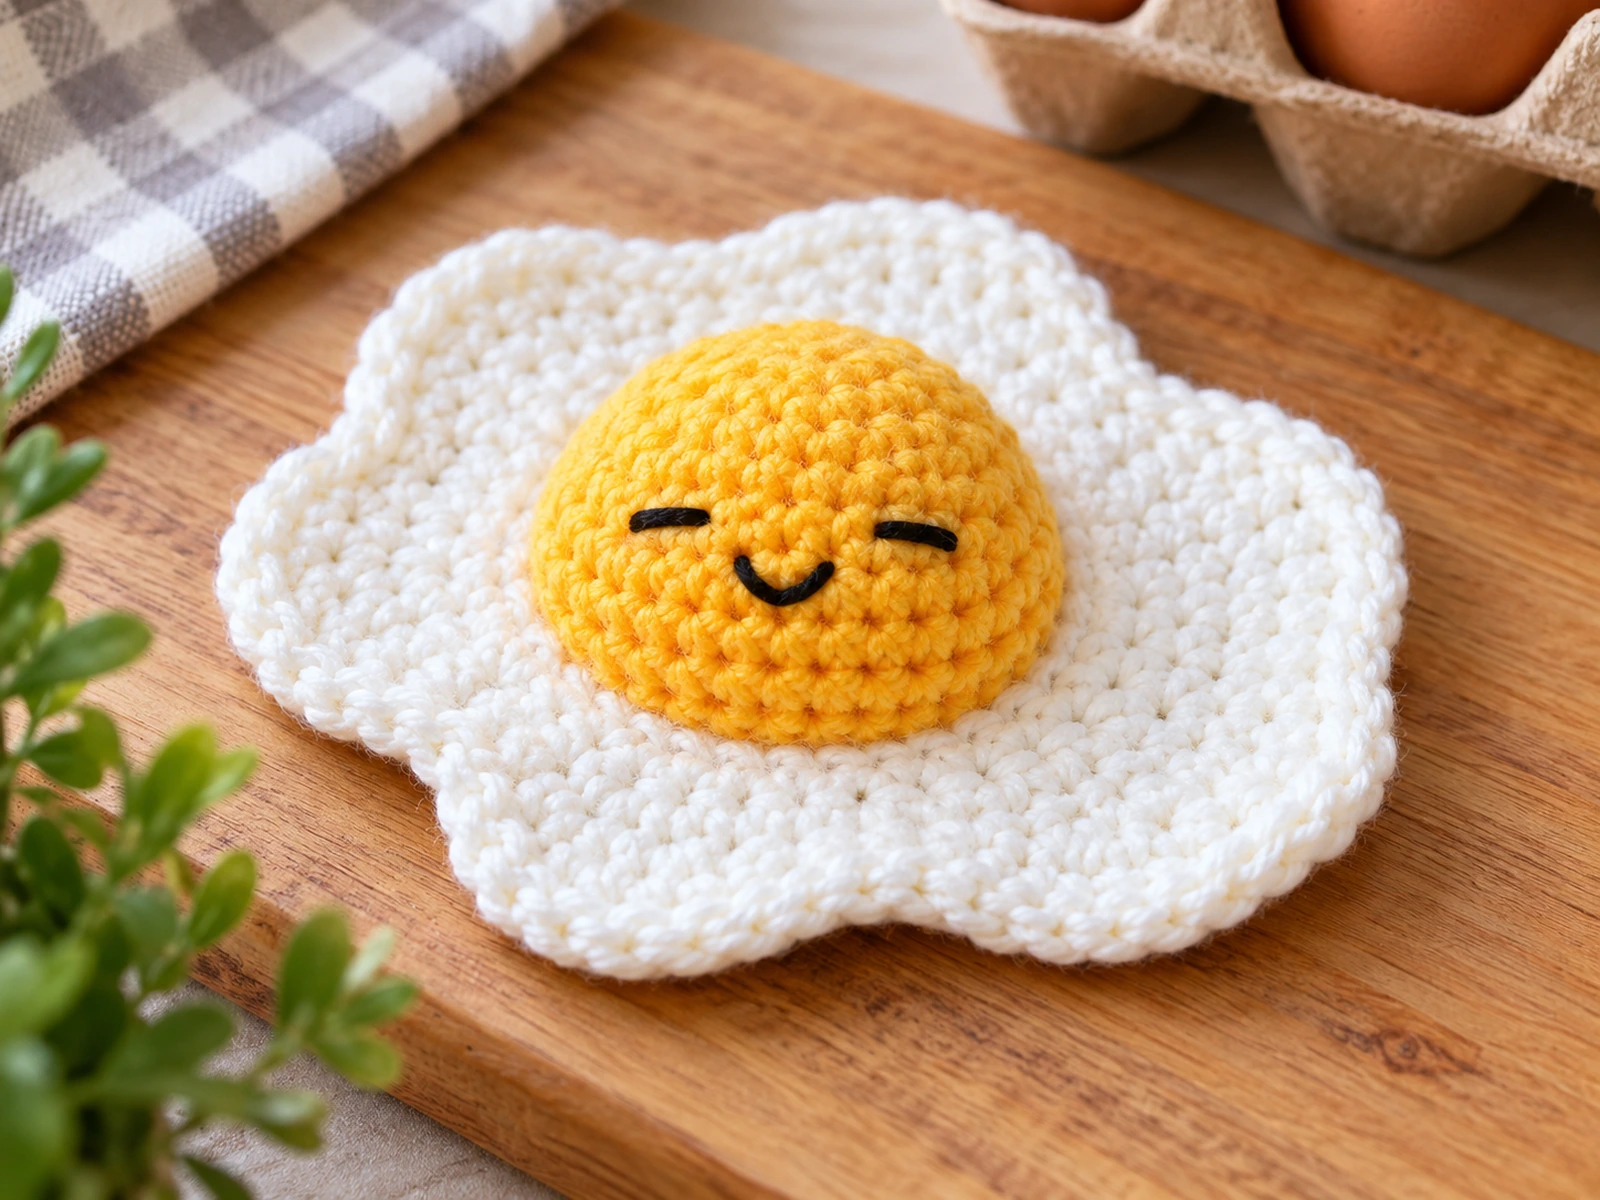
This crochet fried egg is a fun little food amigurumi with a flat, irregular egg white, a rounded yellow yolk, and a simple embroidered face. The two main pieces are crocheted separately and then sewn together for a dimensional finished look.
The egg white stays flat, while the yolk is lightly stuffed to create a soft, raised center.
Project Overview
What You’ll Make
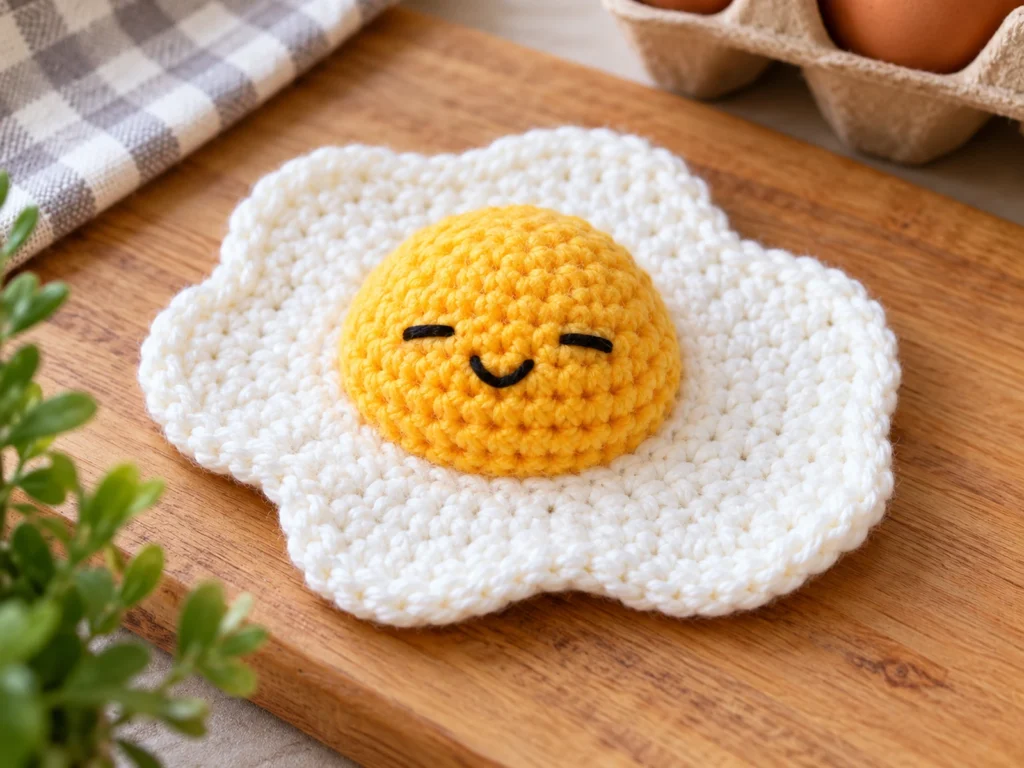
This pattern creates one small decorative crochet fried egg featuring:
- An irregular white egg-white base
- A rounded stuffed yellow yolk
- A simple embroidered face
- A sewn-together finished construction
The egg white is intentionally uneven around the edges rather than perfectly circular, giving it a more natural fried-egg silhouette.
Project Details
- Project: Crochet Fried Egg Amigurumi
- Technique: Crochet
- Yarn: Worsted-weight (#4)
- Hook: 3.5 mm
- Main colors: White and yellow
- Face: Black embroidery
- Filling: Polyester fiberfill
- Finished size: Approximately 3.5–4.5 inches across
The finished size is approximate and can vary depending on yarn, hook size, tension, stuffing, and individual technique.
The pattern has been mathematically reviewed and constructionally checked, but it has not been physically crocheted and tested yet.
Materials & Tools
Yarn
You will need worsted-weight (#4) yarn in:
- White
- Yellow
- Black for the embroidered face
Crochet Hook
- 3.5 mm crochet hook
Other Supplies
- Polyester fiberfill
- Tapestry needle
- Scissors
- Stitch marker, optional
This pattern uses embroidered facial details, so safety eyes are not required.
Abbreviations
This pattern uses standard US crochet terminology.
- MR — magic ring
- sc — single crochet
- inc — increase, 2 single crochets in the same stitch
- dec — decrease, single crochet 2 stitches together
- FO — fasten off
Before You Start
The egg white and yolk are crocheted separately.
The egg white is worked flat and left unstuffed, while the yolk is crocheted as a rounded piece and stuffed before it is closed.
A stitch marker can be helpful when working in continuous rounds.
The number in parentheses at the end of each round is the total stitch count for that round.
Crochet Fried Egg Pattern
Egg White
Make 1 in white yarn.
The egg white is worked as a flat piece. The final increase round uses varied spacing between increases to create the intentionally irregular edge.
Round 1
10 sc in MR. (10)
Round 2
10 inc. (20)
Round 3
(sc, inc) × 10. (30)
Round 4
(2 sc, inc) × 10. (40)
Round 5
2 sc, inc, 3 sc, inc, 5 sc, inc, 1 sc, inc, 4 sc, inc, 6 sc, inc, 7 sc, inc, 4 sc, inc. (48)
Round 6
48 sc. (48)
FO and weave in the yarn end.
The egg white is not stuffed. Gently smooth it with your fingers after fastening off while keeping its naturally uneven outline.
Egg Yolk
Make 1 in yellow yarn.
The yolk is worked in continuous rounds and lightly stuffed near the end.
Round 1
6 sc in MR. (6)
Round 2
6 inc. (12)
Round 3
(sc, inc) × 6. (18)
Round 4
(2 sc, inc) × 6. (24)
Round 5
24 sc. (24)
Round 6
24 sc. (24)
Round 7
(2 sc, dec) × 6. (18)
Round 8
(sc, dec) × 6. (12)
Add polyester fiberfill at this stage.
Use enough stuffing to create a soft, rounded yolk without stretching the crochet fabric.
Add the Face
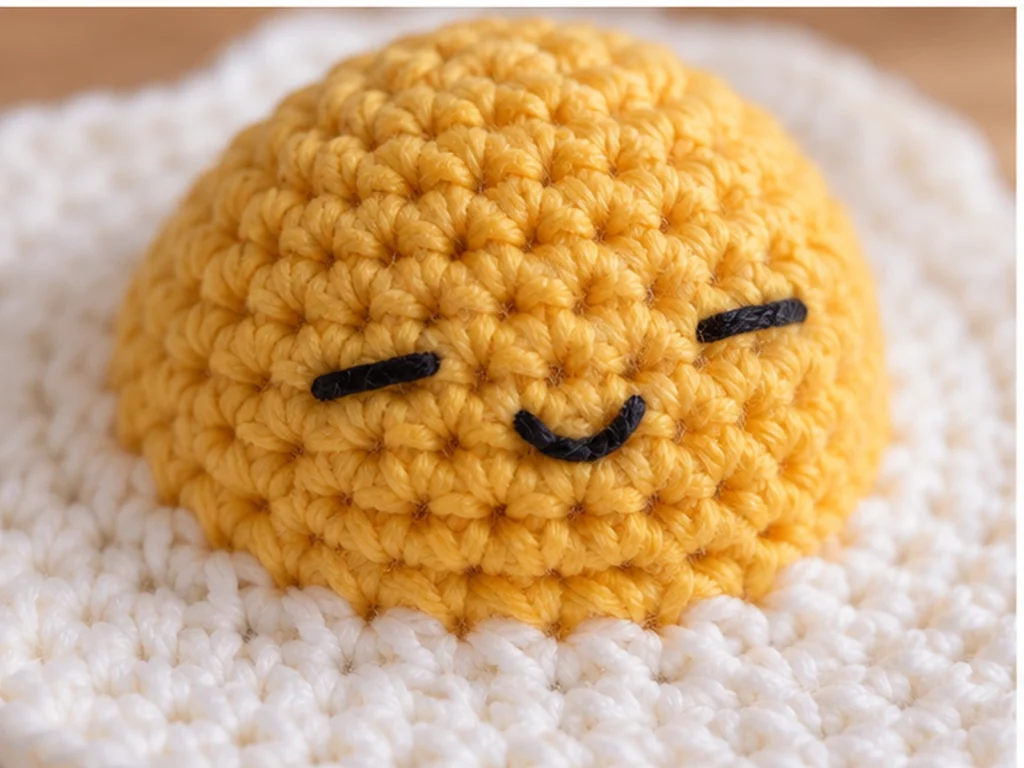
Embroider the face while the yolk is still open.
Create two small horizontal eye lines on the front of the yolk, then add a small curved mouth below them.
Center the facial details visually on the front of the yolk rather than relying on an exact measurement.
Round 9
6 dec. (6)
FO, leaving a yarn tail for finishing.
Thread the yarn tail through the remaining front loops, gently pull the opening closed, secure the yarn, and hide the end inside the yolk.
Assemble the Crochet Fried Egg
Step 1: Position the Yolk
Lay the egg white flat and place the yolk near the center.
Turn the yolk so the embroidered face is oriented toward the front.
Step 2: Check the Placement
Before sewing, make sure the yolk sits comfortably within the white and that enough of the white remains visible around it.
Step 3: Sew the Yolk in Place
Using a tapestry needle and yarn, sew around the lower edge of the yolk with small, secure stitches.
Work around the base evenly so the yolk stays raised and securely attached.
Step 4: Finish the Attachment
Once the yolk is securely sewn in place, fasten off and hide the remaining yarn end inside the finished piece.
Avoid pulling the stitches too tightly, as this can cause the egg white to pucker around the yolk.
Finishing
Give the finished egg a final check before trimming any remaining yarn ends.
Make sure:
- The yolk is securely attached.
- The egg white remains mostly flat.
- The yolk keeps its rounded shape.
- The face is centered and easy to see.
- No stuffing is visible.
- All loose yarn ends are securely hidden.
Gently reshape the white with your fingers if needed.

Helpful Tips
Keep the Yolk Softly Stuffed
The yolk should be rounded without being packed tightly. Too much stuffing can stretch the stitches and change its shape.
Check the Face Before Closing
Take a moment to check the face placement while the yolk is still open. Small adjustments are much easier before the final round is completed.
Keep the Egg White Organic
The irregular edge is intentional. The finished white does not need to be perfectly symmetrical.
Count Your Stitches
Check the stitch count at the end of every round. Catching a mistake early is much easier than trying to correct the shape later.
Troubleshooting
My Egg White Looks Too Round
The final increase round uses uneven spacing intentionally. Make sure you are following the complete Round 5 sequence rather than distributing the increases evenly.
My Yolk Looks Too Flat
Check the amount of stuffing before closing the yolk. Add a little more fiberfill if needed, while avoiding overstuffing.
My Yolk Looks Too Tight
Too much stuffing can stretch the stitches. Remove a small amount of filling and reshape the yolk gently.
The White Puckers Around the Yolk
This can happen when the attachment stitches are pulled too tightly. Loosen the sewing tension and distribute the stitches more evenly around the yolk.
The Face Looks Off-Center
Turn the yolk toward you before closing it and adjust the embroidered details visually so they sit naturally on the front.
Customization Ideas
Change the Facial Expression
Small changes to the embroidered eyes or mouth can give the fried egg a completely different personality.
Try Different Color Combinations
The classic white-and-yellow combination gives the project its familiar look, but you can experiment with different shades for a more stylized version.
Adjust the Yolk’s Softness
A slightly different amount of stuffing can change the feel and shape of the yolk. Avoid overstuffing so the stitches stay neat.
Create Different Personalities
Use different embroidered expressions to turn the same basic construction into several character variations.
Frequently Asked Questions
How do you crochet a fried egg?
This design is made in two main pieces: a flat egg white and a small stuffed yolk. Each piece is crocheted separately and the yolk is then sewn onto the white.
What yarn is used for this crochet fried egg?
The pattern uses worsted-weight (#4) yarn in white, yellow, and black.
What crochet hook size is used?
A 3.5 mm crochet hook is used for the pattern.
Is the egg white stuffed?
No. The egg white is intentionally kept flat.
Is the yolk stuffed?
Yes. Polyester fiberfill is added before the final round of the yolk is closed.
How is the face added?
The face is embroidered directly onto the yellow yolk using black yarn.
How large is the finished crochet egg?
The finished egg is approximately 3.5–4.5 inches across, although the final size can vary depending on yarn, hook size, tension, stuffing, and individual technique.
More Crochet Amigurumi
Explore more small crochet projects and amigurumi patterns from Tiny Yarn Tales when you’re ready for your next project.