
Crochet Hot Dog Amigurumi Pattern
This crochet hot dog amigurumi is a playful food-inspired project…
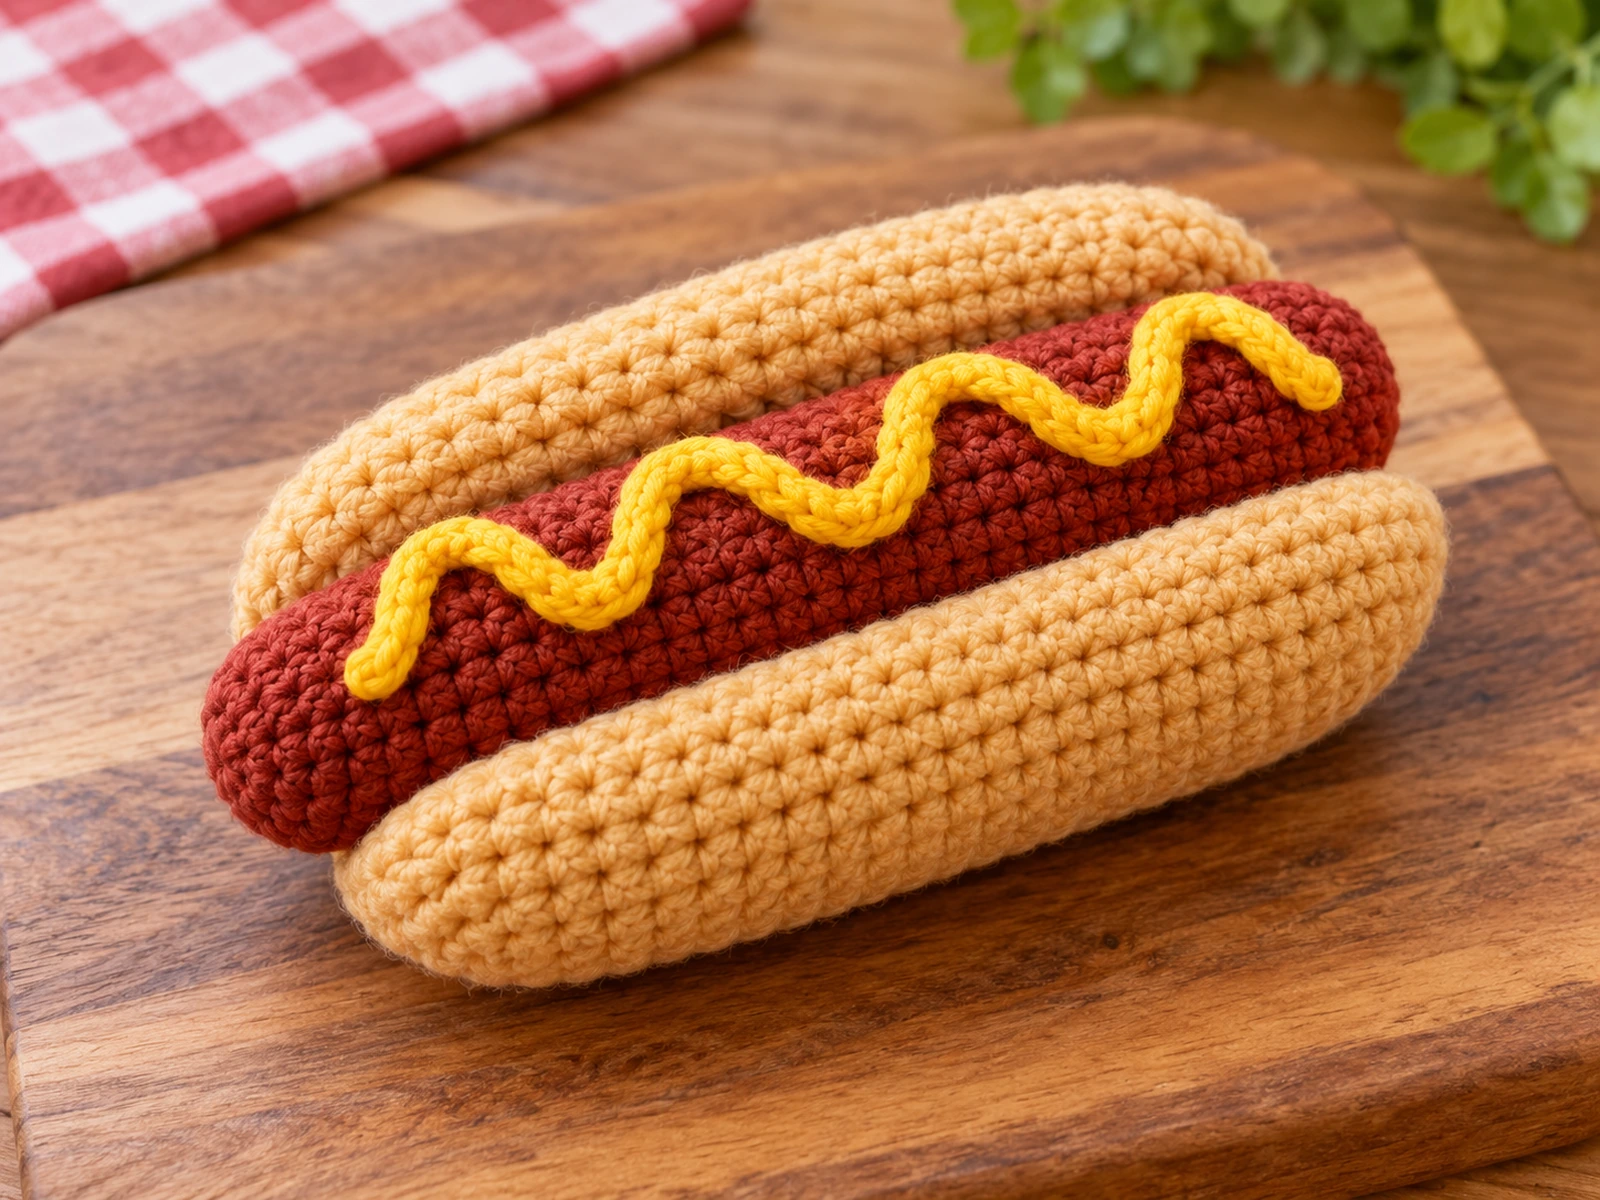
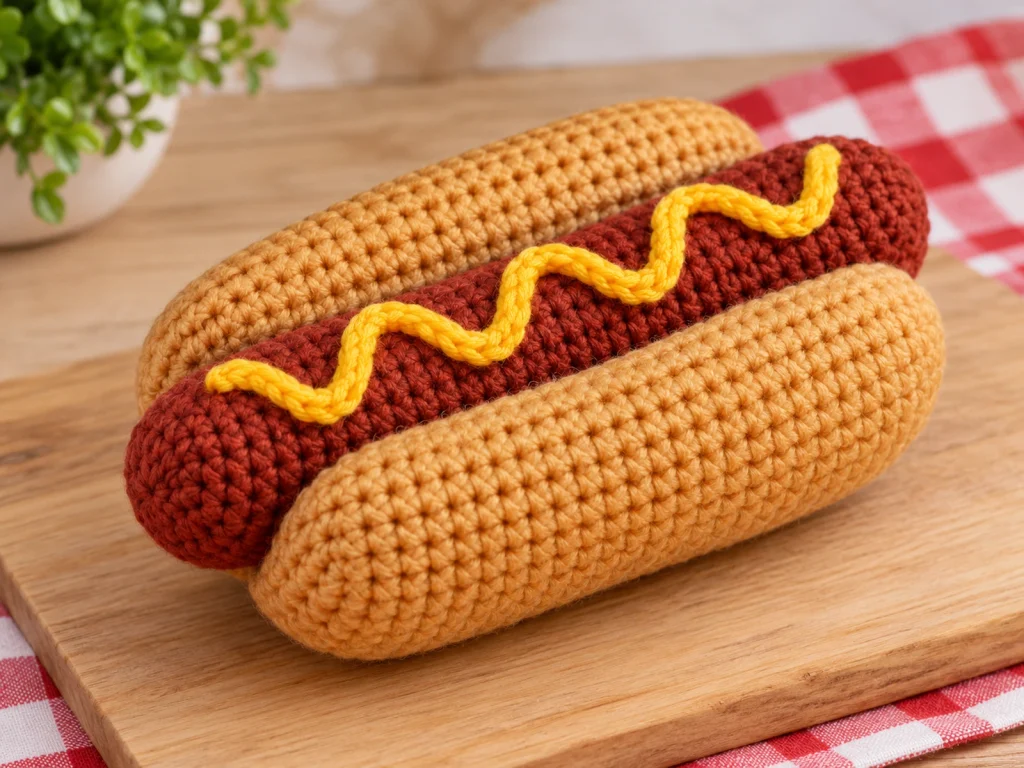
This crochet hot dog amigurumi is a playful food-inspired project made from a rounded sausage, two soft bun halves, and a simple mustard zigzag. Each component is crocheted separately and then assembled into a finished hot dog.
The finished piece is approximately 5–5.5 inches long and 2.75–3.25 inches wide, although the final size will vary with yarn, hook size, tension, stuffing, and individual crochet technique.
Pattern note: This design has been mathematically reviewed and constructionally checked, but it has not been physically crocheted and tested yet. Treat the finished size as approximate.
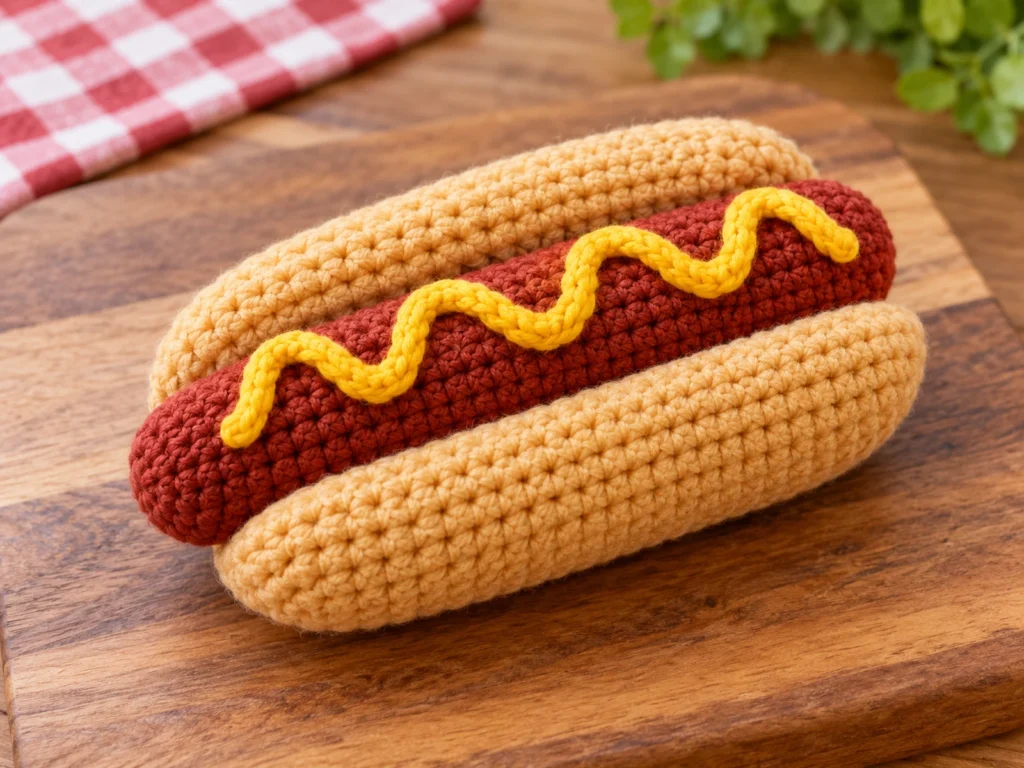
Project Overview
What You’ll Make
This pattern creates a stylized crochet hot dog with three main components:
- One rounded sausage
- Two matching bun halves
- One mustard-yellow surface detail
The sausage is worked as an elongated stuffed shape with rounded ends. The bun is made from two separate pieces that are lightly stuffed and joined underneath. The sausage is then centered between the buns and secured in place.
The design does not include eyes or facial features, keeping the finished piece focused on its recognizable food shape.
Project Details
- Project: Crochet hot dog amigurumi
- Technique: Crochet in continuous rounds
- Yarn: Category 4 medium/worsted-weight yarn
- Hook: 3.5 mm
- Sausage color: Deep reddish-brown
- Bun color: Warm golden tan
- Topping: Mustard yellow
- Filling: Polyester fiberfill
- Approximate finished size: 5–5.5 inches long × 2.75–3.25 inches wide
Materials & Tools
Yarn
Use Category 4 medium/worsted-weight yarn in:
- Deep reddish-brown
- Warm golden tan
- Mustard yellow
Exact yardage has not been established for this design, so prepare enough yarn in each color to comfortably complete the project.
Hook
- 3.5 mm crochet hook
Other Supplies
- Polyester fiberfill
- Yarn needle
- Scissors
- Stitch marker
Abbreviations
- MR — magic ring
- sc — single crochet
- inc — increase; work 2 single crochets in the same stitch
- dec — invisible decrease
- sl st — slip stitch
- FO — fasten off
Before You Start
This pattern is worked primarily in continuous rounds, so place a stitch marker in the first stitch of each round.
A few simple habits will make the pattern easier to follow:
- Check the stitch count at the end of every round.
- Stuff the sausage firmly but evenly.
- Stuff the bun halves lightly so they remain soft and slightly compressible.
- Leave a yarn tail whenever a sewing tail is requested.
- Before permanently tightening attachment stitches, check that the sausage is centered between the bun halves.
Work in Continuous Rounds
Unless otherwise stated, do not join at the end of each round. Continue directly into the next round while keeping track of the first stitch.
Count Your Stitches
The increase and decrease rounds control the shape of each component. If your count is off, correct it before moving forward.
Stuff as You Go
The sausage should be stuffed more firmly than the bun halves. Avoid overstuffing because it can distort the rounded shape.
Shape Before Sewing
Once the pieces are finished, gently redistribute the stuffing and shape them before beginning the final assembly.
Construction Order
Complete the sausage first, add the mustard, then make both bun halves. Finish by joining the bun and attaching the sausage.
Crochet Hot Dog Pattern
Part 1: Crochet the Sausage
Make 1 in deep reddish-brown yarn.
Work in continuous rounds.
Round 1
6 sc in MR. (6)
Round 2
6 inc. (12)
Round 3
(sc, inc) × 6. (18)
Round 4
(2 sc, inc) × 6. (24)
Rounds 5–20
24 sc. (24)
These rounds form the main body of the sausage.
Round 21
(2 sc, dec) × 6. (18)
Round 22
18 sc. (18)
Round 23
(sc, dec) × 6. (12)
Round 24
6 dec. (6)
Fasten off, leaving a sewing tail.
Stuff the sausage firmly and evenly with polyester fiberfill. Use a yarn needle to weave through the front loops of the final 6 stitches and pull the opening closed. Secure the yarn and hide the tail.
Part 2: Add the Mustard
Use mustard-yellow yarn.
The mustard is added after the sausage has been stuffed and closed.
- Hold the sausage with the intended top facing upward.
- Bring the mustard yarn from the underside to the surface near one rounded end.
- Work surface slip stitches in a loose zigzag across the top.
- Let the line follow the curve of the sausage instead of pulling it tightly.
- Continue toward the opposite rounded end.
- Fasten off on the underside and weave in the ends.
The mustard line should have a relaxed, natural zigzag rather than a perfectly straight appearance.
Part 3: Crochet the Bun
Make 2 identical bun halves in warm golden-tan yarn.
Work each piece in continuous rounds.
Round 1
6 sc in MR. (6)
Round 2
6 inc. (12)
Round 3
(sc, inc) × 6. (18)
Round 4
(8 sc, inc) × 2. (20)
Rounds 5–20
20 sc. (20)
Round 21
(8 sc, dec) × 2. (18)
Round 22
18 sc. (18)
Round 23
(sc, dec) × 6. (12)
Round 24
6 dec. (6)
Fasten off, leaving a sewing tail.
Lightly stuff the bun half so it keeps its rounded shape while remaining soft and compressible.
Close the opening by weaving the yarn through the front loops of the final 6 stitches and pulling the opening closed.
Repeat the same instructions to make Bun Half 2.
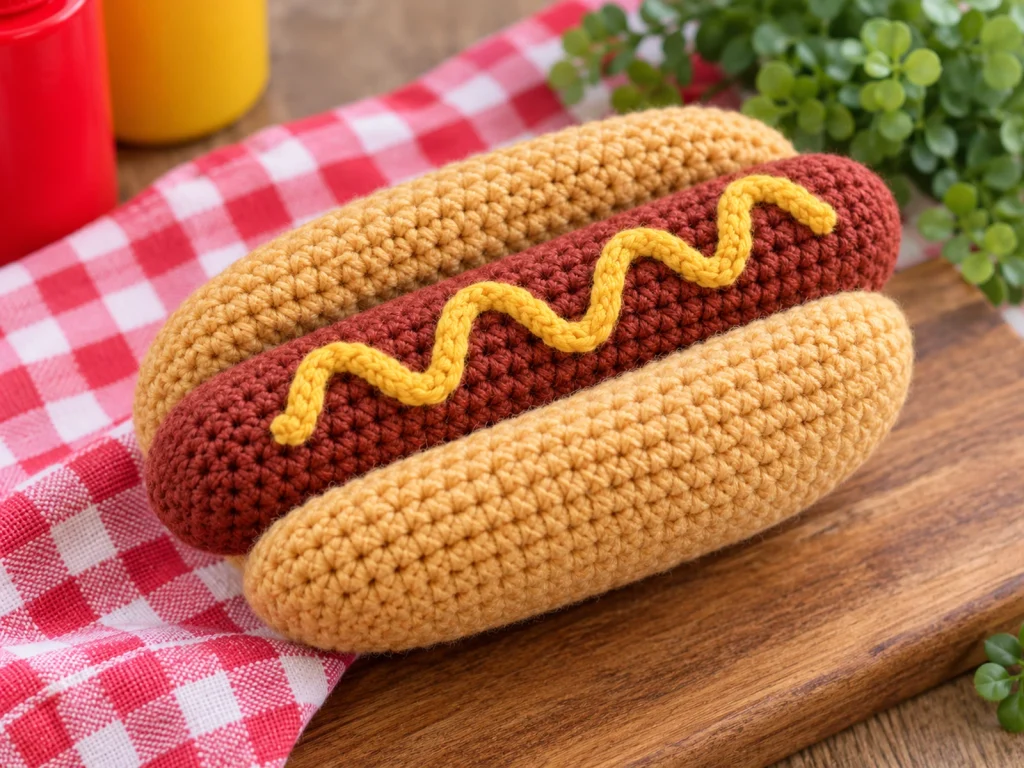
Assembly
Step 1: Prepare the Finished Pieces
Place the two bun halves side by side. Gently flatten the inward-facing portions so they create a shallow cradle rather than remaining completely round.
Check that the pieces are visually symmetrical.
Step 2: Join the Bun Halves
Using warm golden-tan yarn, place the two bun halves together with their lower inner edges touching.
Whipstitch along the underside from one rounded end to the other.
Keep the seam firm enough to hold the pieces together without pulling the outer bun shape out of proportion.
Step 3: Position the Sausage
Place the finished sausage between the two bun halves.
Keep the mustard facing upward and center the sausage from one end of the bun to the other.
The sausage should remain visibly nestled between the buns.
Step 4: Secure the Sausage
Using golden-tan yarn:
- Secure the sausage near one end.
- Secure the center.
- Secure the opposite end.
- Repeat the attachment sequence on the other side.
Before tightening the final stitches, compare both sides to make sure the sausage remains centered.
Step 5: Final Shaping
Gently redistribute the stuffing, round the sausage, soften the bun edges, and check the mustard placement.
Hide and trim any remaining yarn tails.
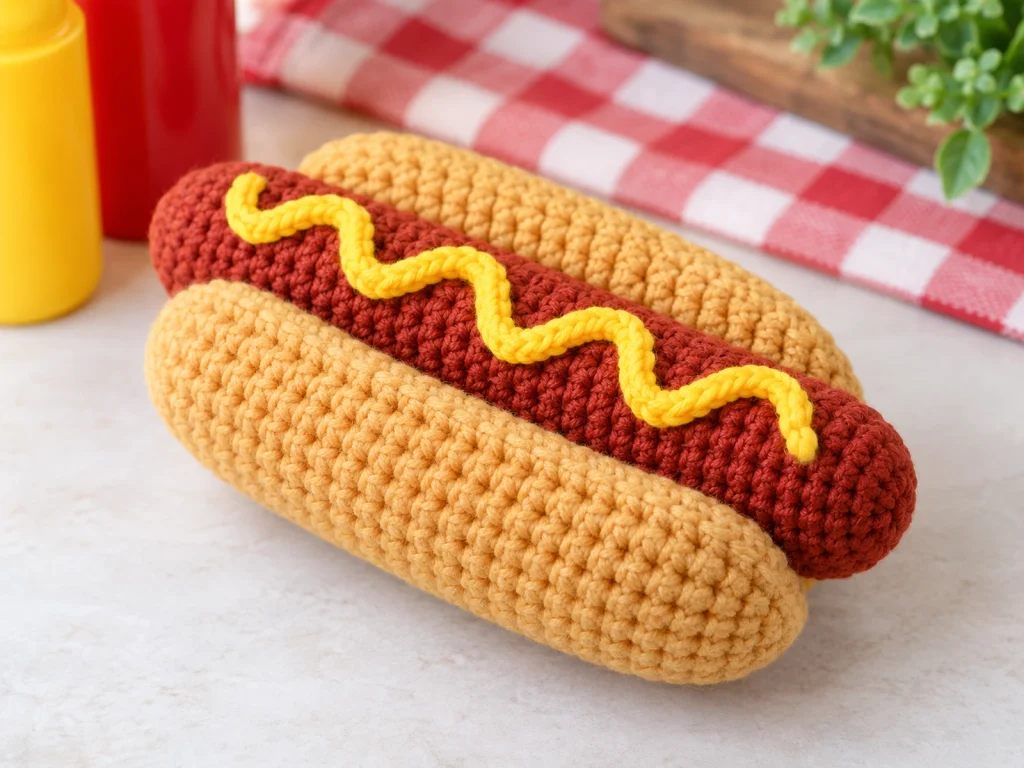
Finishing
Take a final look at the finished project from several angles.
Check that:
- The sausage is centered.
- The mustard remains on top.
- The bun halves are balanced.
- The stuffing is evenly distributed.
- The attachment stitches hold the sausage securely.
- No yarn tails remain visible.
The bun should remain softer than the sausage, helping it keep the intended split-bun appearance.
Helpful Tips
Keep the Sausage Evenly Stuffed
Add fiberfill gradually and distribute it around the entire piece. Uneven stuffing can create flat spots or an irregular silhouette.
Keep the Bun Soft
The bun halves should stay slightly compressible. Avoid packing them too firmly.
Check Alignment Before Sewing
Compare both sides of the hot dog before permanently tightening the attachment stitches.
Keep the Mustard Relaxed
A loose surface zigzag will follow the sausage naturally. Pulling the yarn too tightly can distort the surface.
Count Every Shaping Round
The increase and decrease rounds determine the final shape. Always verify your stitch count before continuing.
Troubleshooting
My Sausage Looks Lumpy
Check the stuffing before changing the crochet structure. Redistribute small amounts of fiberfill until the surface becomes evenly rounded.
The Bun Looks Too Stiff
The bun halves are intended to be lightly stuffed. If they are too firm, remove some stuffing and reshape them.
The Sausage Sits Too Far to One Side
Loosen the attachment stitches, reposition the sausage, and compare both sides from above before sewing again.
My Mustard Line Looks Uneven
A little variation is natural in a hand-crocheted mustard line. If it is pulling the surface inward, rework it more loosely.
I Lost Track of My Stitches
Use a stitch marker at the beginning of each continuous round and check the stitch count before moving to the next round.
Customization Ideas
Change the Topping Color
Swap mustard yellow for another topping color to create a different look. A ketchup-inspired red detail is a natural variation.
Adjust the Bun Color
Try a lighter or darker golden-tan shade for a different finished appearance.
Experiment With Size
Changing yarn weight or hook size may produce a larger or smaller piece, but it will also change fabric density and proportions. Because this pattern has not been physically tested, treat size modifications as experimental.
Build a Crochet Food Collection
This hot dog can easily become part of a larger collection of crochet food-inspired amigurumi projects.
Frequently Asked Questions
What yarn weight does this crochet hot dog pattern use?
The design is written for Category 4 medium/worsted-weight yarn.
What hook size is used?
Use a 3.5 mm crochet hook.
Does this crochet hot dog have safety eyes?
No. This design does not include eyes or other facial features.
How is the hot dog assembled?
The project consists of one stuffed sausage and two lightly stuffed bun halves. The bun halves are joined underneath, then the sausage is centered between them and secured to the inner bun sides.
How much yarn do I need?
An exact yardage amount has not been established for this design. Prepare enough yarn in deep reddish-brown, warm golden tan, and mustard yellow to complete the project.
Can I change the colors?
Yes. The construction does not depend on the specific color choices, so you can customize the sausage, bun, and topping colors.
Is this crochet pattern physically tested?
No. The stitch mathematics and construction have been reviewed, but the pattern has not yet been physically crocheted and tested.
Final Thoughts
This crochet hot dog amigurumi keeps the design simple and recognizable with a rounded sausage, soft split bun, and bright mustard detail.
For the best result, focus on even stuffing, balanced shaping, and careful alignment during assembly. Once the three main components are finished, the final sewing brings the whole hot dog together.