
Crochet Koala Amigurumi Pattern
This crochet koala amigurumi is a small, rounded project built…
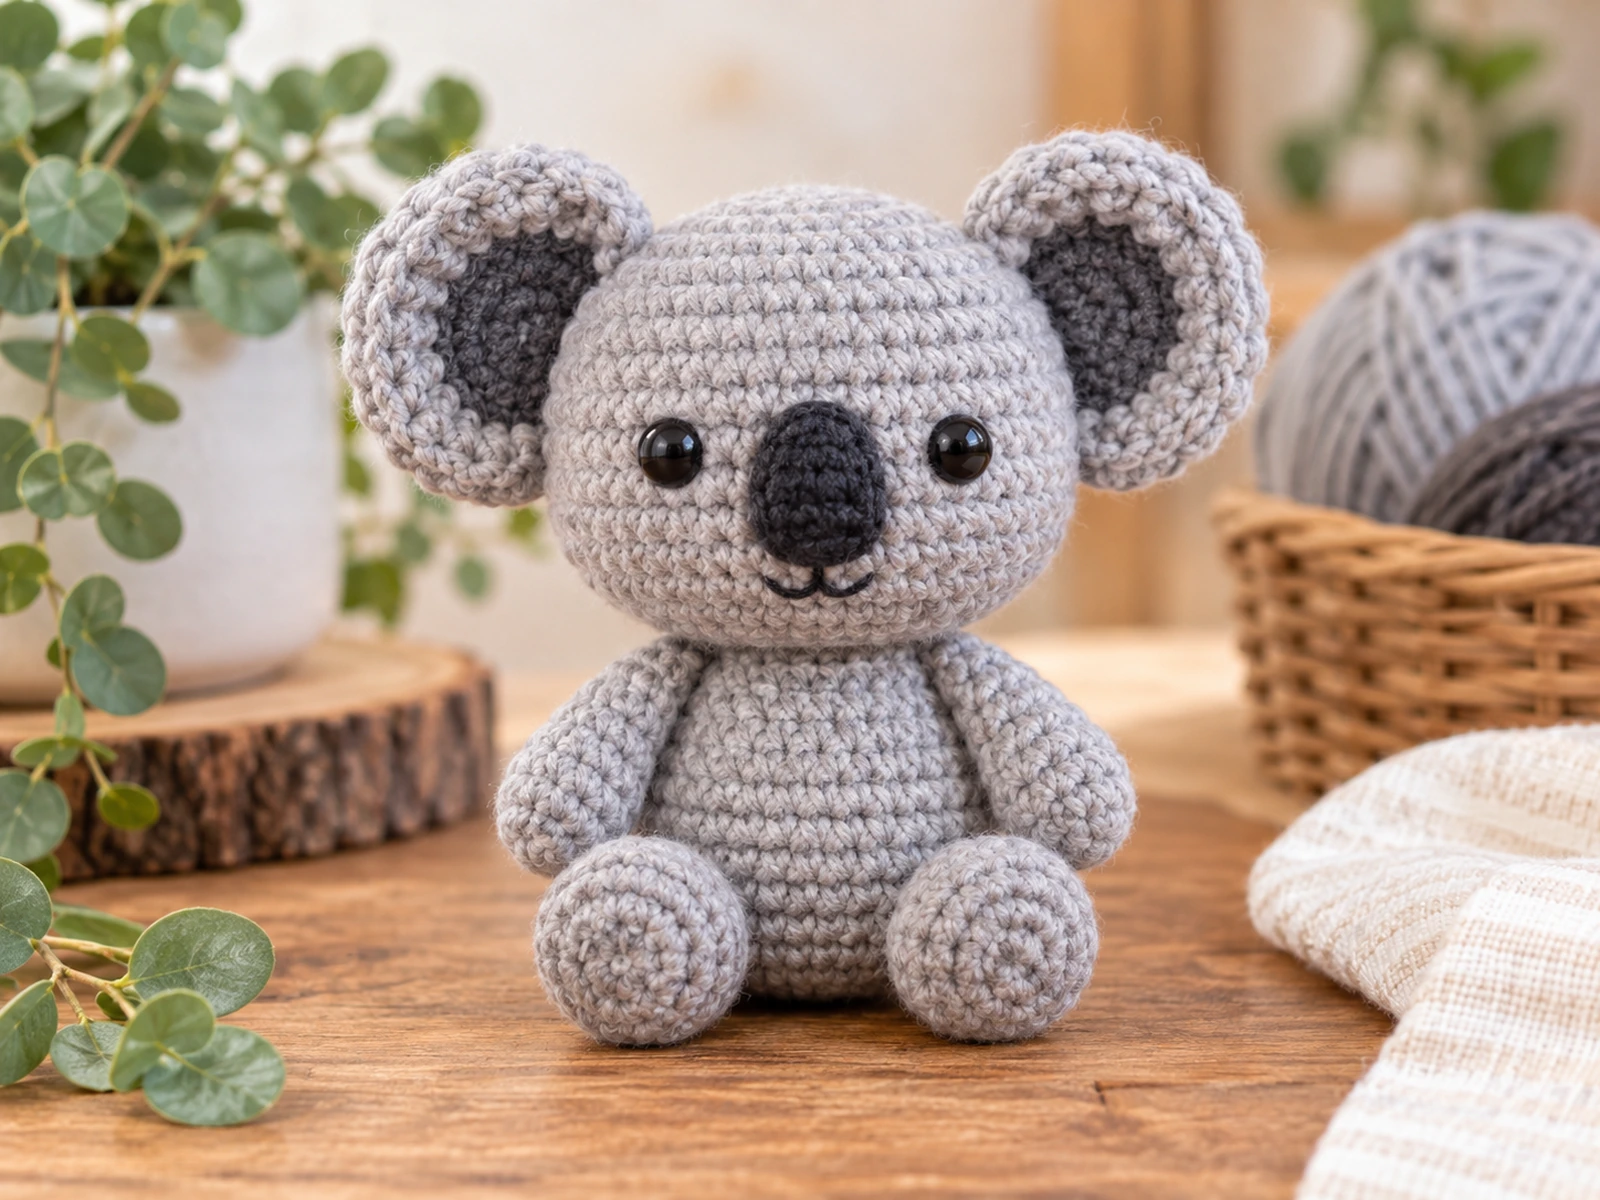
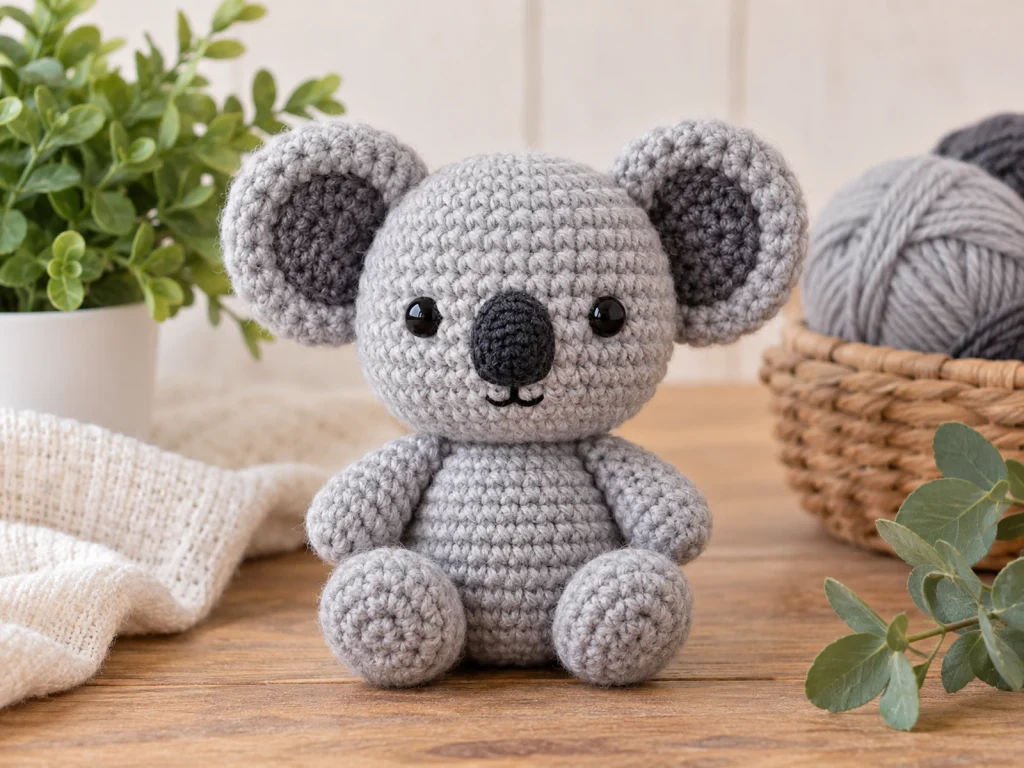
This crochet koala amigurumi is a small, rounded project built around the features that make a koala instantly recognizable: soft grey coloring, oversized rounded ears, a dark nose, and a simple friendly face.
The design is worked in separate pieces and then sewn together to create the finished koala. The finished size is approximately 4.5–5.5 inches tall, although the final size will vary with yarn, hook size, tension, stuffing, and individual crochet technique.
Project Overview
What You’ll Make
This koala amigurumi includes:
- One stuffed head
- One stuffed body
- Two outer ears
- Two inner ears
- Two arms
- Two legs
- Embroidered facial details
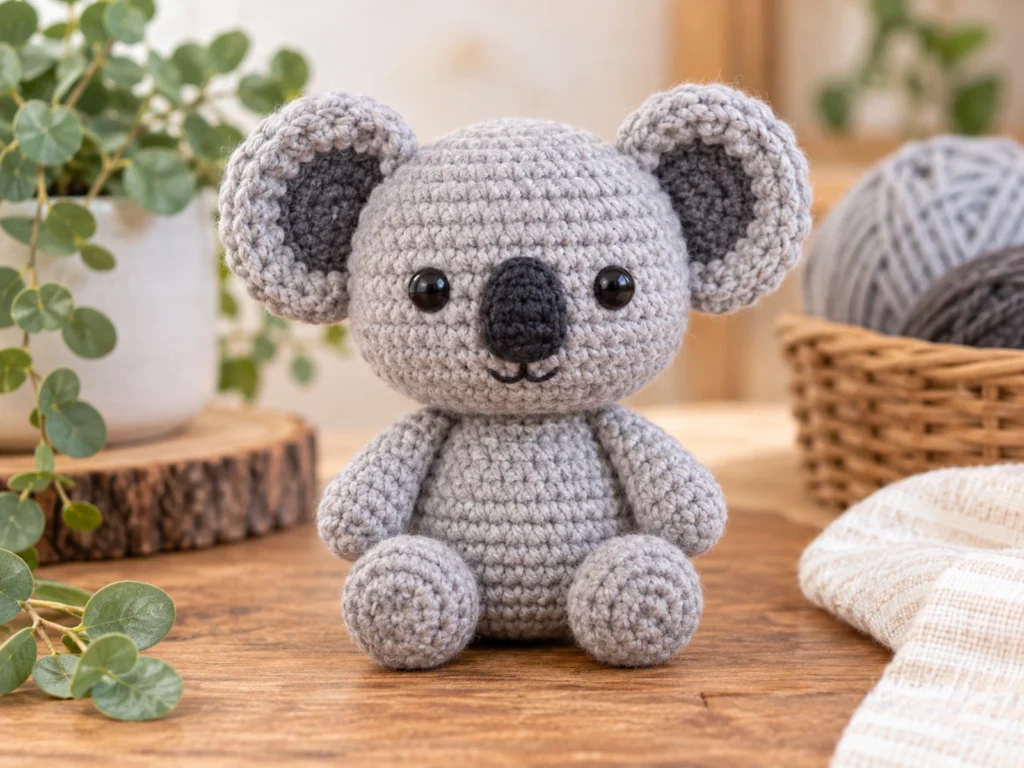
The large rounded ears give the koala its distinctive silhouette, while the slightly wider head creates a soft, character-style shape.
Project Details
- Technique: Amigurumi crochet
- Yarn: Medium-weight (#4) worsted-weight yarn
- Main color: Grey
- Accent color: Charcoal
- Hook: 3.25 mm
- Eyes: 8 mm safety eyes
- Filling: Polyester fiberfill
- Finished size: Approximately 4.5–5.5 inches tall
The finished size is an estimate rather than a guaranteed measurement because yarn, hook size, tension, stuffing, and individual technique can affect the result.
Materials & Tools
Yarn
You will need medium-weight (#4) worsted-weight yarn in:
- Grey for the head, body, ears, arms, and legs
- Charcoal for the inner ears
For the facial details, use dark charcoal or black embroidery thread.
Exact yarn quantities have not been established for this design.
Other Supplies
- 3.25 mm crochet hook
- 8 mm safety eyes
- Polyester fiberfill
- Yarn needle
- Stitch marker
- Scissors
Safety Note
Safety eyes can present a choking hazard and are not appropriate for children under 3. Do not describe the finished project as baby-safe, child-safe, or toddler-safe.
Abbreviations
This pattern uses standard US crochet terminology.
| Abbreviation | Meaning |
|---|---|
| MR | Magic ring |
| sc | Single crochet |
| inc | Increase — 2 sc in the same stitch |
| dec | Single crochet decrease |
| FO | Fasten off |
Before You Start
Work in Continuous Rounds
Work in continuous rounds unless otherwise noted. A stitch marker is helpful for identifying the first stitch of each round.
Count Your Stitches
Check the stitch count at the end of every round before moving on. The counts are included throughout the pattern to make this easier.
Stuff as You Go
Add stuffing gradually to the head, body, arms, and legs. Avoid overstuffing, which can distort the shape or make the surface uneven.
Shape Before Sewing
For paired pieces such as the ears, arms, and legs, compare both pieces before attaching them. Small differences in tension can affect their final appearance.
Construction Order
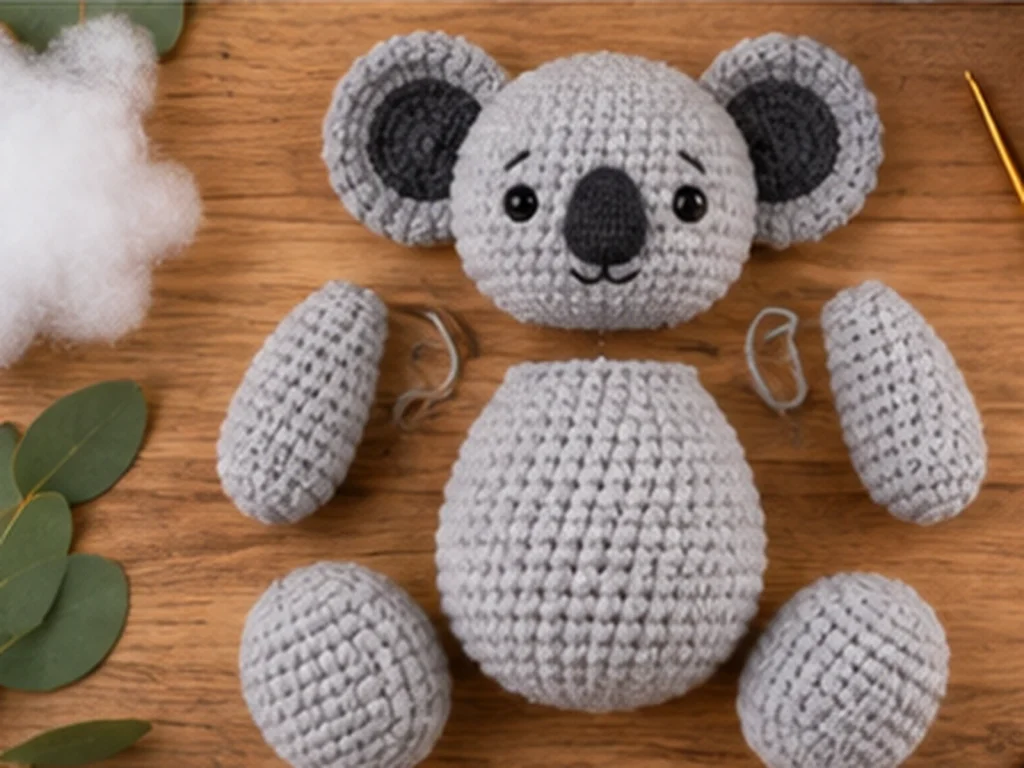
The head, body, ears, arms, and legs are crocheted separately. The ears are finished before being attached to the head, and the head is attached to the body after the major facial details are completed.
Original Crochet Koala Pattern
Head — Make 1
Work in grey.
Round 1
6 sc in MR. (6)
Round 2
6 inc. (12)
Round 3
(sc, inc) × 6. (18)
Round 4
(2 sc, inc) × 6. (24)
Round 5
(3 sc, inc) × 6. (30)
Round 6
(4 sc, inc) × 6. (36)
Round 7
36 sc. (36)
Round 8
36 sc. (36)
Round 9
36 sc. (36)
Round 10
36 sc. (36)
Round 11
36 sc. (36)
Insert the 8 mm safety eyes on the front of the head, keeping them visually symmetrical. Check the placement from the front before securing the backs.
Round 12
(4 sc, dec) × 6. (30)
Round 13
(3 sc, dec) × 6. (24)
Begin stuffing the head.
Round 14
(2 sc, dec) × 6. (18)
Round 15
(sc, dec) × 6. (12)
Round 16
6 dec. (6)
Add a final small amount of stuffing as needed to keep the head rounded without making it overly firm.
FO, leaving a long yarn tail. Weave the tail through the remaining front loops and pull the opening closed. Secure the yarn and hide the end inside the piece.
Body — Make 1
Work in grey.
Round 1
6 sc in MR. (6)
Round 2
6 inc. (12)
Round 3
(sc, inc) × 6. (18)
Round 4
(2 sc, inc) × 6. (24)
Round 5
(3 sc, inc) × 6. (30)
Round 6
30 sc. (30)
Round 7
30 sc. (30)
Round 8
30 sc. (30)
Round 9
30 sc. (30)
Begin adding stuffing gradually.
Round 10
(3 sc, dec) × 6. (24)
Round 11
24 sc. (24)
Round 12
(2 sc, dec) × 6. (18)
Round 13
18 sc. (18)
Round 14
(sc, dec) × 6. (12)
Round 15
12 sc. (12)
Round 16
6 dec. (6)
Add enough final stuffing to hold the body shape while keeping the top manageable for assembly.
FO, leaving a long sewing tail. Close the remaining opening and secure the yarn.
Outer Ears — Make 2
Work in grey.
Round 1
6 sc in MR. (6)
Round 2
6 inc. (12)
Round 3
(sc, inc) × 6. (18)
Round 4
(2 sc, inc) × 6. (24)
Round 5
24 sc. (24)
FO, leaving a long sewing tail.
Do not stuff the ears. Gently shape each one into a shallow rounded form.
Inner Ears — Make 2
Work in charcoal.
Round 1
6 sc in MR. (6)
Round 2
6 inc. (12)
Round 3
(sc, inc) × 6. (18)
FO, leaving a sewing tail.
Sew each inner ear onto the center of one outer ear, leaving an even grey border visible around the charcoal section.
Arms — Make 2
Work in grey.
Round 1
6 sc in MR. (6)
Round 2
6 inc. (12)
Round 3
12 sc. (12)
Round 4
12 sc. (12)
Round 5
12 sc. (12)
Round 6
12 sc. (12)
Round 7
12 sc. (12)
Round 8
12 sc. (12)
Round 9
(2 sc, dec) × 3. (9)
Round 10
9 sc. (9)
Round 11
9 sc. (9)
Lightly stuff the lower section of each arm. Keep the upper portion flexible enough to attach comfortably to the body.
FO, leaving a long sewing tail. Flatten the opening slightly and sew it closed.
Legs — Make 2
Work in grey.
Round 1
6 sc in MR. (6)
Round 2
6 inc. (12)
Round 3
(sc, inc) × 6. (18)
Round 4
18 sc. (18)
Round 5
18 sc. (18)
Round 6
18 sc. (18)
Round 7
(sc, dec) × 6. (12)
Round 8
12 sc. (12)
Round 9
12 sc. (12)
Round 10
12 sc. (12)
Round 11
6 dec. (6)
Stuff the legs firmly enough to hold their rounded shape without creating hard lumps.
FO, leaving a long sewing tail. Close the opening and secure the yarn.
Facial Details
Nose
Use dark charcoal or black embroidery thread.
Place the nose centrally below the eyes. Build a small rounded nose with several embroidery passes, keeping the shape balanced from left to right.
Mouth
A small embroidered mouth can be added beneath the nose using a short downward stitch followed by a subtle curved line.
Assembly
Step 1: Finish the Ears
Sew each charcoal inner ear to an outer ear.
Compare the two finished ears so the inner sections are positioned consistently.
Step 2: Attach the Ears to the Head
Place the ears on opposite sides of the head.
Before sewing, view the head from the front and compare the height and angle of both ears. Adjust them until the silhouette looks balanced.
Sew the ear bases securely to the head.
Step 3: Attach the Legs
Position the legs on the lower sides of the body.
Make sure both legs sit at a similar height before sewing them permanently.
Secure each leg with several passes of yarn and weave in the ends.
Step 4: Attach the Arms
Place one arm on each side of the upper-to-middle body area.
Compare the front view before sewing to make sure the arms are reasonably symmetrical.
Secure firmly and hide the remaining yarn tails.
Step 5: Attach the Head
Center the head over the top of the body.
Sew the lower edge of the head securely to the top of the body, working around the attachment area until the head feels stable.
Check the koala from the front, side, and back as you sew so the head remains centered.
Step 6: Final Shaping
Give the finished koala a final shaping check.
Look for:
- Even stuffing
- Balanced ears
- Symmetrical facial features
- Secure limb attachments
- Smooth seams
- Loose yarn ends
Finishing
Check the completed koala for:
- Secure head and limb attachments
- Closed openings
- Hidden yarn ends
- Even stuffing
- Balanced facial features
- Secure safety eyes
- Smooth final shaping
This design has been mathematically reviewed and constructionally checked, but it has not been physically crocheted and tested yet. The approximate finished size and final appearance may therefore vary from the design target.
Helpful Tips
Keep Your Stitch Count Consistent
Because the head and body depend on repeated increases and decreases, losing a stitch can change the shape quickly. When something looks unexpectedly narrow or wide, stop and check the most recent round.
Stuff Gradually
Adding small amounts of stuffing as the opening closes makes it easier to control the final shape.
Compare Paired Pieces
Lay both ears, arms, or legs side by side before attaching them. This makes differences in tension or shaping easier to spot.
Check the Face From the Front
Before finishing the embroidered details, look directly at the face to check that the eyes are balanced and the nose is centered beneath them.
Hide Yarn Tails Carefully
Weave tails into the interior of the piece or through nearby stitches before trimming them to keep the outside neat.
Troubleshooting
My Stitch Count Is Wrong
Stop before beginning the next round and locate the first round where the count changed. Check increases and decreases one group at a time instead of correcting the final round by adding or removing random stitches.
My Head Looks Lumpy After Stuffing
Redistribute a little stuffing and reshape the piece with your fingers. Aim for a smooth, rounded surface rather than an overly firm head.
My Ears Do Not Look Symmetrical
Do not sew them permanently yet. Hold both ears in position and compare them from the front and side. Adjust the height or angle until the silhouette looks balanced.
I Can See Stuffing Through the Stitches
Check your tension and make sure the piece has not been overstuffed. Adding smaller amounts of stuffing at a time can help maintain a smoother surface.
The Face Looks Uneven
Check the eye placement from the front before adding the embroidered nose and mouth. The eyes establish the main visual alignment of the face.
Customization Ideas
Change the Grey Shade
Try a lighter silver-grey or a deeper charcoal-grey while keeping the inner ears darker for contrast.
Change the Inner-Ear Color
A different contrasting neutral can create a new look while keeping the same ear construction.
Try a Different Expression
Keep the nose as the main focal point and change the embroidered mouth to create a softer or more playful expression.
Use Embroidered Eyes
Safety eyes can be replaced with embroidered eyes as a design variation. The finished project should not be described as child-safe simply because the eye style is changed.
Experiment With Yarn and Hook Size
Changing yarn weight or hook size can change the overall size and fabric density. Substantial changes may also affect the final proportions and stitch definition.
Frequently Asked Questions
What size is the finished crochet koala?
The design target is approximately 4.5–5.5 inches tall. Actual size varies with yarn, hook size, tension, stuffing, and individual technique.
What yarn is used for this koala amigurumi?
The design uses medium-weight (#4) worsted-weight yarn, with grey for the main pieces and charcoal for the inner ears.
What crochet hook do I need?
Use a 3.25 mm crochet hook.
How are the koala pieces assembled?
The ears, arms, and legs are crocheted separately and sewn to the head or body. The head is then attached to the top of the body.
Does the pattern use safety eyes?
Yes. The design uses 8 mm safety eyes.
Safety eyes can present a choking hazard and are not appropriate for children under 3.
Can I change the colors?
Yes. The yarn colors can be changed while keeping the same stitch structure.
Can I make the koala larger or smaller?
Changing the yarn and hook can alter the overall size, but it can also affect the proportions and stitch definition.
Final Thoughts
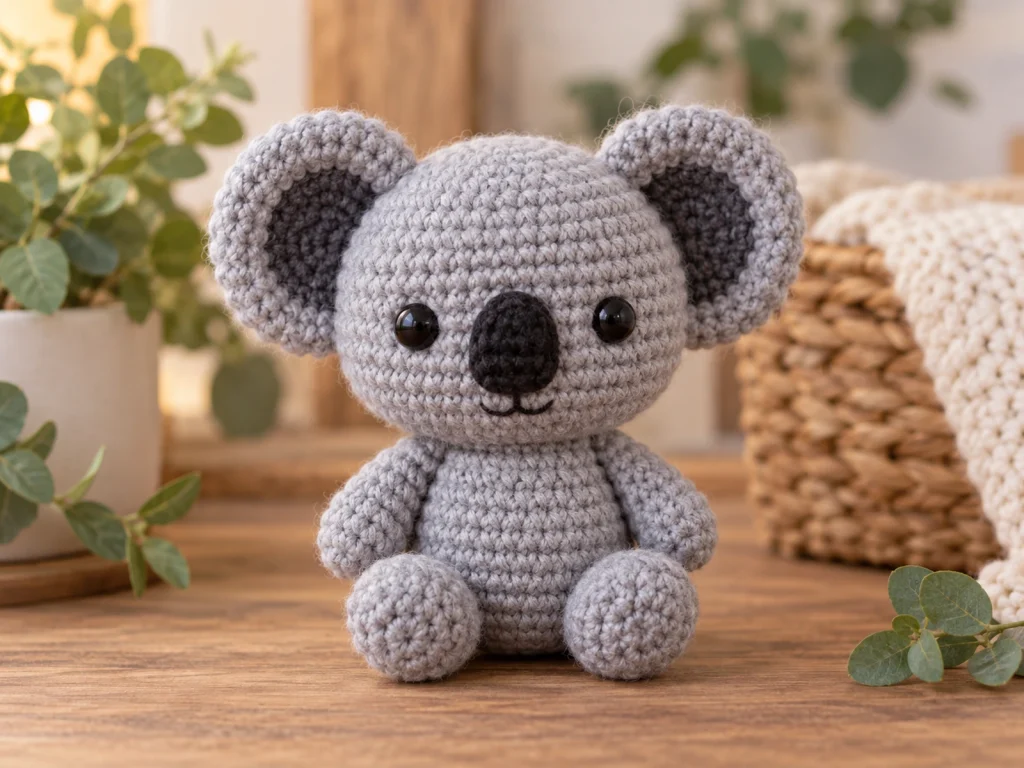
This crochet koala amigurumi is built around a few simple, recognizable features: oversized ears, a rounded face, a dark nose, and compact stuffed limbs.
Work through each component carefully, check your stitch counts as you go, and compare paired pieces before sewing them into place. Those small checks make the final assembly easier and help keep the finished koala balanced and tidy.
The pattern has been mathematically reviewed and constructionally checked, but it has not yet been physically crocheted and tested, so the finished size and final appearance should be treated as approximate.