
Crochet Lavender Plant Pattern
Bring a little botanical charm to your space with this…

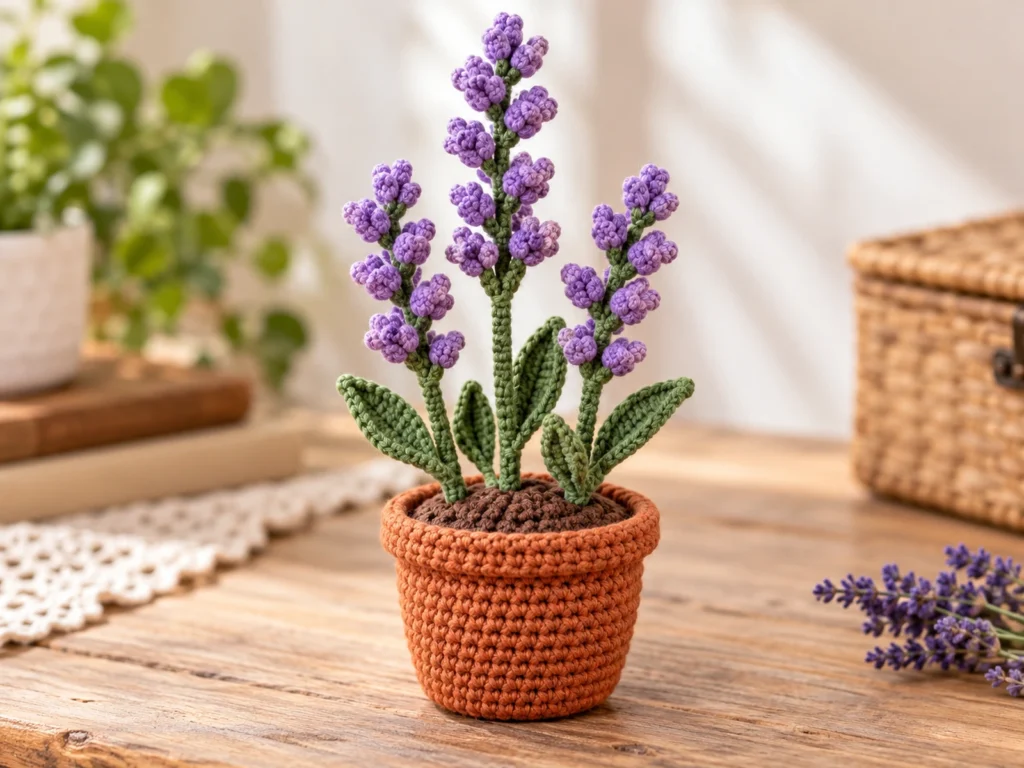
Bring a little botanical charm to your space with this crochet lavender plant pattern. This original design features three crocheted stems, clusters of small lavender-purple flower buds, simple green leaves, and a terracotta-style pot with a crocheted soil top.
The plant is built from separate components, so you can shape the stems and arrange the flower clusters for a natural three-dimensional look. The finished design is approximately 6–7 inches tall, although the final size will vary with yarn, hook size, tension, stuffing, and individual technique.
Project Overview
What You’ll Make
This crochet lavender plant includes:
- 1 crocheted terracotta pot
- 1 brown crocheted soil disk
- 3 wired green stems in different lengths
- 18 lavender-purple flower buds
- 6 green leaves
The three stem lengths create a layered silhouette instead of a perfectly uniform arrangement.
Project Details
| Detail | Information |
|---|---|
| Project type | Decorative crochet plant |
| Finished size | Approximately 6–7 inches tall |
| Crochet terminology | US terms |
| Main hook | 3.0 mm |
| Detail hook | 2.25 mm |
| Stem hook | 1.75 mm |
| Main yarn | DK/light worsted cotton |
| Main colors | Terracotta, brown, green, lavender purple |
| Construction | Separate crocheted components |
| Support | Flexible floral wire inside the stems |
Size note: The finished height is an approximate design estimate, not a physically tested measurement. Your finished plant may be larger or smaller depending on your yarn, hook size, tension, stuffing, and individual technique.
Materials & Tools
Yarn
Use DK or light worsted cotton yarn in these colors:
- Terracotta
- Brown
- Green
- Lavender purple
Exact yarn amounts are not established for this design, so have enough of each color for the listed components.
Crochet Hooks
- 3.0 mm hook for the pot and soil disk
- 2.25 mm hook for the flower buds and leaves
- 1.75 mm hook for the stems
Other Supplies
- Flexible floral wire
- Polyfill stuffing
- Stitch marker
- Yarn needle
Safety Note
The stems use flexible floral wire for internal support. Make sure the wire remains completely enclosed within the crocheted stems and that no sharp wire ends are exposed.
Abbreviations
This pattern uses standard US crochet terminology.
- MR — magic ring
- ch — chain
- sc — single crochet
- inc — increase
- dec — decrease
- sl st — slip stitch
- FLO — front loop only
- FO — fasten off
- st/sts — stitch/stitches
Before You Start
Work in continuous rounds unless otherwise stated. A stitch marker can help you identify the beginning of each round.
Count your stitches carefully at the end of each increase and decrease round. Consistent stitch counts will make the later assembly much easier.
The pot, soil disk, stems, flower buds, and leaves are made separately and assembled afterward.
For the stems, insert the floral wire after crocheting the tube. Make sure the wire is fully enclosed before finishing.
Only a small amount of stuffing is used in the flower buds. The stems and leaves do not require stuffing.
Original Crochet Lavender Plant Pattern
Crochet Pot
Use terracotta yarn and a 3.0 mm hook.
Round 1
6 sc in MR. (6)
Round 2
6 inc. (12)
Round 3
(sc, inc) × 6. (18)
Round 4
(2 sc, inc) × 6. (24)
Round 5
(3 sc, inc) × 6. (30)
Round 6
30 sc. (30)
Round 7
30 sc. (30)
Round 8
30 sc. (30)
Round 9
30 sc. (30)
Round 10
(4 sc, inc) × 6. (36)
Round 11
36 sc. (36)
Round 12
36 sc. (36)
Round 13
36 sc in FLO. (36)
Fasten off and weave in the end.
Lightly shape the pot. A small amount of stuffing can be added to help maintain its form.
Crochet Soil Disk
Use brown yarn and a 3.0 mm hook.
Round 1
6 sc in MR. (6)
Round 2
6 inc. (12)
Round 3
(sc, inc) × 6. (18)
Round 4
(2 sc, inc) × 6. (24)
Round 5
(3 sc, inc) × 6. (30)
Round 6
(4 sc, inc) × 6. (36)
Fasten off, leaving a long sewing tail.
Green Stems
Make 3 stems using green yarn and a 1.75 mm hook.
Each stem is a narrow four-stitch crochet tube.
Tall Stem — Make 1
Chain 4 and join with a slip stitch to form a ring.
Round 1: 4 sc around the ring. (4)
Rounds 2–22: 4 sc around. (4)
Fasten off, leaving a long yarn tail.
Medium Stem — Make 1
Chain 4 and join with a slip stitch to form a ring.
Round 1: 4 sc around the ring. (4)
Rounds 2–20: 4 sc around. (4)
Fasten off, leaving a long yarn tail.
Short Stem — Make 1
Chain 4 and join with a slip stitch to form a ring.
Round 1: 4 sc around the ring. (4)
Rounds 2–18: 4 sc around. (4)
Fasten off, leaving a long yarn tail.
Add the Floral Wire
Insert flexible floral wire through the center of each crocheted stem.
Leave enough wire extending below each stem so it can pass through the soil disk and be anchored underneath.
Cover or bend the lower wire end so it cannot work its way through the crochet.
Lavender Flower Buds
Make 18 buds using lavender-purple yarn and a 2.25 mm hook.
Each stem receives 6 buds.
Round 1
5 sc in MR. (5)
Round 2
5 inc. (10)
Round 3
10 sc. (10)
Round 4
5 dec. (5)
Round 5
5 sc. (5)
Add a very small amount of stuffing.
Fasten off, leaving a sewing tail.
Pull the remaining opening closed and secure the yarn.
Repeat until you have 18 buds.
Green Leaves
Make 6 leaves using green yarn and a 2.25 mm hook.
For each leaf, chain 8.
Starting in the second chain from the hook, work:
sc, hdc, dc, dc, dc, hdc, sc
Turn to work along the opposite side of the foundation chain:
sc, hdc, dc, dc, dc, hdc, sc
Join with a slip stitch.
Fasten off, leaving a sewing tail.
Make 6 leaves total.
Assembly
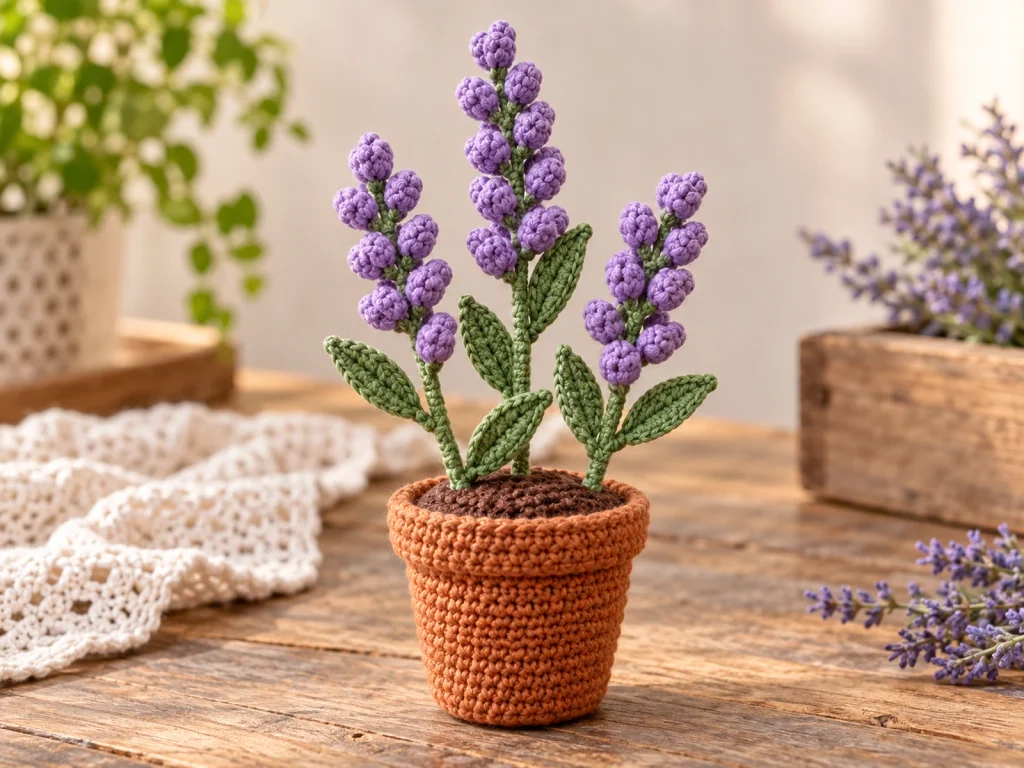
Step 1: Arrange the Stems
Pass the three wired stems through the soil disk.
Place the tallest stem toward the back, the medium stem toward the center, and the shortest stem toward the front.
Avoid lining the stems up in a perfectly straight row. A slightly varied arrangement creates a more natural shape.
Twist the lower wire ends together beneath the soil disk to keep the stems grouped.
Step 2: Attach the Flower Buds
Attach six lavender buds to each stem.
Start with one bud near the top and place the remaining buds progressively lower along the stem.
Slightly alternate the direction of the buds instead of placing them in one rigid vertical line.
Sew each bud securely to the crocheted stem.
Step 3: Add the Leaves
Attach two leaves to each stem.
Place them below the main flower cluster and angle them in different directions for a more natural botanical shape.
Before sewing them permanently, look at all three stems together and adjust their positions as needed.
Step 4: Secure the Soil Disk
Place the assembled stems through the center of the pot.
Position the brown soil disk over the opening.
Using the remaining brown yarn tail, sew the edge of the soil disk to the inside/top edge of the pot.
Check that the floral wire remains completely enclosed inside the finished project.
Finishing
After the main assembly is complete:
- Weave in any remaining yarn ends.
- Make sure the flower buds are securely attached.
- Check that the leaves are firmly sewn to the stems.
- Gently shape the three stems.
- Check the bottom of the plant to make sure no wire is exposed.
- Adjust the spacing of the stems and leaves for the final silhouette.
Helpful Tips
Keep the Buds Small
The flower buds are intentionally compact. Using only a small amount of stuffing helps them retain their narrow shape instead of becoming round and bulky.
Keep Your Stem Tension Consistent
The stems use only four stitches per round, so changes in tension can noticeably affect their appearance. Try to keep the stitches consistent from one round to the next.
Shape the Stems Before Final Placement
Because the stems contain flexible floral wire, you can gently adjust their direction before completing the final sewing.
Compare the Three Stems Together
Before attaching every bud and leaf, check the three stems as a group. The different lengths are intended to create visual depth.
Troubleshooting
My Pot Looks Uneven
Check that your stitch count stays at the stated number after each round. The increase rounds should finish at 12, 18, 24, 30, and then 36 stitches.
My Flower Buds Look Too Large
Use only a very small amount of stuffing. The buds should remain compact rather than becoming round.
My Stems Look Too Stiff
Check the floral wire and make sure it is flexible enough to bend gently. The wire should support the stem without making it difficult to shape.
My Plant Looks Too Symmetrical
Adjust the angle of the three stems and leaves before completing the final sewing. Small differences in direction help create a more natural botanical silhouette.
My Soil Disk Does Not Line Up With the Pot
Both pieces finish at 36 stitches, so first check your stitch counts. If both counts are correct, distribute the sewing evenly around the circumference instead of pulling one section too tightly.
Customization Ideas
Change the Flower Color
Instead of traditional lavender purple, try another purple shade or another flower-inspired color for a different decorative look.
Change the Stem Heights
The original design uses three stem lengths: 22, 20, and 18 rounds. You can experiment with slightly different lengths while keeping the overall layered silhouette in mind.
Create a Fuller Plant
Make additional sets of stems, buds, and leaves and arrange them around the same general pot structure.
Try a Different Pot Color
Terracotta gives the plant a classic botanical look, but neutral, cream, muted green, or other colors can change the finished style.
Frequently Asked Questions
How Tall Is the Finished Crochet Lavender Plant?
The design is intended to be approximately 6–7 inches tall. Final size can vary depending on yarn, hook size, crochet tension, stuffing, and individual technique.
How Many Lavender Buds Does the Pattern Use?
The complete design uses 18 flower buds, with six buds attached to each of the three stems.
How Many Leaves Are Included?
The pattern uses six leaves total, with two leaves attached to each stem.
Does the Plant Need Stuffing?
A small amount of stuffing is useful in the pot for shaping and inside the flower buds. The stems and leaves do not require stuffing.
Why Is Floral Wire Used?
Flexible floral wire gives the crocheted stems internal support and lets you gently shape their direction after assembly.
What Crochet Terminology Does This Pattern Use?
The pattern uses standard US crochet terminology.
Has This Pattern Been Physically Tested?
This original design has been mathematically reviewed and constructionally checked, but it has not been physically crocheted and tested yet. A prototype should be made and checked for finished size, proportions, stem stability, assembly, and overall appearance before the pattern is treated as a physically tested design.
More Crochet Plant Projects
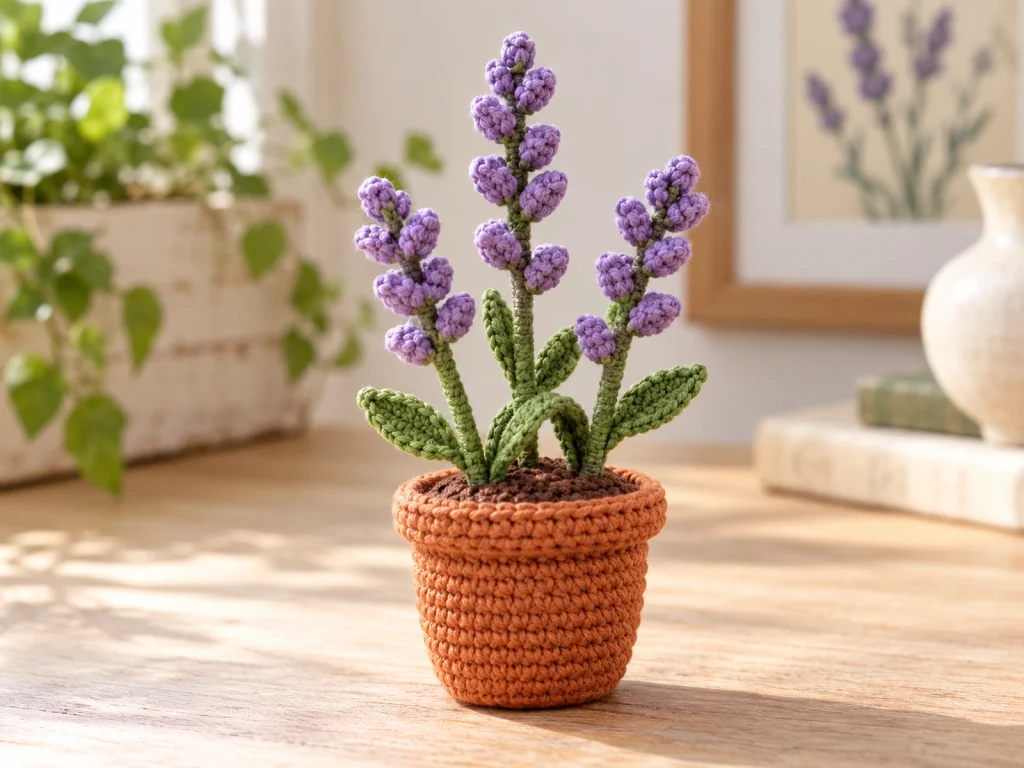
Explore more botanical-inspired crochet projects and decorative amigurumi designs as they become available from Tiny Yarn Tales.
Conclusion
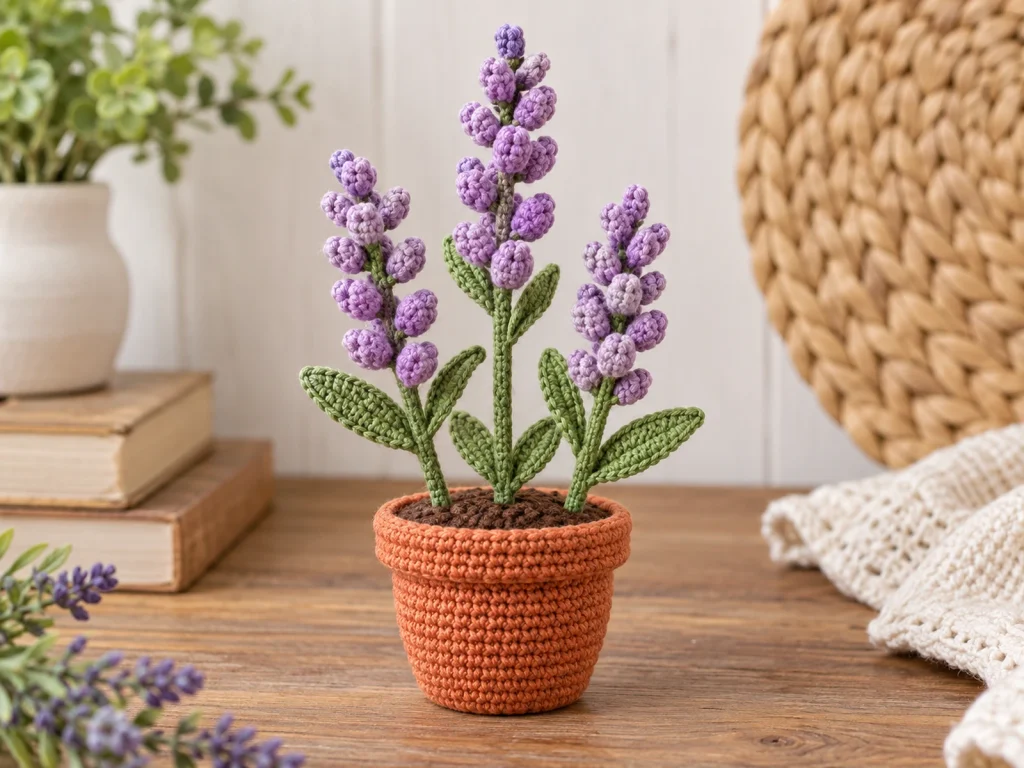
This crochet lavender plant is built from separate components that come together into a small three-dimensional botanical display. The three stem lengths, clustered purple buds, green leaves, and terracotta-style pot create a layered shape that works beautifully as handmade decor.
Take your time with the stitch counts and assembly, especially when positioning the buds and leaves. Those small details help give the finished lavender plant its character.