
Crochet Mushroom Pattern: A Mini Toadstool Amigurumi Tutorial
This crochet mushroom pattern creates a compact toadstool with a…
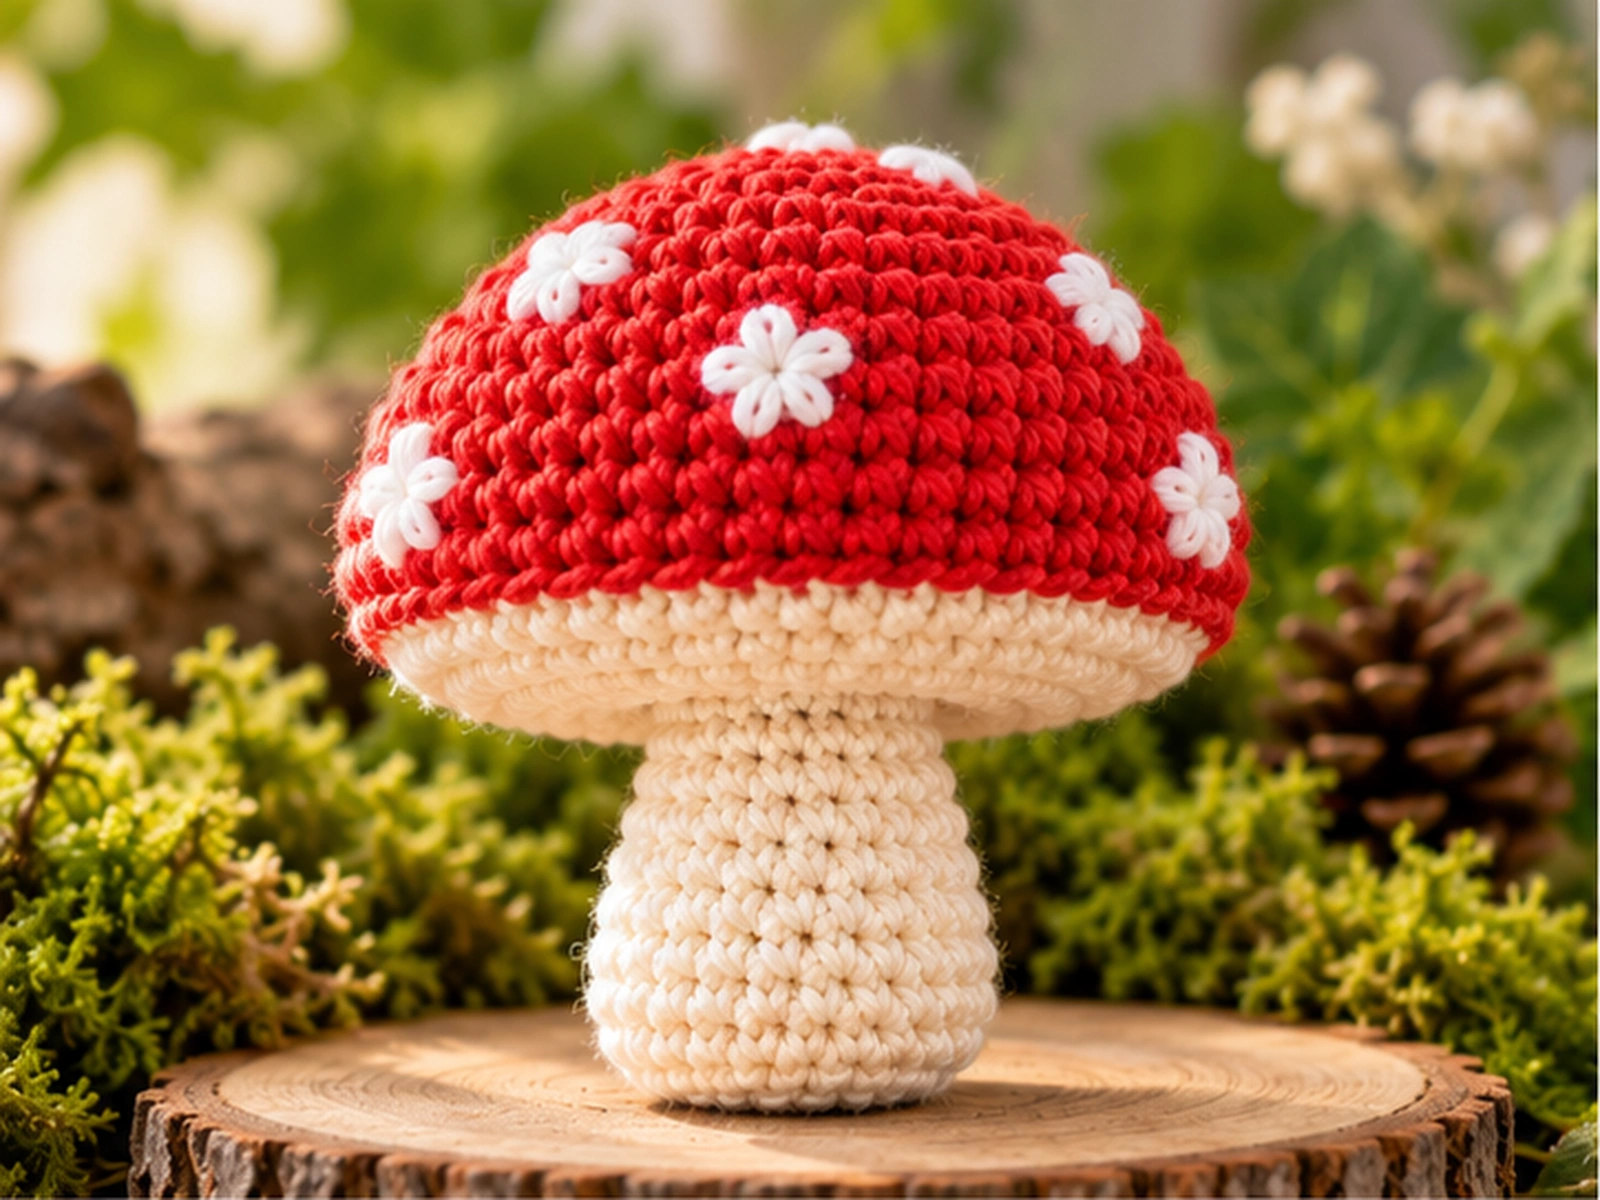
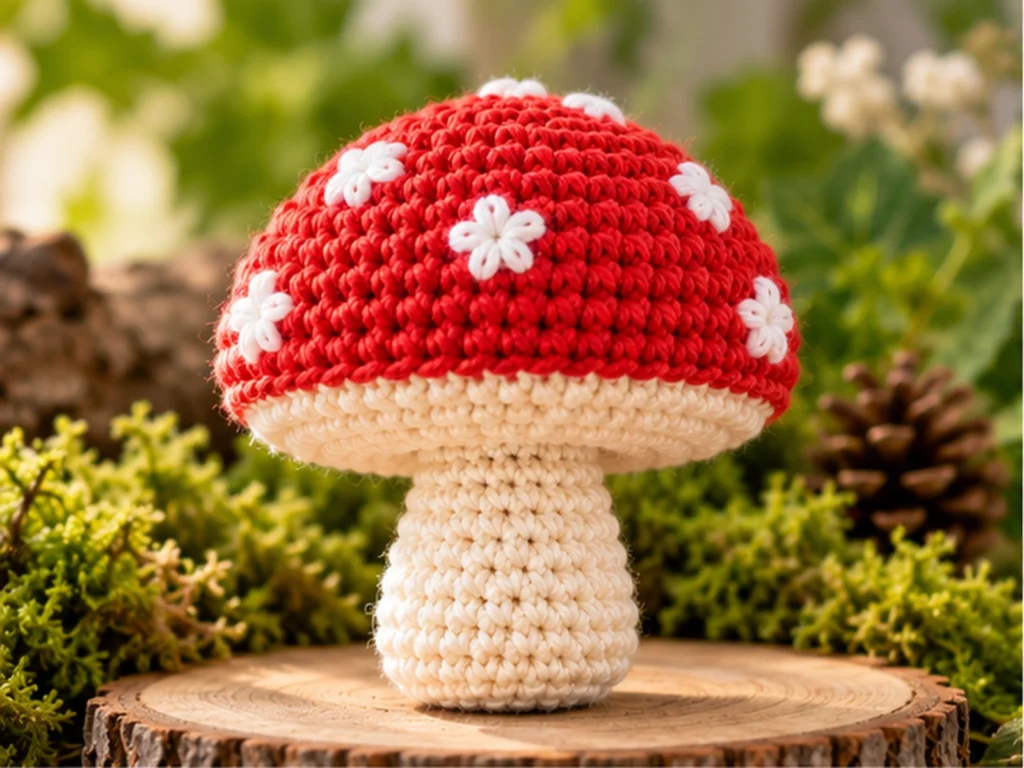
This crochet mushroom pattern creates a compact toadstool with a rounded tomato-red cap, warm cream underside and stem, and simple embroidered white spots. The cap and stem are crocheted separately and joined at the end for a classic mushroom silhouette.
Pattern note: This design has been mathematically reviewed and constructionally checked, but it has not been physically crocheted and tested yet. Finished size is approximate and may vary with yarn, hook, tension, stuffing, and individual technique.
Project Overview
What You’ll Make
You’ll make one small crochet mushroom with:
- A rounded red cap
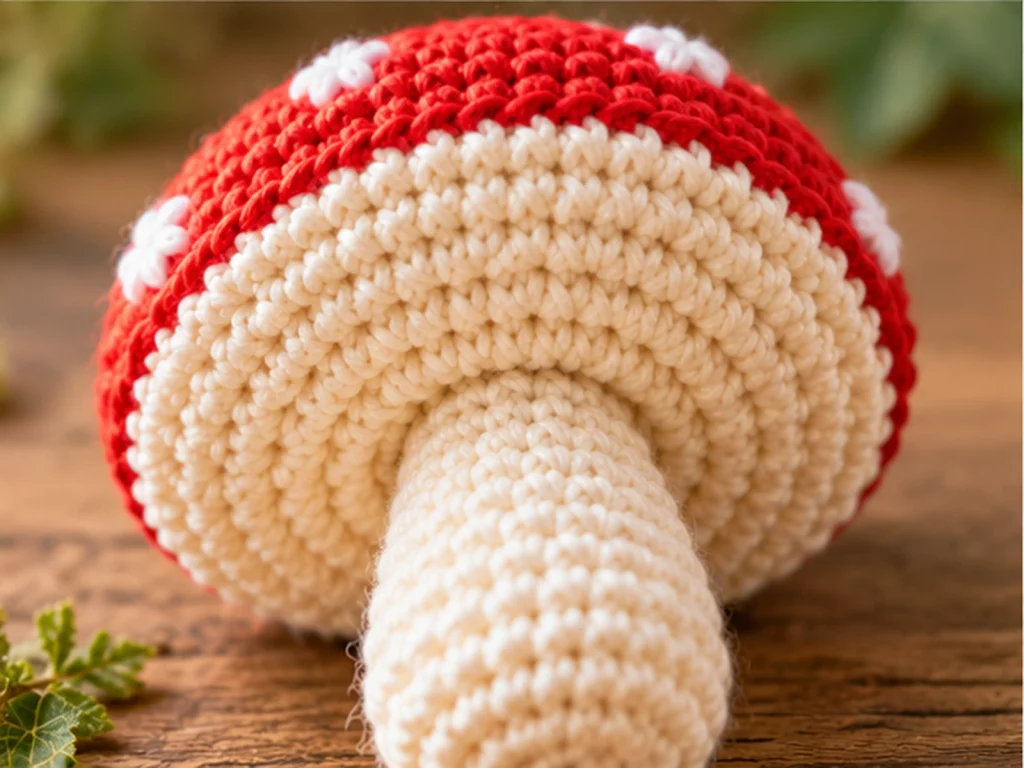
- A contrasting cream underside
- A tapered cream stem
- Six small embroidered spot clusters
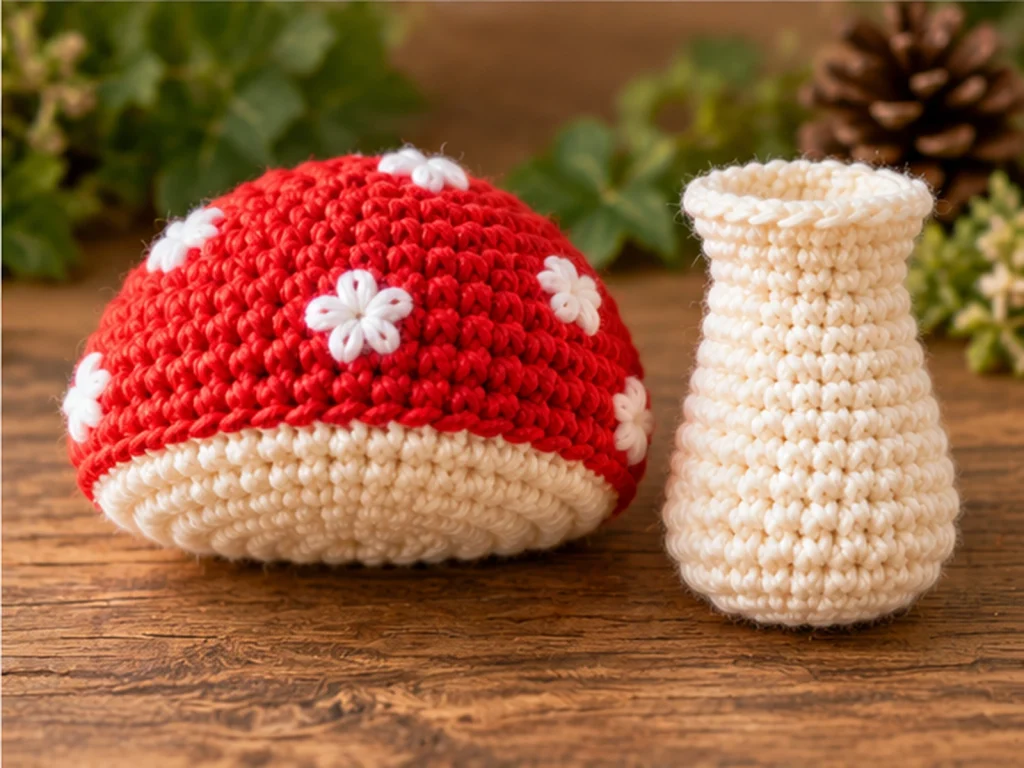
- A separate cap and stem joined during assembly
Project Details
- Project: Mini crochet mushroom / toadstool
- Technique: Amigurumi worked in rounds
- Yarn: Medium/worsted-weight (#4)
- Hook: 3.25 mm
- Colors: Tomato red, warm cream, and soft white
- Stuffing: Polyester fiberfill
- Approximate finished height: 3.5–4.5 inches
- Approximate cap width: 3.5–4.25 inches
- Construction: Separate cap and stem
The finished measurements are approximate rather than guaranteed.
Materials & Tools
Yarn
Use medium/worsted-weight (#4) yarn in:
- Tomato red
- Warm cream
- Soft white
The red is used for the cap, cream is used for the underside and stem, and white is used for the embroidered spots.
Other Supplies
- 3.25 mm crochet hook
- Polyester fiberfill
- Tapestry needle
No safety eyes are used for this mushroom design.
Abbreviations
This pattern uses standard US crochet terminology.
- MR — magic ring
- sc — single crochet
- inc — increase; work 2 sc in the same stitch
- dec — decrease; single crochet 2 stitches together
- BLO — back loop only
- FO — fasten off
Before You Start
Work in Continuous Rounds
The cap and stem are worked in rounds. Keep track of your stitch count at the end of each round so the shaping stays consistent.
Count Your Stitches
The increases and decreases create the mushroom’s shape, so an incorrect stitch count can affect later rounds. Check the number in parentheses before moving on.
Stuff as You Go
Add polyester fiberfill gradually. The cap should hold its rounded dome without becoming overstuffed, while the stem should remain firm enough to support the cap.
Construction Order
The mushroom is made in three stages:
- Crochet the cap.
- Crochet and stuff the stem.
- Add the embroidered spots and sew the stem to the underside of the cap.
Original Crochet Mushroom Pattern
Mushroom Cap — Make 1
Begin with tomato red yarn.
Round 1
6 sc in MR. (6)
Round 2
6 inc. (12)
Round 3
(sc, inc) × 6. (18)
Round 4
(2 sc, inc) × 6. (24)
Round 5
(3 sc, inc) × 6. (30)
Round 6
(4 sc, inc) × 6. (36)
Round 7
(5 sc, inc) × 6. (42)
Round 8
(6 sc, inc) × 6. (48)
Change to warm cream.
Round 9
BLO sc around. (48)
Round 10
sc around. (48)
Round 11
sc around. (48)
Round 12
(6 sc, dec) × 6. (42)
Round 13
(5 sc, dec) × 6. (36)
Round 14
(4 sc, dec) × 6. (30)
Round 15
(3 sc, dec) × 6. (24)
Add a small amount of polyester fiberfill to help the cap hold its rounded shape. Avoid overstuffing.
Round 16
(2 sc, dec) × 6. (18)
Round 17
(sc, dec) × 6. (12)
Add a little more fiberfill if needed.
Round 18
6 dec. (6)
Fasten off, leaving a yarn tail. Weave the tail through the remaining 6 stitches and gently pull to close the opening. Secure and weave in the end.
Mushroom Stem — Make 1
Use warm cream yarn.
Round 1
6 sc in MR. (6)
Round 2
6 inc. (12)
Round 3
(sc, inc) × 6. (18)
Round 4
(2 sc, inc) × 6. (24)
Round 5
sc around. (24)
Round 6
(2 sc, dec) × 6. (18)
Begin adding polyester fiberfill gradually.
Round 7
sc around. (18)
Round 8
sc around. (18)
Round 9
sc around. (18)
Round 10
sc around. (18)
Round 11
sc around. (18)
Round 12
(sc, dec) × 6. (12)
Round 13
sc around. (12)
Round 14
sc around. (12)
Round 15
sc around. (12)
Adjust the stuffing so the stem is filled without becoming excessively firm.
Fasten off, leaving a long tail for assembly.
Weave the yarn through the front loops of the remaining 12 stitches and gently pull to close the top opening. Secure the yarn and keep the long tail for sewing.
Add the Mushroom Spots
Use soft white yarn and a tapestry needle to create 6 small spot clusters on the red portion of the cap.
For each spot:
- Bring the yarn up through the cap.
- Make several short straight stitches from approximately the same center point.
- Keep the stitches close together to create a rounded dot.
- Secure the yarn on the underside.
- Trim or weave in the remaining end.
Vary the spacing slightly for a more natural look, while keeping all of the spots on the red portion of the cap.

Assembly
Step 1: Prepare the Finished Pieces
Make sure the cap is closed and shaped and that the stem is stuffed and closed.
Step 2: Position the Stem
Place the top of the stem against the center of the cream underside of the cap.
The stem has 12 top stitches, and the cap has a corresponding 12-stitch area at Round 17 that can be used as the attachment zone.
Step 3: Sew the Stem to the Cap
Using the long cream yarn tail from the stem:
- Position the stem vertically beneath the cap.
- Match the top of the stem with the underside attachment area.
- Sew around the attachment evenly.
- Check the mushroom from the front, back, and both sides before tightening the final stitches.
- Secure the yarn on the underside.
- Weave in the remaining end.
Step 4: Check the Final Shape
The finished mushroom should have a broad, rounded cap above a narrower tapered stem.
Finishing
Give the finished mushroom a gentle final shaping with your fingers.
Check that:
- The cap remains rounded.
- The stem sits upright beneath the cap.
- The stuffing is not visible through the stitches.
- The embroidered spots are secure.
- The stem is firmly attached.
- All loose yarn ends are woven in.
Helpful Tips
Keep the Stuffing Moderate
Too much stuffing can stretch the stitches and make the cap lose its smooth rounded appearance.
Check Your Stitch Count Often
The mushroom shape depends on the repeated increases and decreases. If a stitch is missed or added, stop and correct the count before continuing.
Shape Before Sewing
Before permanently attaching the stem, look at the mushroom from several angles and adjust its position as needed.
Keep Embroidered Spots Compact
Short, closely grouped embroidery stitches create cleaner rounded spots than long, loose stitches.
Troubleshooting
Why does my mushroom cap look too flat?
Check your tension and stuffing first. Add a small amount of fiberfill if the cap is collapsing, then reshape it gently.
Why can I see stuffing through the stitches?
The piece may be overstuffed. Remove a little filling and reshape the cap or stem.
My stitch count is off. What should I do?
Stop at the end of the current round and recount before continuing. A missed increase or decrease can change the shape of the following rounds.
My stem looks uneven under the cap.
Before tightening the final sewing stitches, reposition the stem and check it from several angles. Keep it centered and distribute the attachment stitches evenly.
My embroidered spots do not look round.
Use shorter embroidery stitches and bring them toward the same center point. Adjust the spacing between the clusters as needed.
Customization Ideas
Change the Cap Color
Try another strong cap color while keeping the cream underside for a contrasting look.
Try a Softer Palette
Muted or earthy colors can give the mushroom a woodland-inspired appearance.
Change the Spot Arrangement
Keep the six-spot concept while varying their size and spacing for a more organic look.
Experiment With Color Combinations
The cream underside can be paired with different cap colors while keeping the stem in a coordinating neutral shade.
Frequently Asked Questions
What yarn is used for this crochet mushroom?
The design uses medium/worsted-weight (#4) yarn in tomato red, warm cream, and soft white.
What crochet hook size should I use?
The pattern uses a 3.25 mm crochet hook.
How big is the finished mushroom?
The target finished size is approximately 3.5–4.5 inches tall, with a cap approximately 3.5–4.25 inches wide. Actual size can vary with yarn, tension, hook choice, stuffing, and individual technique.
Is the mushroom made in one piece?
No. The cap and stem are crocheted separately and then sewn together.
Does this pattern use safety eyes?
No. The mushroom has no eyes or other facial features.
Does the mushroom require sewing?
Yes. The stem is sewn to the underside of the cap after both crocheted components are completed.
How much yarn do I need?
A specific yardage amount has not been established for this design, so no exact quantity is given.
Can I change the colors?
Yes. You can experiment with different cap and spot colors while keeping the same basic construction.
More Crochet Projects
Explore more small amigurumi and crochet projects when you’re ready for your next handmade piece.