
Crochet Pop Tart Pattern
Turn a classic toaster pastry into a cute little crochet…
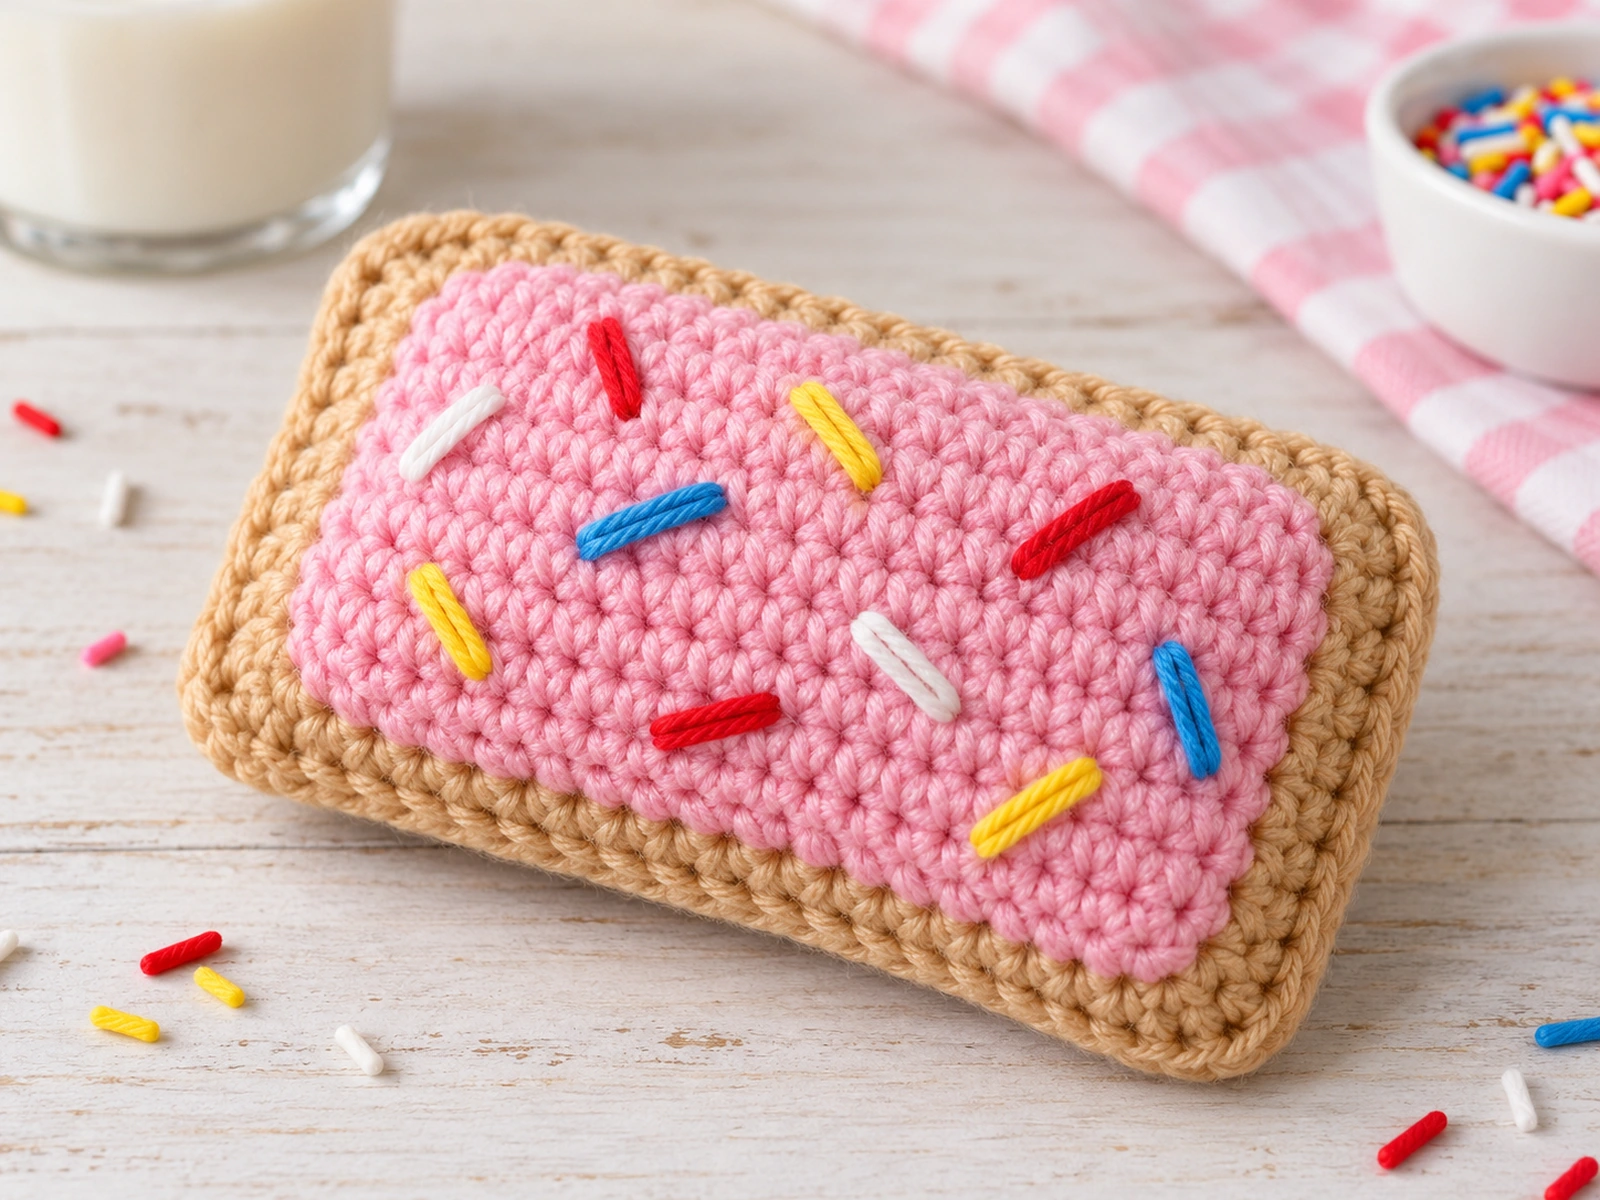
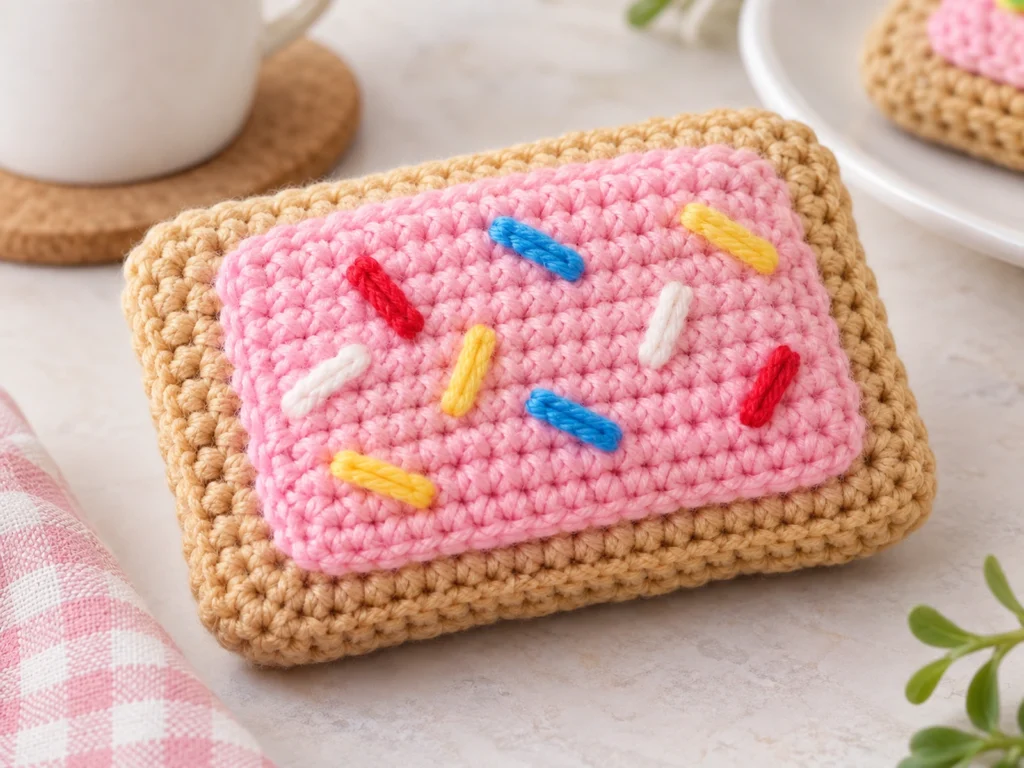
Turn a classic toaster pastry into a cute little crochet project with this crochet Pop Tart pattern. This design features a golden pastry base, a pink frosting layer, and colorful embroidered sprinkles for a simple, recognizable finish.
The finished Pop Tart is approximately 3.5–4 inches long and 1.75–2.25 inches wide, depending on your yarn, hook, tension, and stuffing.
Project Overview
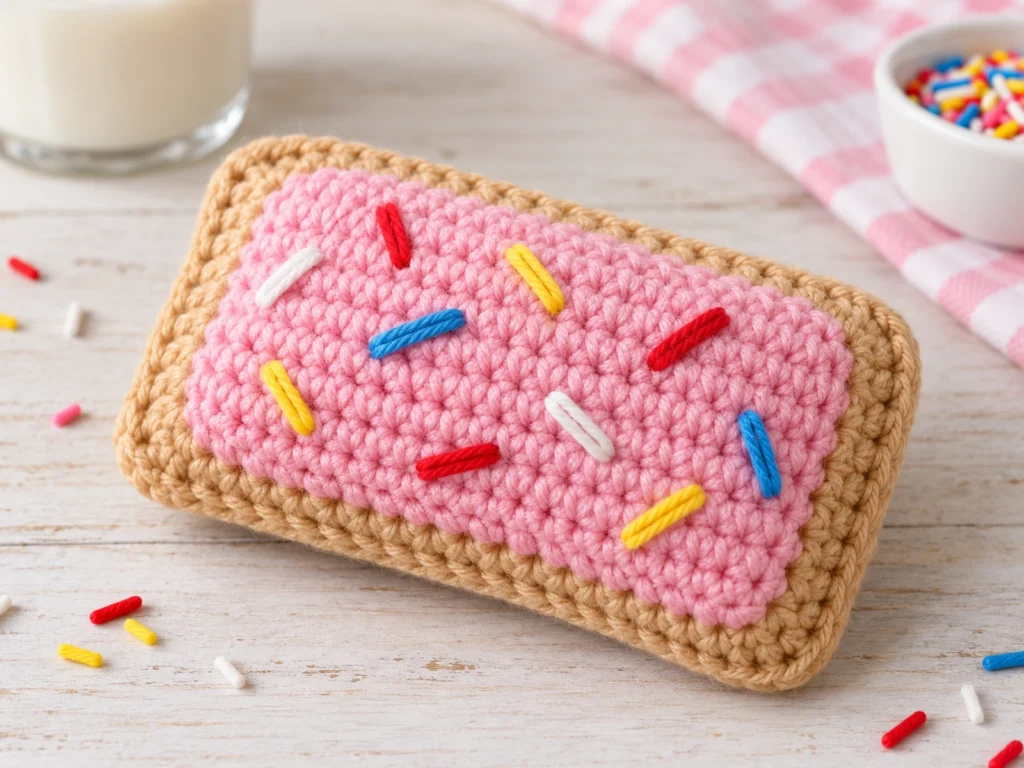
This crochet Pop Tart is built from a few simple components:
- 2 toasted-tan body panels
- 1 pink frosting panel
- 8 embroidered sprinkles
- Polyester fiberfill for stuffing
The two body panels are crocheted to matching stitch counts and joined around the edge. The frosting is made separately and sewn onto the front panel before the pastry is assembled.
There are no eyes or facial features in this design, so the focus stays on the classic pastry shape and colorful topping.
The design has been mathematically reviewed and constructionally checked, but it has not been physically crocheted and tested yet.
Materials & Tools
Yarn
Use medium/worsted-weight yarn in:
- Toasted tan
- Pink
- Red
- Yellow
- Blue
- White
Only small amounts of the accent colors are needed for the embroidered sprinkles.
Other Supplies
- 3.5 mm crochet hook
- Polyester fiberfill
- Yarn needle
Abbreviations
This pattern uses standard US crochet terminology:
- ch — chain
- sc — single crochet
- inc — increase; 2 sc in the same stitch
- sl st — slip stitch
- FO — fasten off
Before You Start
This design is worked in joined rounds.
A few notes will help keep the pieces consistent:
- The ch 1 does not count as a stitch.
- Stitch counts are given at the end of every round.
- Make 2 identical body panels.
- Make 1 separate frosting panel.
- Sew the frosting onto the front body panel before joining the pastry.
- Add the stuffing while the body panels are being joined.
- Use light to moderate stuffing to help the Pop Tart keep its rounded rectangular shape.
- Keep your tension firm and even for a neat finished edge.
Crochet Pop Tart Pattern
Body Panels — Make 2
Use toasted-tan yarn.
Make two identical panels. Fasten off the first panel after Round 5. For the second panel, you may leave the yarn attached and begin the final assembly from that piece.
Round 1
Ch 20.
Sc in 2nd ch from hook and in next 17 ch.
Work 3 sc in the last chain.
Working along the underside of the foundation chain, sc in the next 18 chains.
Work 3 sc in the first chain.
Join with sl st to the first sc.
Total: 42 sts
Round 2
Ch 1.
Sc in each of the next 18 sts.
Work sc, inc, sc across the first rounded end.
Sc in each of the next 18 sts.
Work sc, inc, sc across the second rounded end.
Join with sl st.
Total: 44 sts
Round 3
Ch 1.
Sc in each of the next 18 sts.
Work sc, inc, 2 sc across the first rounded end.
Sc in each of the next 18 sts.
Work sc, inc, 2 sc across the second rounded end.
Join with sl st.
Total: 46 sts
Round 4
Ch 1.
Sc in each of the next 18 sts.
Work sc, inc, 3 sc across the first rounded end.
Sc in each of the next 18 sts.
Work sc, inc, 3 sc across the second rounded end.
Join with sl st.
Total: 48 sts
Round 5
Ch 1.
Sc in every stitch around.
Join with sl st.
Total: 48 sts
Fasten off.
Repeat Rounds 1–5 to make the second body panel.
Frosting Panel — Make 1
Use pink yarn.
Round 1
Ch 17.
Sc in 2nd ch from hook and in the next 14 ch.
Work 3 sc in the last chain.
Working along the underside of the foundation chain, sc in the next 15 chains.
Work 3 sc in the first chain.
Join with sl st.
Total: 36 sts
Round 2
Ch 1.
Sc in each of the next 15 sts.
Work sc, inc, sc across the first rounded end.
Sc in each of the next 15 sts.
Work sc, inc, sc across the second rounded end.
Join with sl st.
Total: 38 sts
Round 3
Ch 1.
Sc in each of the next 15 sts.
Work sc, inc, 2 sc across the first rounded end.
Sc in each of the next 15 sts.
Work sc, inc, 2 sc across the second rounded end.
Join with sl st.
Total: 40 sts
Round 4
Ch 1.
Sc in each of the next 15 sts.
Work sc, inc, 3 sc across the first rounded end.
Sc in each of the next 15 sts.
Work sc, inc, 3 sc across the second rounded end.
Join with sl st.
Total: 42 sts
Round 5
Ch 1.
Sc in every stitch around.
Join with sl st.
Total: 42 sts
Fasten off, leaving a yarn tail for sewing.
Add the Frosting
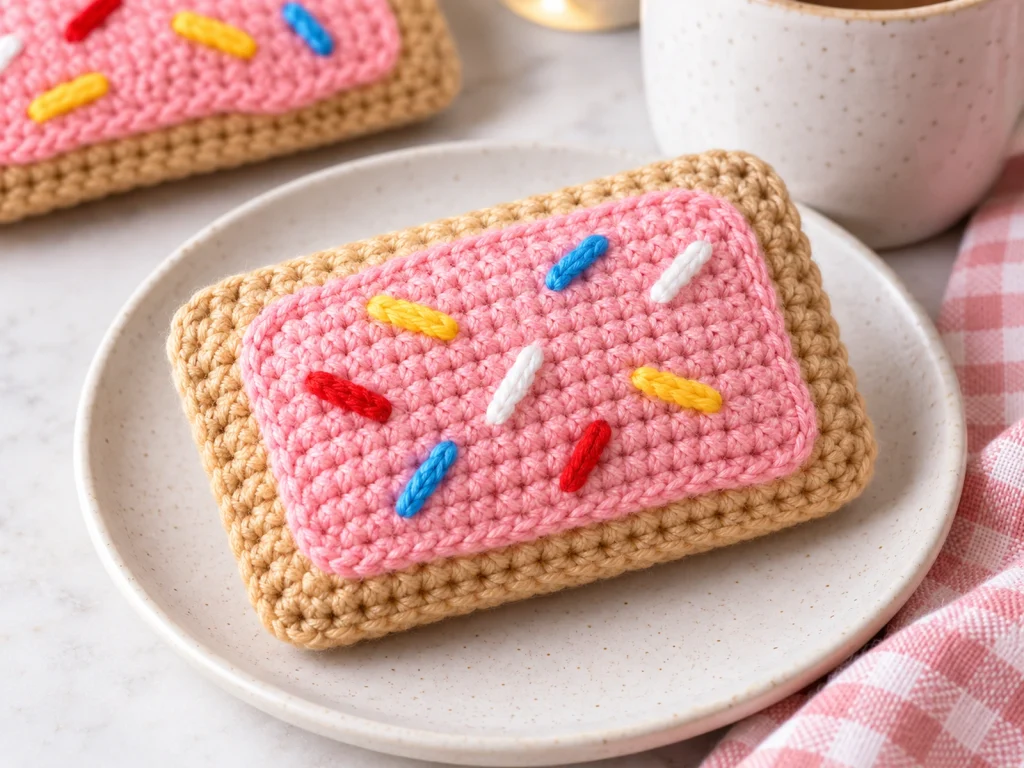
Place the pink frosting panel on one toasted-tan body panel.
Center the frosting from side to side and from top to bottom. Temporarily secure the top, bottom, left, and right center points so you can check the placement before sewing.
Once the frosting is evenly positioned, sew around its entire perimeter with the yarn needle and pink yarn.
Keep the frosting slightly inset from the pastry edge so a border of toasted-tan remains visible.
Weave in the ends securely.
Add the Sprinkles
Use red, yellow, blue, and white yarn to embroider 8 sprinkle bars across the pink frosting.
A simple color balance is:
- 2 red
- 2 yellow
- 2 blue
- 2 white
Make each sprinkle about 2–3 stitch-lengths long.
Vary the direction of the sprinkles for a more natural look. Mix horizontal and diagonal placements while leaving enough pink frosting visible between them.
Secure the embroidery ends and weave them in.
Assemble the Pop Tart
Place the two toasted-tan body panels together with the decorated frosting facing outward on the front.
Align the 48-stitch edges.
Using toasted-tan yarn, work 1 sc through both layers in each corresponding stitch around the outside edge.
Continue until approximately 36 stitches have been joined.
At this point, begin adding polyester fiberfill.
Add the stuffing gradually. The goal is a softly padded pastry that keeps its shape without forcing the seam apart.
Continue crocheting the remaining 12 joining stitches.
Once the full 48-stitch perimeter has been joined, sl st to the first joining stitch.
Fasten off and weave in the remaining yarn end.
Finishing
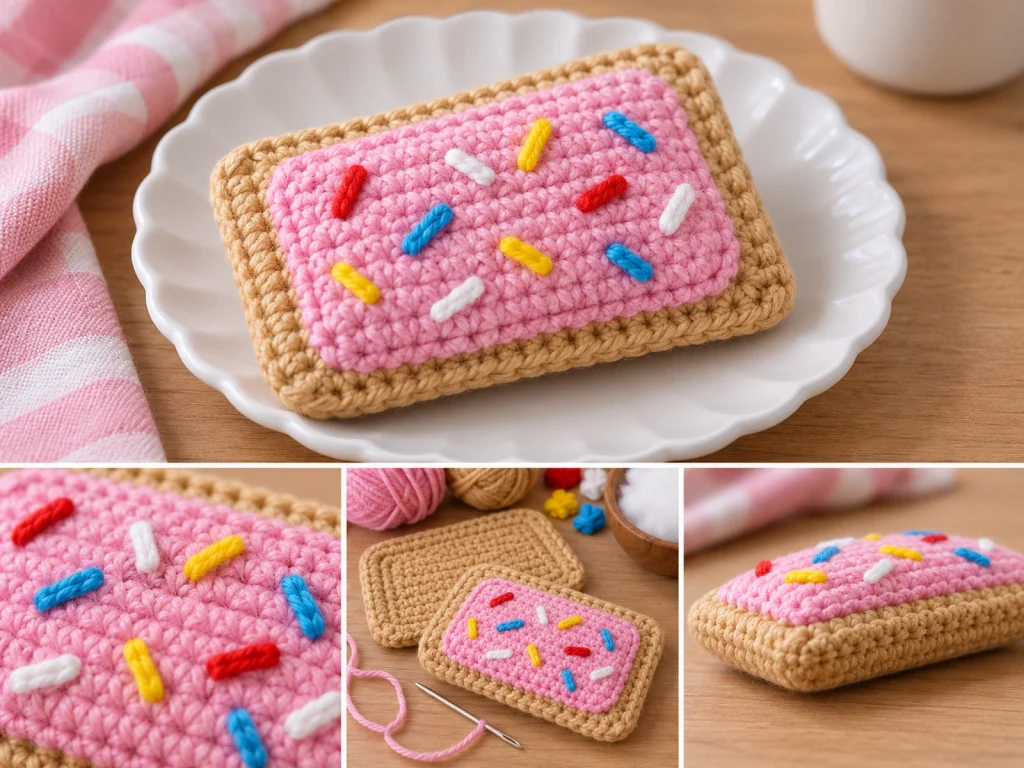
Gently shape the four rounded corners with your fingers.
Check that:
- The body edges are even.
- The frosting remains centered.
- The outer seam is completely closed.
- No stuffing is visible.
- The pastry keeps a softly rounded rectangular shape.
Avoid pulling the edges too tightly while shaping.
Helpful Tips
Keep both body panels identical
Each panel should finish with 48 stitches after Round 5. Matching stitch counts make the final seam much easier to align.
Check the frosting before sewing
Securing the center point of each side first makes it easier to keep the frosting centered.
Use moderate stuffing
Too much stuffing can push the body outward and put extra pressure on the seam.
Keep the sprinkles relaxed
A slightly varied sprinkle arrangement looks more natural than a perfectly even grid.
Troubleshooting
My body panels don’t line up.
Check that both panels have 48 stitches after Round 5. If the counts are different, correct the panel before beginning assembly.
The Pop Tart looks too puffy.
Remove a small amount of stuffing and reshape the body. Overstuffing can change the proportions and stretch the seam.
The frosting looks off-center.
Temporarily secure the top, bottom, left, and right center points before sewing and compare the visible pastry border around the frosting.
My corners look uneven.
Check your tension around the rounded ends and make sure the two body panels are aligned evenly before joining.
The sprinkles don’t look balanced.
Reposition them before securing the yarn ends. Vary the angle and spacing while keeping the frosting visually balanced.
Customization Ideas
Change the frosting color
Try different frosting shades such as:
- Light blue
- Lavender
- Cream
- Mint
- Yellow
Create different sprinkle palettes
Use coordinated color combinations instead of the same four colors every time. Pastel sprinkles can create a softer look, while brighter colors make the project more playful.
Keep the pastry classic
For a traditional toaster-pastry look, keep the body toasted tan and pair it with a contrasting frosting color and colorful sprinkles.
Frequently Asked Questions
How big is the finished crochet Pop Tart?
The intended finished size is approximately 3.5–4 inches long and 1.75–2.25 inches wide. Actual size can vary with yarn, hook size, tension, stuffing, and individual technique.
Do I need safety eyes?
No. This design does not use eyes or other facial features.
Is this a no-sew crochet Pop Tart?
No. The frosting panel is sewn onto the front body panel, so a yarn needle is part of the finishing process.
Does the Pop Tart need to be stuffed?
Yes. The two body panels are joined around the edge and lightly to moderately stuffed before the final section of the seam is closed.
Can I change the frosting color?
Yes. Changing the frosting color is a simple way to create a different finished look without changing the main body pattern.
Do I need a specific gauge?
There is no fixed gauge requirement for this design. Consistent tension is more important than matching a specific gauge because the finished size is approximate rather than a fitted dimension.
Has this pattern been physically tested?
Not yet. The pattern has been mathematically reviewed and constructionally checked, but it has not been physically crocheted and tested.
Final Thoughts
This crochet Pop Tart combines a softly rounded pastry shape with a separate frosting layer and colorful embroidered sprinkles. The construction keeps the design recognizable while giving you plenty of room to customize the colors.
Take your time with the panel alignment, frosting placement, and final stuffing, and the finished piece will have a neat, softly structured shape.
Happy crocheting!