
Crochet Whale Pattern: A Step-by-Step Amigurumi Tutorial
This crochet whale pattern creates a rounded whale amigurumi with…
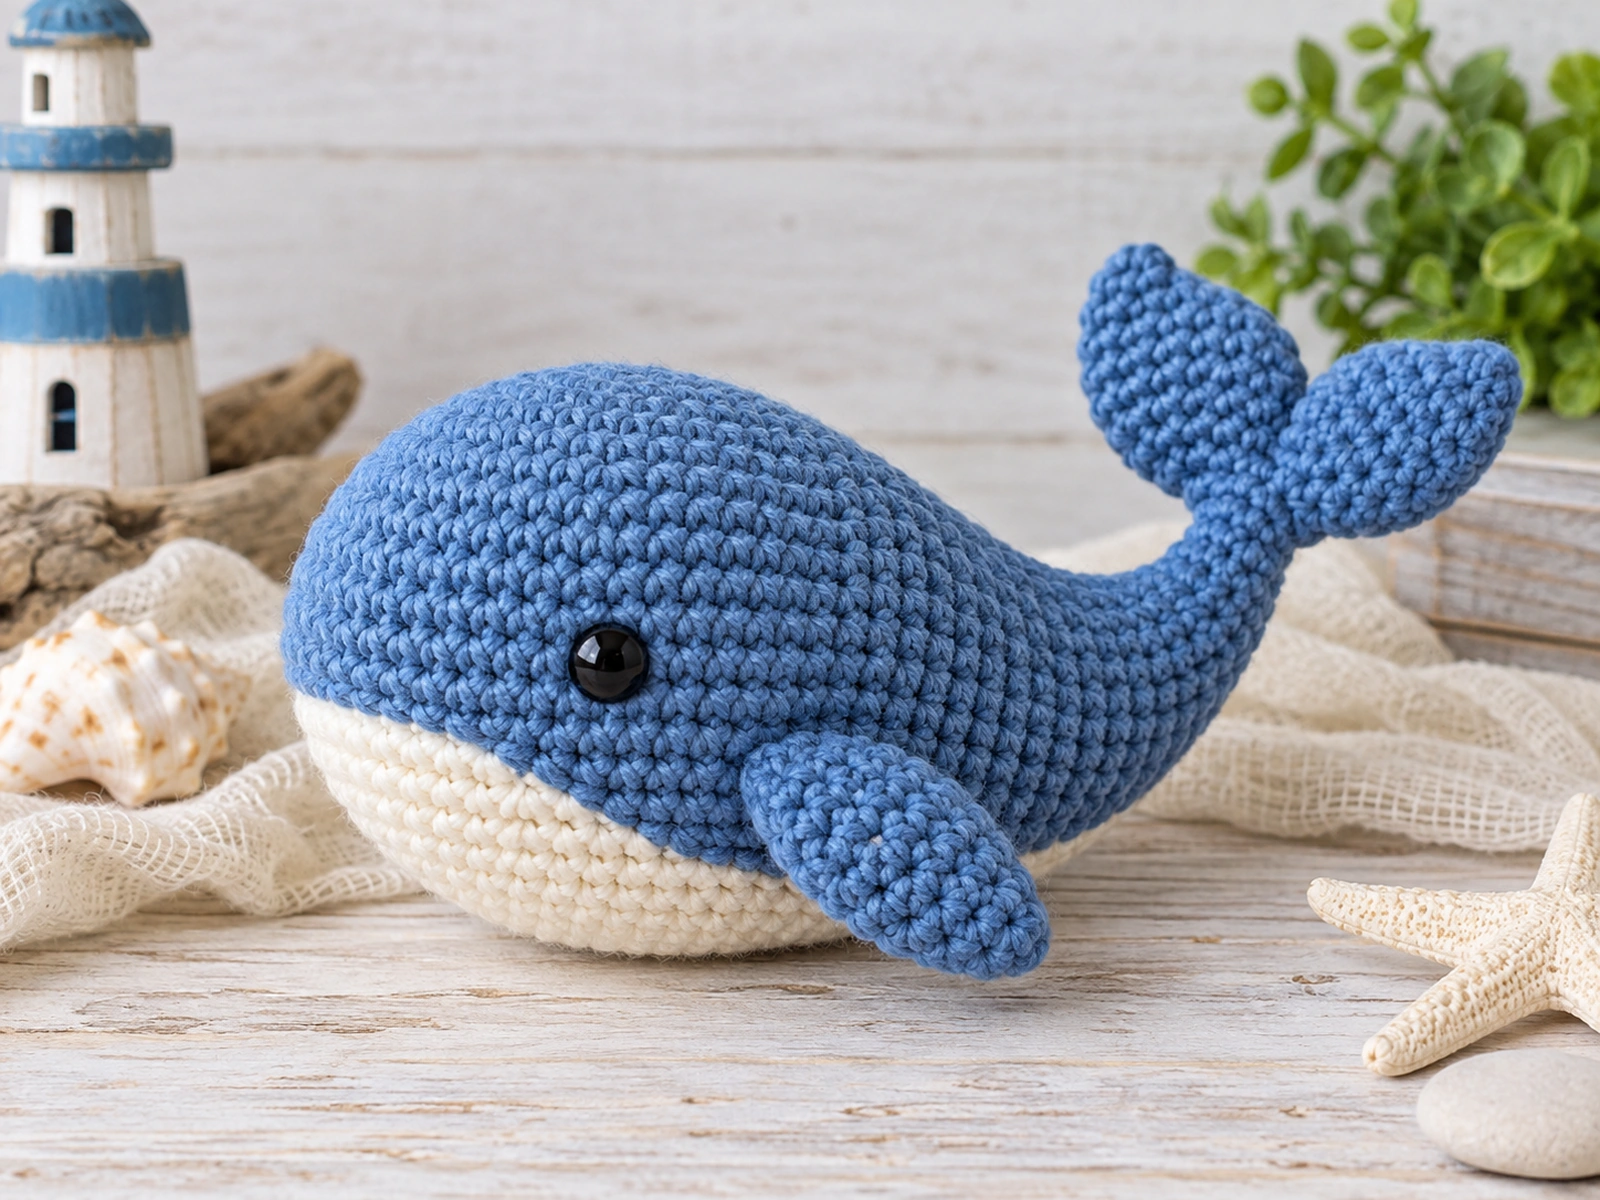
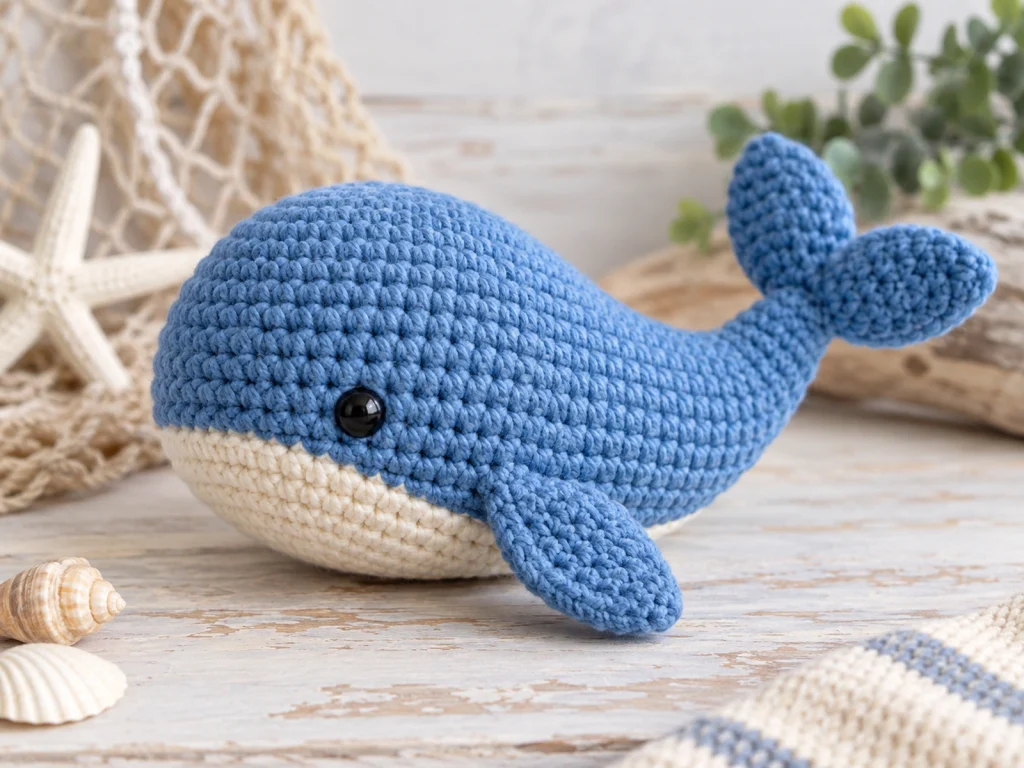
This crochet whale pattern creates a rounded whale amigurumi with a tapered body, two side fins, a two-piece tail, and a contrasting belly patch. The main body is worked in continuous rounds, while the fins, tail flukes, and belly are made separately and attached during finishing.
The finished whale is designed to measure approximately 5.5–6 inches long. The final size can vary depending on yarn, hook size, tension, stuffing, and individual crochet technique.
Project Overview
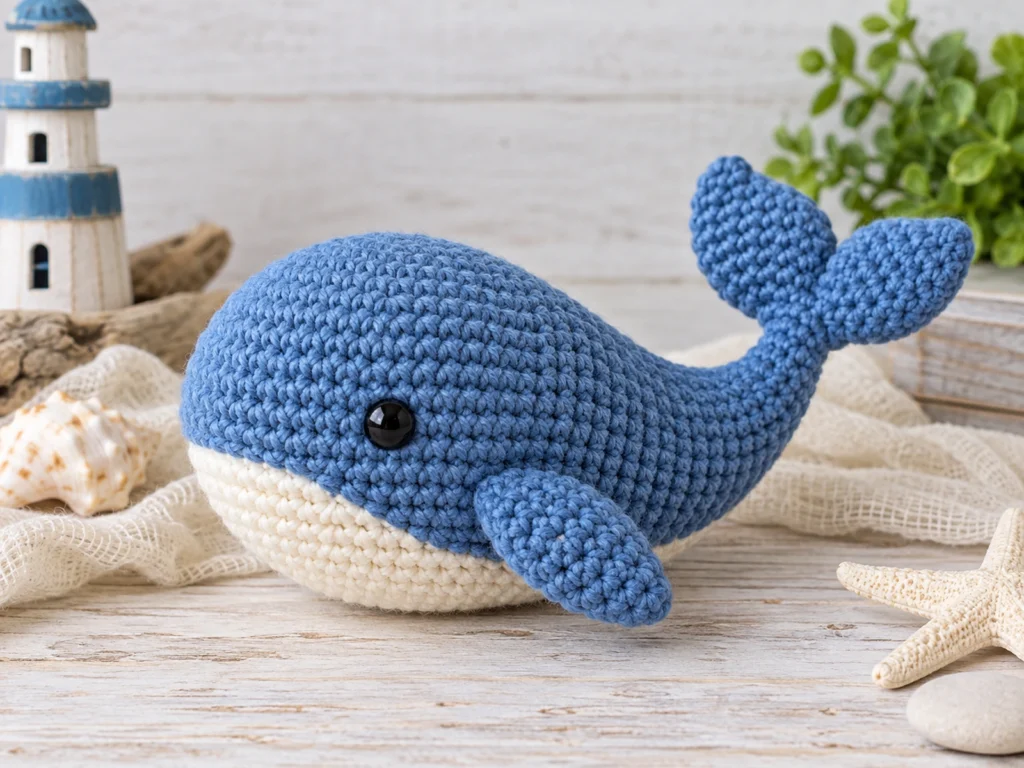
What You’ll Make
You’ll crochet a soft, rounded whale with:
- A tapered blue body
- Two side fins
- A two-part tail
- A contrasting cream belly
- Two black safety eyes
- An optional embroidered mouth
Project Details
- Approximate finished size: 5.5–6 inches long
- Yarn: Medium / worsted-weight (#4)
- Main color: Blue
- Accent color: White or cream
- Hook: 3.5 mm
- Eyes: 2 black 8 mm safety eyes
- Filling: Polyester fiberfill
- Construction: Main body worked in continuous rounds; fins, tail flukes, and belly worked separately
The finished size is approximate and may change with yarn choice, hook size, tension, and stuffing.
Materials & Tools
- Approximately 45–55 g of blue worsted-weight yarn
- A small amount of white or cream worsted-weight yarn
- 3.5 mm crochet hook
- 2 black 8 mm safety eyes
- Polyester fiberfill
- Tapestry or yarn needle
- Stitch marker
- Scissors
Safety Note
Safety eyes can present a choking hazard and are not appropriate for children under 3. This project is not presented as baby-safe or child-safe.
Abbreviations
This pattern uses standard US crochet terminology.
- MR — magic ring
- ch — chain
- sc — single crochet
- inc — increase; work 2 sc in the same stitch
- dec — decrease; single crochet decrease
- FO — fasten off
- st/sts — stitch/stitches
Turning chains do not count as stitches.
Before You Start
Work in Continuous Rounds
The whale body is worked continuously rather than joined at the end of each round. Use a stitch marker to keep track of the beginning of each round.
Count Your Stitches
Check the stitch count at the end of every round, especially after increase and decrease rounds. Keeping the correct count helps maintain the intended body shape.
Stuff as You Go
Add fiberfill gradually as the body develops. Small amounts are easier to distribute evenly and help prevent lumps or overstuffing.
Construction Order
The body is crocheted first. The side fins, tail flukes, and belly patch are then made separately and attached during finishing.
For paired pieces such as the fins, compare both sides before sewing them permanently so they remain as symmetrical as possible.
Crochet Whale Pattern
Whale Body — Make 1
Work in continuous rounds with blue yarn.
Round 1
6 sc in MR. (6)
Round 2
6 inc. (12)
Round 3
(sc, inc) × 6. (18)
Round 4
(2 sc, inc) × 6. (24)
Round 5
(3 sc, inc) × 6. (30)
Round 6
(4 sc, inc) × 6. (36)
Round 7
Sc around. (36)
Round 8
Sc around. (36)
Round 9
Sc around. (36)
Round 10
Sc around. (36)
Round 11
Sc around. (36)
Round 12
(4 sc, dec) × 6. (30)
Round 13
Sc around. (30)
Round 14
(3 sc, dec) × 6. (24)
Round 15
Sc around. (24)
Round 16
(2 sc, dec) × 6. (18)
Round 17
Sc around. (18)
Round 18
(sc, dec) × 6. (12)
Round 19
6 dec. (6)
Round 20
Sc around. (6)
Fasten off, leaving a long yarn tail for closing the opening.
Eyes and Stuffing
Place the two 8 mm safety eyes on the upper front portion of the body around the transition between Rounds 9 and 10. Compare both sides visually so the eyes are positioned symmetrically.
Begin stuffing once the body has enough depth to hold the fiberfill comfortably. Continue adding small amounts of stuffing as you work through the shaping rounds.
Avoid overstuffing. The body should be firm enough to hold its shape without stretching the stitches.
After Round 20, add any final amount of stuffing needed, then cinch the remaining opening closed with the yarn needle.
Side Fins — Make 2
Work each fin flat in blue yarn.
Row 1
Ch 7, sc in 2nd ch from hook and across. (6)
Row 2
Ch 1, turn, inc, 4 sc, inc. (8)
Row 3
Ch 1, turn, sc across. (8)
Row 4
Ch 1, turn, inc, 6 sc, inc. (10)
Row 5
Ch 1, turn, sc across. (10)
Row 6
Ch 1, turn, dec, 6 sc, dec. (8)
Row 7
Ch 1, turn, dec, 4 sc, dec. (6)
Row 8
Ch 1, turn, dec, 2 sc, dec. (4)
Row 9
Ch 1, turn, 2 dec. (2)
Row 10
Ch 1, turn, 2 sc. (2)
Fasten off and leave a long sewing tail.
Do not stuff the fins.
Tail Flukes — Make 2
Work each tail fluke flat in blue yarn.
Row 1
Ch 7, sc in 2nd ch from hook and across. (6)
Row 2
Ch 1, turn, inc, 4 sc, inc. (8)
Row 3
Ch 1, turn, inc, 6 sc, inc. (10)
Row 4
Ch 1, turn, sc across. (10)
Row 5
Ch 1, turn, sc across. (10)
Row 6
Ch 1, turn, dec, 6 sc, dec. (8)
Row 7
Ch 1, turn, dec, 4 sc, dec. (6)
Row 8
Ch 1, turn, dec, 2 sc, dec. (4)
Row 9
Ch 1, turn, 2 dec. (2)
Row 10
Ch 1, turn, 2 sc. (2)
Fasten off and leave a long sewing tail.
Do not stuff the tail flukes.
Belly Patch — Make 1
Work flat in white or cream yarn.
Row 1
Ch 6, sc in 2nd ch from hook and across. (5)
Row 2
Ch 1, turn, inc, 3 sc, inc. (7)
Row 3
Ch 1, turn, inc, 5 sc, inc. (9)
Row 4
Ch 1, turn, sc across. (9)
Row 5
Ch 1, turn, dec, 5 sc, dec. (7)
Row 6
Ch 1, turn, dec, 3 sc, dec. (5)
Row 7
Ch 1, turn, 2 dec. (3)
Row 8
Ch 1, turn, 3 sc. (3)
Fasten off and leave a sewing tail.
Do not stuff the belly patch.
Assembly
Step 1: Add the Eyes
Check the placement of both eyes on the upper front portion of the body before permanently securing them.
Use the body shape as your guide and compare both sides for symmetry.
Step 2: Attach the Belly Patch
Place the cream belly patch along the underside of the body.
The wider end should face the front of the whale, while the narrower end points toward the rear.
Check the placement from the front and sides before sewing the patch securely around its edge.
Step 3: Attach the Side Fins
Position one fin on each side of the body around the broadest middle-to-lower area.
Angle the fins slightly toward the rear.
Compare the fins from the front, top, and bottom before sewing them permanently.
Step 4: Join the Tail Flukes
Place the two tail flukes with their narrow inner ends facing each other and their wider sections extending outward.
Sew the narrow ends together securely.
Step 5: Attach the Tail
Center the joined tail on the rear of the whale’s body.
Sew it securely around the closed rear section, keeping both flukes balanced.
Step 6: Final Shaping
Gently adjust the stuffing and smooth the body.
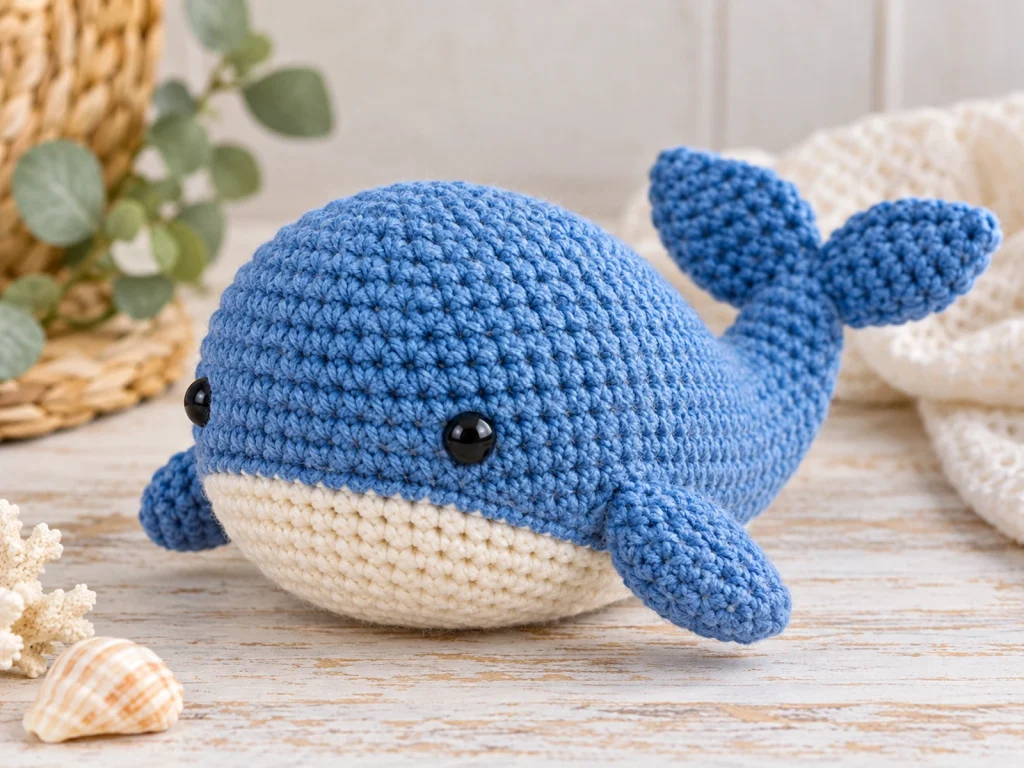
Check that the belly remains centered, the fins are balanced, and the tail sits in the center of the rear.
Finishing
Weave in and trim the remaining yarn ends after all components have been securely attached.
Check that no stuffing is visible through the crochet fabric and that the finished whale holds its rounded shape.
Helpful Tips
Keep the stuffing gradual
Adding small amounts at a time makes it easier to control the shape and prevent lumps.
Use a stitch marker
A stitch marker is especially helpful when working continuous rounds on the body.
Count before moving on
If your stitch count changes unexpectedly, stop and correct the previous round before continuing.
Compare paired pieces
Lay the two fins beside each other before attaching them. They should mirror one another in shape and orientation.
Close the body gently
The final opening contains only 6 stitches. Close it firmly enough to secure the stuffing without pulling the surrounding stitches out of shape.
Troubleshooting
My stitch count is off. What should I do?
Return to the most recent completed round with a confirmed stitch count and check each increase or decrease individually.
The body looks lumpy.
Check the stuffing first. Redistribute the fiberfill and reshape the body gently rather than adding more stuffing immediately.
My fins don’t look symmetrical.
Position both fins before sewing. Compare the whale from several angles and adjust their placement until the silhouette looks balanced.
The tail looks uneven.
Check that the two flukes were joined at their narrow ends and that the completed tail was centered before sewing it to the body.
I can see stuffing through the stitches.
The body may be overstuffed, or the crochet tension may be looser than intended. Redistribute the stuffing and avoid packing it too tightly.
Customization Ideas
Change the body color
Try different shades of blue, gray, or other colors while keeping the same construction.
Create a pastel whale
Soft blue, lavender, or other muted shades can give the whale a different look without changing the pattern structure.
Change the expression
Add a small embroidered mouth below the eyes for a different personality.
Experiment with yarn
Changing yarn weight or fiber can alter the finished size and texture. Keep in mind that the crochet fabric and stuffing behavior may change as well.
Frequently Asked Questions
How big is the finished crochet whale?
The design target is approximately 5.5–6 inches long. Actual size will vary with yarn, hook size, tension, stuffing, and individual technique.
What crochet terminology does this pattern use?
The pattern uses standard US crochet terminology, including single crochet, increases, and decreases.
Is the whale stuffed?
Yes. The main body is stuffed with polyester fiberfill. The fins, tail flukes, and belly patch are not stuffed.
Are the fins made separately?
Yes. Two fins are crocheted flat and sewn onto the body.
Is the tail made separately?
Yes. The two tail flukes are crocheted separately, joined together, and then attached to the rear of the body.
Can I use a different yarn color?
Yes. The design does not depend on a specific body color, so you can choose different color combinations while keeping the same stitch structure.
Can I change the finished size?
Changing yarn weight or hook size will affect the finished dimensions. A different size may also change how much stuffing is needed and how the final proportions look.
Is this pattern physically tested?
The pattern has been mathematically reviewed and constructionally checked, but it has not been physically crocheted and tested yet.
More Crochet Animal Patterns
Explore more animal-inspired crochet projects from Tiny Yarn Tales as you build your amigurumi collection.
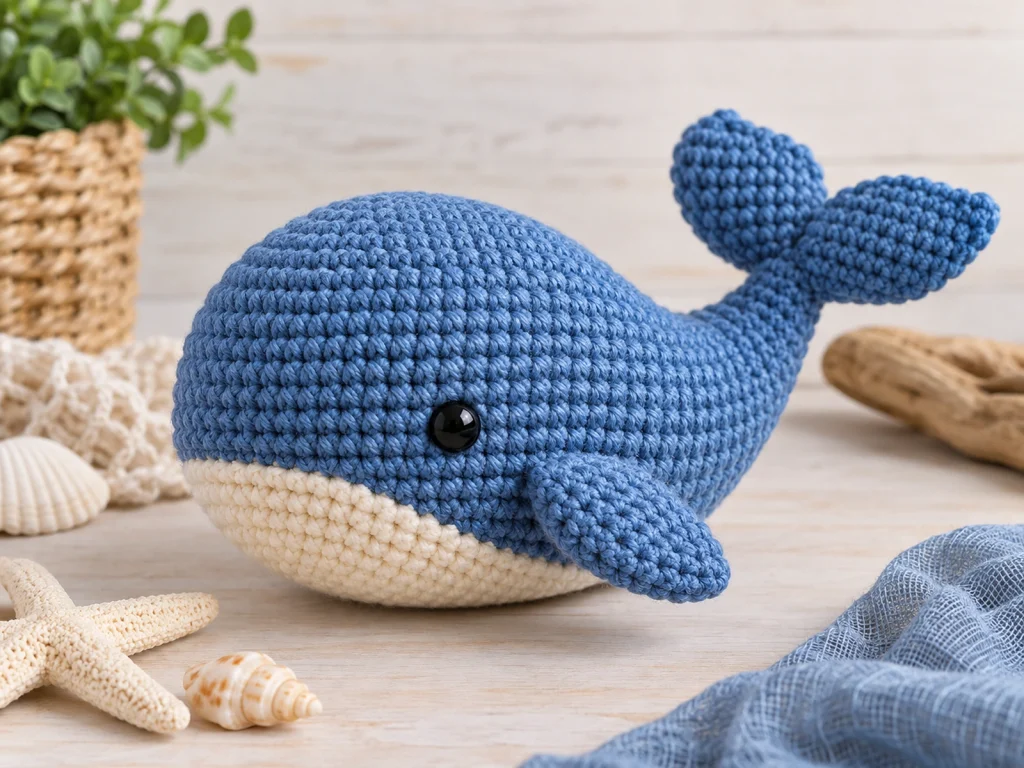
A careful stitch count, even stuffing, and balanced component placement will help you create the cleanest finished shape possible. Take your time with the assembly, especially when positioning the fins and tail.
Happy crocheting!