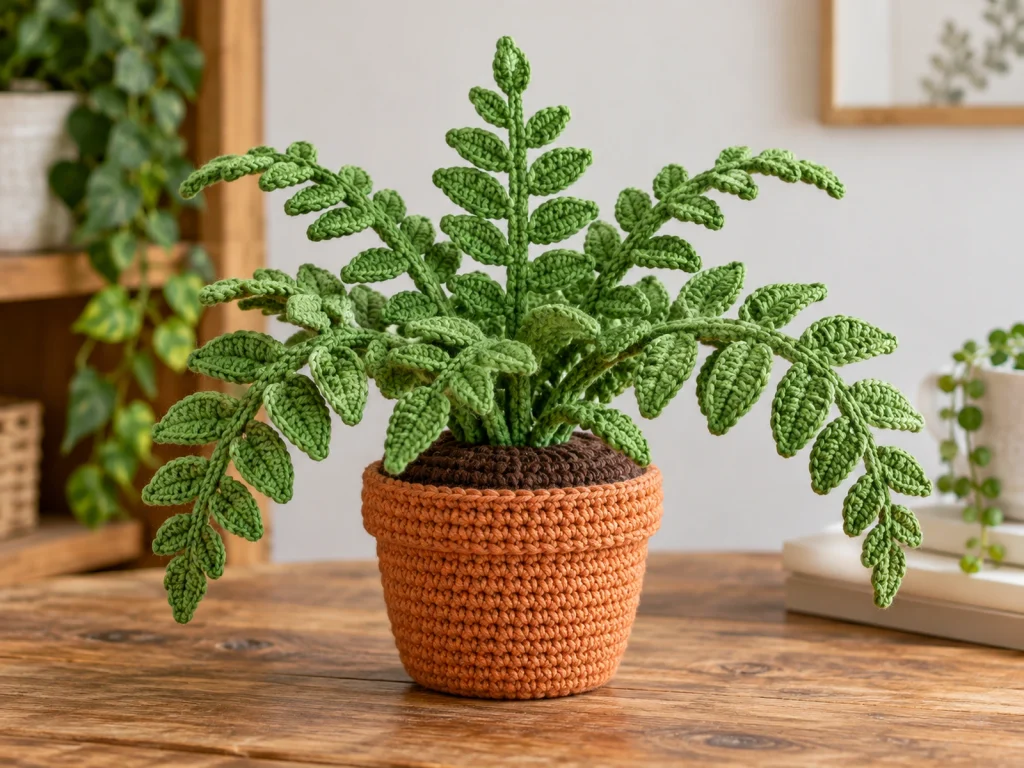
Fern Plant Crochet Pattern
Bring a touch of handmade greenery to your space with…
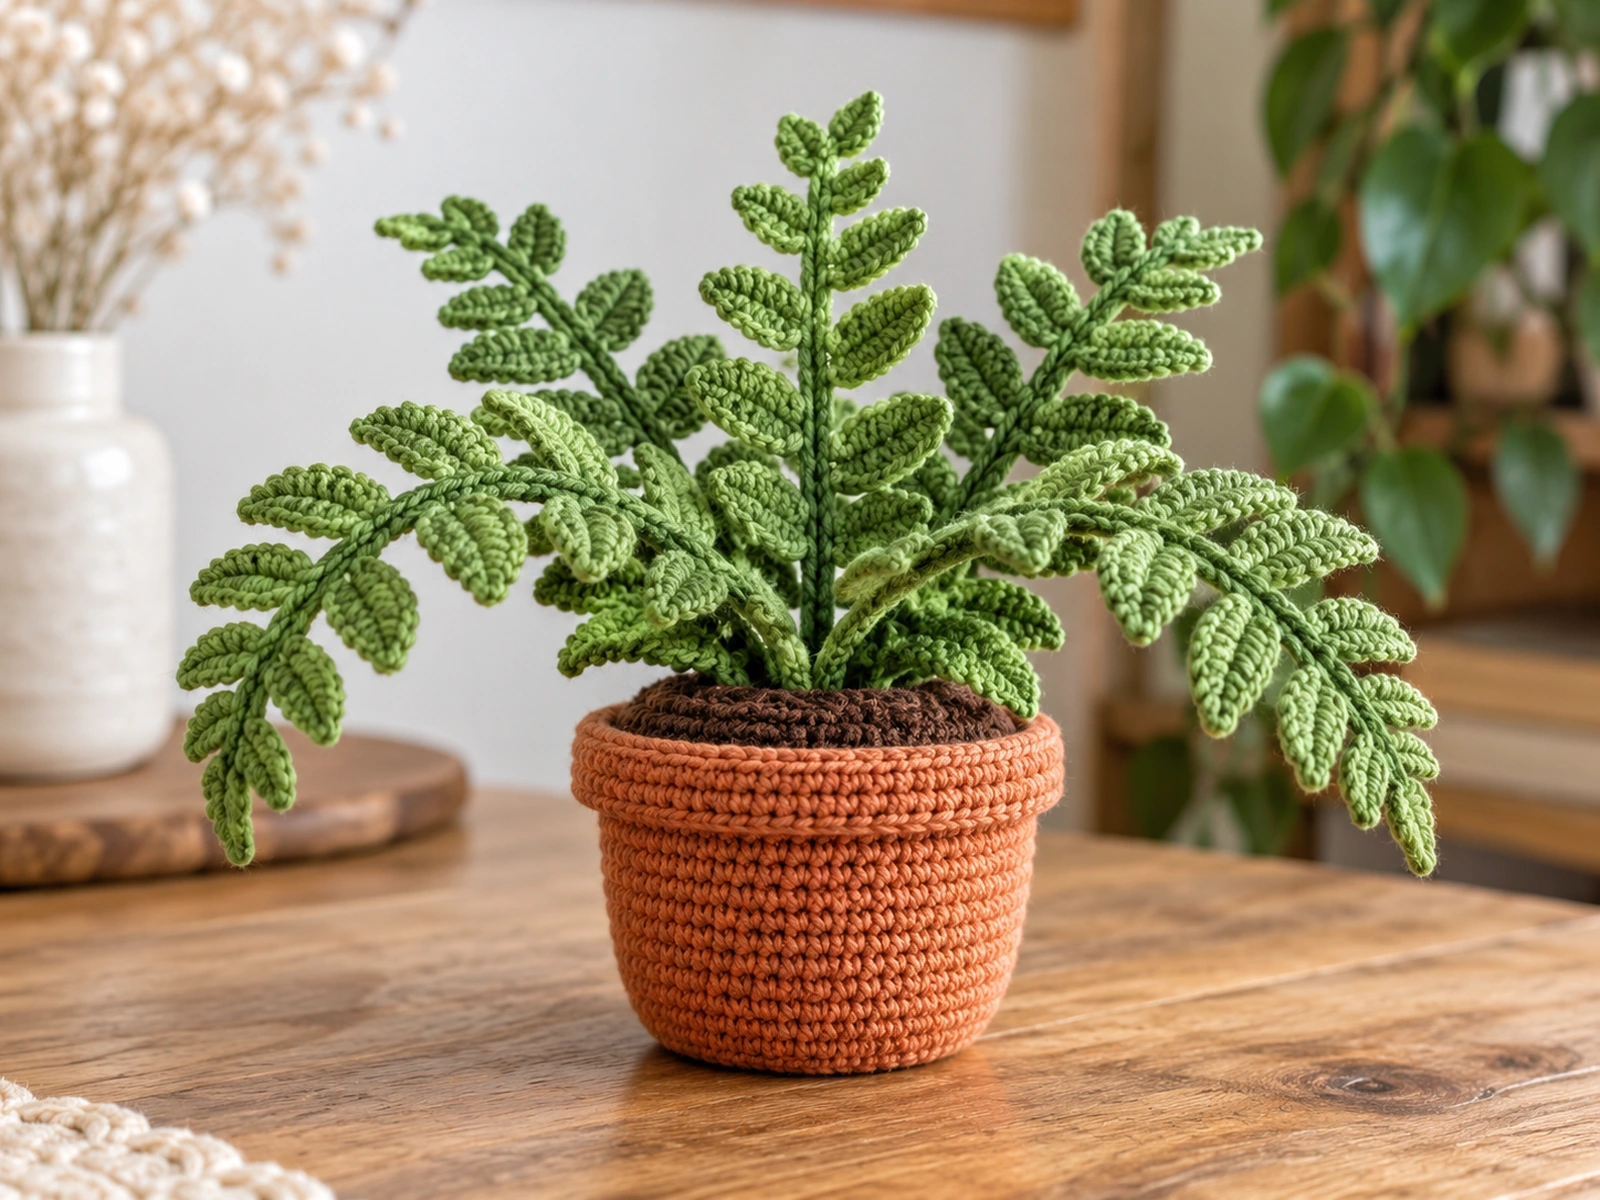
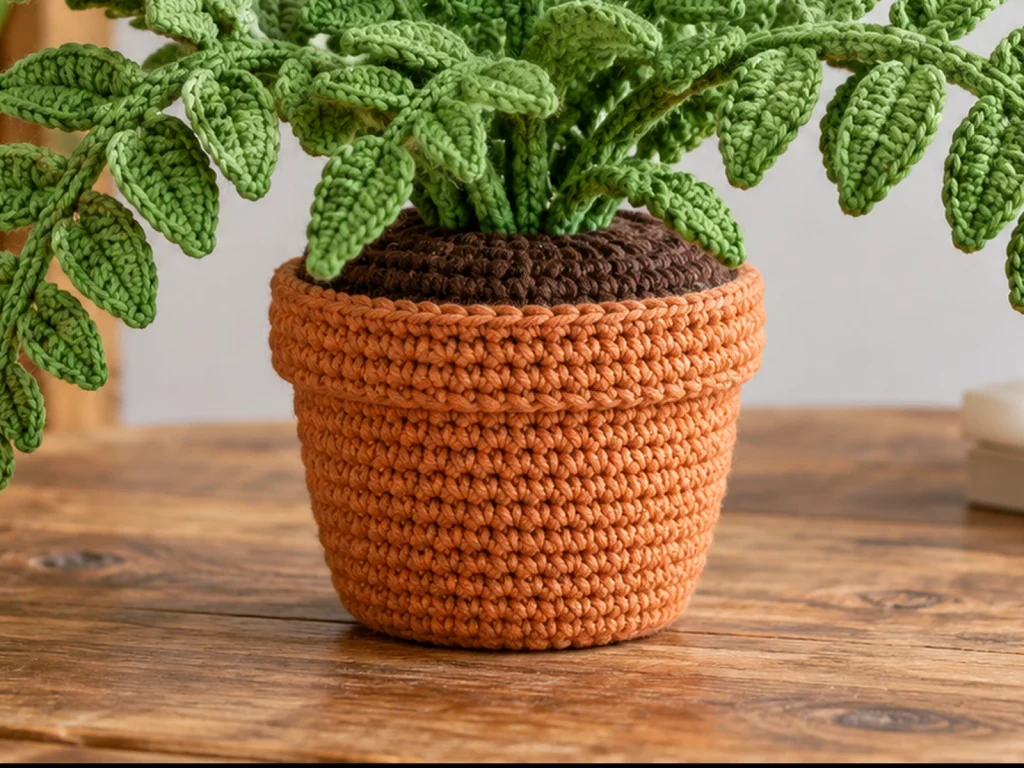
Bring a touch of handmade greenery to your space with this Fern Plant Crochet Pattern. The design is built from five crocheted fronds, individual leaflets, a simple stuffed pot, and a brown soil cover that brings everything together.
The finished fern is approximately 8–10 inches tall, with a pot approximately 3–3.5 inches wide. Final size can vary with yarn, hook size, tension, stuffing, and individual technique.
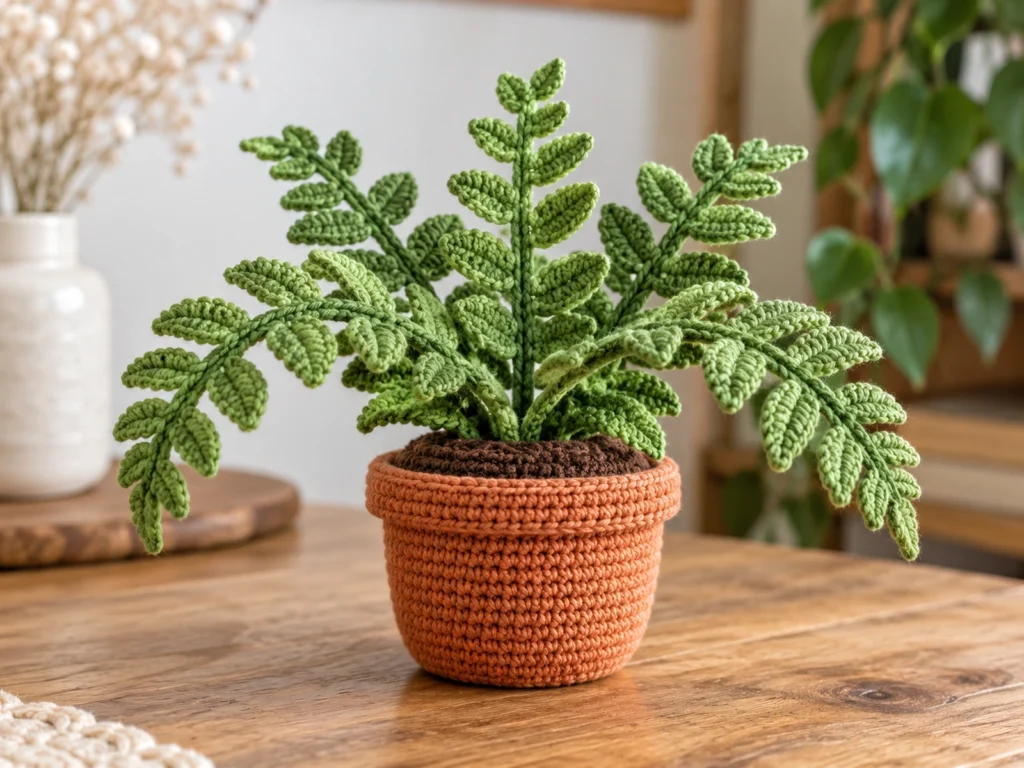
Pattern note: This original design has been mathematically reviewed and constructionally checked, but it has not been physically crocheted and tested yet. Finished measurements and the final silhouette should therefore be considered approximate.
Project Overview
The fern is made from:
- 1 terracotta pot
- 1 dark brown soil cover
- 4 longer outer fronds
- 1 shorter center frond
- 16 large leaflets
- 27 small leaflets
The four outer fronds create the main spread of the plant, while the shorter center frond adds height and fills the middle.
The pot is lightly stuffed, and the finished fronds are sewn to the soil cover before the soil cover is attached to the pot.
Materials & Tools
Yarn
Use worsted-weight (#4) yarn in:
- Fern green
- Terracotta
- Dark brown
Hook & Tools
- 3.5 mm crochet hook
- Polyester fiberfill
- Yarn needle
- Scissors
For a firmer frond stem, you can crochet the stem cord using doubled yarn.
Finished Size
The completed fern is approximately:
- 8–10 inches tall
- 3–3.5 inches pot width
These measurements are approximate and can change with yarn, hook size, tension, stuffing, and finishing.
Crochet Abbreviations
US crochet terminology:
- MR — magic ring
- ch — chain
- sc — single crochet
- hdc — half double crochet
- dc — double crochet
- sl st — slip stitch
- inc — increase: 2 sc in the same stitch
- FO — fasten off
- BLO — back loop only
Before You Start
A few details will make the pattern easier to follow:
- Count your stitches at the end of every round.
- Leave a longer yarn tail whenever a piece will be sewn later.
- Lightly stuff the pot so it holds its shape without stretching.
- Do not stuff the soil cover.
- The leaflets are made separately and sewn onto the crocheted frond stems.
- Compare paired leaflets before sewing them permanently so both sides remain visually balanced.
- Save the final shaping for the end of assembly.
Original Crochet Fern Pattern
Pot Body — Make 1
Use terracotta yarn.
Round 1
8 sc in MR. (8)
Round 2
8 inc. (16)
Round 3
(sc, inc) × 8. (24)
Round 4
(2 sc, inc) × 8. (32)
Round 5
(3 sc, inc) × 8. (40)
Round 6
(4 sc, inc) × 8. (48)
Round 7
Sc around. (48)
Round 8
Sc around. (48)
Round 9
Sc around. (48)
Round 10
Sc around. (48)
Round 11
Sc around. (48)
Round 12
Sc in BLO around. (48)
Round 13
Sc around. (48)
Fasten off and leave a sewing tail.
Lightly stuff the pot with polyester fiberfill. Avoid overstuffing.
Soil Cover — Make 1
Use dark brown yarn.
Round 1
8 sc in MR. (8)
Round 2
8 inc. (16)
Round 3
(sc, inc) × 8. (24)
Round 4
(2 sc, inc) × 8. (32)
Round 5
(3 sc, inc) × 8. (40)
Round 6
(4 sc, inc) × 8. (48)
Fasten off and leave a long sewing tail.
Do not stuff the soil cover.
Long Frond Stem — Make 4
Use fern-green yarn.
Stem
Ch 25.
Sl st in the 2nd ch from hook and in each remaining chain to the end. (24 sl sts)
Fasten off and leave a long sewing tail.
Leaflet Placement
Attach the leaflets at these stem positions:
- Stitch 4 — large leaflet pair
- Stitch 9 — large leaflet pair
- Stitch 14 — small leaflet pair
- Stitch 19 — small leaflet pair
- Stitch 24 — small tip leaflet
Each pair has one leaflet on each side of the stem.
Make 4 long fronds.
Center Frond Stem — Make 1
Use fern-green yarn.
Stem
Ch 20.
Sl st in the 2nd ch from hook and in each remaining chain to the end. (19 sl sts)
Fasten off and leave a long sewing tail.
Leaflet Placement
Attach:
- Stitch 4 — small leaflet pair
- Stitch 9 — small leaflet pair
- Stitch 14 — small leaflet pair
- Stitch 19 — small tip leaflet
The center frond is shorter than the outer fronds.
Large Fern Leaflet — Make 16
Use fern-green yarn.
Round 1
Ch 7.
Starting in the 2nd ch from hook:
sc, hdc, dc, dc, hdc across the next 5 chain stitches; work 3 sc in the last chain stitch.
Continue along the opposite side of the foundation chain:
sc, hdc, dc, dc, hdc.
Sl st to the first sc. (13)
Fasten off and leave a sewing tail.
Gently flatten the leaflet with your fingers.
Small Fern Leaflet — Make 27
Use fern-green yarn.
Round 1
Ch 6.
Starting in the 2nd ch from hook:
sc, hdc, dc, hdc across the next 4 chain stitches; work 3 sc in the last chain stitch.
Continue along the opposite side of the foundation chain:
sc, hdc, dc, hdc.
Sl st to the first sc. (11)
Fasten off and leave a sewing tail.
Gently flatten the leaflet with your fingers.
Assemble the Four Long Fronds
Prepare one long stem and its nine leaflets:
- 4 large leaflets
- 5 small leaflets
Lower Pair
At stem stitch 4, sew one large leaflet to each side of the stem.
Angle this pair slightly downward.
Second Pair
At stem stitch 9, sew one large leaflet to each side.
Keep this pair slightly less downward-facing than the first pair.
Third Pair
At stem stitch 14, sew one small leaflet to each side.
Fourth Pair
At stem stitch 19, sew one small leaflet to each side.
Let these upper leaflets angle more upward.
Tip Leaflet
At stem stitch 24, sew one small leaflet at the end of the stem so it continues the direction of the frond.
Repeat for all four long fronds.
Before sewing each pair permanently, compare both sides and adjust the angle for a balanced look.
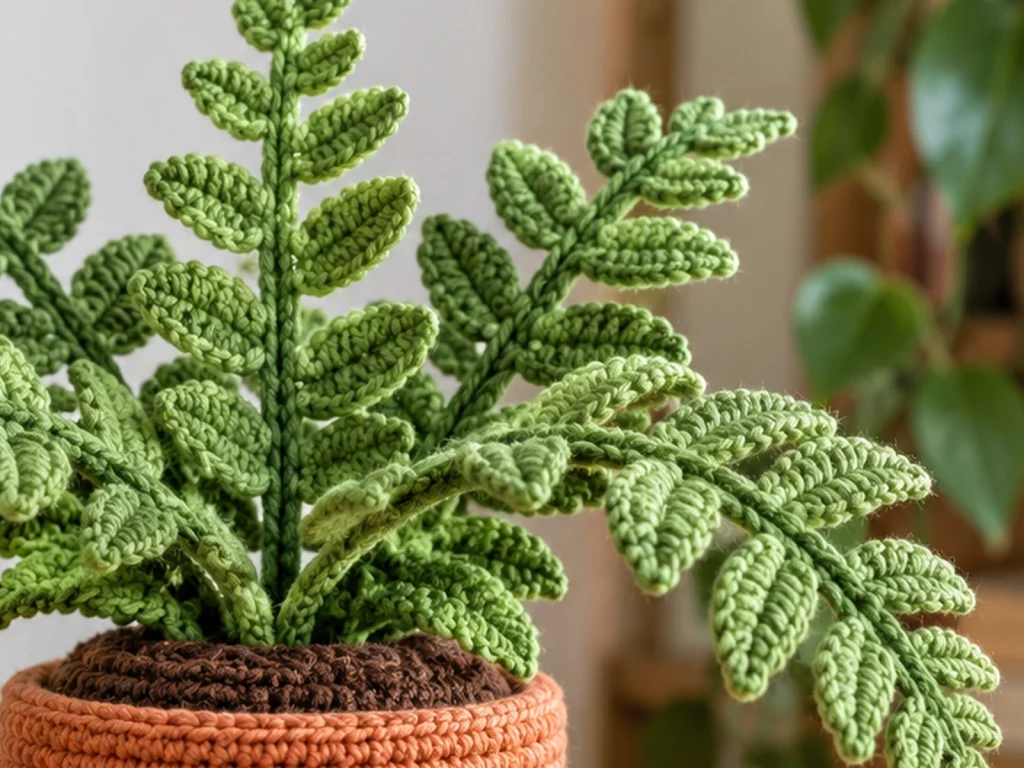
Assemble the Center Frond
Prepare the shorter stem and seven small leaflets.
At stem stitch 4, attach one leaflet to each side.
At stem stitch 9, attach one leaflet to each side.
At stem stitch 14, attach one leaflet to each side.
At stem stitch 19, attach the final small leaflet at the tip.
Keep the center frond slightly more upright than the outer fronds.
Attach the Fronds to the Soil Cover
Place the brown soil cover flat.
Arrange the four long fronds around the center:
- One toward the front
- One toward the back
- One toward the left
- One toward the right
Place the shorter center frond in the middle.
Sew each frond securely to the top of the soil cover.
Weave the remaining green yarn ends into the underside of the soil cover.
Finish the Pot
Place the completed soil cover over the stuffed terracotta pot.
Align the outside edge of the soil cover with the opening of the pot.
Using the brown sewing tail, sew the soil cover securely around the entire circumference.
Weave in the remaining yarn end.
Shape the Finished Fern
Gently fan the four outer fronds away from the center.
Let the lower leaflets sit slightly farther outward and downward.
Keep the upper leaflets closer to their stems.
Raise the center frond slightly above the surrounding fronds.
Make small adjustments with your fingers until the plant has a balanced fern-like silhouette.
Helpful Tips
Keep paired leaflets balanced
Compare both sides of each stem before permanently sewing the leaflets in place. Small angle adjustments can make a noticeable difference in the finished shape.
Keep leaflet sizes consistent
The large and small leaflets have different roles in the fronds. Try to keep each repeated size as consistent as possible.
Avoid overstuffing the pot
The pot only needs enough fiberfill to hold its shape. Too much stuffing can stretch the crochet fabric.
Shape the plant at the end
Finish the assembly first, then make the final frond and leaflet adjustments.
Check the arrangement before closing the pot
Look at the plant from several angles before completing the final seam around the soil cover.
Troubleshooting
My fronds look too flat.
Gently fan the lower leaflets outward and angle the upper leaflets more upright. The finished silhouette is adjusted by hand during shaping.
My paired leaflets do not look symmetrical.
Compare both sides from the same angle before securing them permanently. Adjust the leaflet position or angle as needed.
The pot looks too soft.
Add a little more fiberfill before attaching the soil cover. Avoid packing it tightly enough to stretch the stitches.
The soil cover does not line up neatly with the pot.
Center the soil cover over the opening before sewing. Work gradually around the circumference instead of pulling one section tightly at once.
My leaflets look uneven.
Check your stitch count and tension across the repeated pieces. Making the same number of stitches in each leaflet will help maintain consistency.
Customization Ideas
Change the green shades
Use one green for a classic botanical appearance or combine closely related greens for subtle variation.
Adjust the silhouette
The overall shape can be changed by varying how widely you spread the outer fronds and how upright you keep the center frond.
Make the stems firmer
For extra firmness, use doubled yarn when crocheting the frond stems.
Create a fuller arrangement
A fuller appearance can be achieved by changing the orientation of the five finished fronds during assembly.
Frequently Asked Questions
How tall is the finished crochet fern?
The design is approximately 8–10 inches tall, depending on yarn, hook size, tension, stuffing, and final shaping.
How many fronds does the pattern use?
The plant uses five fronds: four longer outer fronds and one shorter center frond.
How many leaflets are needed?
The complete design uses 43 leaflets:
- 16 large leaflets
- 27 small leaflets
Does the fern use wire?
No. The design uses crocheted stem cords rather than wire. For extra firmness, the stems can be crocheted using doubled yarn.
Is the pot stuffed?
Yes. The terracotta pot is lightly stuffed with polyester fiberfill. The brown soil cover is not stuffed.
Can I change the final shape?
Yes. The final silhouette can be adjusted during assembly by changing the angle and spread of the individual fronds and leaflets.
Does the pattern use standard US crochet terminology?
Yes. The pattern uses standard US crochet terms such as sc, hdc, dc, sl st, inc, MR, and BLO.
Final Thoughts
This Fern Plant Crochet Pattern is built by combining a simple crocheted pot with layered fronds and individually attached leaflets.
Take your time with the leaflet placement and final shaping. Those finishing adjustments have the biggest influence on the appearance of the completed fern.