
Free Crochet Penguin Pattern – Tiny Penguin Amigurumi
Create a sweet little penguin amigurumi with a rounded black…
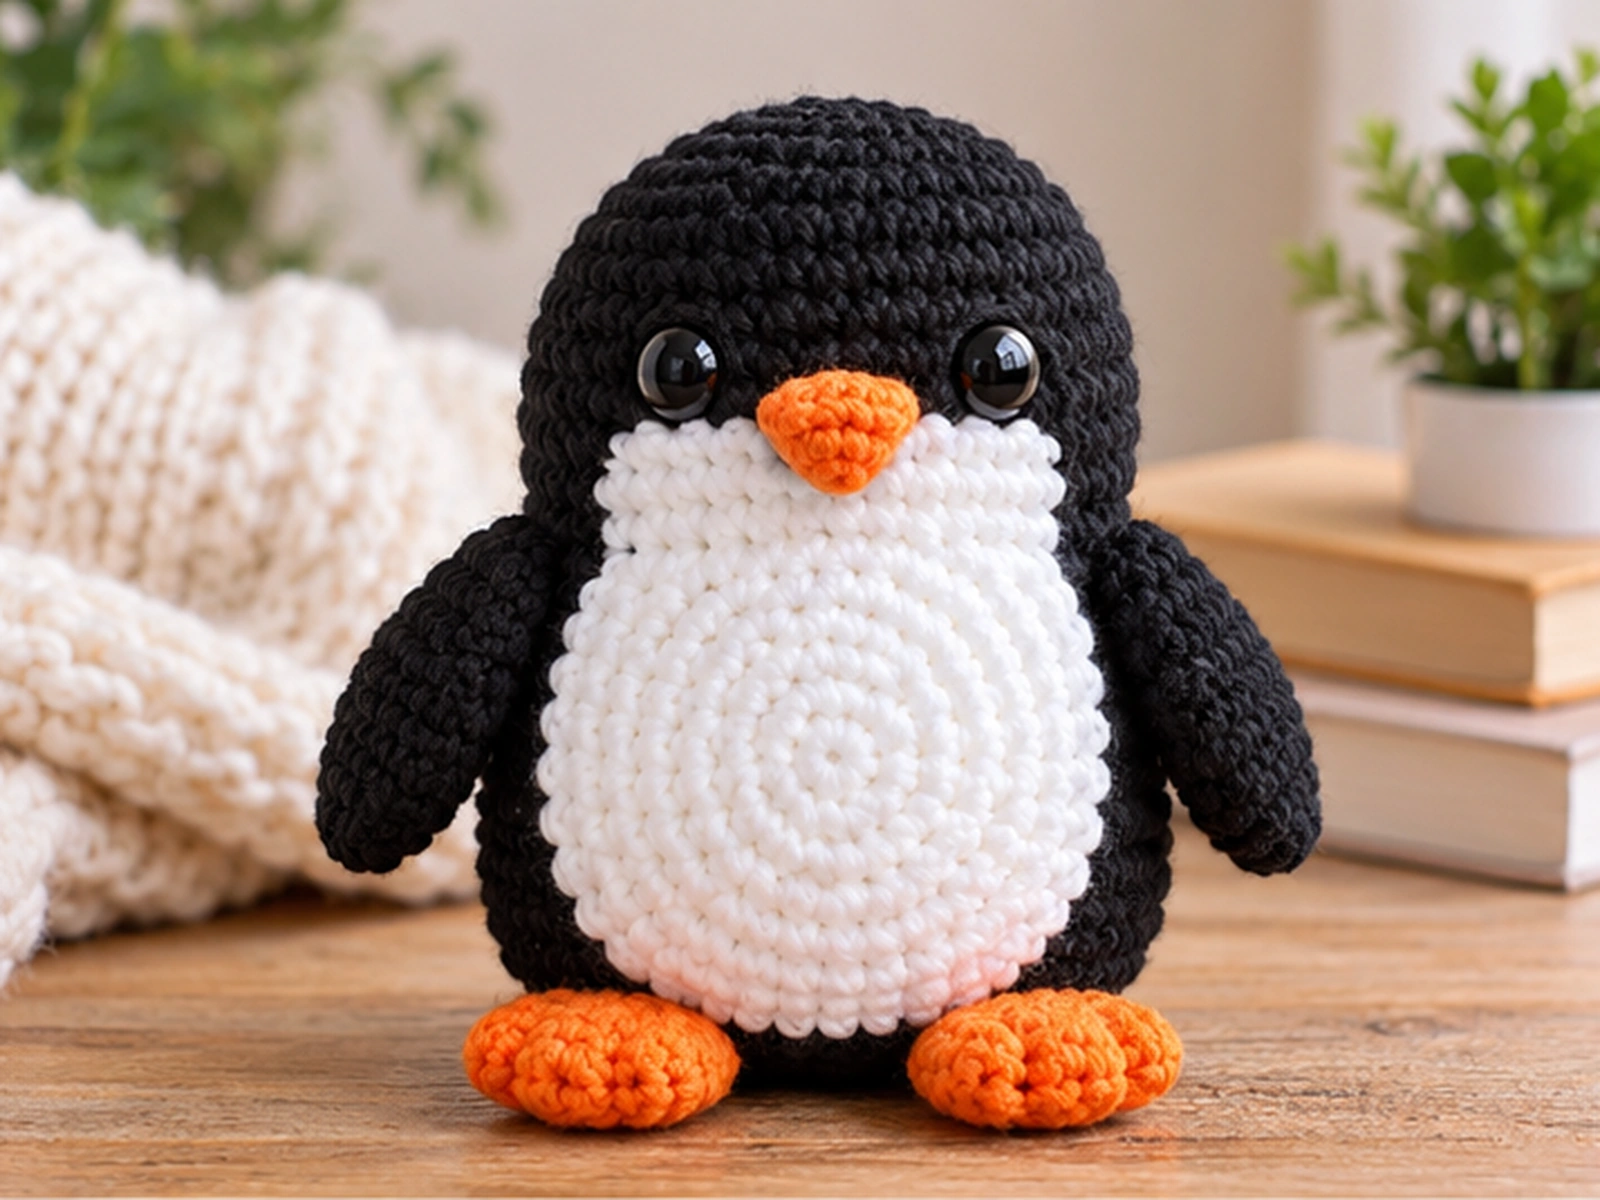
Create a sweet little penguin amigurumi with a rounded black body, bright white belly, orange feet, and a tiny orange beak. This original free crochet penguin pattern uses US crochet terms and works the head and body as one continuous piece, with the remaining details crocheted separately and sewn into place.
The finished penguin is approximately 5–6.5 inches tall. Your final size may vary depending on your yarn, hook, tension, stuffing, and individual crochet technique.

Project Overview
This crochet penguin has a simple, recognizable silhouette made from a few easy-to-understand components:
- Rounded black head and body worked as one piece
- White crocheted belly patch
- Two black tapered wings
- Two orange feet
- Small orange beak
- Two 8 mm safety eyes
The main body is shaped with increases and decreases, while the wings, feet, belly, and beak are made separately and attached during assembly.
The pattern has been mathematically reviewed and constructionally checked, but it has not been physically crocheted and tested yet.
Materials & Tools
- Worsted-weight (#4) yarn in black
- Worsted-weight (#4) yarn in white
- Worsted-weight (#4) yarn in orange
- 3.25 mm crochet hook
- 8 mm safety eyes
- Polyester fiberfill
- Yarn needle
- Scissors
- Stitch marker
Safety Note
Safety eyes can present a choking hazard and are not appropriate for children under 3. This pattern does not make any child-safe or baby-safe claim.
Abbreviations
US crochet terminology:
- MR — magic ring
- sc — single crochet
- inc — increase; work 2 sc in the same stitch
- dec — decrease; single crochet 2 stitches together
- FO — fasten off
Before You Start
This pattern is worked in continuous rounds unless otherwise noted. Using a stitch marker at the beginning of each round can make counting easier.
Keep track of your stitch count after every round, especially when working increases and decreases.
For stuffed pieces, add fiberfill gradually as you crochet. Aim for a firm, rounded shape without stretching the stitches.
When attaching paired pieces such as the wings and feet, position both sides first and compare them before sewing permanently.
Original Crochet Penguin Pattern
Head & Body — Black
The head and body are crocheted as one continuous piece.
Round 1: 6 sc in MR. (6)
Round 2: 6 inc. (12)
Round 3: (sc, inc) × 6. (18)
Round 4: (2 sc, inc) × 6. (24)
Round 5: (3 sc, inc) × 6. (30)
Round 6: (4 sc, inc) × 6. (36)
Round 7: 36 sc. (36)
Round 8: 36 sc. (36)
Round 9: 36 sc. (36)
Round 10: 36 sc. (36)
Round 11: 36 sc. (36)
Round 12: (5 sc, inc) × 6. (42)
Round 13: 42 sc. (42)
Round 14: 42 sc. (42)
Round 15: 42 sc. (42)
Round 16: 42 sc. (42)
Round 17: 42 sc. (42)
Begin adding fiberfill before the opening becomes difficult to reach.
Round 18: (5 sc, dec) × 6. (36)
Round 19: (4 sc, dec) × 6. (30)
Round 20: (3 sc, dec) × 6. (24)
Round 21: (2 sc, dec) × 6. (18)
Round 22: (2 sc, inc) × 6. (24)
Round 23: (3 sc, inc) × 6. (30)
Round 24: (4 sc, inc) × 6. (36)
Round 25: (5 sc, inc) × 6. (42)
Round 26: 42 sc. (42)
Round 27: 42 sc. (42)
Round 28: 42 sc. (42)
Round 29: 42 sc. (42)
Round 30: 42 sc. (42)
Round 31: 42 sc. (42)
Adjust the stuffing as needed while shaping the head.
Round 32: (5 sc, dec) × 6. (36)
Round 33: (4 sc, dec) × 6. (30)
Round 34: (3 sc, dec) × 6. (24)
Round 35: (2 sc, dec) × 6. (18)
Round 36: (sc, dec) × 6. (12)
Round 37: 6 dec. (6)
FO, leaving a long yarn tail. Close the remaining opening and weave the end securely into the piece.
Belly Patch — White
Work the belly patch as a flat circle.
Round 1: 6 sc in MR. (6)
Round 2: 6 inc. (12)
Round 3: (sc, inc) × 6. (18)
Round 4: (2 sc, inc) × 6. (24)
Round 5: (3 sc, inc) × 6. (30)
FO, leaving a sewing tail.
Wings — Make 2 in Black
Round 1: 6 sc in MR. (6)
Round 2: 6 inc. (12)
Round 3: (sc, inc) × 6. (18)
Round 4: 18 sc. (18)
Round 5: 18 sc. (18)
Round 6: 18 sc. (18)
Round 7: (sc, dec) × 6. (12)
Round 8: 12 sc. (12)
Round 9: 6 dec. (6)
Add a small amount of stuffing to give each wing shape without making it rigid.
FO, leaving a sewing tail. Make the second wing the same way.
Feet — Make 2 in Orange
Round 1: 6 sc in MR. (6)
Round 2: 6 inc. (12)
Round 3: (sc, inc) × 6. (18)
Round 4: 18 sc. (18)
Round 5: (sc, dec) × 6. (12)
Round 6: 12 sc. (12)
Round 7: 6 dec. (6)
Add a small amount of stuffing before closing.
FO, leaving a sewing tail. Make the second foot the same way.
Beak — Orange
Round 1: 4 sc in MR. (4)
Round 2: (sc, inc) × 2. (6)
Round 3: (2 sc, inc) × 2. (8)
Round 4: 8 sc. (8)
Round 5: 4 dec. (4)
Add very little stuffing, or leave the beak unstuffed if the crochet fabric holds its shape.
FO, leaving a sewing tail.
Facial Details
Eye Placement
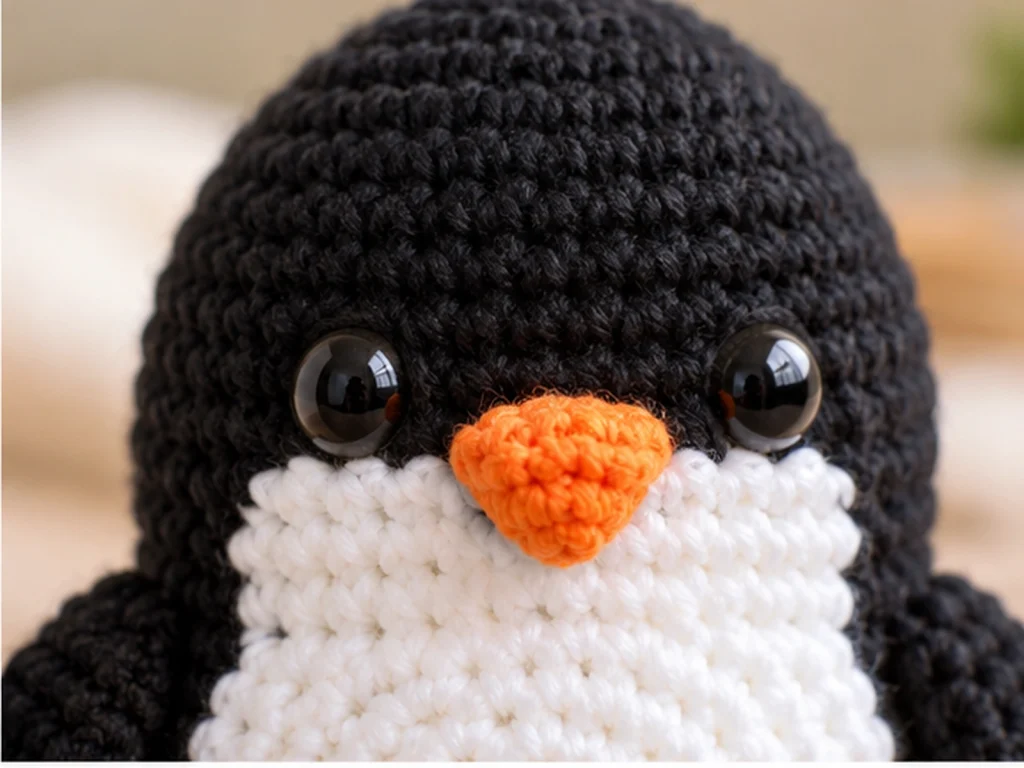
Insert the two 8 mm safety eyes on the front of the head.
Use the crocheted surface as your visual guide rather than forcing an exact measurement. Position the first eye, then place the second at the same height. Compare both sides before permanently securing them.
Beak Placement
Center the orange beak between the eyes and sew it securely around its base.

Assembly
Step 1: Attach the Belly
Place the white belly patch on the front of the body.
Center it visually from side to side and from top to bottom, then sew around the entire perimeter.
Step 2: Attach the Wings
Position one wing on each side of the body.
Place both wings before sewing either one completely. Compare their height and angle, then sew them securely once the placement looks balanced.
Step 3: Attach the Feet
Position the orange feet at the lower front of the body.
Compare both sides before sewing them permanently into place.
Step 4: Attach the Beak
Center the orange beak between the eyes and sew around its base.
Step 5: Finish the Yarn Ends
Weave in all remaining yarn tails and hide them inside the finished penguin.
Give the entire piece a final shaping check and make sure no stuffing is visible through the stitches.
Helpful Tips
Keep your tension consistent
Changes in tension can alter the shape and final size of the penguin. Try to maintain an even tension throughout the project.
Stuff gradually
Add fiberfill in small amounts rather than packing the piece all at once. This makes it easier to control the shape and avoid stretching the stitches.
Compare paired pieces
Lay the wings or feet side by side before attaching them. Matching the pieces visually before sewing can make the finished penguin look much more balanced.
Check the face before finalizing it
Place the eyes and beak first, then pause and look at the expression from the front. Small adjustments are easier before everything is secured.
Troubleshooting
My stitch count is off. What should I do?
Stop and recount the current round before continuing. Then check the previous round for a missed increase or decrease.
My penguin looks uneven.
Check your tension and stuffing. Uneven stuffing can also make one side look fuller than the other.
The belly patch is off-center.
Leave it loosely positioned before sewing and compare both sides of the body. Adjust the patch visually until it looks centered.
My wings don’t match.
Place both wings together and compare their shape and stuffing. Also check their attachment height before sewing them permanently.
The head feels too firm.
Redistribute or remove a small amount of stuffing rather than forcing additional fiberfill into the piece.
Customization Ideas
Change the belly color
A soft cream, gray, or another light shade can give the penguin a different look while keeping the same basic construction.
Experiment with accent colors
Try different orange shades for the feet and beak to give your penguin its own personality.
Create different expressions
Small changes in eye and beak placement can create different facial expressions.
Add a small accessory
A scarf, bow, or similar accessory can turn the basic penguin into a personalized character. Accessories should be designed separately from the base pattern.
Frequently Asked Questions
Is this a free crochet penguin pattern?
Yes. The complete original Tiny Yarn Tales penguin pattern is provided in this article.
What yarn weight is used?
The design uses worsted-weight (#4) yarn in black, white, and orange.
What crochet hook size should I use?
The pattern uses a 3.25 mm crochet hook.
How large will the finished penguin be?
The intended finished size is approximately 5–6.5 inches tall. Final size can vary with yarn, hook, tension, stuffing, and individual technique.
Is this crochet penguin pattern physically tested?
Not yet. The pattern has been mathematically reviewed and constructionally checked, but it has not been physically crocheted and tested.
Can I change the colors?
Yes. You can change the yarn colors while keeping the same basic construction.
Can I replace the safety eyes?
The base pattern uses 8 mm safety eyes. An embroidered eye treatment can be considered as a customization, but the resulting appearance and construction should be evaluated separately.
Care
Because the finished project is stuffed and contains attached components, care should be gentle. Avoid excessive pulling on the wings, feet, beak, or belly patch, and check the attached pieces periodically for signs of loosening.

Final Thoughts
This tiny penguin combines a rounded black body with a bright white belly and orange details for a classic penguin look.
The head and body are worked as one continuous piece, while the belly, wings, feet, and beak are added afterward. Careful stuffing, consistent tension, and balanced assembly will help you create the intended silhouette.
Pattern status: mathematically reviewed and constructionally checked, but not physically crocheted and tested yet.