
Kitten in a Basket Crochet Pattern
A tiny crochet kitten tucked into a little basket makes…
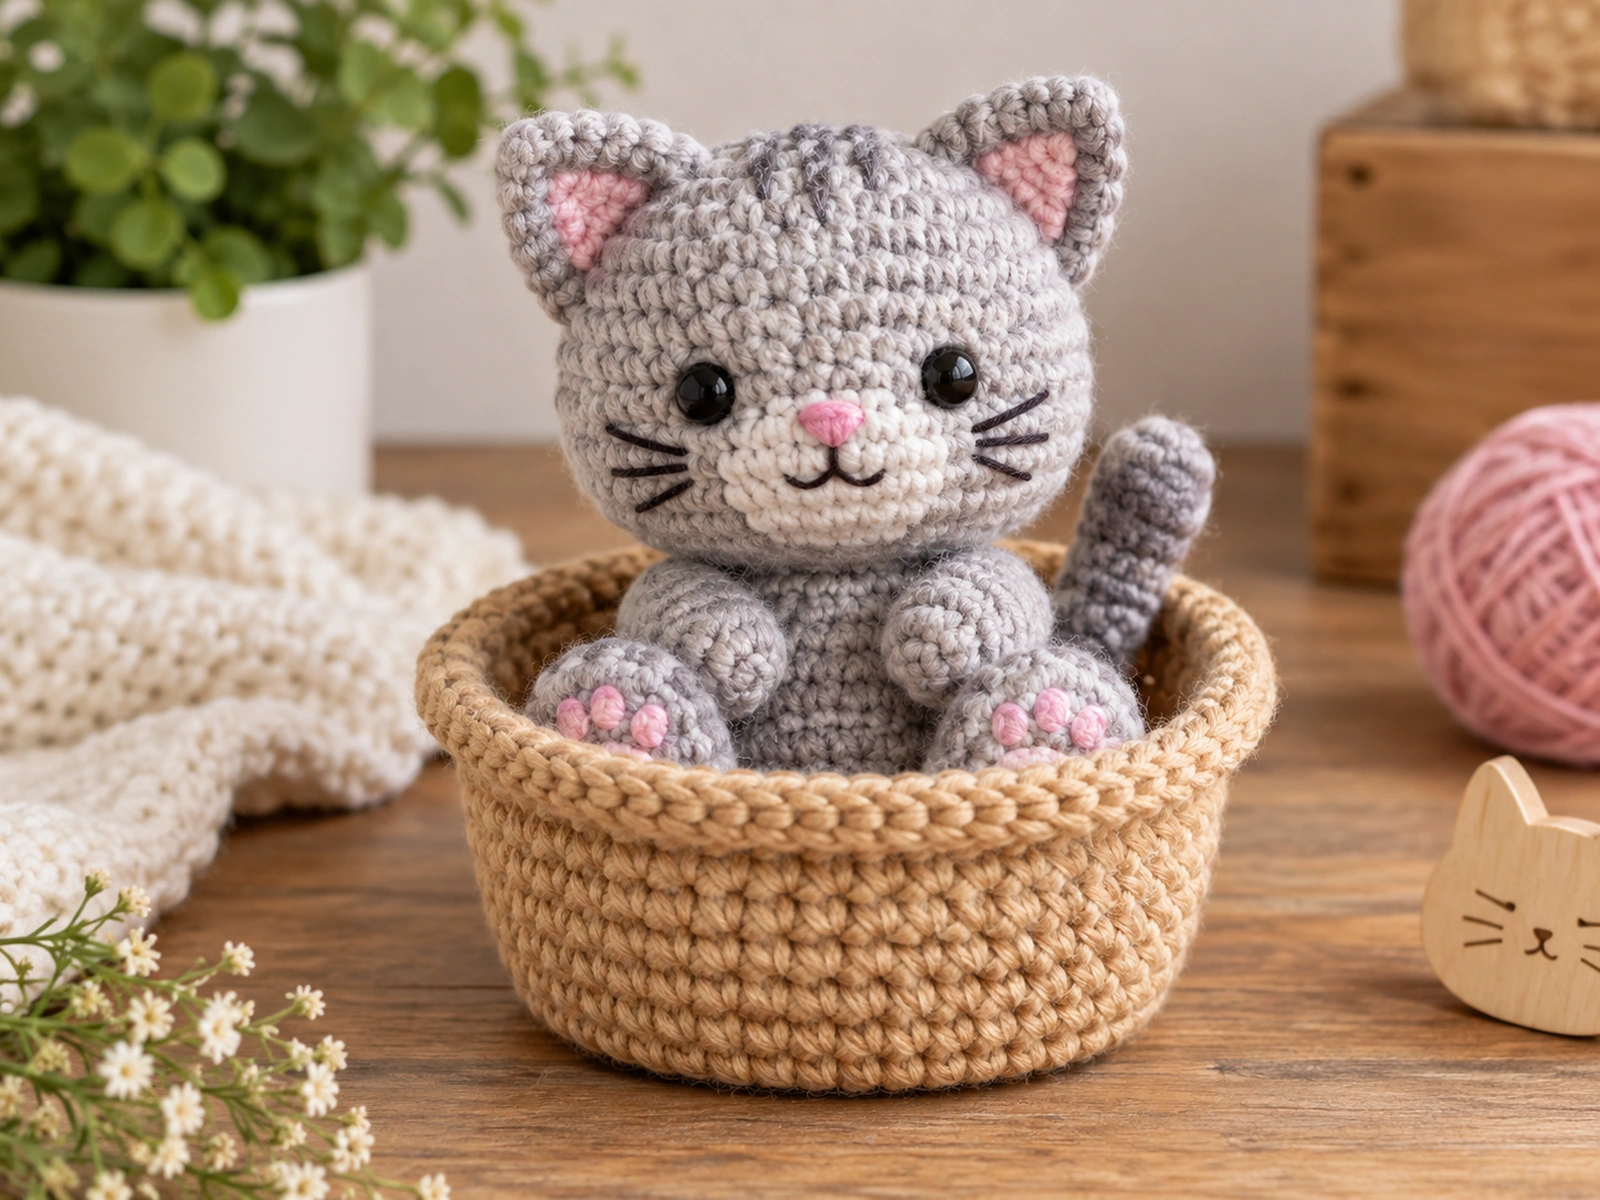
A tiny crochet kitten tucked into a little basket makes a charming amigurumi project with a sweet finished silhouette. This original kitten in a basket crochet pattern includes separate pieces for the head, body, ears, arms, legs, and tail, plus a simple flared basket.
The pattern uses standard US crochet terminology and is worked mainly in continuous rounds. The kitten is assembled separately, then placed into the basket for the final look.
Project Overview
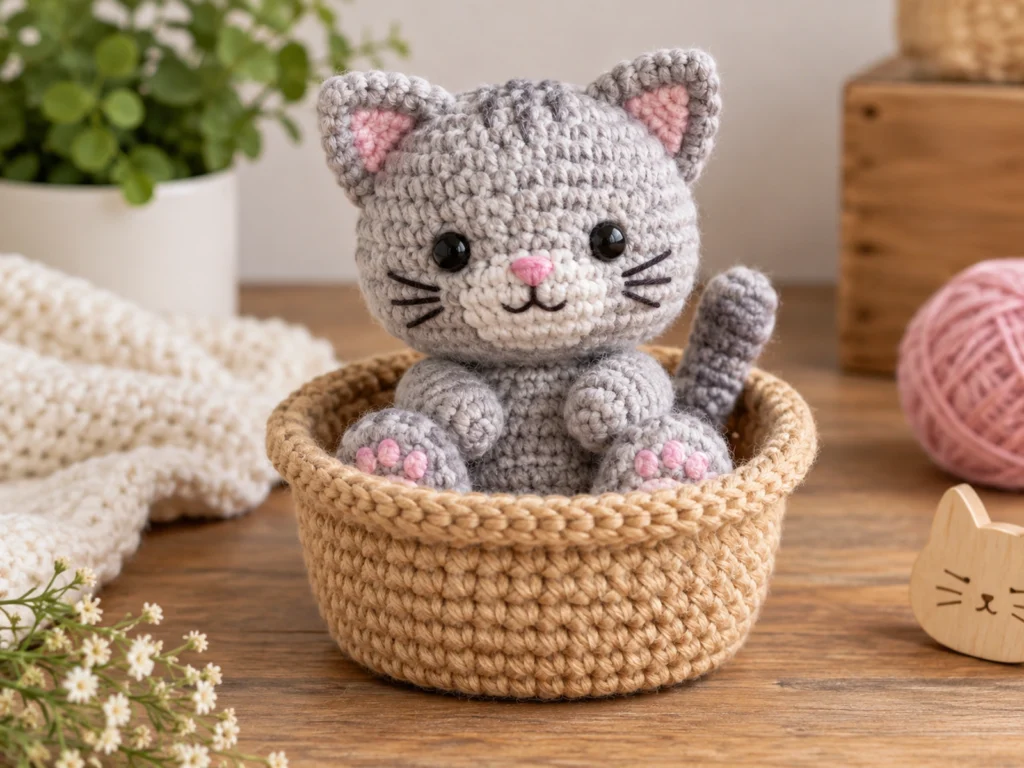
This project includes two main parts: a seated kitten and a round crochet basket.
The kitten is built from separate components so each part can be shaped and finished before assembly. The basket is crocheted separately and remains unstuffed.
What You’ll Make
You’ll crochet:
- One kitten head
- Two ears
- One body
- Two arms
- Two legs
- One tail
- One basket
- Simple embroidered facial details
The finished kitten is designed to sit inside the basket, creating the complete kitten-in-a-basket scene.
Project Details
- Technique: Amigurumi crochet
- Yarn: Medium / worsted weight (#4)
- Hook: 4.0 mm crochet hook
- Main kitten color: Soft gray or your chosen cat color
- Basket color: Warm beige or another natural basket shade
- Accent color: Pink
- Eyes: 8 mm safety eyes or embroidered eyes
- Stuffing: Polyester fiberfill
- Approximate kitten size: 5–6 inches (12.5–15 cm) seated
- Approximate basket width: 3–3.5 inches (7.5–9 cm)
These dimensions are approximate design targets. Final size can vary with yarn, hook, tension, stuffing, and individual technique.
Materials & Tools
Yarn
For the kitten, use a medium / worsted weight (#4) yarn in your chosen main color.
A soft gray creates a classic cat look, while cream, brown, orange, black, white, or another shade can create a different personality.
For the basket, choose a warm beige or another complementary color.
You’ll also need a small amount of pink yarn for the nose and optional inner-ear details.
Crochet Hook
Use a 4.0 mm crochet hook with the selected yarn.
Other Supplies
- Polyester fiberfill
- Stitch marker
- Tapestry or yarn needle
- Scissors
- 8 mm safety eyes, or embroidery thread for embroidered eyes
Safety Note
Safety eyes can present a choking hazard and are not appropriate for children under 3. Embroidered eyes are an alternative to plastic safety eyes.
Abbreviations
The pattern uses standard US crochet terminology.
- MR — magic ring
- ch — chain
- sc — single crochet
- inc — increase; 2 sc in the same stitch
- dec — decrease; single crochet 2 stitches together
- sl st — slip stitch
- BLO — back loop only
- FO — fasten off
Before You Start
This pattern is worked primarily in continuous rounds, so a stitch marker is helpful for identifying the beginning of each round.
Keep your tension consistent and check your stitch count at the end of each round, especially when working increase and decrease rounds.
Stuff the kitten gradually rather than filling each piece all at once. This gives you more control over the shape and helps avoid lumps.
For paired pieces such as the ears, arms, and legs, compare both pieces side by side before sewing them permanently into place.
The basket is crocheted separately and is not stuffed.
Original Crochet Pattern
Head — Make 1
Work in the kitten color.
Round 1: 6 sc in MR. (6)
Round 2: 6 inc. (12)
Round 3: (sc, inc) × 6. (18)
Round 4: (2 sc, inc) × 6. (24)
Round 5: (3 sc, inc) × 6. (30)
Round 6: (4 sc, inc) × 6. (36)
Round 7: sc around. (36)
Round 8: sc around. (36)
Round 9: sc around. (36)
Round 10: sc around. (36)
Round 11: sc around. (36)
Place the safety eyes symmetrically across the front of the head. Check the expression from the front before securing the backs.
Round 12: (4 sc, dec) × 6. (30)
Round 13: (3 sc, dec) × 6. (24)
Round 14: (2 sc, dec) × 6. (18)
Round 15: sc around. (18)
Begin stuffing the head and shape it evenly as you work.
Round 16: (sc, dec) × 6. (12)
Round 17: 6 dec. (6)
Fasten off and weave in the end.
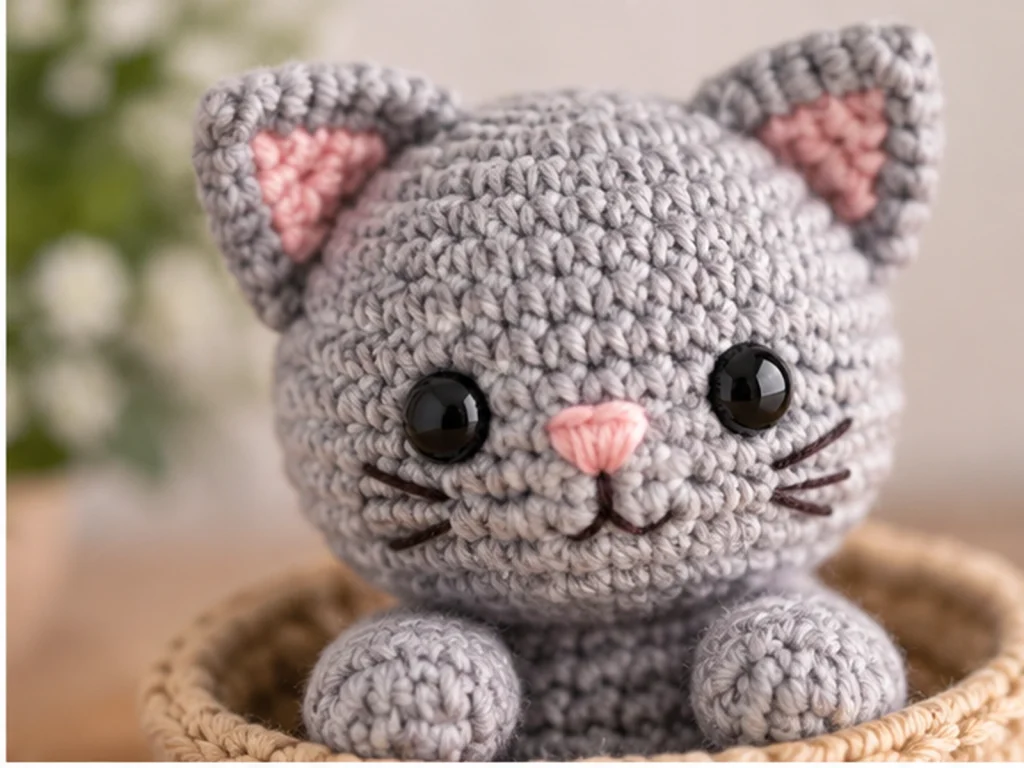
Embroider the nose and mouth after the head is completely shaped.
Ears — Make 2
Work flat in the kitten color.
Row 1: ch 7, sc in 2nd ch from hook and across. (6)
Row 2: ch 1, turn, dec, 4 sc. (5)
Row 3: ch 1, turn, dec, 3 sc. (4)
Row 4: ch 1, turn, dec, 2 sc. (3)
Row 5: ch 1, turn, dec, sc. (2)
Row 6: ch 1, turn, dec. (1)
Fasten off, leaving a sewing tail.
For a small inner-ear accent, embroider a little pink detail after the ears are attached.
Body — Make 1
Work in the kitten color.
Round 1: 6 sc in MR. (6)
Round 2: 6 inc. (12)
Round 3: (sc, inc) × 6. (18)
Round 4: (2 sc, inc) × 6. (24)
Round 5: (3 sc, inc) × 6. (30)
Round 6: sc around. (30)
Round 7: sc around. (30)
Round 8: (3 sc, dec) × 6. (24)
Round 9: sc around. (24)
Round 10: (2 sc, dec) × 6. (18)
Round 11: sc around. (18)
Round 12: (sc, dec) × 6. (12)
Round 13: sc around. (12)
Round 14: 6 dec. (6)
Stuff the body firmly enough to maintain its seated shape without making it overly rigid.
Fasten off and close the remaining opening.
Arms — Make 2
Work in the kitten color.
Round 1: 6 sc in MR. (6)
Round 2: 6 inc. (12)
Round 3: sc around. (12)
Round 4: sc around. (12)
Round 5: sc around. (12)
Round 6: sc around. (12)
Round 7: sc around. (12)
Round 8: (2 sc, dec) × 3. (9)
Round 9: sc around. (9)
Round 10: (sc, dec) × 3. (6)
Round 11: sc around. (6)
Round 12: 3 dec. (3)
Lightly stuff the lower section.
Fasten off, leaving a sewing tail.
Legs — Make 2
Work in the kitten color.
Round 1: 6 sc in MR. (6)
Round 2: 6 inc. (12)
Round 3: (sc, inc) × 6. (18)
Round 4: sc around. (18)
Round 5: sc around. (18)
Round 6: (4 sc, dec) × 3. (15)
Round 7: sc around. (15)
Round 8: (3 sc, dec) × 3. (12)
Round 9: sc around. (12)
Round 10: (2 sc, dec) × 3. (9)
Round 11: sc around. (9)
Round 12: (sc, dec) × 3. (6)
Round 13: 3 dec. (3)
Stuff lightly enough to preserve the rounded seated shape.
Fasten off, leaving a sewing tail.
Tail — Make 1
Work in the kitten color.
Round 1: 6 sc in MR. (6)
Round 2: sc around. (6)
Round 3: sc around. (6)
Round 4: sc around. (6)
Round 5: sc around. (6)
Round 6: sc around. (6)
Round 7: sc around. (6)
Round 8: sc around. (6)
Round 9: sc around. (6)
Round 10: sc around. (6)
Round 11: 3 dec. (3)
Use only light stuffing, or leave the tail unstuffed if it already holds its shape.
Fasten off, leaving a sewing tail.
Basket — Make 1
Work in your basket color.
Basket Base
Round 1: 6 sc in MR. (6)
Round 2: 6 inc. (12)
Round 3: (sc, inc) × 6. (18)
Round 4: (2 sc, inc) × 6. (24)
Round 5: (3 sc, inc) × 6. (30)
Round 6: (4 sc, inc) × 6. (36)
Basket Walls
For the next round, work into the back loops only to create a defined transition from the base to the walls.
Round 7: BLO, sc around. (36)
Round 8: sc around. (36)
Round 9: sc around. (36)
Round 10: sc around. (36)
Round 11: sc around. (36)
Round 12: sc around. (36)
Flared Rim
Round 13: (5 sc, inc) × 6. (42)
Round 14: sc around. (42)
Round 15: sc around. (42)
Round 16: BLO, sc around. (42)
Fasten off and weave in the end.
Do not stuff the basket. Gently shape the base so it sits flat.
Facial Details
Embroider the nose and mouth after the head has been shaped.
A small pink nose and subtle mouth line can give the kitten a simple expression without adding bulky pieces.
Assembly
Step 1: Attach the Ears
Position the two ears on the upper sides of the head.
Compare the left and right sides from the front before sewing them permanently. The ears should appear balanced without requiring an exact measured distance.
Sew through the ear base and into the head, then weave in the remaining yarn.
Step 2: Attach the Head to the Body
Center the head over the narrower top of the body.
Hold the pieces together first and check the profile from the front and side. Once the placement looks balanced, sew securely around the connection.
Step 3: Attach the Legs
Position both legs toward the lower front of the body to create the seated kitten silhouette.
Compare both sides before making the final stitches.
Step 4: Attach the Arms
Sew the arms to the sides of the upper body.
Try to keep their attachment height visually even so the kitten maintains a balanced pose.
Step 5: Attach the Tail
Attach the tail to the lower back or rear side of the body.
Curve the tail gently so it supports the rounded silhouette instead of pulling the body to one side.
Step 6: Add the Facial Details
Embroider the nose and mouth after the main head assembly is complete.
Step 7: Place the Kitten in the Basket
Set the finished kitten inside the basket.
The lower body and legs should sit within the basket while the head remains clearly visible above the rim.
Adjust the kitten’s position before making any permanent stitches.
The kitten can remain removable, or you can add a few discreet hand stitches through the lower body and basket if you want a more secure display arrangement.
Finishing
Before finishing the project, make sure every component is closed and the yarn ends are woven in securely.
Check that:
- The head is evenly stuffed.
- The body holds its shape.
- Both ears match in size and angle.
- Both arms are the same length.
- Both legs are positioned symmetrically.
- The tail remains flexible enough to curve.
- The basket base sits flat.
- No stuffing is exposed.
If using safety eyes, make sure they are securely installed before the head is completely closed.
Helpful Tips
Keep track of your rounds
A stitch marker makes continuous-round amigurumi much easier to manage. Move it at the beginning of every round.
Check stitch counts after shaping rounds
Increase and decrease rounds change the stitch count quickly. If your number is different from the pattern, stop and correct it before continuing.
Stuff gradually
Adding small amounts of stuffing as you approach the top of a piece gives you more control over the final shape.
Avoid overstuffing the head
Too much stuffing can make a round head look overly stretched and can affect the appearance of the stitches.
Compare paired pieces before sewing
Place both ears, arms, or legs side by side before attaching them. This simple check can prevent noticeable asymmetry later.
Keep the basket unstuffed
The basket is designed to hold its shape through its crocheted structure. Adding stuffing would change its proportions and reduce the space available for the kitten.
Troubleshooting
The kitten looks uneven
Check the placement of the paired pieces first. Compare both ears, arms, and legs from the front before making permanent stitches.
The head looks too firm
Remove or redistribute some stuffing rather than forcing more into the piece. The head should remain rounded without being overstretched.
The kitten leans inside the basket
Check the body and leg placement before adjusting the tail. Reposition the kitten until the body sits naturally inside the basket.
The basket does not sit flat
Gently reshape the base and make sure the stitches are evenly tensioned around the bottom.
Customization Ideas
Change the kitten color
Try cream, black, orange, brown, white, or a combination of colors for a different cat personality.
Change the basket color
A natural beige basket gives the project a classic handmade look, while darker brown, soft gray, cream, or muted shades can create a different style.
Customize the face
Small changes to the embroidered mouth or nose can give the kitten a different expression.
Try embroidered eyes
Instead of safety eyes, embroider the eyes using dark embroidery thread.
Create a two-tone kitten
You can experiment with a different color for selected areas, such as the ears or paws, provided the yarn changes are incorporated carefully into the original construction.
Care
For general care, handle the finished amigurumi gently and keep it away from excessive moisture. Light surface cleaning is preferable to soaking the crocheted pieces.
Because the exact yarn brand and fiber content can vary, follow the care guidance appropriate for the yarn you selected.
Frequently Asked Questions
What yarn do I need for this kitten in a basket crochet pattern?
The pattern is designed around medium / worsted weight (#4) yarn. The kitten uses a main color, while the basket can be worked in a contrasting or complementary shade.
What crochet hook size is used?
The design uses a 4.0 mm crochet hook.
How big is the finished kitten?
The kitten has an approximate design target of 5–6 inches (12.5–15 cm) when seated. Final measurements may vary with yarn, tension, stuffing, and individual technique.
Is the basket stuffed?
No. The basket is designed to remain unstuffed.
Are safety eyes required?
No. You can use 8 mm safety eyes or embroider the eyes instead.
How do I keep the kitten symmetrical?
For paired components such as the ears, arms, and legs, compare both sides visually before sewing them permanently. This helps keep the final silhouette balanced.
Can I change the colors?
Yes. Color changes are one of the easiest ways to personalize the project. The basic construction remains the same while the kitten and basket colors can be changed to suit your style.
Does the kitten have to be permanently attached to the basket?
No. The basic assembly places the finished kitten inside the basket. You can leave it removable or add a few discreet stitches for a more secure display piece.
More Animal Amigurumi
Looking for another animal crochet project after finishing your kitten? Explore more animal-themed amigurumi patterns and other cute crochet projects from Tiny Yarn Tales.
Conclusion
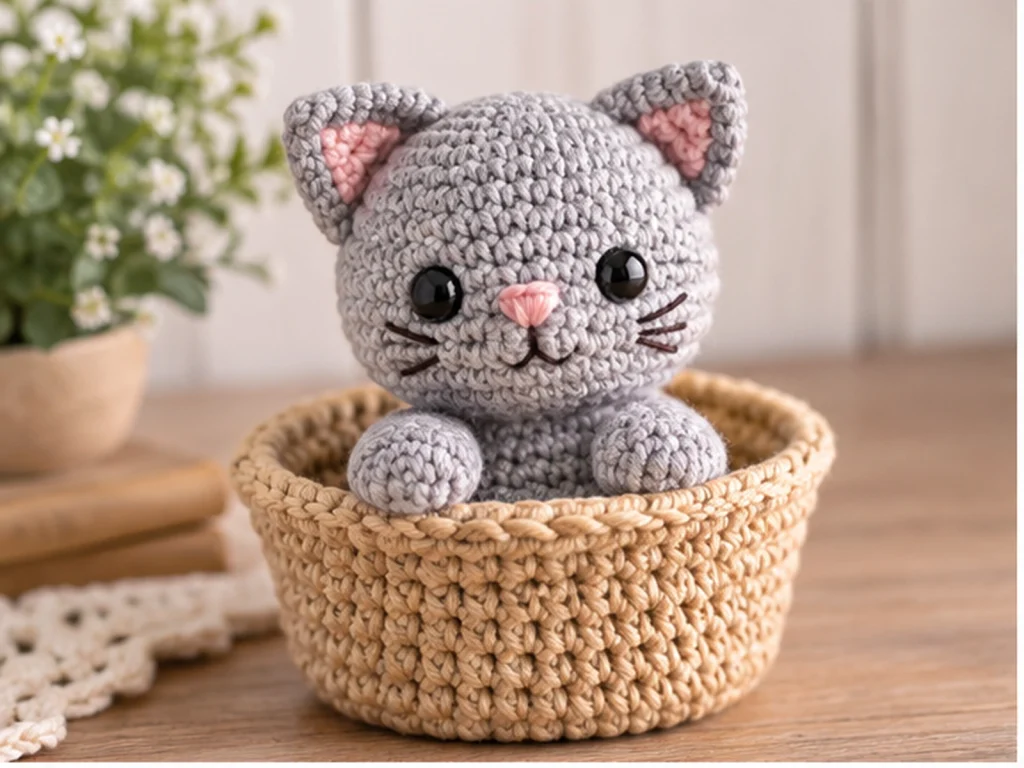
This kitten in a basket crochet pattern brings two simple crochet components together into one finished amigurumi scene. The separate kitten pieces make it easier to shape and assemble the character, while the flared basket creates the cozy setting that defines the finished project.
Take your time with stuffing, paired-piece placement, and final assembly. Small adjustments before sewing can make a noticeable difference in the final silhouette.
The pattern has been mathematically reviewed and constructionally checked, but it has not been physically crocheted and tested yet. Final size and fit should therefore be treated as approximate until a physical prototype has been made and evaluated.