Lucky Bamboo Crochet Pattern
Add a little handmade greenery to your space with this…

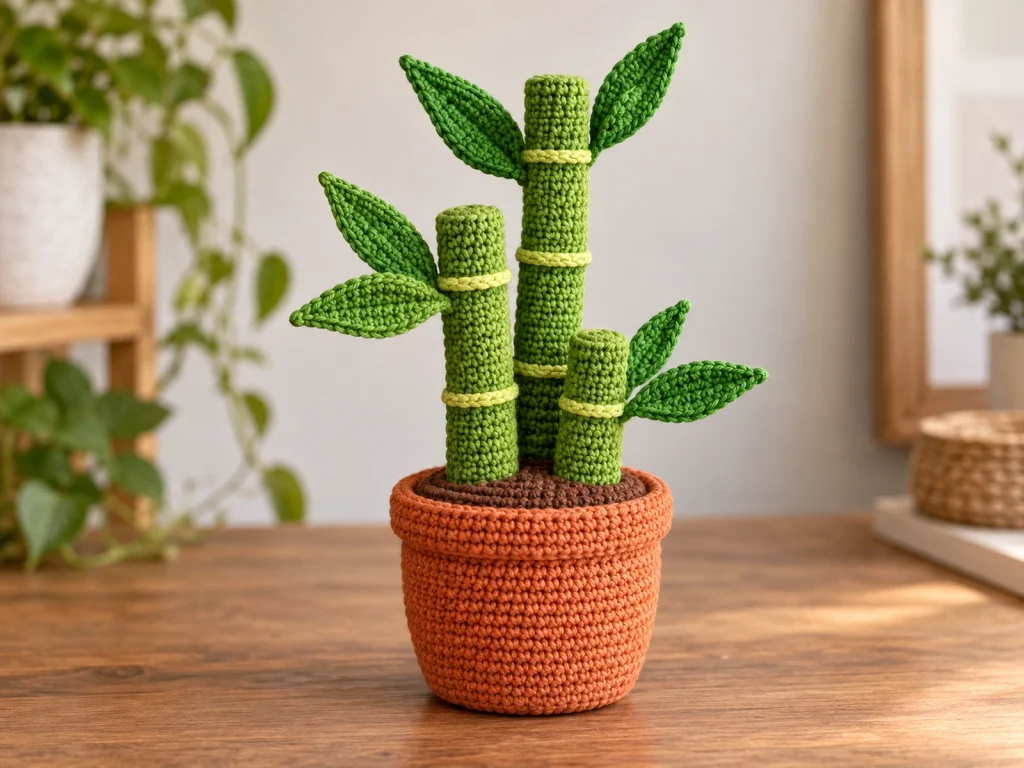
Add a little handmade greenery to your space with this Lucky Bamboo Crochet Pattern. This decorative crochet plant combines a terracotta-style pot, a brown soil disk, three staggered bamboo stalks, and simple green leaves for a layered plant silhouette.
The finished design is approximately 7–8 inches tall and about 3.5–4.5 inches wide, although the final size will vary depending on yarn, hook size, tension, stuffing, and individual technique.
The pattern uses worsted-weight #4 yarn and a 4.0 mm crochet hook. You’ll crochet each component separately, then assemble the pot, soil, stalks, and leaves into the finished plant.
Project Overview
What You’ll Make
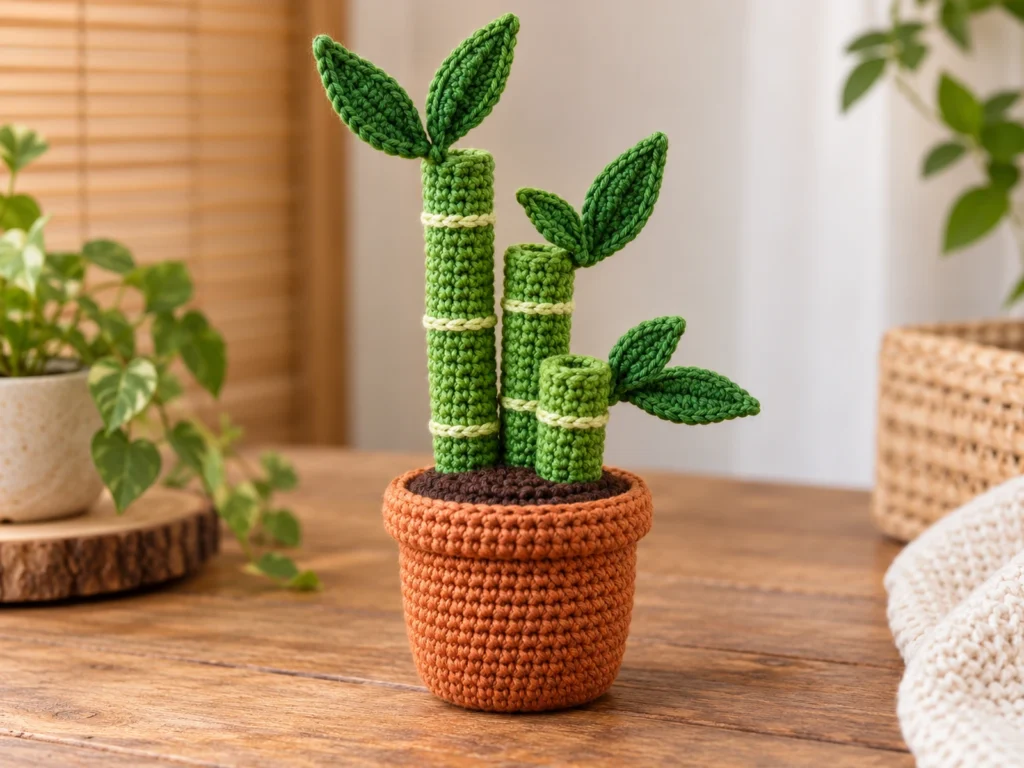
This Lucky Bamboo crochet project includes:
- 1 terracotta crochet pot
- 1 dark-brown soil disk
- 1 tall bamboo stalk
- 1 medium bamboo stalk
- 1 short bamboo stalk
- 4 large leaves
- 2 small leaves
- Optional light-green embroidered node bands
The three stalks are made at different heights while keeping the same basic diameter. This creates a staggered arrangement that gives the finished plant more visual depth.
Project Details
- Project: Lucky Bamboo Crochet Pattern
- Technique: Crochet and amigurumi-style construction
- Approximate height: 7–8 inches
- Approximate width: 3.5–4.5 inches
- Yarn: Worsted / medium #4
- Hook: 4.0 mm
- Stuffing: Polyester fiberfill
- Eyes: Not applicable
The pattern has been mathematically reviewed and constructionally checked, but it has not been physically crocheted and tested yet.
Materials & Tools
Yarn
Use worsted-weight #4 yarn in the following colors:
- Terracotta for the pot
- Dark brown for the soil
- Bamboo green for the stalks
- Leaf green for the leaves
- Light green for optional node bands
Other Supplies
- 4.0 mm crochet hook
- Polyester fiberfill
- Tapestry needle
- Scissors
- Stitch marker
- Optional flat craft stabilizer for the pot base
Abbreviations
US crochet terminology is used throughout the pattern.
- MR — magic ring
- ch — chain
- sc — single crochet
- hdc — half double crochet
- dc — double crochet
- tr — treble crochet
- inc — increase, 2 sc in the same stitch
- sl st — slip stitch
- BLO — back loop only
- FO — fasten off
Before You Start
Work in Continuous Rounds
The pot, soil disk, and bamboo stalks are worked in continuous rounds. Use a stitch marker to identify the first stitch of each round.
Keep Track of Your Stitches
Stitch counts are shown at the end of each round. Check your count before moving to the next round, especially after increase rounds.
Stuff as You Go
The bamboo stalks should be lightly stuffed as you crochet them. Add small amounts at a time so the stalks keep a smooth cylindrical shape.
Construction Order
The project is easier to assemble if you complete the pieces in this order:
- Crochet the pot.
- Crochet the soil disk.
- Crochet the three stalks.
- Crochet the leaves.
- Attach the soil to the pot.
- Position and secure the stalks.
- Attach the leaves.
- Add the optional node details.
Lucky Bamboo Crochet Pattern
Pot — Make 1
Color: Terracotta
Work in continuous rounds.
Round 1: 6 sc in MR (6)
Round 2: 6 inc (12)
Round 3: (sc, inc) × 6 (18)
Round 4: (2 sc, inc) × 6 (24)
Round 5: (3 sc, inc) × 6 (30)
Round 6: (4 sc, inc) × 6 (36)
Round 7: BLO, 36 sc (36)
Round 8: 36 sc (36)
Round 9: 36 sc (36)
Round 10: 36 sc (36)
Round 11: 36 sc (36)
Round 12: 36 sc (36)
Round 13: (5 sc, inc) × 6 (42)
Round 14: 42 sc (42)
Round 15: 42 sc (42)
Round 16: BLO, 42 sc (42)
Round 17: 42 sc (42)
Fasten off and weave in the end.
Leave the top of the pot open for the soil disk.
Soil Disk — Make 1
Color: Dark brown
Round 1: 6 sc in MR (6)
Round 2: 6 inc (12)
Round 3: (sc, inc) × 6 (18)
Round 4: (2 sc, inc) × 6 (24)
Round 5: (3 sc, inc) × 6 (30)
Round 6: (4 sc, inc) × 6 (36)
Round 7: (5 sc, inc) × 6 (42)
Fasten off, leaving a long yarn tail for sewing.
Tall Bamboo Stalk — Make 1
Color: Bamboo green
Round 1: 6 sc in MR (6)
Round 2: 6 inc (12)
Rounds 3–24: 12 sc in each round (12)
Begin lightly stuffing the stalk after the first few rounds and continue adding small amounts as you work.
At the end, fasten off, leaving a long tail. Cinch the opening closed and weave the tail through the top.
Medium Bamboo Stalk — Make 1
Color: Bamboo green
Round 1: 6 sc in MR (6)
Round 2: 6 inc (12)
Rounds 3–21: 12 sc in each round (12)
Lightly stuff as you work.
Fasten off, leaving a long tail. Close the top opening and weave in the end.
Short Bamboo Stalk — Make 1
Color: Bamboo green
Round 1: 6 sc in MR (6)
Round 2: 6 inc (12)
Rounds 3–18: 12 sc in each round (12)
Lightly stuff as you work.
Fasten off, leaving a long tail. Close the opening and weave in the end.
Large Leaf — Make 4
Color: Leaf green
Chain 9.
Starting in the second chain from the hook:
Round 1: sc, hdc, dc, dc, tr, dc, hdc, 3 sc in the final chain, then work back along the opposite side with hdc, dc, tr, dc, dc, hdc, sc (17)
Fasten off, leaving a sewing tail.
Small Leaf — Make 2
Color: Leaf green
Chain 7.
Starting in the second chain from the hook:
Round 1: sc, hdc, dc, dc, dc, 3 sc in the final chain, then work back along the opposite side with dc, dc, dc, hdc, sc (13)
Fasten off, leaving a sewing tail.
Bamboo Node Details
Using light-green yarn, embroider simple horizontal bands around the stalks.
A suggested arrangement is:
- Tall stalk: 3 bands
- Medium stalk: 2 bands
- Short stalk: 2 bands
These bands are decorative surface details and do not change the crochet stitch counts.
Assembly
Step 1: Prepare the Pot
Turn the terracotta pot right side out.
Add a moderate amount of polyester fiberfill inside the pot. An optional flat stabilizer can be placed inside the base if additional support is desired.
Avoid overstuffing the pot.
Step 2: Attach the Soil Disk
Place the 42-stitch brown soil disk over the 42-stitch opening of the pot.
Using the long sewing tail, sew the soil disk evenly around the opening.
Work around the entire circumference so the soil sits securely without excessive gathering.
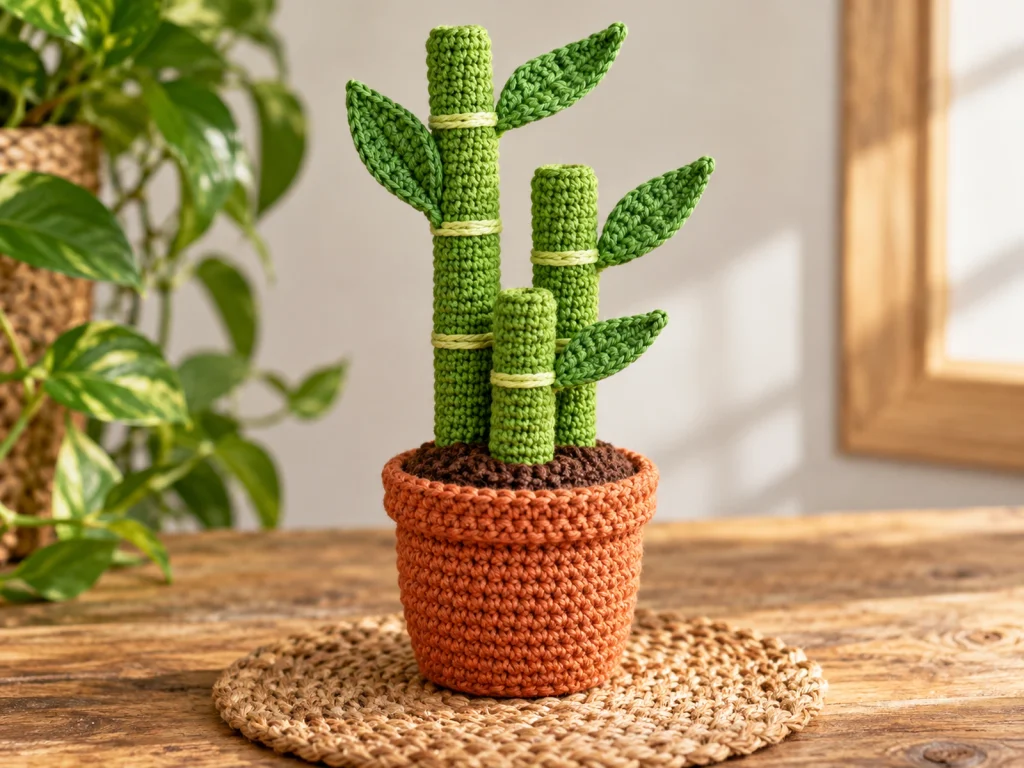
Step 3: Position the Stalks
Place the three finished stalks on the soil surface before sewing them permanently.
A balanced starting arrangement is:
- Tall stalk toward the back
- Medium stalk slightly to one side
- Short stalk toward the front and opposite side
Check the arrangement from several angles and adjust the stalk positions before sewing them down.
Step 4: Secure the Stalks
Using the yarn tails from the stalks, sew the bottoms securely to the soil surface.
Make enough stitches around each base to keep the stalks from shifting when the plant is handled.
Step 5: Attach the Leaves
Attach the leaves after the stalks are secure.
Use:
- 2 large leaves on the tall stalk
- 2 large leaves on the medium stalk
- 2 small leaves on the short stalk
Angle the leaves outward slightly and check the overall silhouette before making the final attachment stitches.
Step 6: Add the Final Details
Once the leaves are secure, embroider the light-green node bands.
Weave in remaining yarn ends and trim excess yarn.
Finishing
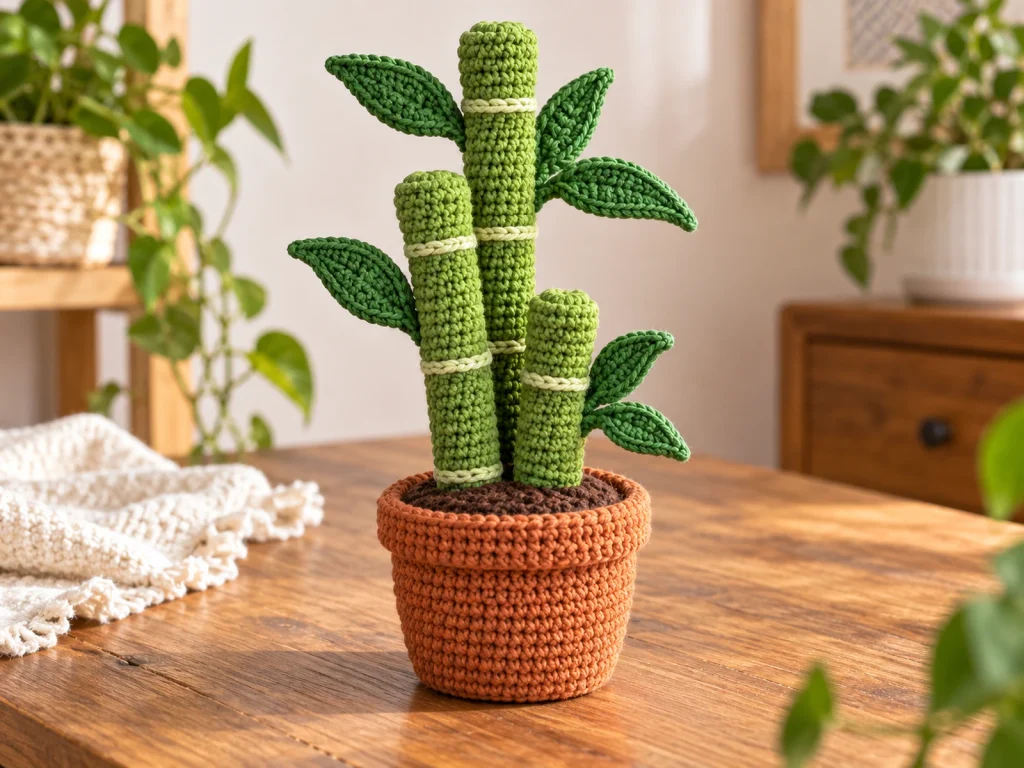
After all the pieces have been attached:
- Check that the stalks are secure.
- Adjust the leaf angles.
- Make sure no stuffing is visible.
- Weave in loose yarn ends.
- Trim excess yarn carefully.
- Gently shape the leaves and stalks into the final arrangement.
Helpful Tips
Stuff gradually
Small amounts of stuffing give you better control over the stalk shape than adding a large amount at once.
Keep the stalks lightly filled
The stalks should hold their cylindrical form without becoming overly rigid or lumpy.
Arrange everything before sewing
Temporarily position the stalks and leaves before making permanent stitches. Small placement changes can significantly affect the finished silhouette.
Keep the soil attachment even
The pot opening and soil disk both finish with 42 stitches, so distribute the attachment evenly around the full circumference.
Shape the leaves after sewing
Once a leaf is attached, gently adjust its angle so the foliage spreads naturally around the plant.
Troubleshooting
My stalk looks uneven.
Check that you have maintained 12 stitches around the stalk and that your tension is consistent. Uneven tension can make a narrow tube appear wider on one side.
My stalk feels too soft.
Add a little more stuffing gradually. Avoid packing the stalk too firmly because overstuffing can distort the stitches.
The pot opening looks stretched.
Check the tension of the soil attachment stitches. Pulling the sewing yarn too tightly can cause the opening to gather.
My plant looks unbalanced.
Reposition the three stalks before adjusting the leaves. The stalks have different heights, so their placement has a strong effect on the finished shape.
My leaves point in the wrong direction.
Carefully adjust the attachment point or loosen the final stitches, rotate the leaf, and secure it at a more natural outward angle.
Customization Ideas
Change the Pot Color
Try another pot shade to match your decor. Cream, sage, muted blue, dusty pink, or soft gray can create a different overall look.
Rearrange the Foliage
The leaves can be positioned differently during assembly to create a more upright, open, or asymmetric arrangement.
Vary the Stalk Placement
The three stalks do not need to sit in identical positions every time. Small changes in placement can create a different plant silhouette.
Adjust the Node Details
The light-green embroidery can be subtle or more visible depending on the amount of contrast you prefer.
Care
Because this project uses crochet yarn and fiberfill, keep it away from excessive moisture and direct sources of heat.
For light cleaning, gently remove dust with a soft brush or carefully dab the surface with a slightly damp cloth. Avoid soaking the finished piece.
Frequently Asked Questions
What size is the finished Lucky Bamboo?
The design is approximately 7–8 inches tall and about 3.5–4.5 inches wide. Final dimensions vary with yarn, hook size, tension, stuffing, and individual technique.
What yarn should I use?
This pattern uses worsted-weight #4 yarn in terracotta, dark brown, bamboo green, leaf green, and optional light green.
What crochet hook size is used?
A 4.0 mm crochet hook is used for the pattern.
Does this Lucky Bamboo have a face?
No. This design is a decorative crochet plant and does not include facial features.
Does the project need stuffing?
The bamboo stalks are lightly stuffed to help them maintain their shape. The pot can also be moderately stuffed depending on the desired structure.
How are the stalks attached?
The stalks are sewn directly to the brown soil disk after the soil has been secured to the pot.
Can I change the leaf arrangement?
Yes. The leaves can be positioned differently during assembly to create a different silhouette while keeping the basic pattern construction the same.
Final Thoughts
This Lucky Bamboo Crochet Pattern brings together a small set of crochet components to create a decorative handmade plant. The three staggered stalks, layered leaves, and simple pot give the finished project a clean botanical shape while leaving room for personal arrangement and color choices.
Take your time with the assembly stage, especially when positioning the stalks and leaves. A few small adjustments can make a big difference in the final silhouette.