
Mini Fish Amigurumi Crochet Pattern
This mini fish amigurumi is a compact crochet project with…
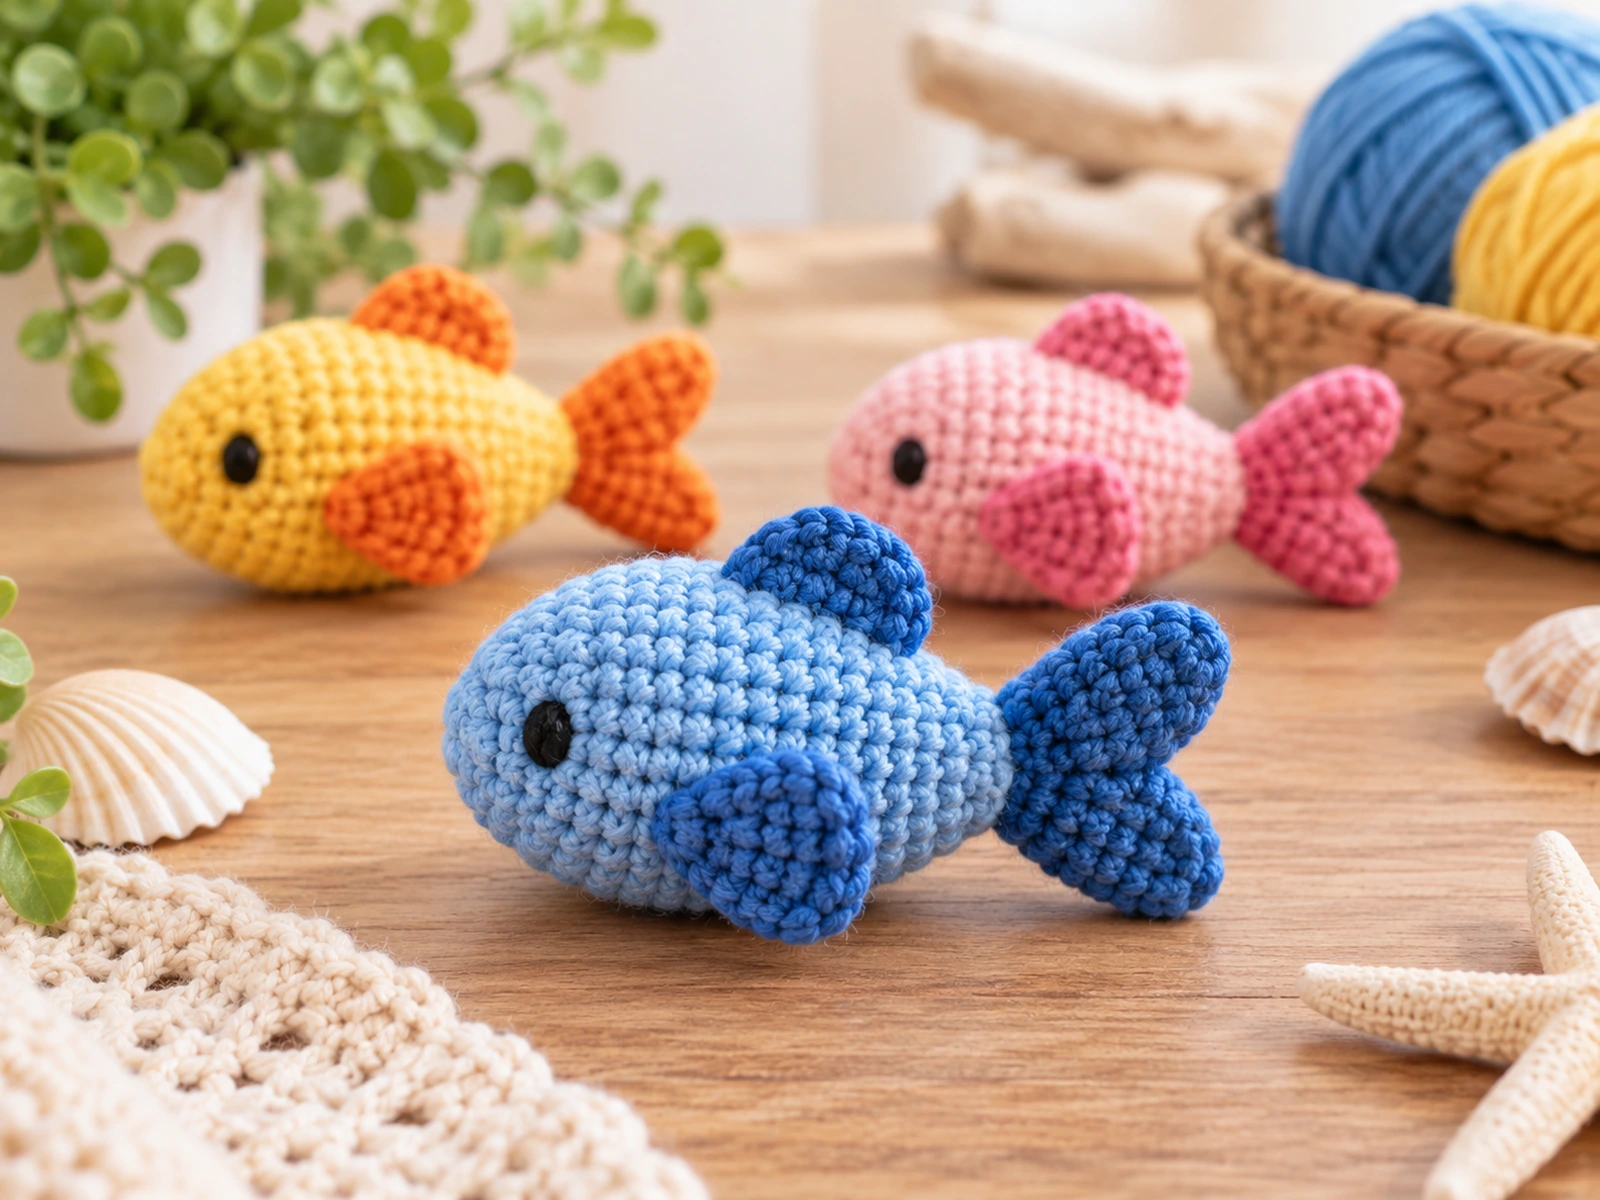
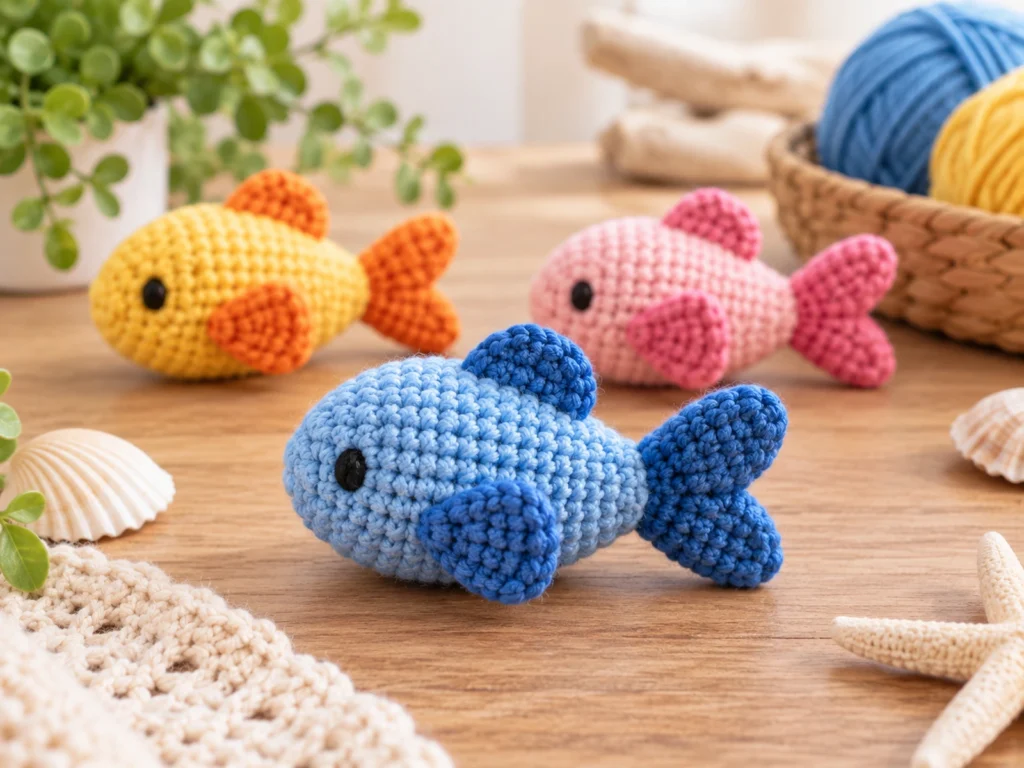
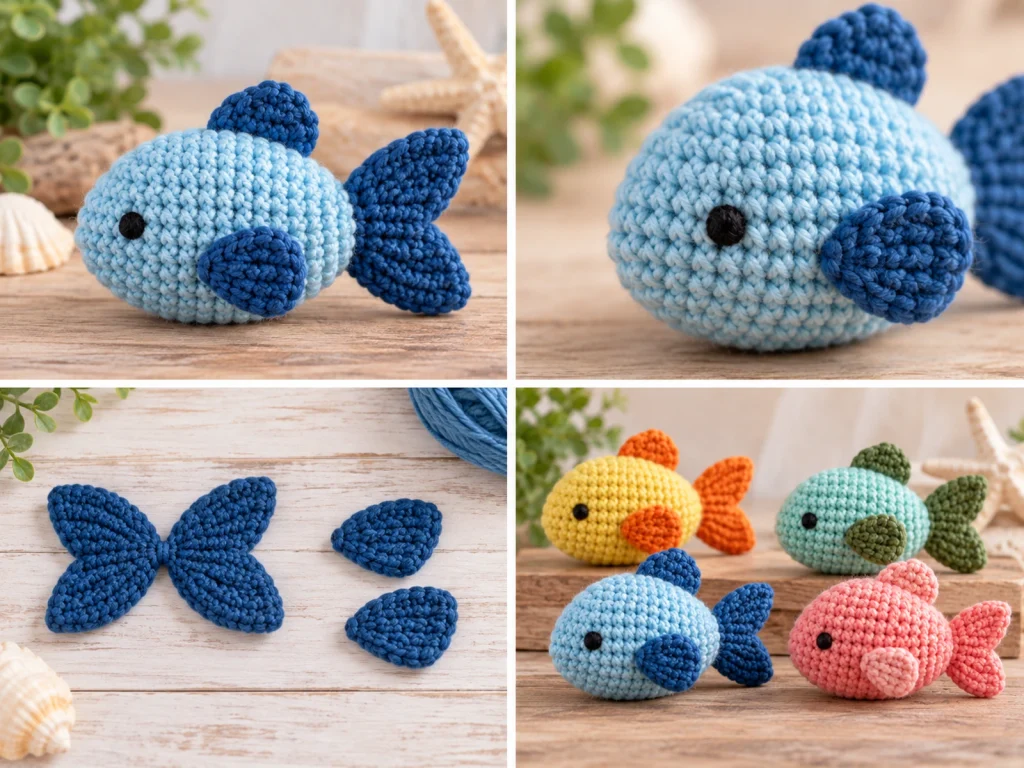
This mini fish amigurumi is a compact crochet project with a rounded body, a forked tail, and two simple side fins. The body is worked in continuous rounds, while the tail and fins are crocheted separately and sewn into place.
This original mini fish crochet pattern uses one main yarn color and a contrasting color for the tail and fins. The finished fish is designed to be approximately 4–5 inches long, although the final size will vary with yarn, hook size, tension, and stuffing.
Project Overview
What You’ll Make
You’ll crochet a small fish with:
- A rounded, tapered body
- A two-lobed forked tail
- Two side fins
- Embroidered eyes
- A simple two-color design
The body is crocheted as one continuous piece. The tail lobes and fins are made separately and attached during assembly.
Approximate Finished Size
The completed fish is designed to be approximately 4–5 inches (10–13 cm) long.
This is an approximate design target rather than a guaranteed finished measurement. Your final size may vary depending on your yarn, hook, crochet tension, and how firmly you stuff the body.
Materials & Tools
Yarn
- Medium / worsted-weight (#4) yarn in one main color
- Medium / worsted-weight (#4) yarn in one contrasting color
- A small amount of black yarn or embroidery floss for the eyes
Crochet Hook
- 3.25 mm crochet hook
Other Supplies
- Polyester fiberfill
- Tapestry needle
- Stitch marker
- Scissors
No separate gauge swatch is required for this pattern. Focus on keeping your stitches consistent throughout the project.
Crochet Abbreviations
This pattern uses standard US crochet terminology.
- MR — magic ring
- ch — chain
- sc — single crochet
- inc — increase; work 2 single crochets in the same stitch
- dec — decrease; work a single crochet decrease
- FO — fasten off
Before You Start
Working in Continuous Rounds
The main fish body is worked in continuous rounds rather than joined rounds.
Use a stitch marker to identify the beginning of each round and move it upward as you crochet.
Counting Stitches
Check the stitch count at the end of each round. The counts are included throughout the pattern to make it easier to catch an accidental increase or decrease before continuing.
Stuffing the Body
Begin stuffing gradually once the body reaches its fullest section. Add small amounts at a time rather than filling the body all at once.
Aim for a rounded shape without stretching the stitches.
Planning the Assembly
The tail and fins are made separately. Before sewing them permanently, compare both sides of the fish so the finished placement looks balanced.
Pattern Testing Note
This pattern has been mathematically reviewed and constructionally checked, but it has not been physically crocheted and tested yet. Final size, shaping, and placement should therefore be treated as approximate until a physical sample is made.
Mini Fish Crochet Pattern
Main Fish Body
Work with the main color.
Round 1
6 sc in a magic ring. (6)
Round 2
6 inc. (12)
Round 3
(sc, inc) × 6. (18)
Round 4
(2 sc, inc) × 6. (24)
Round 5
(3 sc, inc) × 6. (30)
Round 6
30 sc. (30)
Round 7
30 sc. (30)
Round 8
30 sc. (30)
Round 9
30 sc. (30)
Round 10
30 sc. (30)
Begin adding polyester fiberfill gradually after Round 10.
Round 11
(3 sc, dec) × 6. (24)
Round 12
(2 sc, dec) × 6. (18)
Continue adding stuffing as needed while the opening becomes smaller.
Round 13
(sc, dec) × 6. (12)
Round 14
6 dec. (6)
Fasten off, leaving a long yarn tail.
Using a tapestry needle, weave the yarn tail through the remaining 6 stitches. Pull gently to close the opening, secure the yarn, and weave in the end.
Embroider the Eyes
Use black yarn or embroidery floss to create one small eye on each side of the front portion of the fish.
Rather than relying on an exact measurement, use the shape of the finished body as your guide. Add the second eye at a matching height and position so the face looks balanced from the front.
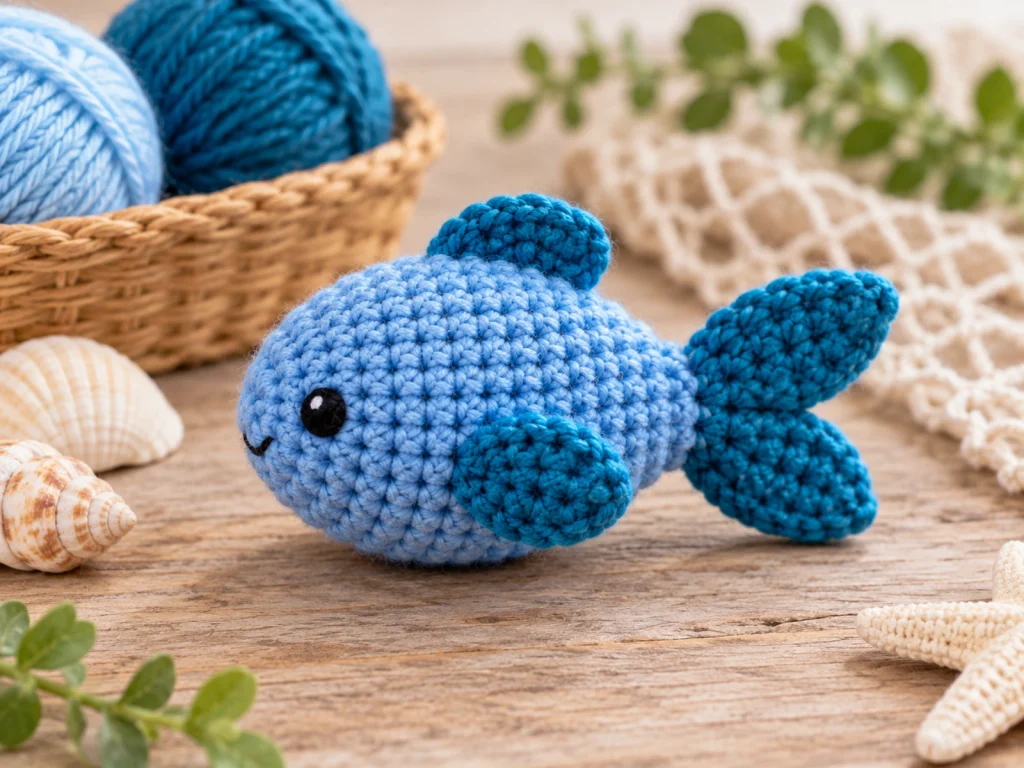
Tail Lobes
Make 2 identical tail lobes using the contrasting color.
For each tail lobe, begin with ch 3.
Row 1
Sc in the 2nd ch from the hook, sc in the next ch. (2)
Row 2
Ch 1, turn. Inc, sc. (3)
Row 3
Ch 1, turn. Sc, inc, sc. (4)
Row 4
Ch 1, turn. 4 sc. (4)
Row 5
Ch 1, turn. Inc, 2 sc, inc. (6)
Row 6
Ch 1, turn. 6 sc. (6)
Row 7
Ch 1, turn. Sc, inc, 2 sc, inc, sc. (8)
Row 8
Ch 1, turn. 8 sc. (8)
Row 9
Ch 1, turn. 8 sc. (8)
Fasten off and weave in the yarn end.
Repeat the same instructions to make the second tail lobe.
Side Fins
Make 2 identical side fins using the contrasting color.
Row 1
Ch 4. Sc in the 2nd ch from the hook and across. (3)
Row 2
Ch 1, turn. Inc, sc, inc. (5)
Row 3
Ch 1, turn. 5 sc. (5)
Row 4
Ch 1, turn. Inc, 3 sc, inc. (7)
Row 5
Ch 1, turn. 7 sc. (7)
Row 6
Ch 1, turn. Dec, 3 sc, dec. (5)
Row 7
Ch 1, turn. Dec, sc, dec. (3)
Fasten off and weave in the yarn end.
Repeat the same instructions to make the second fin.
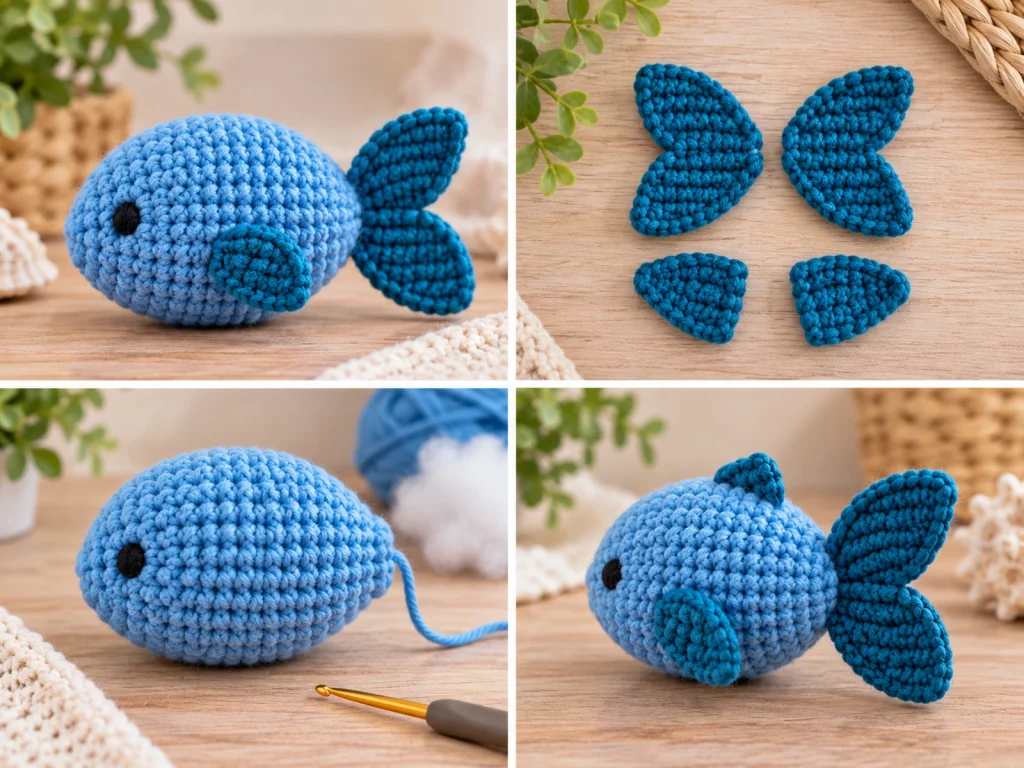
Assembly & Finishing
Step 1: Attach the Tail
Place the two tail lobes together so their narrow starting ends meet near the center and their wider ends spread outward.
Position the narrow ends against the closed rear end of the fish body.
Sew both lobes securely to the body.
Before finishing the sewing, look at the fish from the front and side to make sure the tail is centered and balanced.
Step 2: Attach the Side Fins
Place one fin on each side of the body around the middle section, slightly behind the eye area.
The narrow 3-stitch edge of each fin forms the attachment edge.
Hold both fins in position before sewing either one permanently. Compare the two sides to make sure the placement is visually symmetrical.
Sew each fin securely to the body and weave in the remaining yarn ends.
Step 3: Final Finishing Check
Before calling your fish finished, check that:
- The tail is centered.
- Both fins sit at similar heights.
- The body has a smooth rounded shape.
- No stuffing is visible through the stitches.
- The embroidered eyes look balanced.
- All yarn ends are securely woven in.
Tips & Troubleshooting
My Stitch Count Is Wrong
Stop at the end of the round and recount before continuing.
For the body, compare your current count with the number shown beside each round. A missed increase or decrease is easier to correct immediately than several rounds later.
The Body Looks Too Lumpy
Uneven tension or uneven stuffing can change the appearance of the body.
Try adding smaller amounts of stuffing and gently distributing the fiberfill instead of pushing a large amount into one area.
The Fish Looks Too Firm
Overstuffing can stretch the stitches and alter the intended shape.
Remove a small amount of stuffing and reshape the body with your fingers.
The Tail Looks Off-Center
Before fully securing the tail, check the fish from several angles.
The two tail lobes should spread outward from the same rear center point.
The Fins Don’t Match
Place both fins beside each other before attaching them. Since they are made from the same pattern, matching placement is easier when you compare the finished pieces together.
Customize Your Mini Fish
One of the easiest ways to personalize this project is through color.
Try Different Color Combinations
Keep the body in one color and use a contrasting color for:
- The tail
- Both fins
You can create a softer look with closely related shades or a more graphic look with stronger contrast.
Change the Eye Style
The pattern uses simple embroidered eyes, so you can change their size or expression while keeping the placement balanced on both sides.
Create a Small Fish Collection
Make several fish using different body and accent-color combinations. Because the stitch architecture stays the same, a group of coordinated colors can create a completely different visual effect from a single fish.
Mini Fish Crochet Pattern FAQ
What yarn weight is used for this mini fish?
The pattern is designed around medium / worsted-weight (#4) yarn.
What crochet hook size is used?
The design uses a 3.25 mm crochet hook.
How large is the finished fish?
The target finished size is approximately 4–5 inches (10–13 cm) long. Actual size can vary with yarn, tension, hook size, and stuffing.
Is the fish worked in one piece?
The main body is worked as one continuous crocheted piece. The tail lobes and side fins are made separately and attached afterward.
Does the pattern use safety eyes?
No. The eye details are embroidered with black yarn or embroidery floss.
Can I change the colors?
Yes. The main body and contrasting tail and fin colors can be changed to create different looks without changing the basic stitch structure.
Why does my fish look different in size from the target?
Finished size is affected by yarn weight, hook size, crochet tension, and stuffing. A tighter or looser crocheter may produce a noticeably different result.
Has this pattern been physically tested?
Not yet. The stitch mathematics has been reviewed and the construction has been checked, but a physical prototype has not yet been crocheted and evaluated.
More Crochet Amigurumi to Try
Explore more small animal and amigurumi projects from Tiny Yarn Tales.
Happy crocheting!