
Small Crochet Bird Pattern: A Step-by-Step Amigurumi Tutorial
This small crochet bird is a compact amigurumi project with…
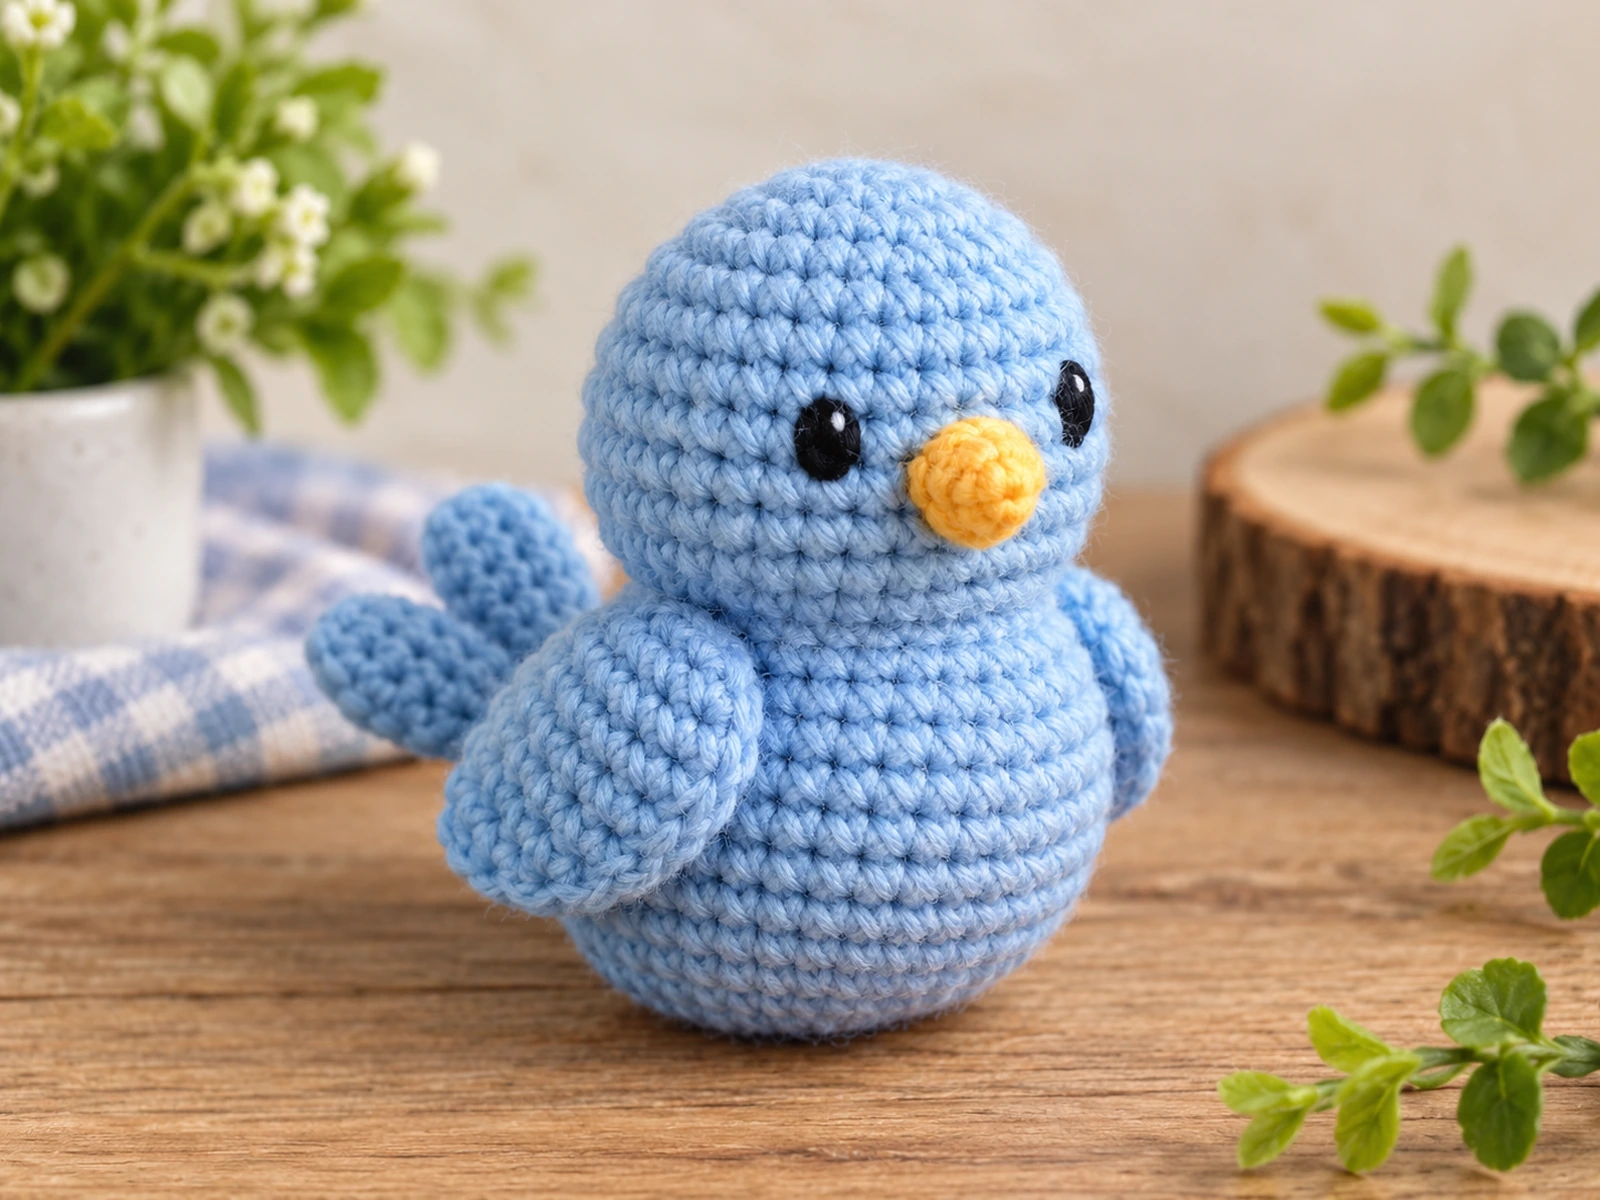
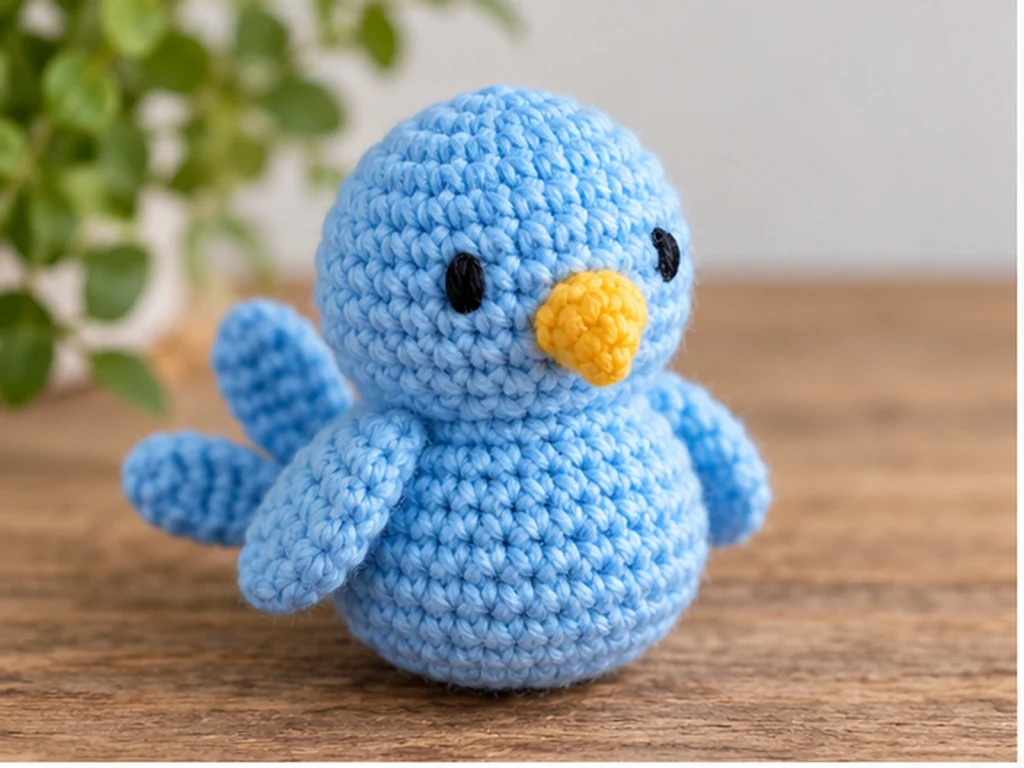
This small crochet bird is a compact amigurumi project with a rounded body and head, tiny wings, a tapered beak, and two tail feathers. The main body is worked as one piece, while the wings, beak, and tail are crocheted separately and attached during assembly.
The finished bird is approximately 3.5–4 inches (9–10 cm) tall, although the final size will vary with yarn, hook size, tension, stuffing, and individual technique.
Project Overview
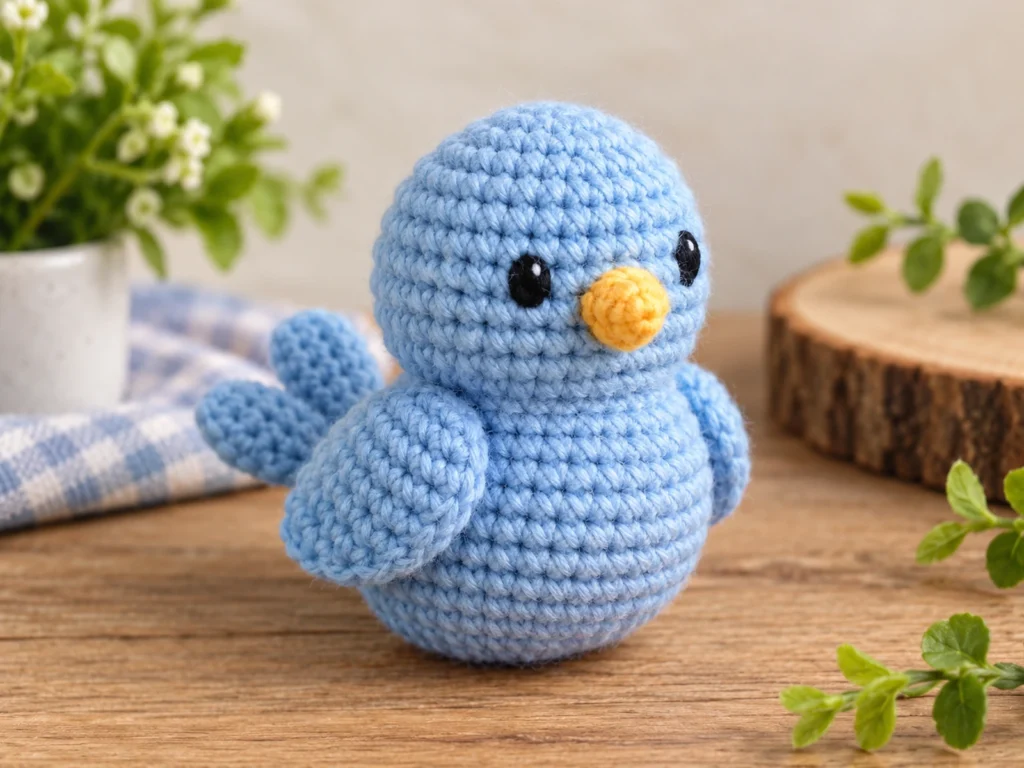
What You’ll Make
You’ll crochet a small bird with:
- A rounded body and head worked as one piece
- Two separate wings
- One tapered beak
- Two tail feathers
- Embroidered black eyes
- An optional yarn loop for turning the bird into a keychain or charm
Project Details
- Project: Small Crochet Bird Amigurumi
- Technique: Crochet amigurumi
- Main yarn: Worsted-weight yarn
- Main color: Sky blue
- Accent color: Golden yellow
- Eye detail: Embroidered black yarn
- Stuffing: Polyester fiberfill
- Hook: 3.25 mm crochet hook
- Approximate finished size: 3.5–4 inches (9–10 cm)
This pattern has been mathematically reviewed and constructionally checked, but it has not been physically crocheted and tested yet.
Materials & Tools
- Worsted-weight yarn in sky blue
- Small amount of golden-yellow yarn
- Small amount of black yarn for embroidered eyes
- 3.25 mm crochet hook
- Tapestry needle
- Polyester fiberfill
- Scissors
- Optional keychain ring or clasp
Abbreviations
- MR — magic ring
- sc — single crochet
- inc — increase; 2 sc in the same stitch
- dec — single crochet decrease
- ch — chain
- sl st — slip stitch
- FO — fasten off
Before You Start
Work in Continuous Rounds
The body, wings, and beak are worked in continuous rounds. A stitch marker can help you keep track of the beginning of each round.
Count Your Stitches
Each round includes its expected stitch count in parentheses. Check the count before moving on, especially after increase and decrease rounds.
Stuff as You Go
Begin stuffing the main body once the shape has developed enough to hold the fiberfill. Add small amounts gradually so the stitches stay neat and the shape remains rounded.
Shape Before Sewing
For the wings and tail feathers, place the pieces first and compare both sides before sewing them permanently.
Construction Order
The bird is assembled after all of its crocheted pieces are complete:
- Finish the body and head.
- Embroider the eyes.
- Attach the beak.
- Attach the wings.
- Attach the tail feathers.
- Add the optional keychain loop.
- Shape and finish the bird.
Small Crochet Bird Pattern
Body & Head — Make 1
Work in sky blue yarn.
Round 1
6 sc in MR. (6)
Round 2
6 inc. (12)
Round 3
(sc, inc) × 6. (18)
Round 4
(2 sc, inc) × 6. (24)
Round 5
(3 sc, inc) × 6. (30)
Round 6
Sc around. (30)
Round 7
Sc around. (30)
Round 8
Sc around. (30)
Round 9
Sc around. (30)
Round 10
(4 sc, inc) × 6. (36)
Round 11
Sc around. (36)
Round 12
Sc around. (36)
Round 13
Sc around. (36)
Round 14
Sc around. (36)
At this stage, embroider the two black eyes on the upper portion of the head. Use the position of the future beak as your visual center reference rather than relying on a fixed measurement.
Round 15
(4 sc, dec) × 6. (30)
Begin adding polyester fiberfill. Stuff gradually and keep the shape rounded without overfilling.
Round 16
(3 sc, dec) × 6. (24)
Round 17
(2 sc, dec) × 6. (18)
Add the remaining stuffing as needed while keeping the surface smooth.
Round 18
(sc, dec) × 6. (12)
Round 19
6 dec. (6)
FO, leaving a long yarn tail. Close the remaining opening and weave in the end.
Wings — Make 2
Work in sky blue yarn.
Round 1
6 sc in MR. (6)
Round 2
6 inc. (12)
Round 3
(sc, inc) × 6. (18)
Round 4
Sc around. (18)
Round 5
(sc, dec) × 6. (12)
FO, leaving a long sewing tail.
Flatten each wing gently. The wings should remain slightly rounded rather than becoming heavily stuffed balls.
Beak — Make 1
Work in golden-yellow yarn.
Round 1
6 sc in MR. (6)
Round 2
Sc around. (6)
Round 3
3 dec. (3)
Round 4
Sc around. (3)
FO, leaving a sewing tail.
Shape the beak gently with your fingers and sew the base closed as you attach it to the face.
Tail Feathers — Make 2
Work in sky blue yarn.
Foundation Chain
Ch 5.
Row 1
Sc in the 2nd ch from hook and across. (4)
Row 2
Ch 1, turn, inc, 2 sc, inc. (6)
Row 3
Sc across. (6)
Row 4
Ch 1, turn, dec, 2 sc, dec. (4)
Row 5
Sc across. (4)
Row 6
Ch 1, turn, 2 dec. (2)
Row 7
Ch 1, turn, dec. (1)
FO, leaving a sewing tail.
Make the second tail feather the same way.
Make the Optional Keychain Loop
If you’d like to use the finished bird as a charm or keychain, make a simple yarn loop.
Ch 10 and join the first and last chains with a sl st to form a loop.
FO, leaving a sewing tail.
Set the loop aside until the bird has been fully assembled.
Facial Details
The eyes are embroidered using black yarn.
Use the center of the face and the position of the beak to balance the two eyes visually. Since exact physical eye spacing has not been tested, use the finished shape as your guide rather than relying on a fixed measurement.
Assembly
Step 1: Prepare the Finished Pieces
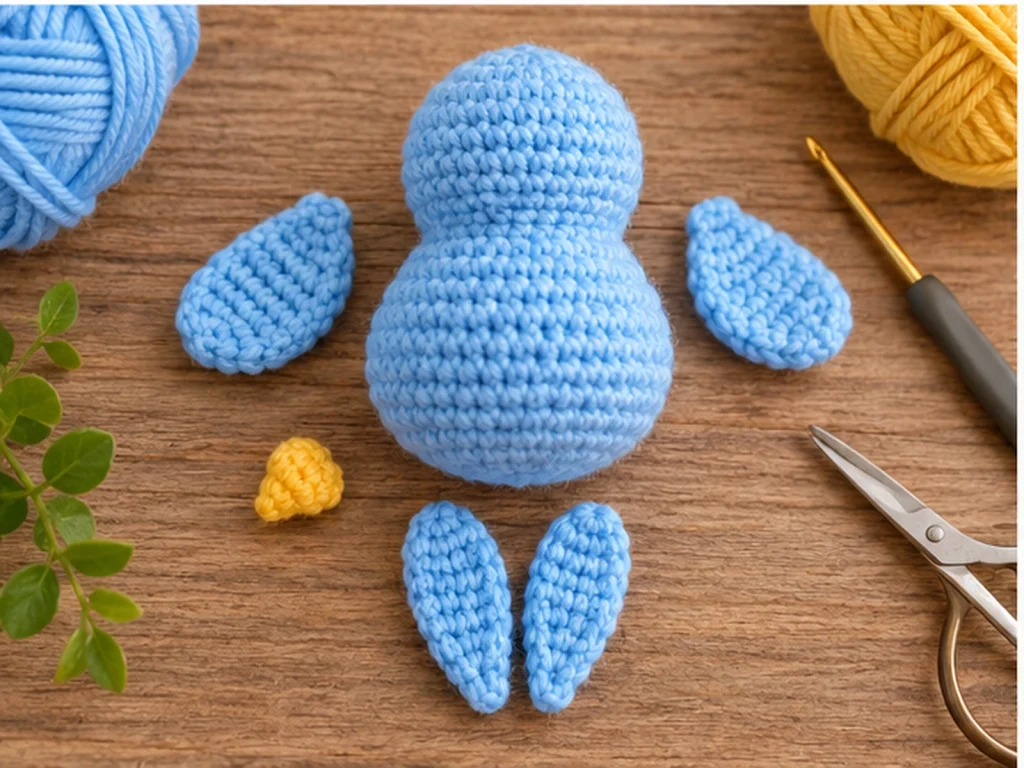
Lay out the completed body, two wings, beak, and two tail feathers.
Check the pair of wings and tail feathers side by side before sewing so their positions can be balanced.
Step 2: Attach the Beak
Center the golden-yellow beak between the embroidered eyes.
Sew around the base while keeping the pointed end facing forward.
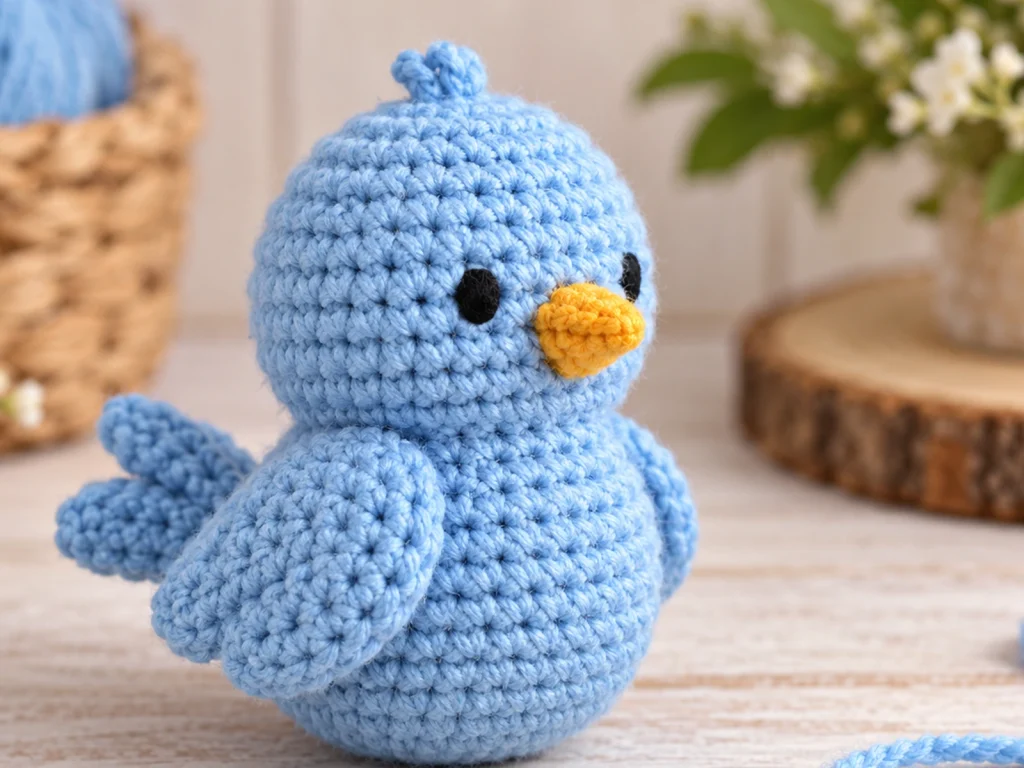
Step 3: Attach the Wings
Position one wing on each side of the bird.
Compare both sides from the front and back before sewing. Once the placement looks balanced, sew the inner edge of each wing securely to the body.
Step 4: Attach the Tail Feathers
Place the two tail feathers together at the lower back of the bird.
Angle them slightly apart to create a small fan shape, then sew the bases securely to the body.
Step 5: Add the Keychain Loop
For a keychain or charm version, sew the prepared yarn loop securely to the top center of the bird.
Attach your preferred keychain ring or clasp only after the loop is firmly secured.
Finishing
Once all the pieces are attached:
- Weave in and trim loose yarn ends.
- Check the wings for balanced placement.
- Check that the beak is centered.
- Make sure the tail feathers sit securely.
- Gently shape the bird with your fingers.
- Check that no stuffing is visible through the stitches.
Helpful Tips
Check the Wing Placement First
Place both wings before sewing them down. Looking at the bird from the front and back makes it easier to create a balanced silhouette.
Stuff Gradually
Small amounts of stuffing are easier to control than adding a large amount at once. Avoid stretching the stitches by overfilling the body.
Use the Beak as Your Face Center
Attach the beak before making any final adjustments to the embroidered eyes. It gives you a useful center reference for the face.
Keep the Wings Lightly Filled
The wings are intended to remain relatively flat, so avoid turning them into heavily stuffed rounded pieces.
Troubleshooting
Why does my bird look uneven?
Check the attachment points of the wings, beak, and tail before changing the crocheted pieces. Small differences in placement can affect the overall silhouette.
What should I do if the stuffing is showing?
Reduce the amount of stuffing and add it more gradually. Overstuffing can stretch the stitches and create gaps.
One wing is higher than the other. What can I do?
Before permanently sewing the wing, reposition it and compare both sides from the front and back.
Why does the beak look off-center?
Use the center of the face as a visual guide and reposition the beak before completing the attachment.
My bird feels too soft. How can I improve the shape?
Add a little more fiberfill before closing the final opening, while avoiding enough stuffing to stretch the stitches.
Customization Ideas
Try Different Body Colors
The same construction can be used with different main yarn colors to create a collection of birds with different looks.
Change the Accent Color
Keep the body the same and experiment with different beak colors for a simple variation.
Adjust the Embroidered Expression
Small changes in the placement of the embroidered eyes can give each bird a slightly different expression.
Turn It Into a Charm
Add the optional top loop and attach the finished bird to a keychain ring or clasp.
Frequently Asked Questions
How big is the finished crochet bird?
The bird is approximately 3.5–4 inches (9–10 cm) tall. Actual size will vary with yarn, hook size, tension, stuffing, and individual technique.
Can I turn this crochet bird into a keychain?
Yes. The pattern includes an optional yarn loop that can be sewn securely to the top of the finished bird before attaching keychain hardware.
Do I need safety eyes?
No. This design uses embroidered black eyes.
Do the wings need to be stuffed?
They do not need heavy stuffing. Keeping them lightly filled or flattened helps preserve their wing-like shape.
Where should I place the beak?
Center the beak between the two embroidered eyes and check the bird from the front before finishing the stitching.
How should I finish the bird?
After all pieces are attached, weave in the remaining yarn ends, check the symmetry of the wings and tail, and gently shape the bird with your fingers.
More Small Animal Amigurumi
Explore more compact animal crochet projects and other small amigurumi designs from Tiny Yarn Tales.
This little bird can be kept as a standalone amigurumi or finished with a yarn loop and hardware for use as a small crochet charm.