Lion Crochet Pattern: A Step-by-Step Amigurumi Tutorial
This lion crochet pattern creates a compact amigurumi lion with…
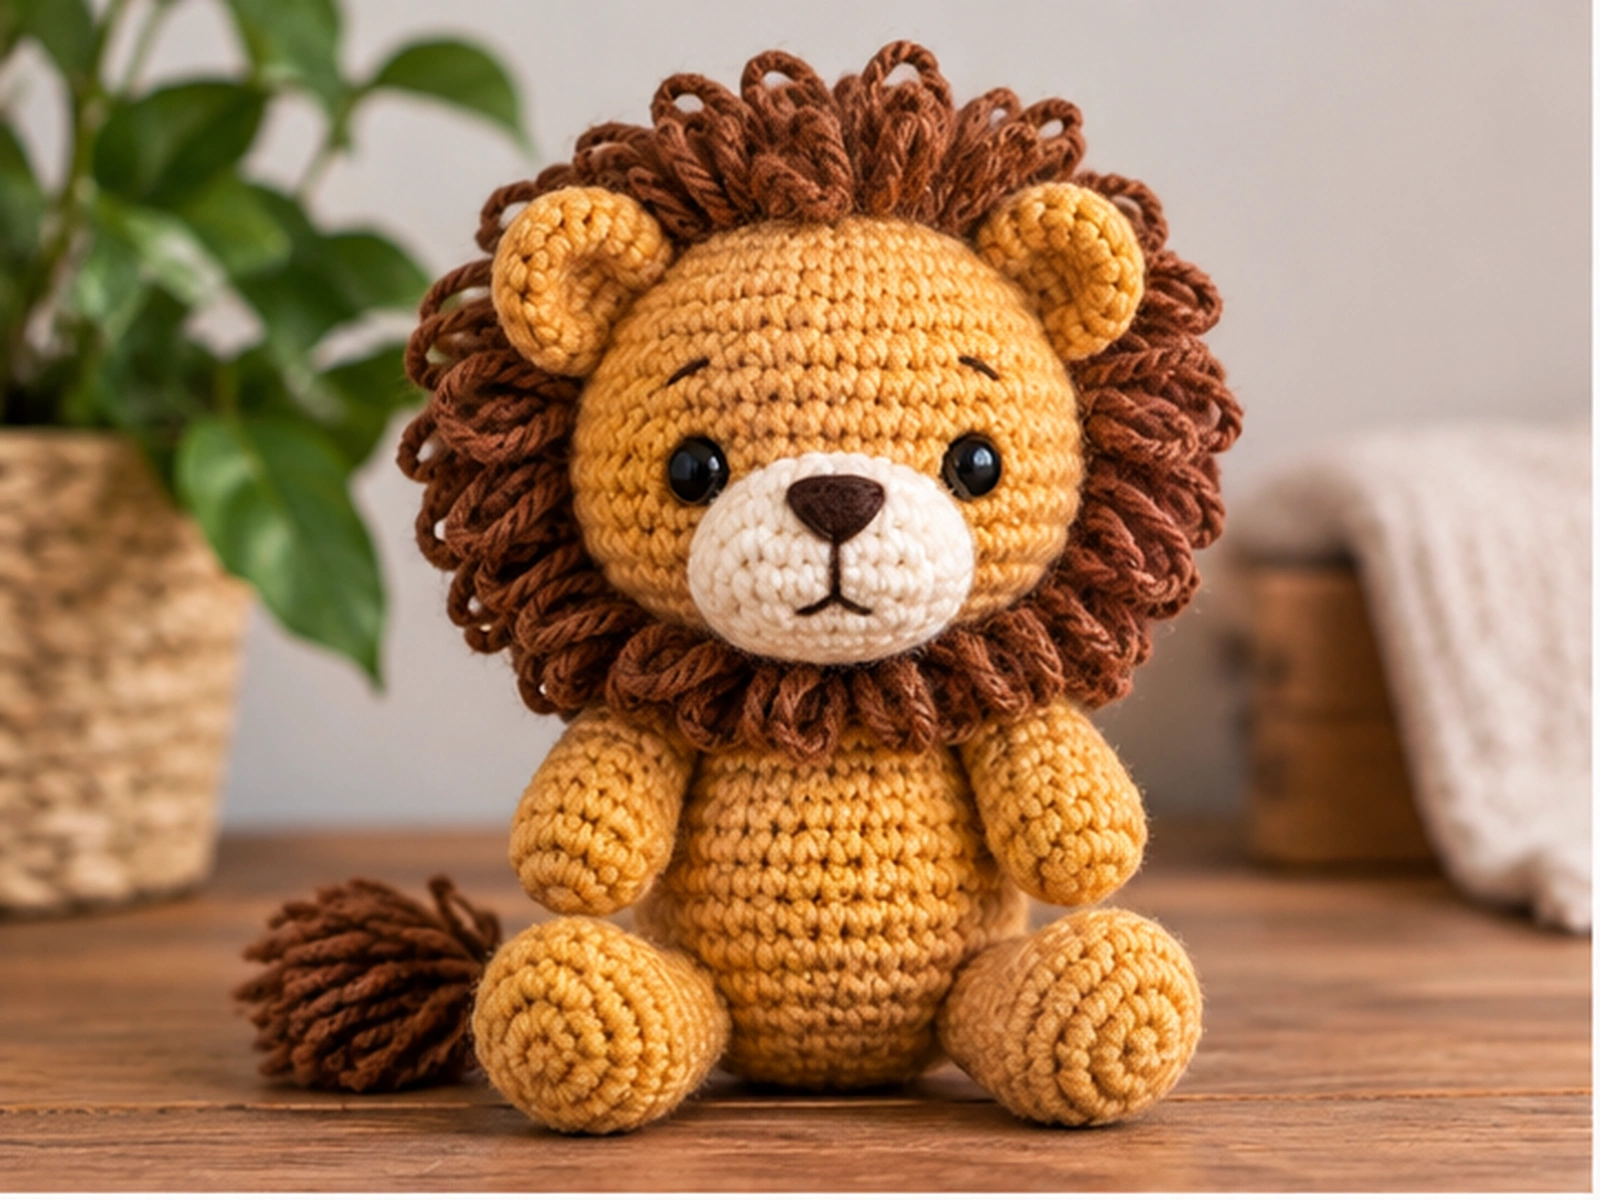
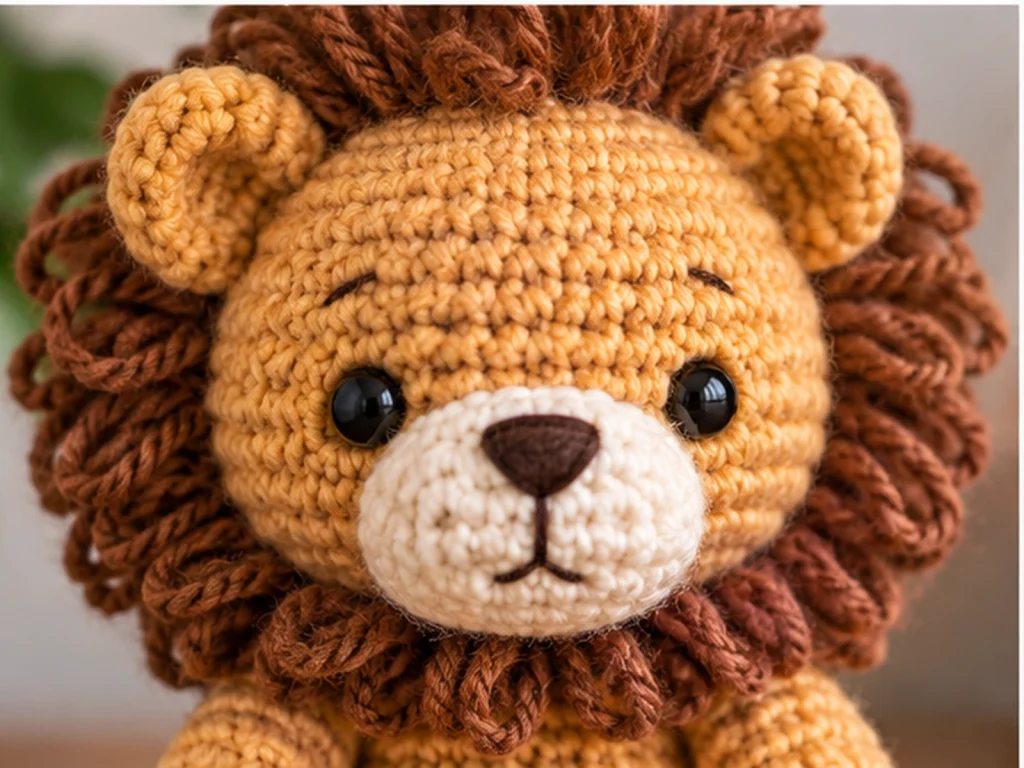
This lion crochet pattern creates a compact amigurumi lion with a rounded body, expressive face, and textured brown mane. The design is worked in separate pieces and finished with surface sewing, with the mane and facial details giving the finished lion its distinctive look.
The finished lion is designed to be approximately 6–7 inches tall, although the final size can vary with yarn, hook size, tension, stuffing, and individual crochet technique.
Project Overview
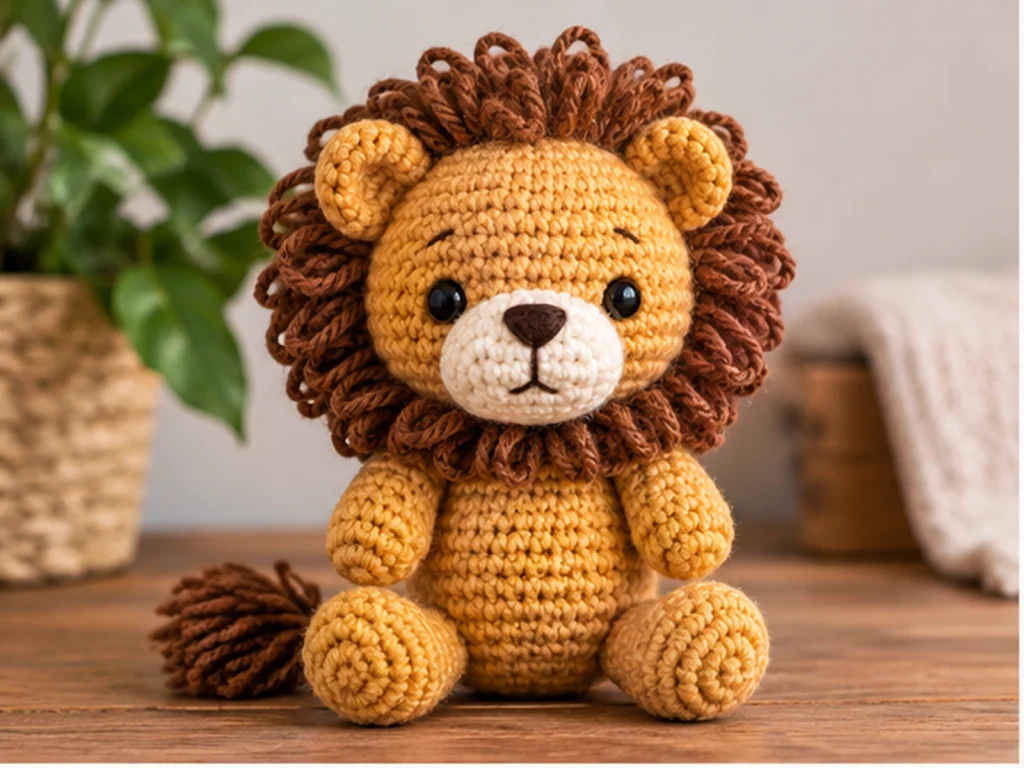
What You’ll Make
You’ll crochet a small lion amigurumi from separate pieces, then assemble them into a finished character with:
- A rounded head and compact body
- A cream muzzle
- Small rounded ears
- Two arms and two legs
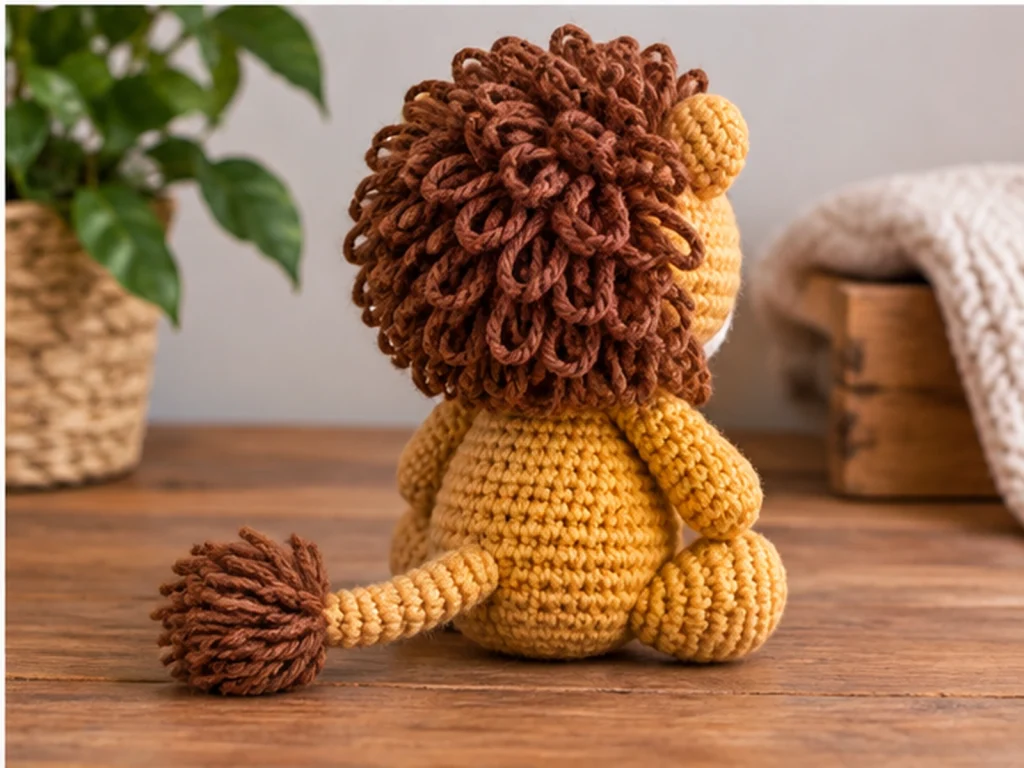
- A curved tail with a brown tuft
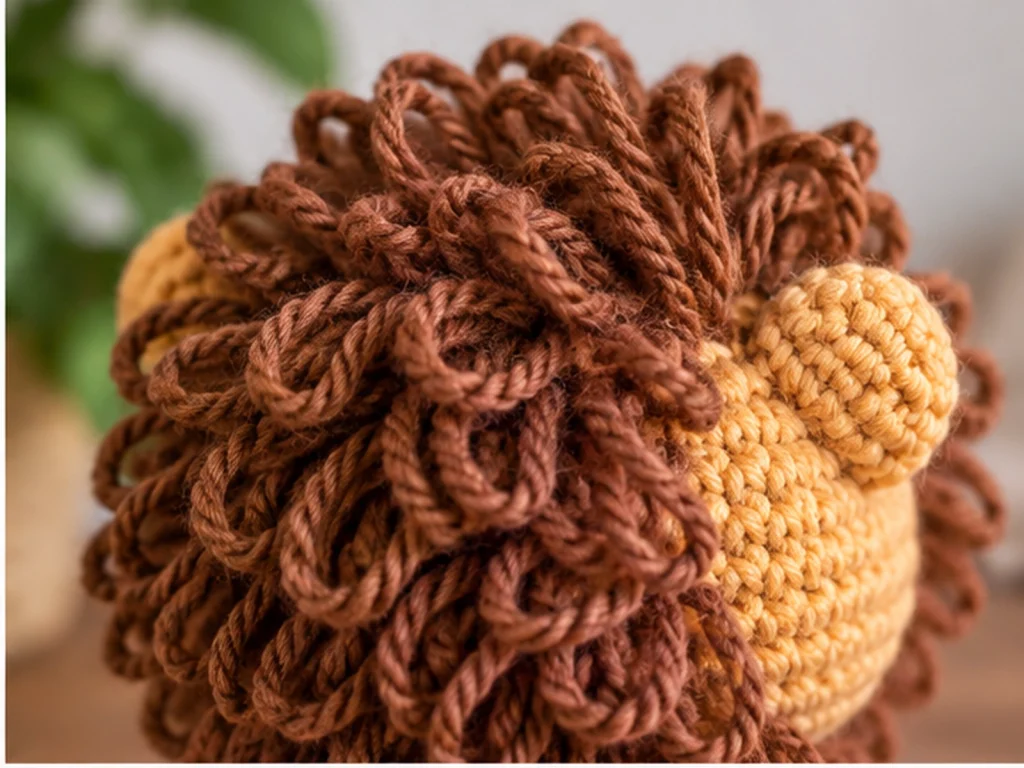
- A textured brown mane made from a crocheted base and yarn loops
- Safety eyes and embroidered facial details
Project Details
- Project: Lion amigurumi
- Technique: Crochet and surface sewing
- Approximate finished size: 6–7 inches tall
- Yarn: Medium/worsted-weight yarn
- Hook: 3.5 mm crochet hook
- Main color: Golden or tan
- Mane: Warm brown
- Muzzle: Cream
- Eyes: 9 mm safety eyes
- Filling: Polyester fiberfill
- Construction: Separate crocheted components with sewn assembly
The finished size is an approximate design target rather than a guaranteed measurement.
Materials & Tools
Yarn
Use medium/worsted-weight yarn in the following colors:
- Golden or tan for the head, body, ears, arms, legs, and tail
- Warm brown for the mane and tail tuft
- Cream for the muzzle
- Black yarn or embroidery thread for the nose and mouth
Exact yarn quantities are not specified because yarn usage varies with yarn brand, tension, stuffing, and individual technique.
Hook
- 3.5 mm crochet hook
Other Supplies
- 9 mm safety eyes
- Polyester fiberfill
- Yarn needle
- Scissors
- Stitch marker, if desired
Safety Note
Safety eyes can present a choking hazard and should not be used for projects intended for children under 3.
Abbreviations
- MR — magic ring
- sc — single crochet
- inc — increase, 2 sc in the same stitch
- dec — single crochet decrease
- sl st — slip stitch
- FO — fasten off
Before You Start
Work in Continuous Rounds
The crocheted pieces are worked primarily in continuous rounds. Use a stitch marker to identify the beginning of each round and keep your stitch count accurate.
Count Your Stitches
Check your stitch count at the end of every round, especially after rounds containing increases or decreases. A missed stitch can affect the shape of the entire piece.
Stuff as You Go
Add stuffing gradually rather than filling each piece all at once. Aim for a firm, even shape without stretching the stitches enough for stuffing to show through.
Shape Before Sewing
Before permanently sewing pieces together, gently shape them and check their placement from several angles.
Construction Order
For the cleanest assembly:
- Finish the crocheted pieces.
- Complete the head and facial details.
- Add the ears and mane.
- Finish and stuff the body.
- Attach the head.
- Add the legs, arms, and tail.
- Finish the small details and reshape the lion.
Original Lion Crochet Pattern
Head — Make 1
Use golden or tan yarn.
Round 1
6 sc in MR. (6)
Round 2
6 inc. (12)
Round 3
(sc, inc) × 6. (18)
Round 4
(2 sc, inc) × 6. (24)
Round 5
(3 sc, inc) × 6. (30)
Round 6
30 sc. (30)
Round 7
30 sc. (30)
Round 8
30 sc. (30)
Round 9
30 sc. (30)
Round 10
(3 sc, dec) × 6. (24)
Round 11
(2 sc, dec) × 6. (18)
Round 12
(sc, dec) × 6. (12)
Begin stuffing the head firmly but evenly.
Round 13
6 dec. (6)
Fasten off and secure the opening.
Muzzle — Make 1
Use cream yarn.
Round 1
6 sc in MR. (6)
Round 2
6 inc. (12)
Round 3
(sc, inc) × 6. (18)
Round 4
18 sc. (18)
Round 5
(sc, dec) × 6. (12)
Add a small amount of stuffing.
Fasten off, leaving a sewing tail. Flatten the muzzle gently into an oval and sew it to the center front of the head.
Ears — Make 2
Use golden or tan yarn.
Round 1
6 sc in MR. (6)
Round 2
6 inc. (12)
Round 3
12 sc. (12)
Round 4
(sc, dec) × 6. (6)
Do not heavily stuff the ears.
Fasten off, leaving a sewing tail. Flatten each ear slightly before attaching it to the upper sides of the head.
Body — Make 1
Use golden or tan yarn.
Round 1
6 sc in MR. (6)
Round 2
6 inc. (12)
Round 3
(sc, inc) × 6. (18)
Round 4
(2 sc, inc) × 6. (24)
Round 5
(3 sc, inc) × 6. (30)
Round 6
30 sc. (30)
Round 7
30 sc. (30)
Round 8
30 sc. (30)
Round 9
30 sc. (30)
Round 10
30 sc. (30)
Round 11
(3 sc, dec) × 6. (24)
Round 12
24 sc. (24)
Round 13
(2 sc, dec) × 6. (18)
Begin stuffing the body.
Round 14
(sc, dec) × 6. (12)
Round 15
6 dec. (6)
Fasten off, leaving a sewing tail.
Arms — Make 2
Use golden or tan yarn.
Round 1
6 sc in MR. (6)
Round 2
6 inc. (12)
Round 3
12 sc. (12)
Round 4
12 sc. (12)
Round 5
6 dec. (6)
Round 6
6 sc. (6)
Stuff lightly.
Fasten off, leaving a sewing tail.
Legs — Make 2
Use golden or tan yarn.
Round 1
8 sc in MR. (8)
Round 2
8 inc. (16)
Round 3
16 sc. (16)
Round 4
8 dec. (8)
Round 5
8 sc. (8)
Round 6
8 sc. (8)
Stuff moderately.
Fasten off, leaving a sewing tail.
Tail — Make 1
Use golden or tan yarn.
Round 1
6 sc in MR. (6)
Rounds 2–8
6 sc in each round. (6 each round)
Round 9
(sc, inc) × 3. (9)
Round 10
9 sc. (9)
Round 11
(2 sc, inc) × 3. (12)
Round 12
12 sc. (12)
Round 13
(2 sc, dec) × 3. (9)
Round 14
(sc, dec) × 3. (6)
Round 15
6 sc. (6)
Add light stuffing.
Fasten off, leaving a sewing tail.
Make the Lion’s Mane
The mane is made from a crocheted circular base covered with attached yarn loops.
Mane Base — Make 1
Use warm brown yarn.
Round 1
6 sc in MR. (6)
Round 2
6 inc. (12)
Round 3
(sc, inc) × 6. (18)
Round 4
(2 sc, inc) × 6. (24)
Round 5
(3 sc, inc) × 6. (30)
Round 6
(4 sc, inc) × 6. (36)
Round 7
(5 sc, inc) × 6. (42)
Round 8
42 sc. (42)
Fasten off, leaving a sewing tail.
Fringe Loops
Add brown yarn loops around the outer area of the mane base.
For each loop:
- Insert the hook through a selected stitch on the mane base.
- Pull a loop of yarn through.
- Keep the loop approximately finger-length.
- Secure the loop so it stays in place.
- Continue around the outer mane area.
Add additional loops wherever the mane looks sparse. Because the decorative loops are a visual feature rather than a fixed structural round, the final density can be adjusted to suit the yarn and desired fullness.
Mane Placement
Place the completed mane behind the head so the brown textured edge frames the face without covering the eyes or muzzle.
Temporarily hold or pin the mane in position before sewing it permanently.
Facial Details
Eye Placement
Add the 9 mm safety eyes after the head has reached its final stuffed shape.
Position them visually so they sit level and symmetrical on the face. Avoid forcing an exact spacing measurement because the final appearance can vary with tension and stuffing.
Nose
Use black yarn or embroidery thread to embroider a small nose on the cream muzzle.
Mouth
Add a short embroidered mouth line beneath the nose.
Assembly
Step 1: Prepare the Finished Pieces
Make sure all crocheted components are stuffed, shaped, and have their sewing tails ready.
Step 2: Attach the Muzzle
Center the cream muzzle on the front of the head and sew it securely in place.
Step 3: Add the Facial Features
Make sure the eyes are balanced and add the embroidered nose and mouth.
Step 4: Attach the Ears
Position the two ears on the upper sides of the head.
Compare both sides before sewing them permanently so they remain visually symmetrical.
Step 5: Attach the Mane
Position the brown mane behind the head.
The mane should frame the face while leaving the eyes and muzzle clearly visible.
Sew the mane securely around its base.
Step 6: Prepare the Body
Check the body’s stuffing and shape before assembly.
The lower portion should have enough structure to support the finished silhouette.
Step 7: Attach the Head to the Body
Center the head over the body and sew around the joining area.
Check the lion from the front and side while sewing so the head remains upright.
Step 8: Attach the Legs
Position the legs low on the body.
Compare both sides before making the final stitches.
Step 9: Attach the Arms
Sew one arm to each side of the body.
Keep the height and angle visually consistent.
Step 10: Attach the Tail
Sew the tail to the rear of the body and shape it gently into a natural curve.
Add the brown tail tuft if you have not already done so.
Finishing
Take a final look at the lion from the front, side, and back.
Tidy loose ends and gently reshape the head, body, limbs, and mane.
The final silhouette can often be improved with small adjustments to stuffing and the position of sewn pieces.
Helpful Tips
- Count every round carefully, especially after increases and decreases.
- Add stuffing gradually so the crochet fabric stays smooth.
- Compare paired pieces before sewing them permanently.
- Check facial balance from the front before finishing the embroidery.
- Hold the mane in place temporarily before sewing it down.
- Shape the tail gently rather than forcing a rigid curve.
- Avoid overstuffing, which can stretch the stitches and expose the filling.
Troubleshooting
The Mane Looks Too Thin
Add more yarn loops to visibly sparse areas of the mane.
You do not need to add loops evenly if some areas already look full.
The Face Looks Uneven
Check the eye level, muzzle position, and nose placement together.
Look at the entire face from directly in front before making additional adjustments.
The Stuffing Is Showing
Reduce the amount of stuffing slightly and check your crochet tension.
Overstuffing can stretch the stitches and make the fiberfill more visible.
The Stitch Count Does Not Match
Stop at the round where the count changed and check every increase or decrease.
A missed stitch in one round can affect the shape of all following rounds.
The Pieces Shift While Sewing
Temporarily hold or pin the pieces in place before sewing permanently.
For symmetrical pieces, compare both sides as you work.
The Lion Does Not Hold Its Shape
Check the firmness of the body stuffing and the position of the legs.
The lower body and feet should provide enough structure for the intended upright silhouette.
Customization Ideas
Color Variations
Try different combinations while keeping the same basic construction:
- Light tan body with a dark brown mane
- Warm ochre body with a chocolate-brown mane
- Soft beige body with a caramel mane
- Golden body with a slightly darker golden mane
A lighter muzzle can help keep the facial area visually distinct from the rest of the head.
Expression Ideas
Small changes to the embroidered details can give the lion a different personality.
You can experiment with the mouth shape, eye expression, and placement of the facial embroidery while keeping the main head construction unchanged.
Character Variations
A smaller-looking mane, softer colors, or a simpler facial expression can give the finished lion a younger or more playful appearance without changing its basic construction.
Care
Keep the finished amigurumi in a clean, dry place.
Avoid excessive moisture and rough handling around the embroidered details and sewn components.
For cleaning, follow the care recommendations for the specific yarn you used rather than assuming every yarn is machine washable.
Frequently Asked Questions
What yarn is used for this lion crochet pattern?
The design uses medium/worsted-weight yarn. Golden or tan yarn is used for the main body, warm brown for the mane, and cream for the muzzle.
What crochet hook size is used?
The pattern uses a 3.5 mm crochet hook.
How is the lion’s mane made?
The mane begins with a crocheted circular base. Brown yarn loops are then attached around the base to create its textured appearance.
Does the mane need an exact number of loops?
No. The decorative loop density can be adjusted according to the yarn and the amount of fullness you prefer.
When should I add the facial features?
Add the eyes after the head has been fully stuffed so you can judge the final shape of the face. The muzzle and embroidery can then be positioned around them.
Why does my lion look a different size?
The finished size can vary because of yarn choice, hook size, crochet tension, stuffing, and individual technique.
Can I change the lion’s colors?
Yes. You can change the main body, mane, and muzzle colors while keeping the same basic construction.
Is this crochet lion pattern physically tested?
The pattern has been mathematically reviewed and constructionally checked, but it has not been physically crocheted and tested as a prototype.
Final Notes
This lion crochet pattern combines a rounded amigurumi shape with a textured mane that gives the finished character its defining look. The separate head, body, limbs, tail, and facial pieces keep the construction organized, while the mane gives you flexibility to adjust the texture and fullness.
Take your time with stuffing, facial placement, and assembly. Small finishing adjustments can make a noticeable difference in the lion’s final shape and expression.