
Crochet Avocado Amigurumi Pattern
This crochet avocado amigurumi turns a simple fruit shape into…
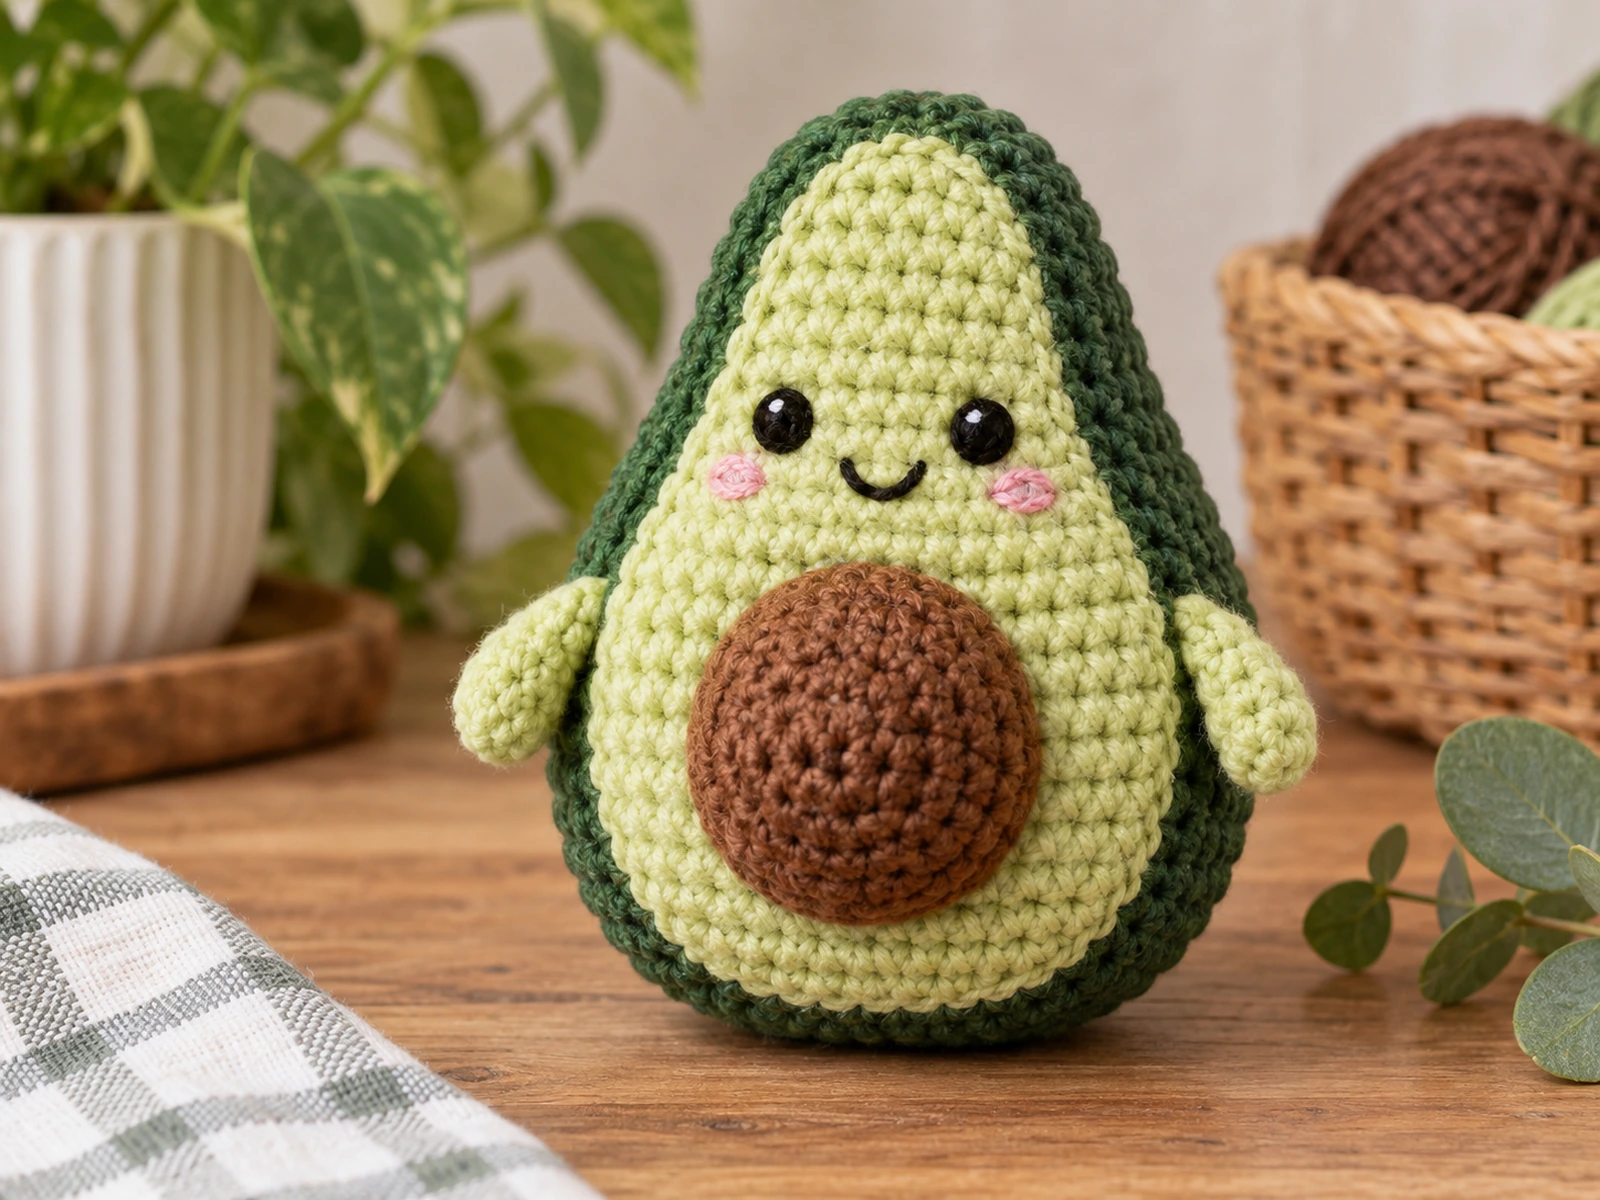
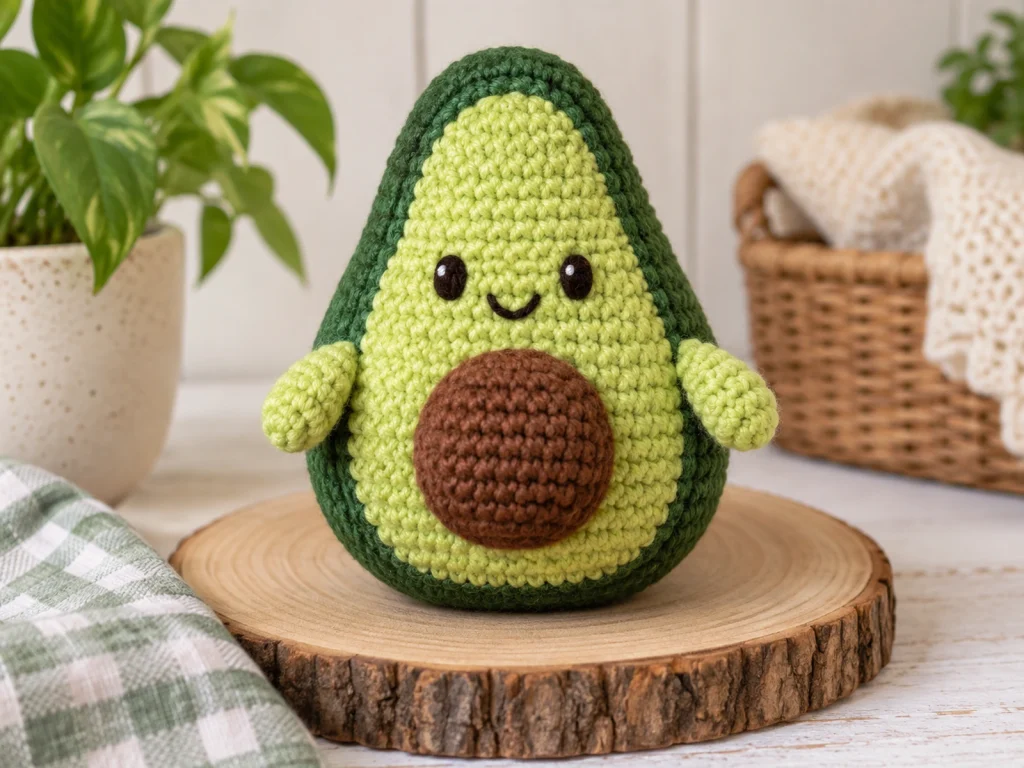
This crochet avocado amigurumi turns a simple fruit shape into a cute little character with a rounded dark-green body, lighter green flesh, a brown pit, tiny arms, and an embroidered face. The project is made from a few separate pieces and then assembled into the finished avocado.
The finished design is approximately 4–4.5 inches tall and 3–3.5 inches wide. Actual size may vary depending on yarn, hook, tension, stuffing, and individual crochet technique.
Project Overview
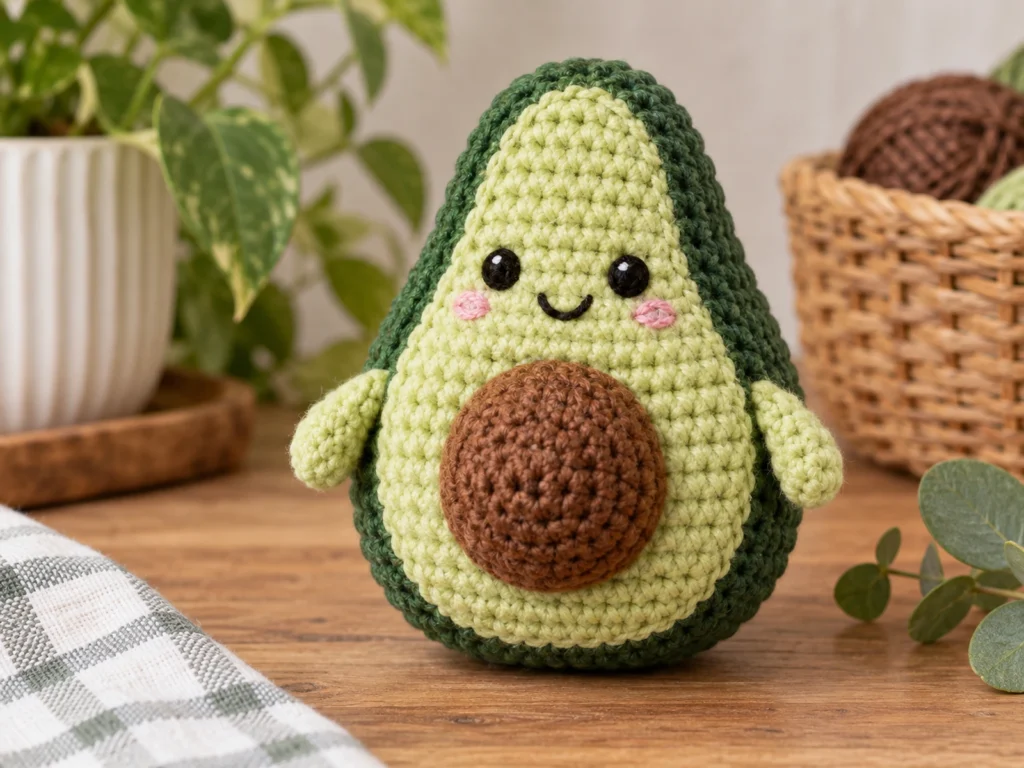
What You’ll Make
This crochet avocado consists of:
- One stuffed outer avocado body
- One light-green flesh panel
- One stuffed brown avocado pit
- Two small light-green arms
- Embroidered eyes and a smile
The outer body creates the three-dimensional avocado shape, while the flat flesh panel is sewn onto the front. The pit is attached over the center of the flesh, followed by the arms and embroidered facial details.
Project Details
- Project: Crochet Avocado Amigurumi
- Technique: Crochet amigurumi
- Yarn: Medium/worsted-weight (#4)
- Hook: 3.25 mm
- Main colors: Dark green, light green, brown
- Face: Embroidered with black or very dark brown yarn
- Filling: Polyester fiberfill
- Approximate size: 4–4.5 inches tall × 3–3.5 inches wide
The finished size is approximate rather than guaranteed and will change with yarn choice, hook size, tension, stuffing, and individual technique.
Materials & Tools
Yarn
Use medium or worsted-weight (#4) yarn in:
- Dark green for the outer body
- Light green for the inner flesh and arms
- Brown for the avocado pit
- Black or very dark brown for the embroidered face
Crochet Hook
- 3.25 mm crochet hook
Other Supplies
- Polyester fiberfill
- Tapestry needle
- Stitch marker
- Scissors
Exact yarn yardage is not specified for this design.
Abbreviations
This pattern uses standard US crochet terminology.
- MR — magic ring
- ch — chain
- sc — single crochet
- inc — increase; 2 sc in the same stitch
- dec — single crochet decrease
- FO — fasten off
Before You Start
Work in Continuous Rounds
The outer body, avocado pit, and arms are worked in continuous rounds unless otherwise noted. Use a stitch marker to keep track of the beginning of each round.
Count Your Stitches
Keep a close eye on your stitch count as you work. The shaping of the avocado depends on the increases and decreases being completed exactly as written.
Stuff as You Go
Add fiberfill gradually to the stuffed pieces. Avoid packing the filling too tightly, especially near the final decrease rounds, so the crochet fabric does not become stretched.
Shape Before Sewing
Before attaching the flesh panel, pit, and arms, take a moment to check the overall shape and make any small adjustments to the stuffing.
Construction Order
The project is assembled in this order:
- Finish the outer avocado body.
- Crochet the inner flesh panel.
- Crochet and stuff the pit.
- Crochet the two arms.
- Sew the flesh panel to the body.
- Attach the pit.
- Attach the arms.
- Embroider the face.
- Complete the final shaping and finishing.
A physical prototype has not been crocheted and evaluated yet. The pattern has been mathematically reviewed and constructionally checked.
Original Crochet Avocado Pattern
Outer Avocado Body
Make 1 in dark green.
This is the main stuffed avocado shape.
Round 1
6 sc in MR. (6)
Round 2
6 inc. (12)
Round 3
(sc, inc) × 6. (18)
Round 4
(2 sc, inc) × 6. (24)
Round 5
(3 sc, inc) × 6. (30)
Round 6
(4 sc, inc) × 6. (36)
Round 7
sc around. (36)
Round 8
sc around. (36)
Round 9
sc around. (36)
Round 10
sc around. (36)
Round 11
sc around. (36)
Round 12
(4 sc, dec) × 6. (30)
Round 13
sc around. (30)
Round 14
(3 sc, dec) × 6. (24)
Round 15
(2 sc, dec) × 6. (18)
Round 16
(sc, dec) × 6. (12)
Begin stuffing the body firmly but evenly. Shape it as you continue so the avocado remains rounded without stretching the stitches.
Round 17
6 dec. (6)
Fasten off, leaving a yarn tail. Thread the tail through the remaining front loops, cinch the opening closed, and weave in the end.
Inner Avocado Flesh Panel
Make 1 in light green.
This flat piece creates the lighter front section of the avocado.
Chain 2 to begin.
Row 1
sc in the 2nd ch from hook. (1)
Row 2
inc. (2)
Row 3
2 inc. (4)
Row 4
inc, 2 sc, inc. (6)
Row 5
inc, 4 sc, inc. (8)
Row 6
inc, 6 sc, inc. (10)
Row 7
inc, 8 sc, inc. (12)
Row 8
inc, 10 sc, inc. (14)
Row 9
14 sc. (14)
Row 10
14 sc. (14)
Row 11
14 sc. (14)
Row 12
14 sc. (14)
Fasten off, leaving a long yarn tail for sewing.
The pointed end of the panel should face toward the narrower top of the avocado when positioned on the body.
Avocado Pit
Make 1 in brown.
The pit is worked as a small stuffed sphere.
Round 1
6 sc in MR. (6)
Round 2
6 inc. (12)
Round 3
(sc, inc) × 6. (18)
Round 4
sc around. (18)
Round 5
sc around. (18)
Add fiberfill, keeping the pit rounded without overstuffing it.
Round 6
(sc, dec) × 6. (12)
Round 7
6 dec. (6)
Fasten off, leaving a sewing tail. Cinch the opening closed and keep the remaining tail for attaching the pit.
Arms
Make 2 in light green.
The arms are left unstuffed so they remain flexible.
Round 1
6 sc in MR. (6)
Round 2
sc around. (6)
Round 3
sc around. (6)
Round 4
sc around. (6)
Round 5
sc around. (6)
Round 6
3 dec. (3)
Fasten off, leaving a sewing tail.
Flatten the final end slightly to make it easier to attach to the body.
Assemble the Crochet Avocado
Step 1: Attach the Flesh Panel
Place the light-green flesh panel on the front of the dark-green body.
Point the narrow end toward the top of the avocado and center the panel so a dark-green border remains visible around most of the outer edge.
Hold the panel in place and sew around its perimeter using small, even stitches.
Secure and weave in the yarn end on the back.
Step 2: Attach the Pit
Place the brown pit on the lower central portion of the light-green flesh panel.
Check the position from the front before sewing. The pit should sit clearly within the flesh area while leaving visible green space around it.
Sew around the pit securely.
Step 3: Attach the Arms
Place one arm on each side of the avocado around the lower half of the body.
Compare both sides before sewing them permanently so the arms sit at similar heights and angles.
Sew each arm firmly to the dark-green body.
Facial Details
Eye Placement
Using black or very dark brown yarn, embroider two small eyes above the pit.
Keep the eyes visually centered relative to the light-green flesh panel.
Mouth
Add a small curved smile between and slightly below the eyes.
Use visual alignment rather than a fixed measurement so you can adjust the expression to suit your finished piece.
Finishing
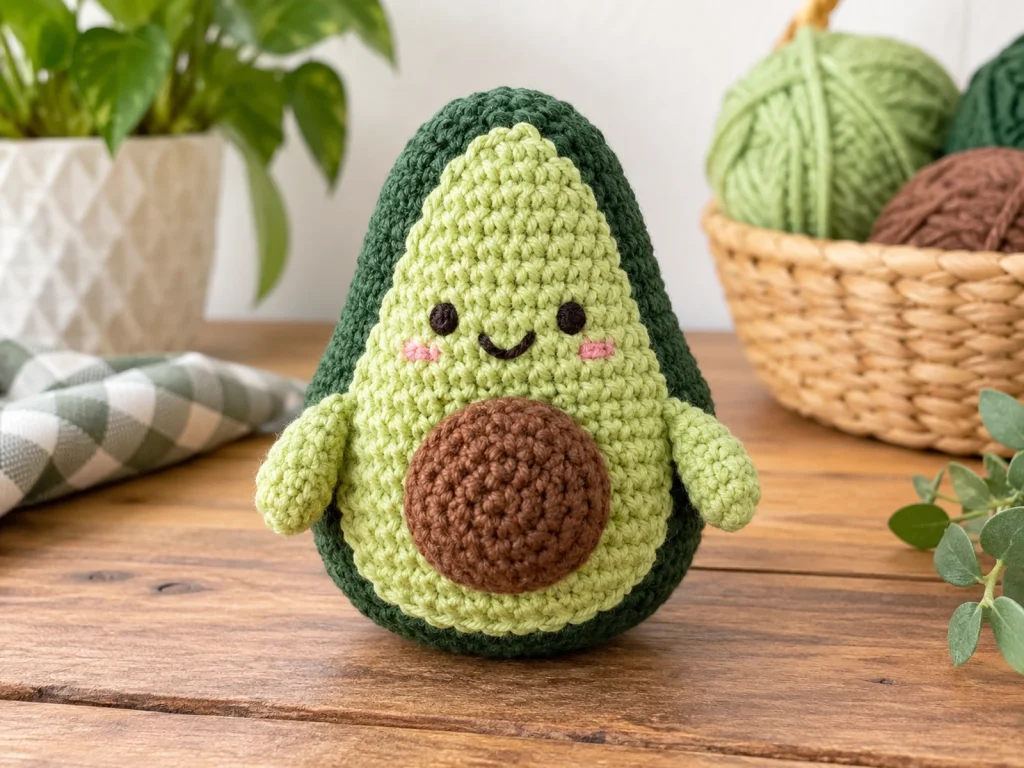
Once all of the pieces are attached, gently shape the stuffed body.
Check that:
- The flesh panel lies smoothly against the body.
- The pit is secure.
- Both arms are balanced.
- The face is centered.
- No stuffing is visible.
- All yarn ends are secured.
Helpful Tips
Keep the stuffing even
Add small amounts of fiberfill at a time instead of packing the body all at once. This makes it easier to maintain the rounded avocado shape.
Check placement before sewing
Temporarily position the flesh panel, pit, and arms and look at the avocado from the front before making the attachment permanent.
Compare both arms
The two arms are identical, but their final appearance depends on placement. Compare their height and angle before sewing.
Keep the face simple
Small embroidered features work well with the compact avocado shape. Make sure both eyes are balanced before completing the embroidery.
Troubleshooting
The avocado looks too flat
Check the distribution of the stuffing. Add more fiberfill gradually and reshape the body rather than compressing one area too heavily.
The stuffing is visible
The body may be overstuffed or the stitches may be too loose. Remove a small amount of fiberfill and reshape the piece.
The flesh panel looks off-center
Temporarily remove or loosen the panel before securing it completely. Check the visible dark-green border around the panel from several angles and reposition as needed.
The pit does not look centered
Before the final stitches are secured, reposition the pit so it sits naturally within the light-green flesh.
The arms look uneven
Compare both arms from the front and adjust the attachment point or angle before permanently sewing them.
Customization Ideas
Change the expression
Try different embroidered eyes or smiles to give the avocado a different personality.
Experiment with green shades
A darker outer green combined with a brighter inner green can create a stronger contrast. Softer or muted green combinations can create a different overall look.
Create different personalities
Small changes to the embroidered expression and arm positioning can make the same avocado design look cheerful, sleepy, surprised, or playful.
Adjust the size
Making the project significantly larger or smaller requires changes to the crochet construction. Changing yarn alone should not be treated as a guaranteed size adjustment.
Care
Because the finished piece contains fiberfill and sewn components, handle it gently and keep it clean according to the care requirements of the yarn used.
Avoid assuming that the finished item is suitable for babies or young children.
Frequently Asked Questions
What yarn is used for this crochet avocado?
The pattern uses medium or worsted-weight (#4) yarn in dark green, light green, brown, and a dark color for the embroidered face.
What crochet hook size is required?
Use a 3.25 mm crochet hook.
Does the avocado need stuffing?
Yes. The outer avocado body and brown pit are stuffed. The arms are intentionally left unstuffed.
How is the avocado assembled?
The light-green flesh panel is sewn to the front of the outer body first. The brown pit is then attached to the flesh, followed by the arms and embroidered facial features.
Are safety eyes used?
No. This design uses embroidered eyes.
How large will the finished avocado be?
The target design size is approximately 4–4.5 inches tall and 3–3.5 inches wide. Actual finished size varies with yarn, hook size, tension, stuffing, and individual technique.
Is this crochet avocado pattern physically tested?
Not yet. The pattern has been mathematically reviewed and constructionally checked, but it has not been physically crocheted and evaluated.
More Crochet Amigurumi
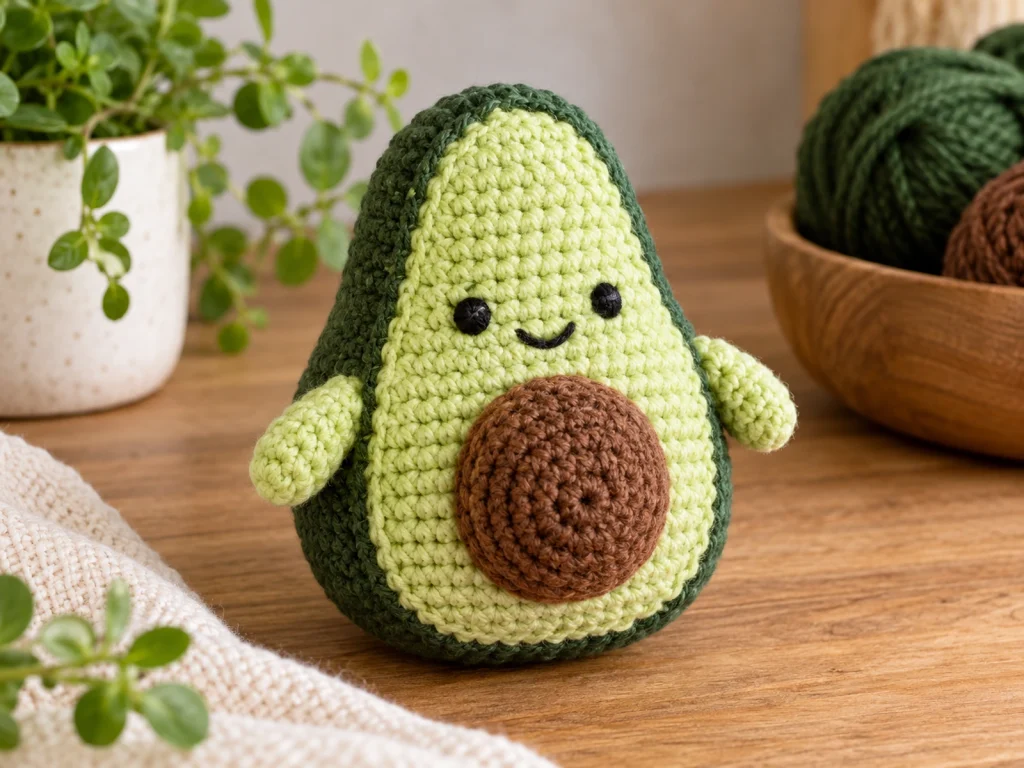
For more projects in the same handmade style, explore other fruit, food-inspired, and small character amigurumi patterns from Tiny Yarn Tales.
Happy crocheting!