
Crochet Cactus Amigurumi Pattern
This crochet cactus amigurumi is a small potted project with…
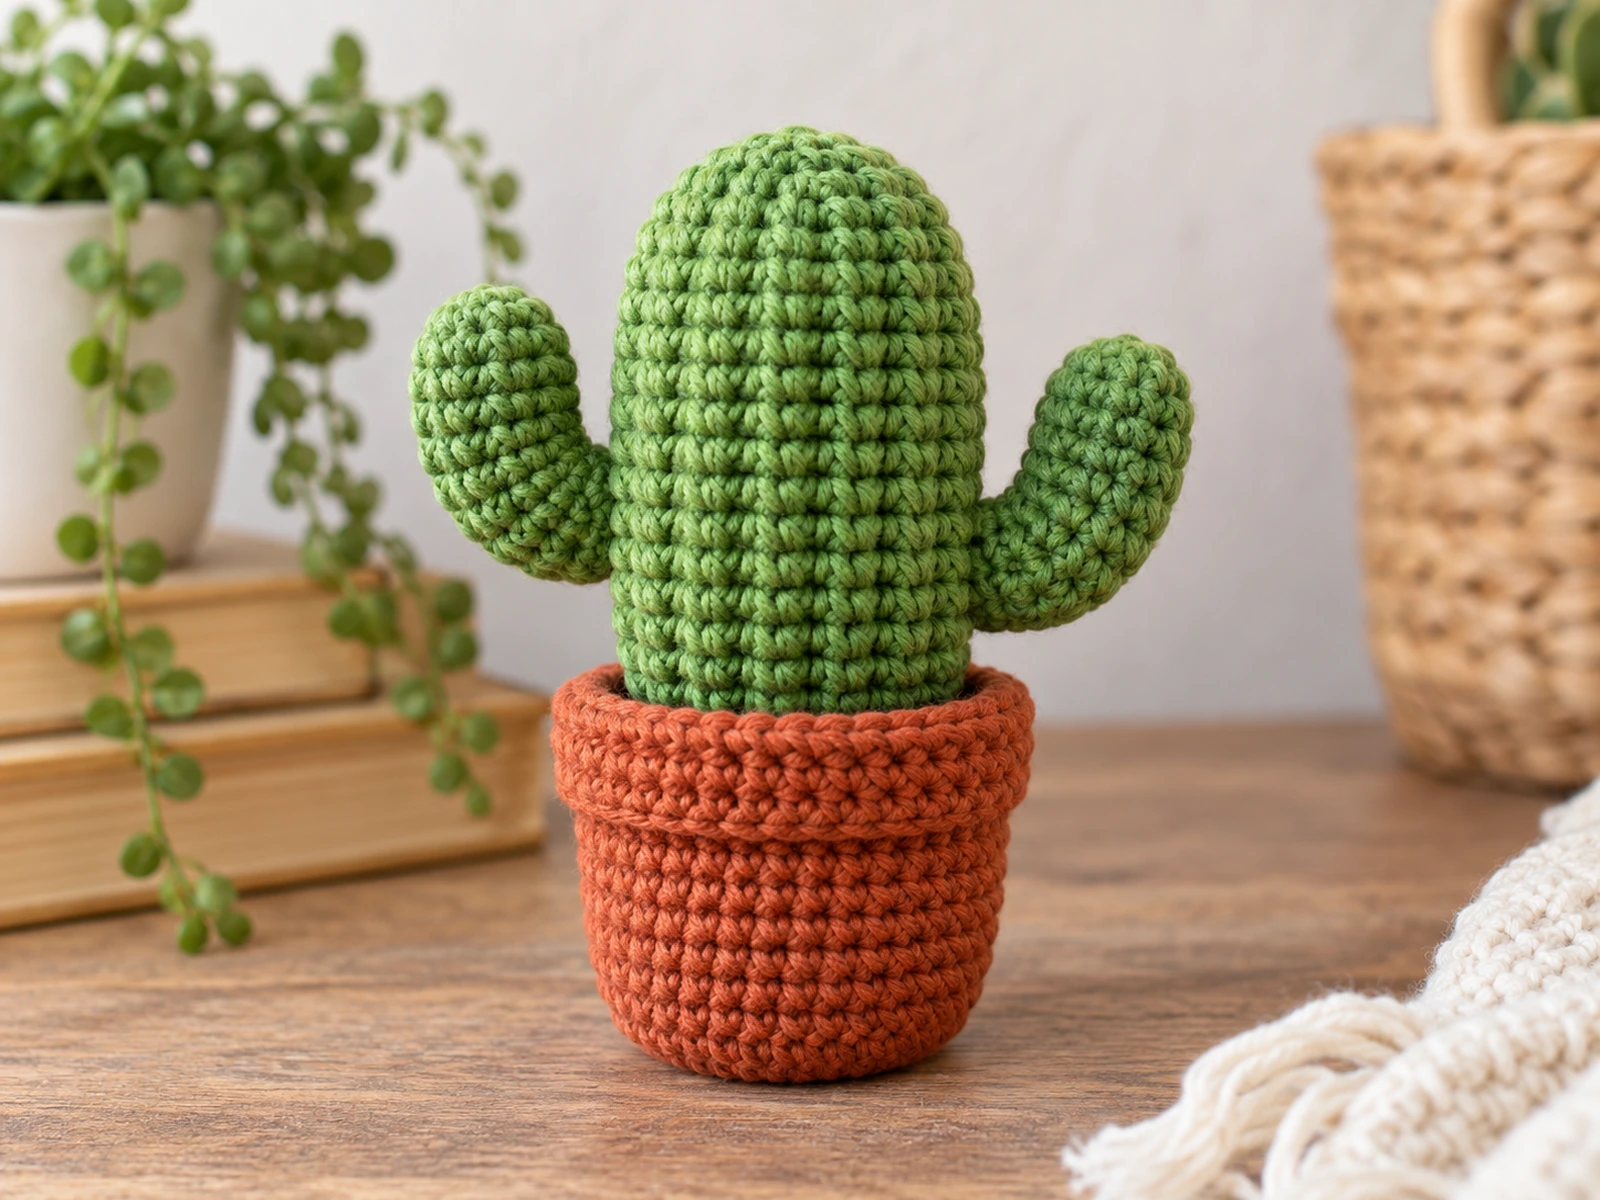
This crochet cactus amigurumi is a small potted project with a rounded shape and two saguaro-style side arms. The cactus body is crocheted separately from the terracotta-colored pot, then the pieces are assembled into one finished plant.
The finished piece is designed to measure approximately 4.5–5.5 inches tall. Final size can vary depending on yarn, hook size, tension, and stuffing.
Project Overview
What You’ll Make
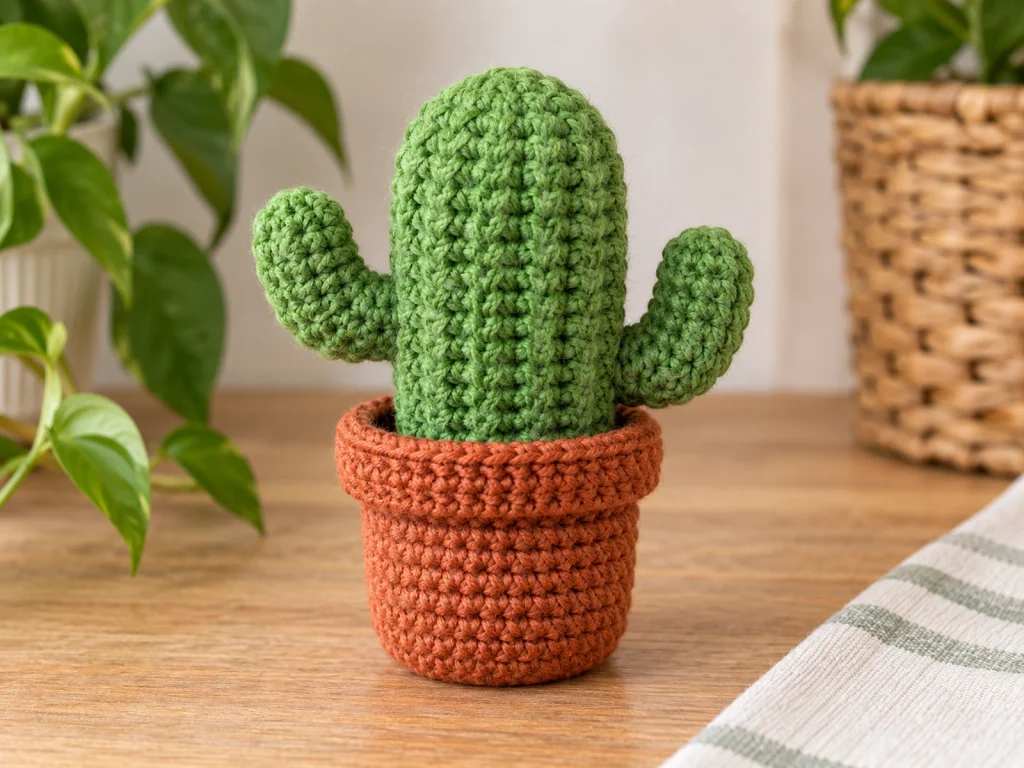
This pattern creates a potted crochet cactus made from three main components:
- 1 cactus body
- 2 side arms
- 1 crocheted pot
The cactus body is stuffed and closed, the two arms are sewn onto the sides, and the finished cactus is secured inside the open pot.
Project Details
- Technique: Crochet amigurumi
- Yarn: Medium weight (#4)
- Hook: 3.25 mm (US D/3)
- Cactus color: Green
- Pot color: Terracotta or rust
- Filling: Polyester fiberfill
- Finished size: Approximately 4.5–5.5 inches tall
- Safety eyes: Not used
Materials & Tools
- Medium weight (#4) yarn in green
- Medium weight (#4) yarn in terracotta or rust
- 3.25 mm (US D/3) crochet hook
- Polyester fiberfill
- Yarn needle
- Scissors
Abbreviations
US crochet terminology is used throughout.
- MR — magic ring
- sc — single crochet
- inc — increase; 2 sc in the same stitch
- dec — decrease
- st(s) — stitch(es)
- FO — fasten off
Safety Note
No safety eyes are used in this design, and the finished project is not presented as a child-safe or baby-safe item.
Before You Start
Work in Continuous Rounds
The cactus body, side arms, and pot are worked in continuous rounds unless otherwise noted.
Count Your Stitches
Keep track of your stitch count at the end of each round, especially during increase and decrease rounds. A stitch marker can be used to help identify the beginning of each round.
Stuff as You Go
Stuff the cactus body gradually so the shape stays firm without becoming overfilled. The side arms only need light stuffing.
Shape Before Sewing
Before permanently attaching the arms, compare both sides of the cactus so they sit at similar heights and angles.
Construction Order
Make the cactus body first, then the two side arms and the pot. Attach the arms to the body before positioning and securing the cactus inside the pot.
Original Crochet Cactus Pattern
Cactus Body — Make 1
Use green yarn.
Round 1
6 sc in MR. (6)
Round 2
6 inc. (12)
Round 3
(sc, inc) × 6. (18)
Round 4
(2 sc, inc) × 6. (24)
Round 5
(3 sc, inc) × 6. (30)
Round 6
(4 sc, inc) × 6. (36)
Rounds 7–11
36 sc. (36)
Round 12
(4 sc, dec) × 6. (30)
Round 13
30 sc. (30)
Round 14
(3 sc, dec) × 6. (24)
Round 15
24 sc. (24)
Round 16
(2 sc, dec) × 6. (18)
Round 17
(sc, dec) × 6. (12)
Begin stuffing the cactus firmly but evenly.
Round 18
6 dec. (6)
Fasten off, leaving a yarn tail for closing. Add a small amount of stuffing if needed, then weave the yarn through the front loops of the remaining stitches and pull the opening closed.
Side Arms — Make 2
Use green yarn.
Round 1
6 sc in MR. (6)
Round 2
(sc, inc) × 3. (9)
Rounds 3–4
9 sc. (9)
Round 5
(sc, dec) × 3. (6)
Rounds 6–8
6 sc. (6)
Lightly stuff the lower portion of each arm.
Fasten off, leaving a yarn tail for sewing.
Make the second arm using the same instructions.
Pot — Make 1
Use terracotta or rust-colored yarn.
Round 1
6 sc in MR. (6)
Round 2
6 inc. (12)
Round 3
(sc, inc) × 6. (18)
Round 4
(2 sc, inc) × 6. (24)
Round 5
(3 sc, inc) × 6. (30)
Round 6
(4 sc, inc) × 6. (36)
Rounds 7–10
36 sc. (36)
Fasten off and weave in the end.
Keep the top of the pot open.
Assembly
Step 1: Attach the Side Arms
Place the two arms on opposite sides of the cactus body.
Compare their height and angle before sewing them permanently. Use the yarn tails to sew each arm securely to the body.
Step 2: Position the Cactus in the Pot
Place the completed cactus inside the open pot.
Center the cactus before securing it.
Step 3: Secure the Cactus to the Pot
Sew around the lower cactus area against the top opening of the pot.
Work carefully so the pot keeps its round shape while the cactus remains upright.
Step 4: Final Shaping
Check the finished silhouette and gently adjust the stuffing if needed.
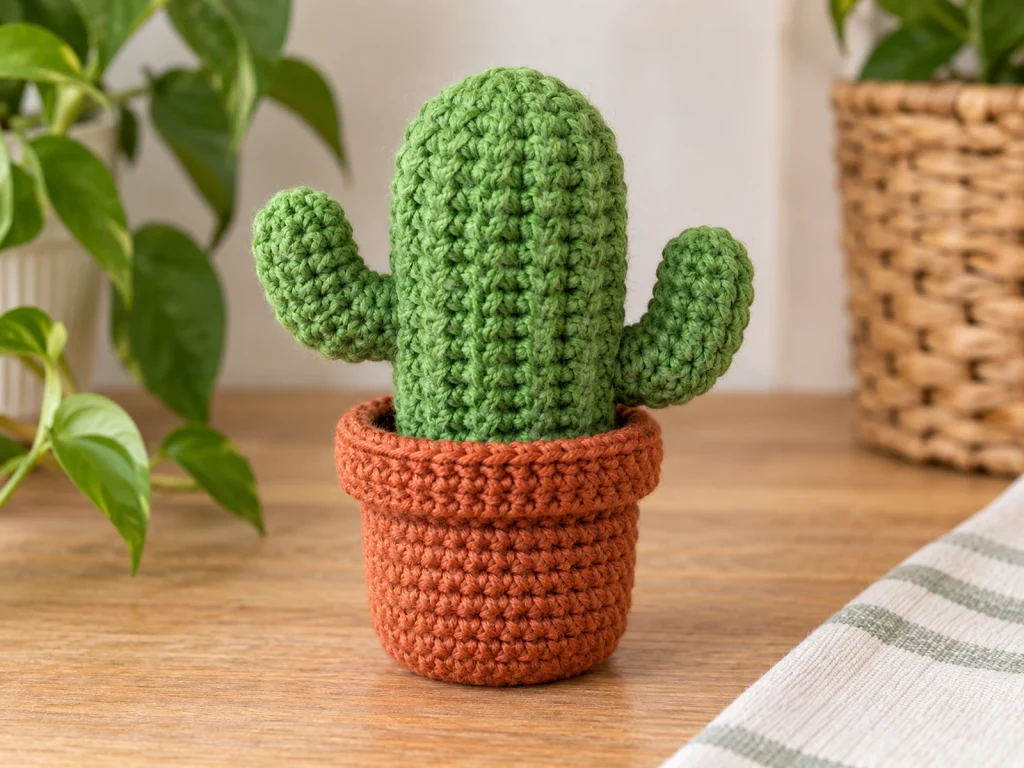
Make sure the body is evenly filled, the arms are secure, and no stuffing is visible through the stitches.
Finishing
After all components have been joined:
- Secure all attachment points.
- Weave in remaining yarn ends.
- Trim excess yarn.
- Check the cactus body for visible stuffing.
- Make sure the arms are firmly attached.
- Confirm that the cactus sits securely inside the pot.
The finished size remains approximate because yarn, hook size, tension, stuffing, and individual technique can affect the final result.
Helpful Tips
Keep Your Counts Consistent
The shaping of the cactus depends on the increase and decrease rounds. Check your stitch count carefully after each shaping round.
Stuff Gradually
Adding fiberfill in small amounts gives you better control over the cactus shape and helps prevent overstuffing.
Compare the Arms Before Sewing
Place both arms on the body before attaching them permanently. This makes it easier to create a balanced silhouette.
Don’t Pull the Assembly Yarn Too Tightly
When attaching the cactus to the pot, sew firmly enough to hold the pieces together without pulling the pot out of shape.
Troubleshooting
The Cactus Looks Uneven
Check your stitch count, especially after increase and decrease rounds. Uneven tension can also affect the shape.
Stuffing Is Showing
Add stuffing gradually and avoid packing the body too tightly. Consistent stitches also help keep the filling contained.
The Arms Don’t Match
Place both arms side by side and compare their length, stuffing, and orientation before sewing them to the body.
The Cactus Leans
Reposition the cactus inside the pot before the final attachment. You can also adjust the stuffing in the lower body to help it sit more evenly.
Customization Ideas
Change the Cactus Color
Experiment with different shades of green to create a lighter, darker, or more muted cactus.
Change the Pot Color
The terracotta pot can be replaced with another color to create a different look while keeping the same construction.
Adjust the Arm Position
The side arms can be positioned at slightly different angles to create variations in the cactus silhouette.
Care
The finished project has not been physically tested for washing or other specific care methods, so no specific care instructions are established for this pattern.
Frequently Asked Questions
How big is the finished crochet cactus?
The cactus is designed to measure approximately 4.5–5.5 inches tall. Final size varies with yarn, hook size, tension, stuffing, and individual technique.
Is the cactus worked in rounds?
Yes. The cactus body, side arms, and pot are worked in rounds.
Does this pattern use safety eyes?
No. This cactus design does not use facial features or safety eyes.
Does the cactus need stuffing?
Yes. The main cactus body is stuffed before the final closing rounds, while the side arms are lightly stuffed.
Does the cactus require sewing?
Yes. The side arms are sewn to the cactus body, and the finished cactus is secured to the pot.
Is the pot open?
Yes. The pot remains open at the top so the cactus can be positioned inside.
More Animal Amigurumi
Explore more crochet projects from Tiny Yarn Tales for additional amigurumi inspiration.
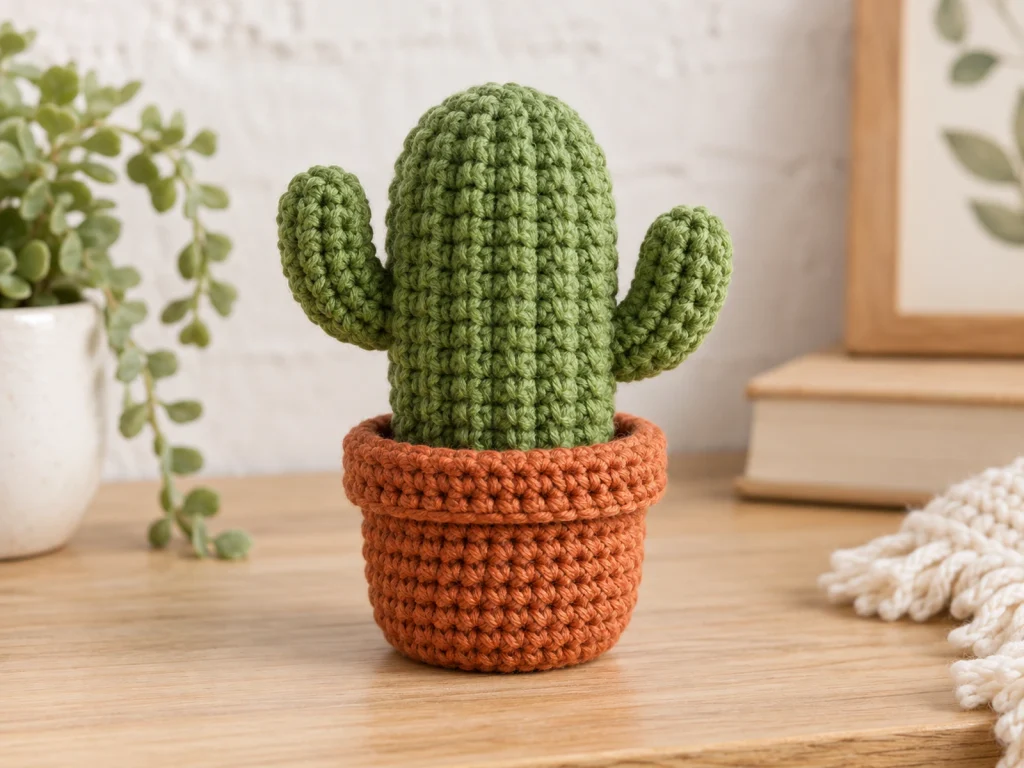
This pattern has been mathematically reviewed and constructionally checked, but it has not been physically crocheted and tested yet.