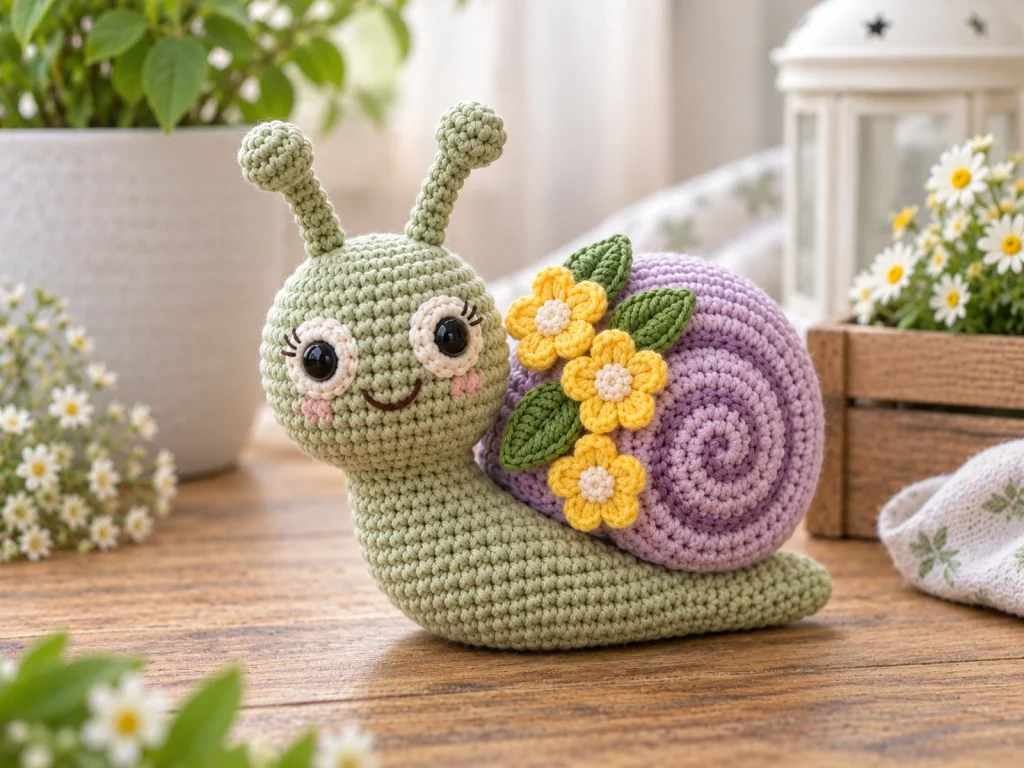
Crochet Snail Amigurumi Pattern
This crochet snail amigurumi features a rounded sage-green body, a…
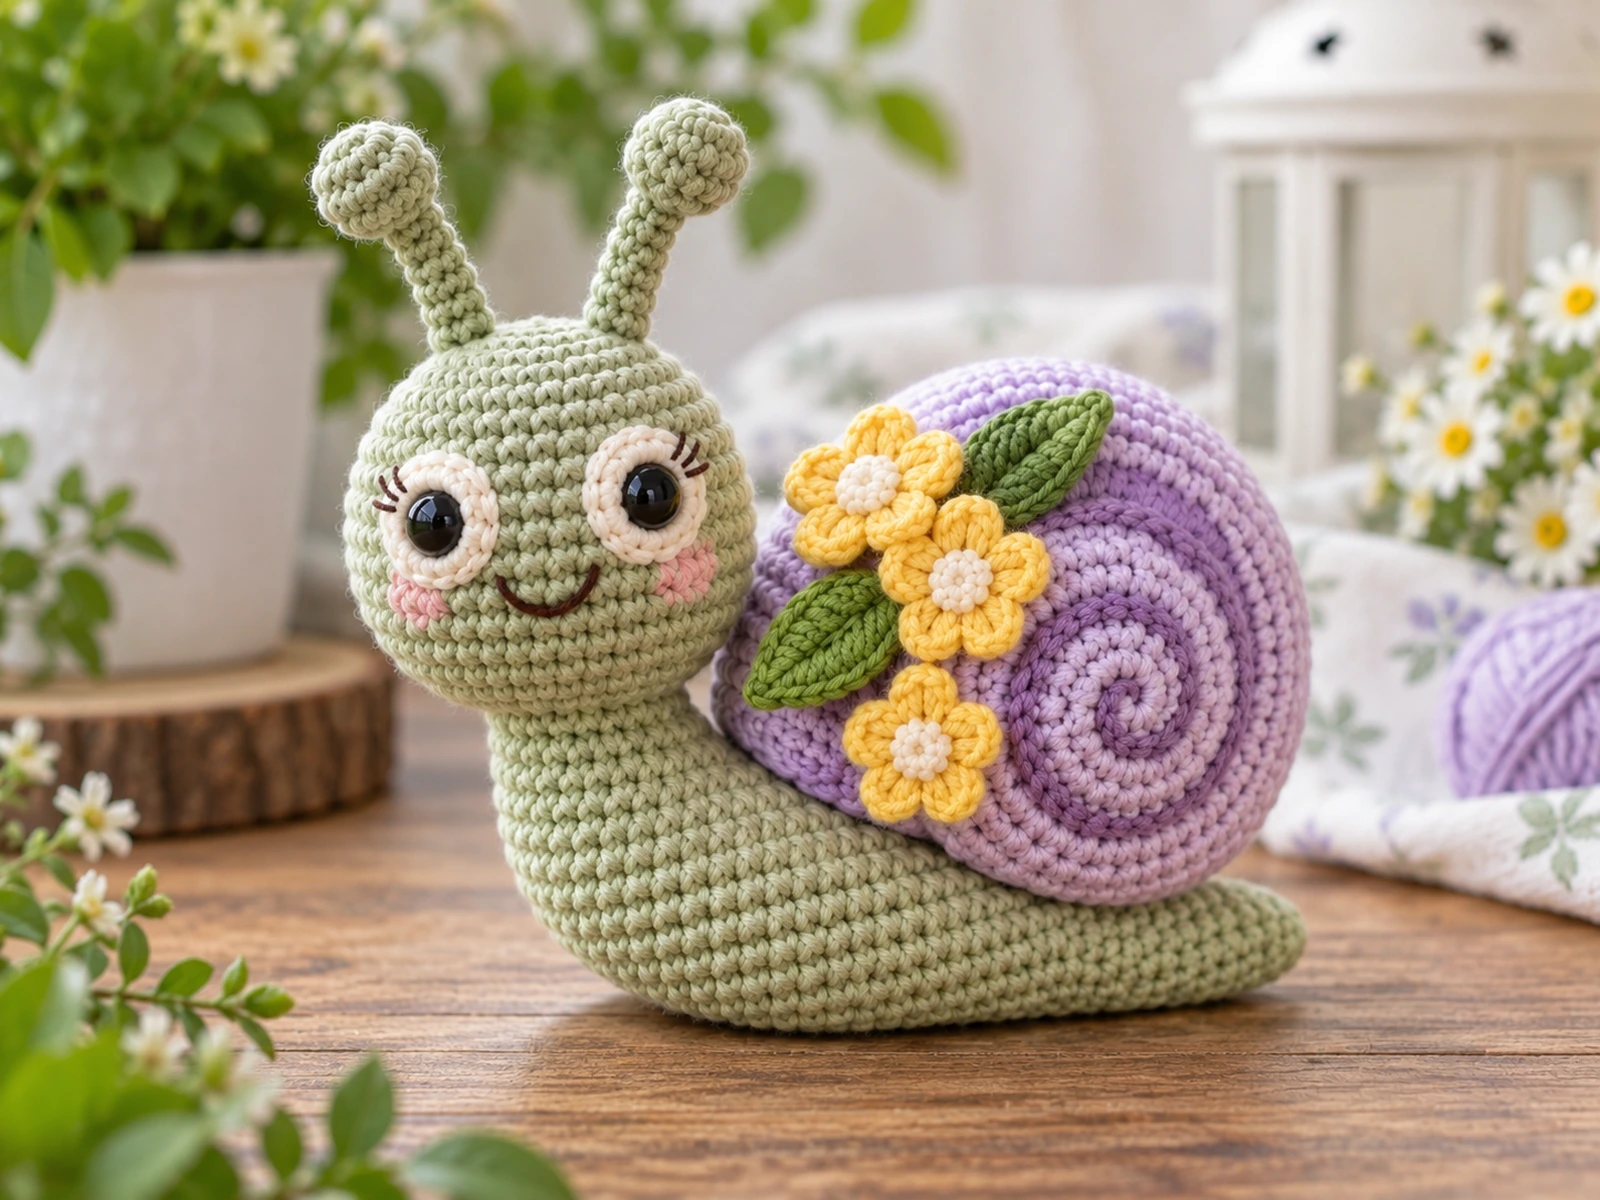
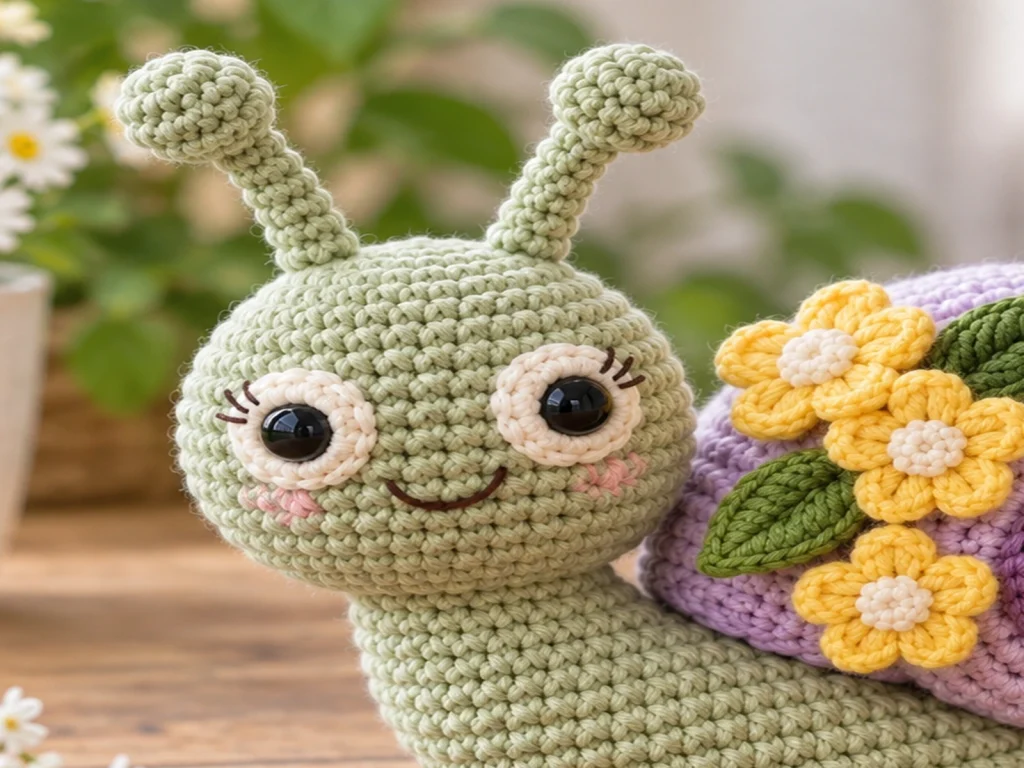
This crochet snail amigurumi features a rounded sage-green body, a dusty lavender spiral shell, delicate antennae, and small garden-inspired flowers and leaves. The project is crocheted in separate pieces and finished with simple sewing and embroidery details.
The finished snail is approximately 5–6 inches (13–15 cm) long, depending on yarn, hook size, tension, stuffing, and individual technique.
The pattern has been mathematically reviewed and constructionally checked, but it has not been physically crocheted and tested yet.
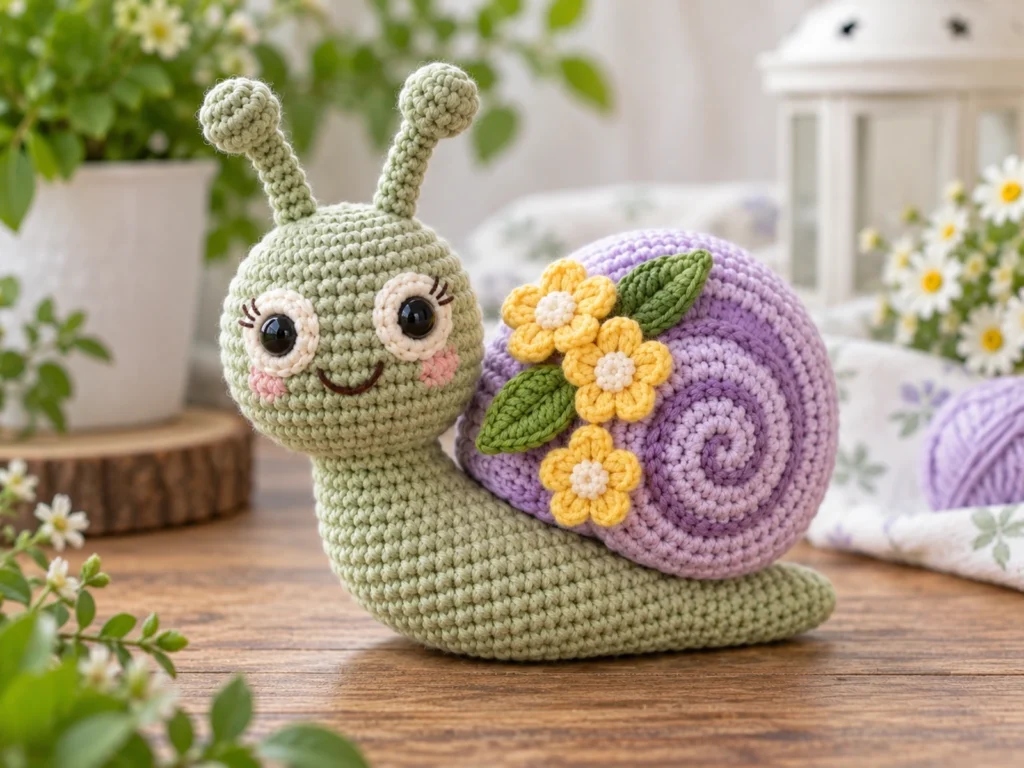
Project Overview
What You’ll Make
You’ll make a small crochet snail with:
- A rounded sage-green body
- A smaller matching head
- Cream eye circles with 8 mm safety eyes
- Two curved antennae
- A stuffed dusty-lavender shell
- A separate crocheted shell spiral
- Three small flowers
- Three flower centers
- Two leaves
- Simple embroidered facial details
The body, head, shell, and other components are crocheted separately and assembled at the end.
Project Details
- Technique: Amigurumi crochet
- Yarn: Worsted-weight yarn (#4)
- Hook: 3.5 mm crochet hook
- Main colors: Sage green and dusty lavender
- Accent colors: Cream, warm yellow, medium green, and dark brown or black
- Eyes: 8 mm safety eyes
- Filling: Polyester fiberfill
- Approximate finished size: 5–6 inches (13–15 cm)
Final size will vary with yarn, hook, tension, stuffing, and individual technique.
Materials & Tools
Yarn
Use worsted-weight yarn (#4) in:
- Sage green for the body, head, and antennae
- Dusty lavender for the shell
- Cream for the eye circles and flower centers
- Warm yellow for the flowers
- Medium green for the leaves
- Dark brown or black for facial embroidery
Exact yarn quantities are not established for this pattern.
Other Supplies
- 3.5 mm crochet hook
- 8 mm safety eyes
- Polyester fiberfill
- Tapestry needle
- Stitch marker
- Scissors
Safety Note
Safety eyes can present a choking hazard and are not appropriate for children under 3. The finished project is not being represented as baby-safe or child-safe.
Abbreviations
- MR — magic ring
- ch — chain
- sc — single crochet
- inc — increase, 2 sc in the same stitch
- dec — single crochet 2 together
- sl st — slip stitch
- dc — double crochet
- FO — fasten off
Before You Start
Work in Continuous Rounds
The stuffed pieces are worked primarily in continuous single-crochet rounds. Use a stitch marker to keep track of the beginning of each round.
Count Your Stitches
Check the stitch count at the end of every round. The stitch counts are part of the shaping of each piece, so correcting an error early is much easier than reshaping a completed component.
Stuff as You Go
Add stuffing only where indicated. Aim for a firm, rounded shape without overfilling the pieces.
Compare Paired Features
The eye circles and antennae are paired features. Before permanently sewing them in place, compare both sides to keep the finished face balanced.
Construction Order
A useful workflow is:
- Crochet the body and head.
- Finish the facial details.
- Make the antennae.
- Crochet the shell and shell spiral.
- Make the flowers, flower centers, and leaves.
- Assemble the snail.
- Add the final finishing touches.
Original Crochet Snail Pattern
Body — Make 1
Work in sage green.
Round 1
6 sc in MR. (6)
Round 2
6 inc. (12)
Round 3
(sc, inc) × 6. (18)
Round 4
(2 sc, inc) × 6. (24)
Round 5
(3 sc, inc) × 6. (30)
Round 6
30 sc. (30)
Round 7
30 sc. (30)
Round 8
30 sc. (30)
Round 9
30 sc. (30)
Round 10
(3 sc, dec) × 6. (24)
Round 11
(2 sc, dec) × 6. (18)
Round 12
(sc, dec) × 6. (12)
Begin stuffing here. Add enough fiberfill to support the rounded shape without overfilling.
Round 13
6 dec. (6)
Fasten off, leaving a sewing tail. Close the remaining opening and weave in the end.
Head — Make 1
Work in sage green.
Round 1
6 sc in MR. (6)
Round 2
6 inc. (12)
Round 3
(sc, inc) × 6. (18)
Round 4
18 sc. (18)
Round 5
18 sc. (18)
Round 6
18 sc. (18)
Before closing the head, prepare the eye area and install the safety eyes.
Place the two cream eye circles symmetrically on the front of the head. Insert one 8 mm safety eye through the center of each circle and through the head fabric. Secure the washers from inside.
Add stuffing after the eyes are secured.
Round 7
(sc, dec) × 6. (12)
Round 8
6 dec. (6)
Fasten off, close the opening, and weave in the end.
Facial Details
Use dark brown or black yarn to embroider a small curved smile.
Optional short eyelashes can be added while keeping both sides visually balanced.
White Eye Circles — Make 2
Work in cream.
Round 1
6 sc in MR. (6)
Round 2
6 inc. (12)
Sl st to the next stitch, fasten off, and leave a sewing tail.
Do not stuff.
Antenna Stalks — Make 2
Work in sage green.
Row 1
Ch 8.
Sc in the 2nd ch from hook and in each remaining chain. (7 sc)
Fasten off, leaving a long sewing tail.
Gently roll the finished strip between your fingers to create a slight natural curve.
Antenna Tips — Make 2
Work in sage green.
Round 1
5 sc in MR. (5)
Round 2
5 sc. (5)
Fasten off with a long tail.
Add a tiny amount of stuffing, cinch the opening closed, and sew one tip to the top of each antenna stalk.
Shell — Make 1
Work in dusty lavender.
Round 1
6 sc in MR. (6)
Round 2
6 inc. (12)
Round 3
(sc, inc) × 6. (18)
Round 4
(2 sc, inc) × 6. (24)
Round 5
(3 sc, inc) × 6. (30)
Round 6
30 sc. (30)
Round 7
30 sc. (30)
Round 8
(3 sc, dec) × 6. (24)
Round 9
(2 sc, dec) × 6. (18)
Add light, even stuffing. Keep the shell rounded without making it overly firm.
Round 10
(sc, dec) × 6. (12)
Round 11
6 dec. (6)
Fasten off and close the opening.
Shell Spiral — Make 1
Work in a slightly darker lavender or another purple accent.
Row 1
Ch 28.
Sc in the 2nd chain from hook and across. (27 sc)
Fasten off, leaving a long sewing tail.
Gently curve the finished cord into a smooth spiral, beginning at the center and working outward.
Sew the spiral securely to the front of the shell.
Small Flowers — Make 3
Work in warm yellow.
Center
Make 5 sc in MR. (5)
Sl st to the first sc.
Petals
Repeat the following sequence 5 times:
[sl st in next sc, ch 3, 2 dc in same sc, ch 3, sl st in same sc] × 5
Fasten off and weave the tail toward the back.
Flower Centers — Make 3
Work in cream.
Round 1
5 sc in MR. (5)
Sl st to the first stitch, fasten off, and leave a sewing tail.
Sew one center onto each flower.
Leaves — Make 2
Work in medium green.
Row 1
Ch 7.
Sc in the 2nd ch, hdc in next ch, dc in next 2 ch, hdc in next ch, 3 sc in last ch.
Continue around the opposite side of the foundation chain:
sc, hdc, dc, dc, hdc, sc.
Sl st at the base.
Fasten off and leave a sewing tail.
Garden Details
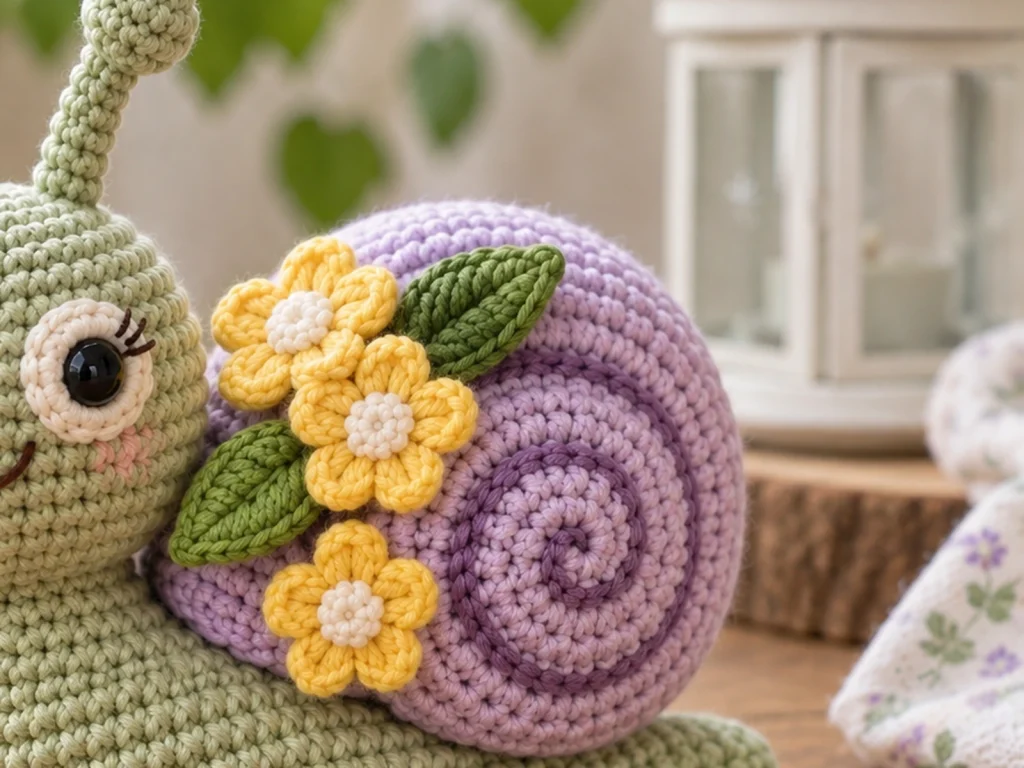
The flowers and leaves are decorative elements, so take a moment to arrange them before sewing them permanently.
Keep the flowers small relative to the shell and use the leaves as supporting accents. Their exact placement is best judged visually on the finished snail.
Assembly
Step 1: Attach the Head
Position the head at the front of the body.
Sew around the lower portion of the head where it meets the body. Work gradually around the join so the head stays centered.
Step 2: Attach the Shell
Place the stuffed shell on the upper rear portion of the body.
Use several attachment points around the lower edge of the shell to keep it secure. Keep the shell centered enough that it does not pull the body to one side.
Step 3: Add the Shell Spiral
Make sure the spiral sits smoothly on the shell surface.
Start near the center and arrange the cord outward in a gentle coil. Sew it down securely without pulling the shell out of shape.
Step 4: Attach the Antennae
Sew the antenna stalks to the top of the head.
Before making the final stitches, compare both sides and adjust the orientation so the pair looks balanced.
Step 5: Add the Flowers and Leaves
Arrange the three flowers and two leaves around the shell-and-head area.
Use the finished silhouette as your guide rather than relying on a fixed measurement.
Sew each piece securely.
Step 6: Final Facial Check
Look directly at the snail from the front and check:
- Eye alignment
- Eye-circle placement
- Smile position
- Antenna symmetry
- Overall face balance
Make any small visual adjustment before trimming the remaining yarn tails.
Finishing
After all pieces are attached:
- Weave in loose yarn ends.
- Trim excess yarn.
- Check the shell attachment.
- Check that the antennae are secure.
- Make sure the flowers and leaves are firmly attached.
- Check that no stuffing is exposed.
- Gently shape the body and shell with your fingers.
Avoid pulling firmly on the decorative pieces while shaping.
Helpful Tips
Keep the Body Firm, Not Hard
Overstuffing can stretch the stitches and change the shape of a rounded amigurumi piece. Add stuffing gradually and distribute it evenly.
Count Before You Continue
When working increases and decreases, pause at the end of each round and confirm the stitch count before moving forward.
Take Time With the Shell Spiral
The spiral is one of the most recognizable details of the finished snail. A smooth curve usually looks cleaner than a tightly pinched or sharply angled coil.
Use Visual Symmetry
For the face and antennae, visual balance is more useful than forcing an exact measurement that has not been physically tested.
Sew Decorative Pieces Securely
Hold the flowers and leaves in place first, check the overall composition, and then sew them down.
Troubleshooting
My Stitch Count Is Off
Stop before continuing to the next round. Check the previous round for a missed stitch, an accidental extra stitch, or an increase or decrease worked into the wrong stitch.
My Body Looks Lumpy or Uneven
Check the stuffing first. Uneven fiberfill distribution can change the silhouette even when the stitch counts are correct. Gently redistribute the stuffing before reshaping the piece.
My Shell Looks Too Firm
Remove some stuffing and redistribute what remains more evenly. The shell is intended to stay rounded without becoming overly rigid.
My Spiral Does Not Look Smooth
Lay the cord flat first and gently shape it into a gradual coil. Avoid pulling tightly while sewing it to the shell.
My Antennae Look Uneven
Leave the final attachment stitches until you have compared both sides from the front. Small orientation changes can make a noticeable difference.
My Flowers Are Pulling the Fabric
Check that the sewing tension is not too tight. Secure the flowers with enough stitches to hold them in place while allowing the body and shell fabric to retain their shape.
Customization Ideas
Change the Shell Color
Try a different shell color while keeping the body in sage green for a new character palette.
Experiment With Flower Colors
Replace the warm-yellow flowers with soft pink, lavender, white, or mixed floral colors.
Change the Facial Expression
The smile can be embroidered slightly wider, smaller, or with a different curve to create a different personality.
Coordinate the Garden Details
Use a single green shade for all leaves or introduce a second green for a more layered botanical look.
Create a Different Character
Color changes alone can give the same construction a completely different visual personality.
Care
No specific care instructions have been established for the finished piece beyond normal handling appropriate to the yarn and materials used.
Frequently Asked Questions
What yarn is used for this crochet snail?
The pattern is designed around worsted-weight yarn (#4) with a 3.5 mm crochet hook.
What size is the finished crochet snail?
The finished project is approximately 5–6 inches (13–15 cm) long, but the final size can vary with yarn, hook, tension, stuffing, and individual technique.
How is the snail shell made?
The shell is crocheted as a separate stuffed rounded piece. A separate crocheted cord is then shaped into a spiral and sewn onto the shell.
Does the shell need to be stuffed?
Yes. The shell is lightly stuffed before it is closed so it keeps its rounded form.
How are the flowers attached?
The flowers and leaves are made separately and then sewn onto the finished snail during assembly.
Can I change the colors?
Yes. The body, shell, flowers, centers, and leaves can all be customized through color changes while keeping the same basic construction.
Is the finished project physically tested?
Not yet. The stitch counts and construction have been mathematically reviewed and constructionally checked, but the pattern has not been physically crocheted and tested.
More Animal Amigurumi
Explore more crochet animal projects from Tiny Yarn Tales when you’re ready for another small handmade character.