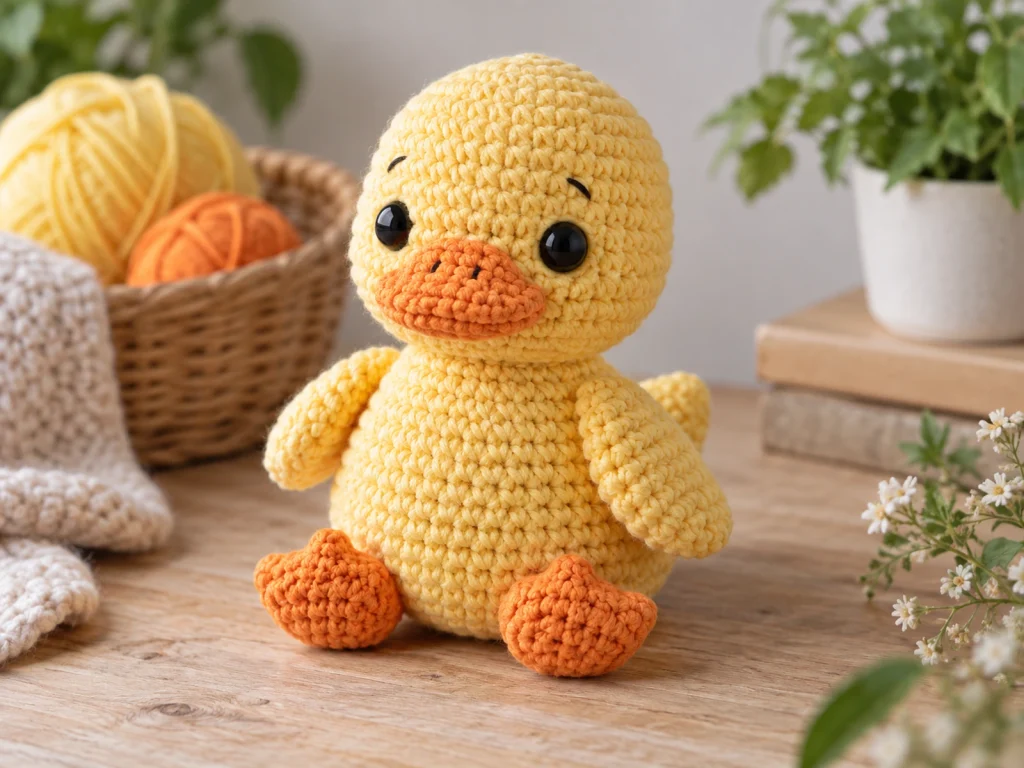
Duck Crochet Pattern: A Step-by-Step Amigurumi Tutorial
Create a sweet little duck amigurumi with a rounded yellow…
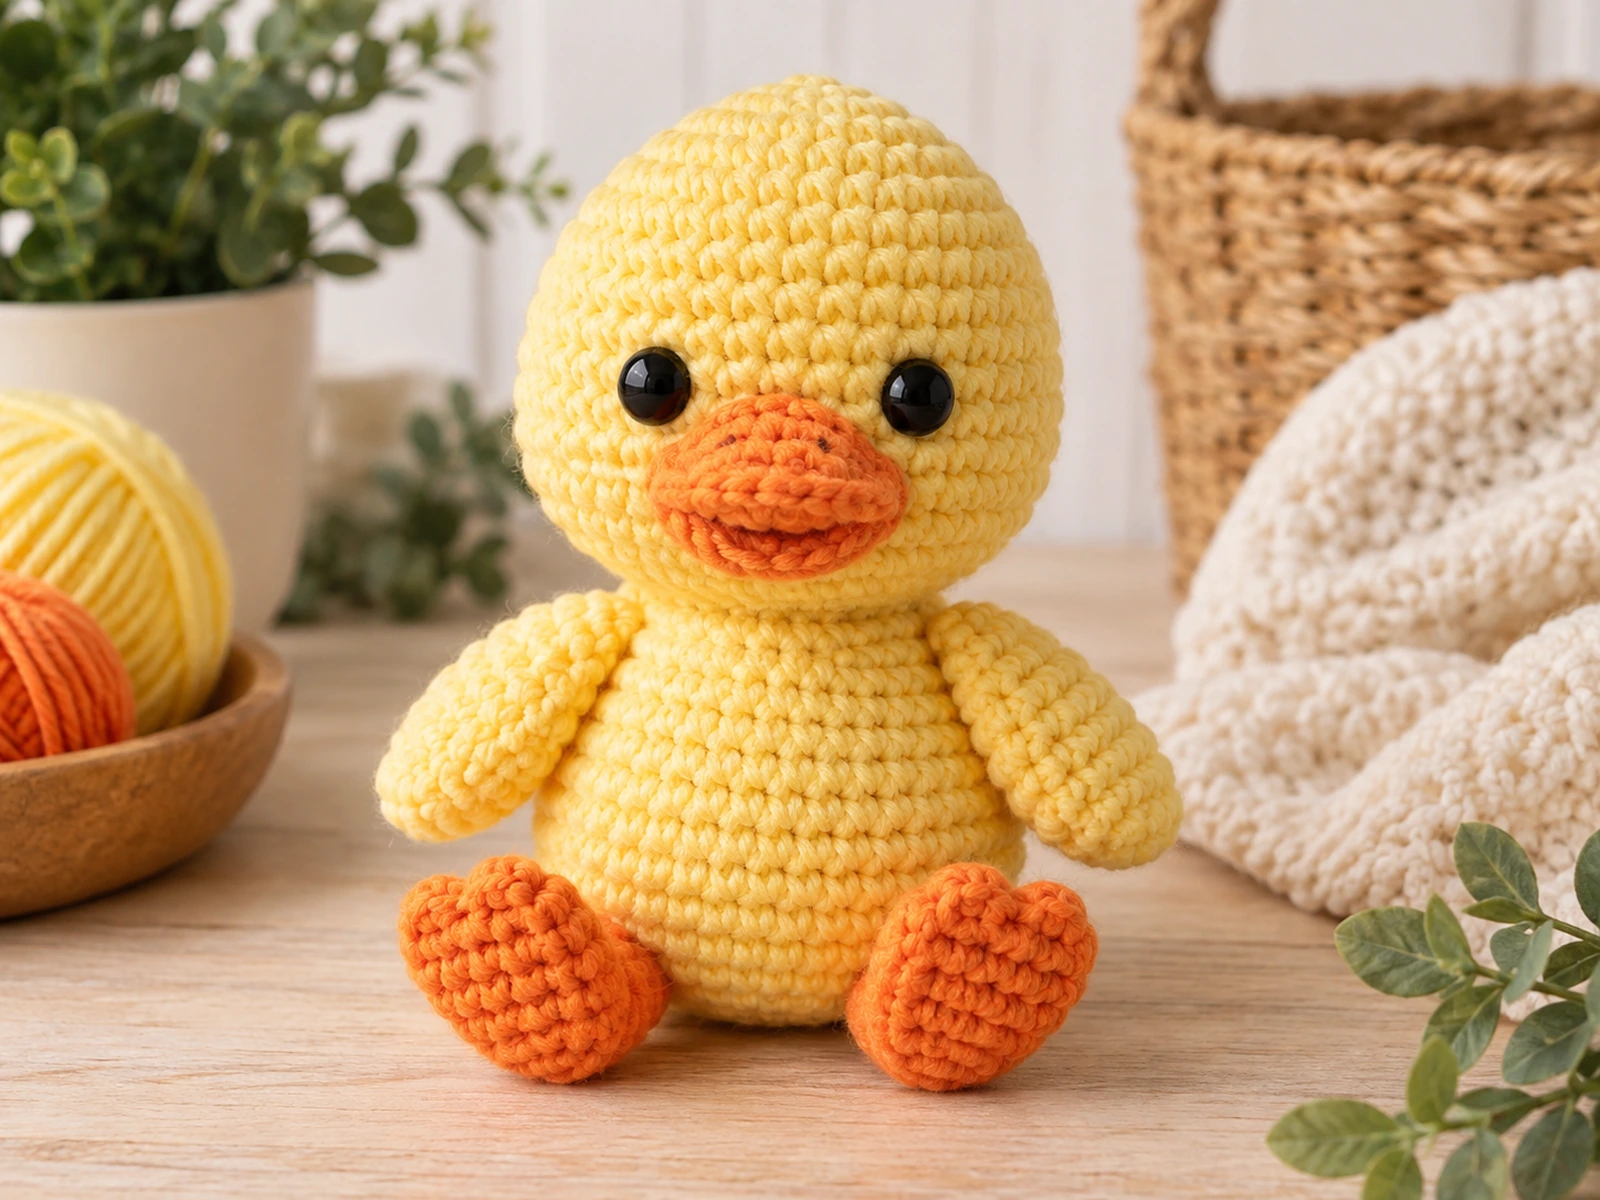
Create a sweet little duck amigurumi with a rounded yellow body, orange bill and feet, and simple flipper-style wings. This original duck crochet pattern includes the individual crocheted pieces, stuffing guidance, and a clear assembly order to help you build the finished duck from start to finish.
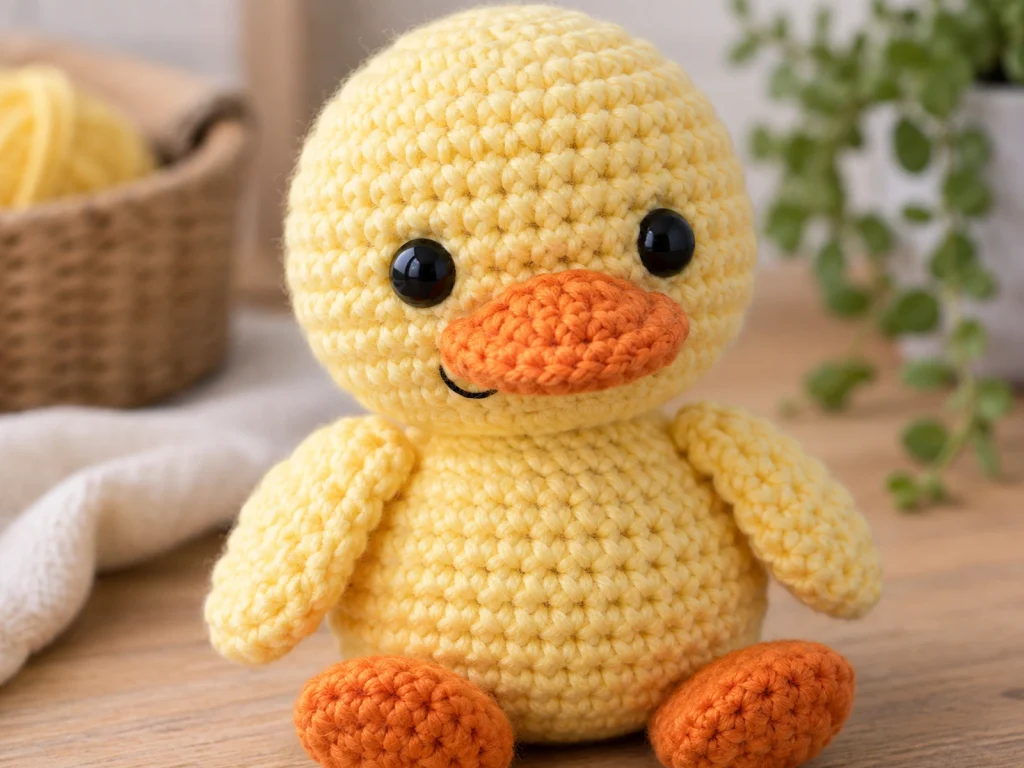
Project Overview
What You’ll Make
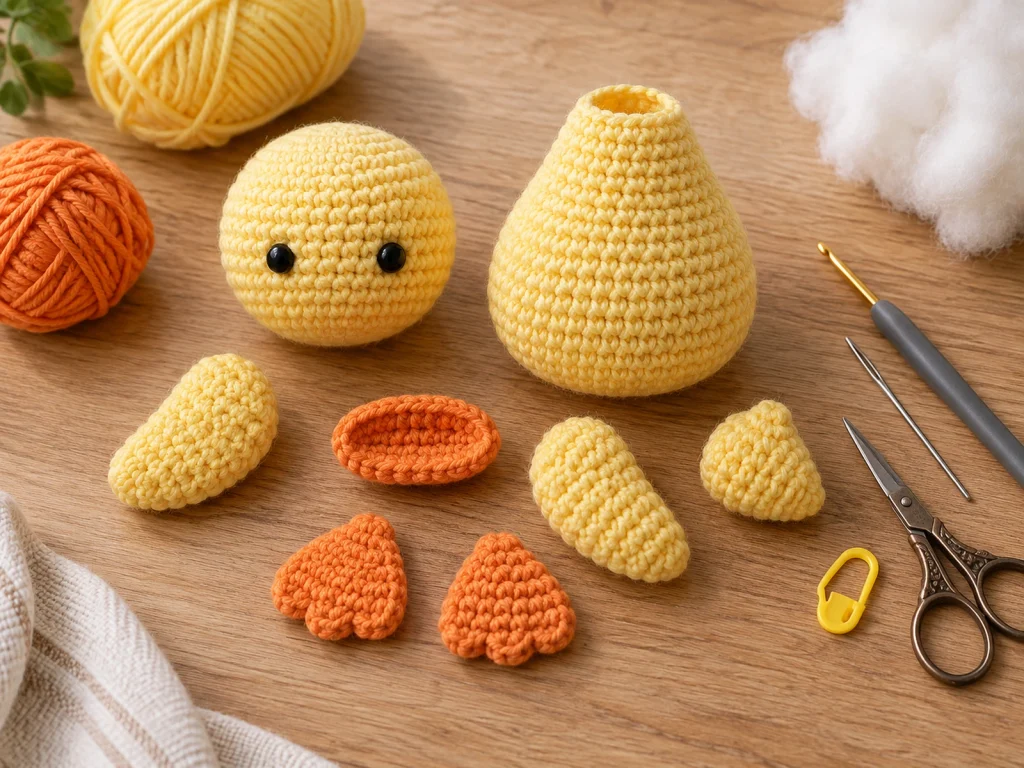
This duck amigurumi is made from several separate crocheted pieces:
- One rounded head
- One pear-shaped body
- Two wings
- One orange bill
- Two orange feet
- One small tail
The head and body are crocheted separately and sewn together. The remaining pieces are attached afterward to create the finished duck.
Project Details
- Project: Duck amigurumi
- Technique: Crochet amigurumi
- Main color: Soft yellow
- Accent color: Orange
- Yarn: Medium / worsted-weight (#4)
- Hook: 3.5 mm crochet hook
- Eyes: 8 mm safety eyes
- Filling: Polyester fiberfill
- Approximate finished size: 5.5–6.5 inches tall
The finished size is approximate and can vary depending on yarn, hook size, tension, stuffing, and individual technique.
This pattern has been mathematically reviewed and constructionally checked, but it has not been physically crocheted and tested yet.
Materials & Tools
Yarn
- Medium / worsted-weight (#4) yarn in soft yellow
- A small amount of orange yarn
Other Supplies
- 3.5 mm crochet hook
- 8 mm safety eyes
- Polyester fiberfill
- Tapestry needle
- Stitch marker
- Scissors
- Optional black embroidery yarn for the mouth
No specific yarn quantity or gauge is established for this pattern.
Safety Note
Safety eyes can present a choking hazard and are not appropriate for children under 3. This project is not being represented as baby-safe or child-safe.
Abbreviations
The pattern uses standard US crochet terminology.
- MR — magic ring
- ch — chain
- sc — single crochet
- inc — increase
- dec — decrease
- sl st — slip stitch
- FO — fasten off
An inc means working 2 single crochets into the same stitch. A dec reduces 2 stitches into 1.
Before You Start
The head and body are worked in continuous rounds unless otherwise noted. Using a stitch marker can make it easier to keep track of the beginning of each round.
Count your stitches carefully at the end of every round, especially after increase and decrease rounds.
For paired pieces such as the wings and feet, make both pieces from the same instructions and compare them before sewing them to the body.
Add stuffing gradually as the head and body are crocheted. Aim for a firm shape without stretching the stitches.
When placing the facial features, use the stitch references provided in the pattern and check the face from the front before permanently securing the pieces.
Original Duck Crochet Pattern
Head
Make 1 in yellow.
Round 1: 6 sc in MR. (6)
Round 2: 6 inc. (12)
Round 3: (sc, inc) × 6. (18)
Round 4: (2 sc, inc) × 6. (24)
Round 5: (3 sc, inc) × 6. (30)
Round 6: (4 sc, inc) × 6. (36)
Round 7: 36 sc. (36)
Round 8: 36 sc. (36)
Round 9: 36 sc. (36)
Round 10: 36 sc. (36)
Round 11: (4 sc, dec) × 6. (30)
Round 12: (3 sc, dec) × 6. (24)
Round 13: (2 sc, dec) × 6. (18)
Round 14: (sc, dec) × 6. (12)
Round 15: 6 dec. (6)
Insert the 8 mm safety eyes around Rounds 8–9, checking the placement from the front before securing them.
Begin stuffing as the head develops. Add enough fiberfill to create a rounded shape without overstuffing.
Fasten off and leave a yarn tail for closing and sewing.
Body
Make 1 in yellow.
Round 1: 6 sc in MR. (6)
Round 2: 6 inc. (12)
Round 3: (sc, inc) × 6. (18)
Round 4: (2 sc, inc) × 6. (24)
Round 5: (3 sc, inc) × 6. (30)
Round 6: (4 sc, inc) × 6. (36)
Round 7: 36 sc. (36)
Round 8: (4 sc, dec) × 6. (30)
Round 9: 30 sc. (30)
Round 10: (3 sc, dec) × 6. (24)
Round 11: 24 sc. (24)
Round 12: (2 sc, dec) × 6. (18)
Round 13: 18 sc. (18)
Round 14: (sc, dec) × 6. (12)
Round 15: 12 sc. (12)
Round 16: 6 dec. (6)
Begin stuffing once the body has enough depth to hold the fiberfill. Add stuffing gradually and shape the lower section into a rounded, slightly pear-shaped form.
Fasten off, leaving a yarn tail for closing and assembly.
Wings
Make 2 in yellow.
Round 1: 6 sc in MR. (6)
Round 2: 6 inc. (12)
Round 3: (sc, inc) × 6. (18)
Round 4: 18 sc. (18)
Round 5: (sc, dec) × 6. (12)
Round 6: 6 dec. (6)
Do not heavily stuff the wings. Flatten each one gently to create a small tapered flipper shape.
Fasten off and leave a sewing tail.
Repeat for the second wing.
Bill
Make 1 in orange.
Chain 4.
Work around both sides of the starting chain.
Round 1: sc in 2nd ch, sc in next ch, 3 sc in last ch, working along the opposite side of the chain, sc in next ch, 2 sc in final chain. (8)
Round 2: inc, sc, 3 inc, sc, 2 inc. (14)
Round 3: 14 sc. (14)
Fasten off and leave a sewing tail.
Flatten the bill gently before attaching it to the face.
Feet
Make 2 in orange.
Round 1: 6 sc in MR. (6)
Round 2: (sc, inc) × 3. (9)
Round 3: 9 sc. (9)
Round 4: 9 sc. (9)
Fasten off.
Flatten each foot gently and leave a yarn tail for sewing.
Repeat for the second foot.
Tail
Make 1 in yellow.
Round 1: 6 sc in MR. (6)
Round 2: 6 inc. (12)
Round 3: (sc, inc) × 6. (18)
Round 4: 18 sc. (18)
Round 5: (2 sc, dec) × 6. (12)
Round 6: 6 dec. (6)
Add only a small amount of stuffing so the tail stays compact.
Fasten off and leave a yarn tail for attachment.
Facial Details
Eye Placement
Insert the 8 mm safety eyes around Rounds 8–9 of the head.
Check both sides from the front before permanently securing them. Avoid relying on a fixed eye-spacing measurement that has not been physically established.
Bill Placement
Center the orange bill beneath the eyes.
Hold it in position from the front and side and adjust it visually until it sits straight before sewing.
Mouth
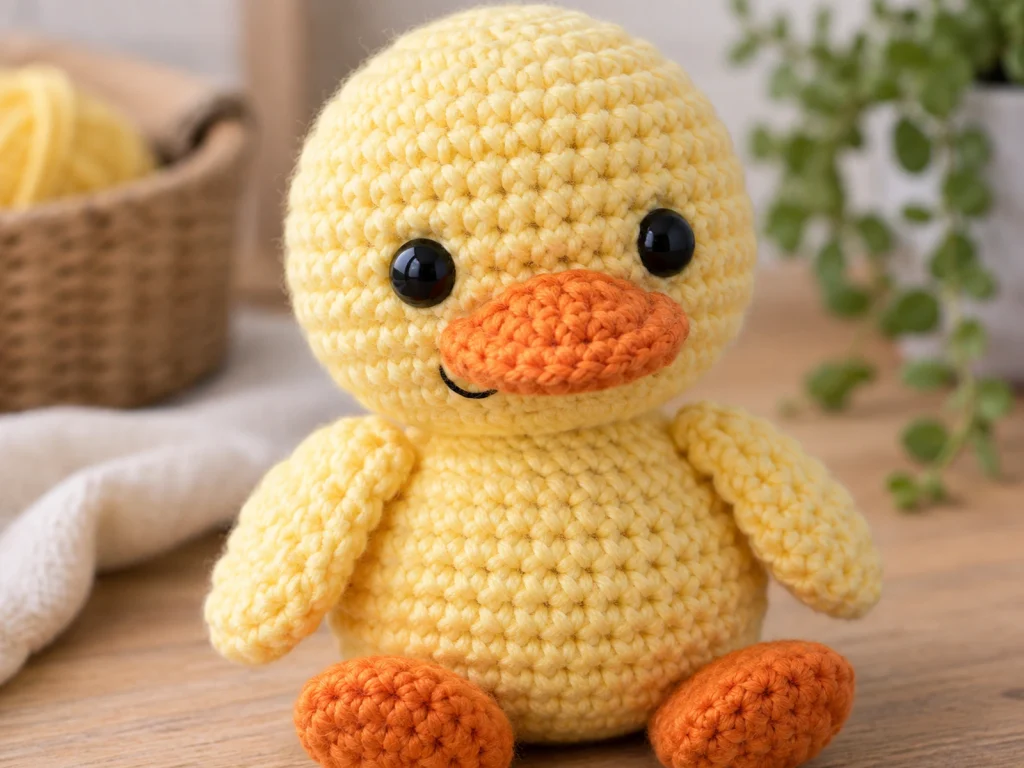
For an optional extra detail, use black embroidery yarn to add a small mouth line beneath the bill.
Assembly
Step 1: Prepare the Finished Pieces
Make sure the head, body, wings, bill, feet, and tail are complete and that the remaining yarn tails are available for sewing.
Step 2: Attach the Head
Center the head on top of the body.
Check the front, left, and right sides before sewing. Use the remaining yarn tails to join the head securely to the body.
Step 3: Attach the Bill
Center the orange bill beneath the eyes.
Check its position from the front before sewing it into place.
Step 4: Attach the Wings
Place one wing on each side of the body.
Compare both sides before permanently attaching them so the wings sit at similar heights and angles.
Step 5: Attach the Feet
Position the feet toward the lower front of the body.
Check that both feet sit at approximately the same height and that the duck looks balanced from the front.
Step 6: Attach the Tail
Center the tail at the back of the body.
Sew it securely and adjust its angle as needed to maintain the overall duck silhouette.
Step 7: Add the Final Face Detail
Add the optional embroidered mouth beneath the bill if desired.
Step 8: Finish the Duck
Weave in all remaining yarn ends and trim the excess.
Gently shape the head, body, wings, feet, and tail with your fingers.
Finishing
Give the finished duck a final check from the front and sides.
Make sure:
- The eyes look balanced
- The bill is centered
- The wings sit at similar heights
- The feet are positioned evenly
- The tail is secure
- No stuffing is visible
- All yarn ends are woven in
Helpful Tips
Count every shaping round
Increase and decrease rounds control the shape of the amigurumi. Counting at the end of each round makes mistakes much easier to catch early.
Stuff gradually
Add fiberfill in small amounts and shape the piece as you go. Overstuffing can stretch the stitches.
Compare paired pieces
Lay both wings or feet next to each other before sewing them on. This helps you catch differences in shape or size before assembly.
Check the face before sewing
Hold the bill and eyes in position and look at the duck straight on before making them permanent.
Shape before finishing
Use your fingers to gently adjust the head and body once they are stuffed and assembled.
Troubleshooting
Why does my duck look uneven?
Check the stitch count of the affected piece first. A missed increase or decrease can change the shape.
Why can I see the stuffing?
Try reducing the amount of stuffing slightly and reshape the piece. Overfilling can stretch the crochet fabric.
My wings don’t match
Place both wings next to each other and compare them. They should follow the same six-round sequence.
The face looks off-center
Keep the bill loose until you can view the duck from directly in front. Make small visual adjustments before sewing it permanently.
The body feels too soft
Add a little more fiberfill gradually while reshaping the body. Avoid packing it too tightly.
Customization Ideas
Change the duck’s colors
Try different shades of yellow, cream, or golden yarn for the body while keeping the orange details for contrast.
Give the duck a different expression
A small variation in the embroidered mouth can change the character of the finished duck.
Experiment with contrast
Use a different shade for the bill and feet to create a stronger color contrast.
Create a character version
Different color combinations and facial details can give the same basic duck shape a unique personality.
Care
No specific care method has been established for this original pattern, so care instructions should be based on the materials used and the yarn manufacturer’s recommendations.
Frequently Asked Questions
What yarn should I use for this duck crochet pattern?
The pattern is designed for medium / worsted-weight (#4) yarn. The main color is soft yellow, with orange used for the bill and feet.
What crochet hook size is used?
The pattern uses a 3.5 mm crochet hook.
How big is the finished duck?
The target finished height is approximately 5.5–6.5 inches. Actual size can vary depending on yarn, hook, tension, stuffing, and individual technique.
Is this duck crochet pattern physically tested?
No. The pattern has been mathematically reviewed and constructionally checked, but it has not been physically crocheted and tested yet.
How should I stuff the duck?
Stuff the head and body gradually as you crochet. Aim for a firm shape without stretching the stitches.
How do I keep the wings and feet symmetrical?
Make each pair from the same instructions and compare the finished pieces before sewing them onto the body.
Can I change the colors?
Yes. Changing the yarn colors is a simple way to create different duck characters while keeping the basic construction intact.
More Animal Amigurumi
Explore more animal-inspired crochet projects and amigurumi patterns from Tiny Yarn Tales.