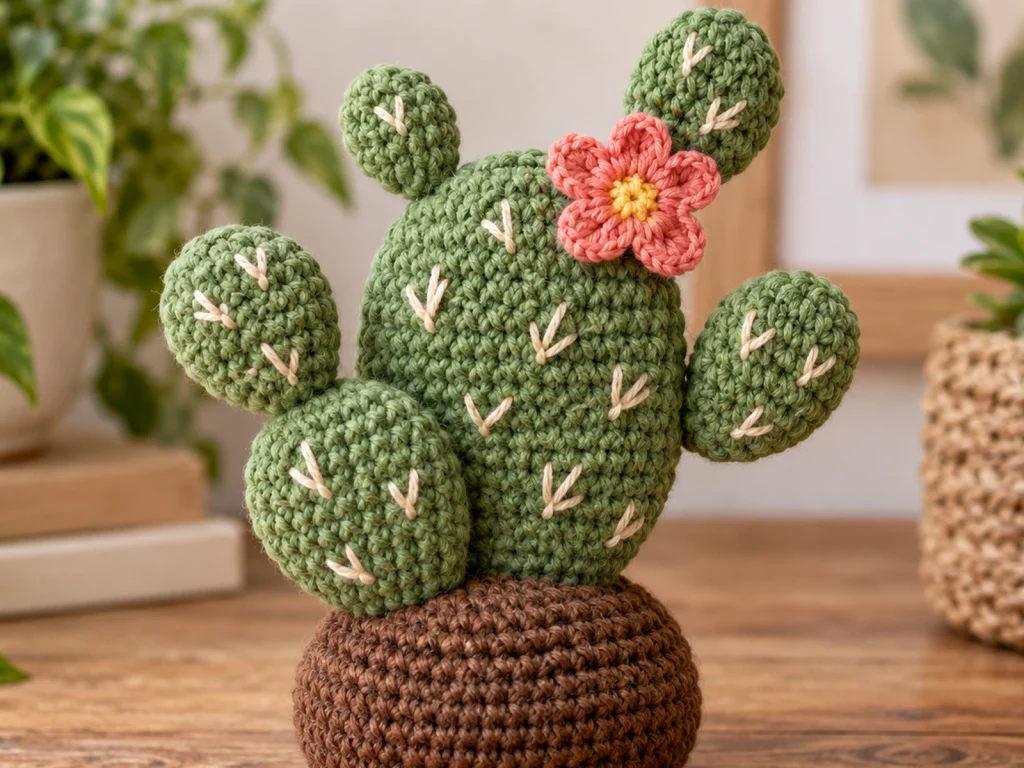
Crochet Prickly Pear Cactus Pattern
Add a handmade touch of greenery to your space with…
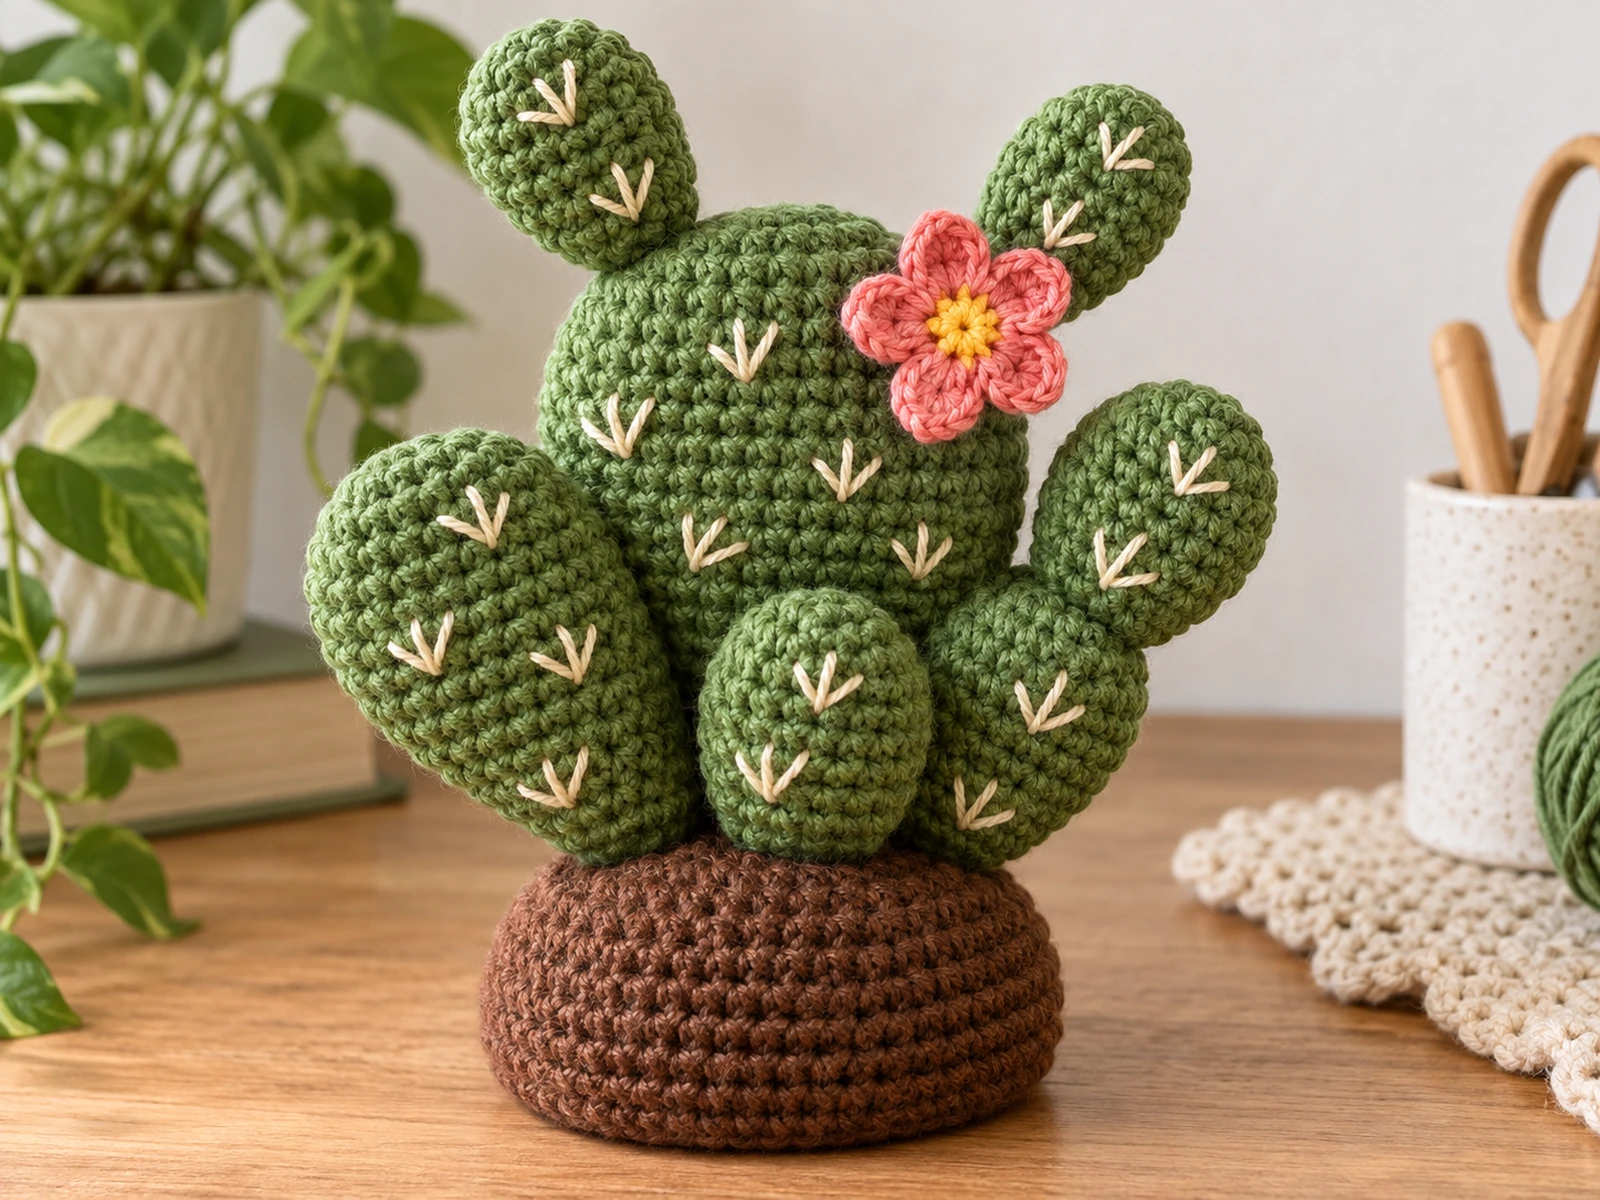
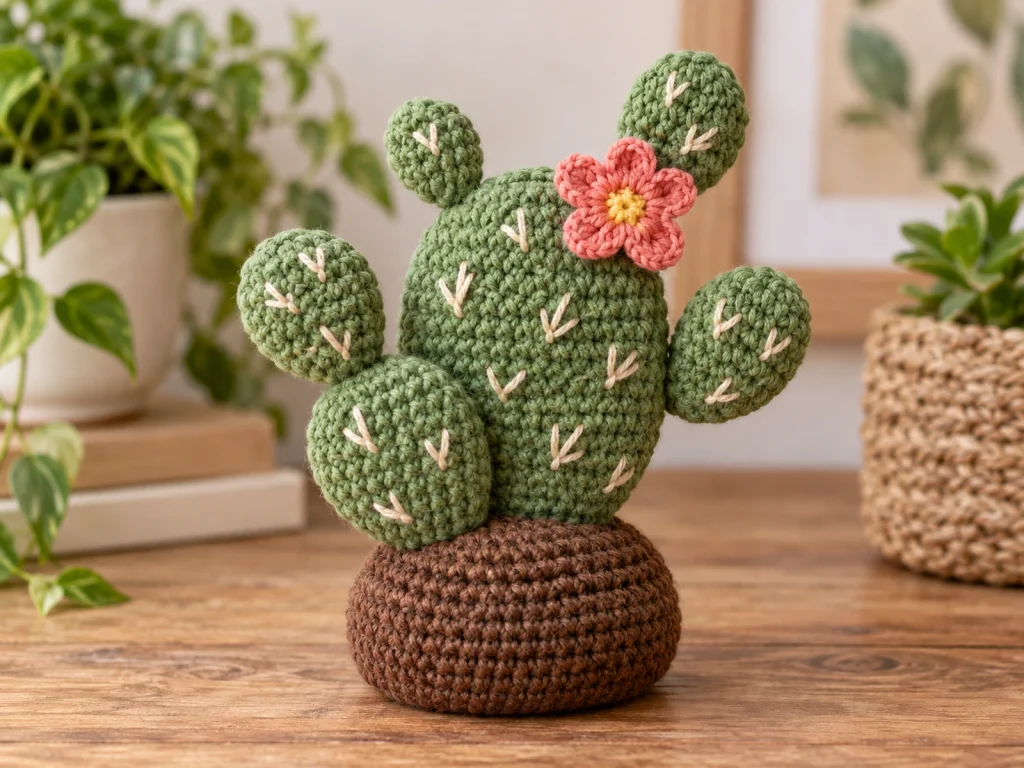
Add a handmade touch of greenery to your space with this crochet prickly pear cactus pattern. The design combines one large cactus pad, two medium pads, and three small pads to create a layered cactus silhouette, finished with embroidered spine details and a small crochet flower.
The cactus is made in separate pieces, lightly stuffed, shaped, and then sewn onto a rounded crochet soil base.
Project Overview
What You’ll Make
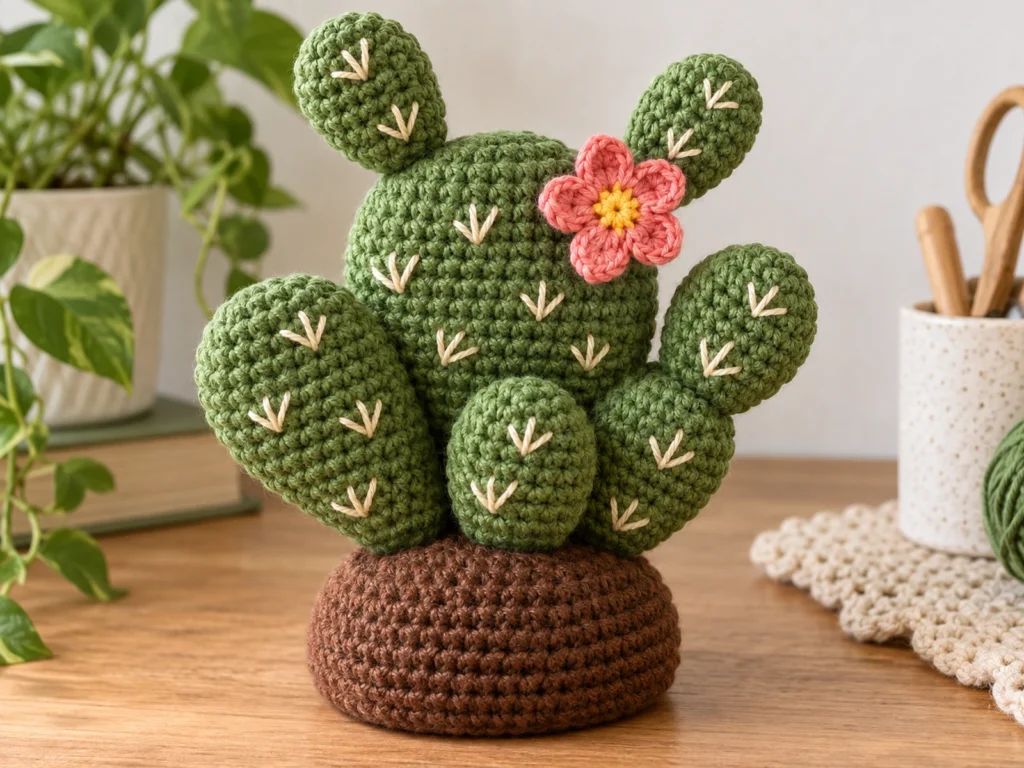
This crochet prickly pear cactus includes:
- 1 large cactus pad
- 2 medium cactus pads
- 3 small cactus pads
- 1 crochet soil mound
- 1 six-petal crochet flower
- Cream embroidered spine details
The cactus pads are worked in continuous rounds and gently flattened after stuffing to create a broader prickly pear shape.
Project Details
- Technique: Amigurumi-style crochet
- Yarn: Medium/worsted-weight #4
- Hook: 3.5 mm
- Main color: Cactus green
- Base color: Brown
- Flower: Coral or pink with a warm-yellow center
- Detail color: Cream
- Filling: Polyester fiberfill
- Approximate finished size: 5.5–6.5 inches (14–16.5 cm) tall
The finished size will vary with yarn, hook, tension, stuffing, and individual crochet technique.
Testing Note
This pattern has been mathematically reviewed and constructionally checked, but it has not been physically crocheted and tested yet. A physical prototype should be evaluated before treating the finished dimensions and construction as physically confirmed.
Materials & Tools
Yarn
You will need medium/worsted-weight #4 yarn in:
- Cactus green
- Brown
- Coral or pink
- Warm yellow
- Cream
Only small amounts of the accent colors are needed for the flower and embroidered details.
Tools
- 3.5 mm crochet hook
- Polyester fiberfill
- Tapestry needle
- Embroidery needle
- Stitch marker
- Scissors
Abbreviations
This pattern uses standard US crochet terminology.
- MR — magic ring
- sc — single crochet
- inc — increase, 2 sc in the same stitch
- dec — decrease, sc2tog
- sl st — slip stitch
- ch — chain
- dc — double crochet
- FO — fasten off
Before You Start
Work in Continuous Rounds
The cactus pads and soil mound are worked in continuous rounds unless otherwise noted. A stitch marker can help you keep track of the beginning of each round.
Count Your Stitches
The increase and decrease rounds are designed around specific stitch counts. If your count is off, stop and correct it before continuing to the next round.
Stuff Lightly
The cactus pads should be lightly stuffed so they can be flattened into a broad pad shape. Avoid overstuffing.
The soil mound can be stuffed more firmly so it keeps its rounded shape.
Shape Before Sewing
Finish shaping each cactus pad while it is still separate. This makes it easier to create the shallow center indentation and distribute the stuffing evenly.
Construction Order
For the cleanest assembly:
- Crochet the soil mound.
- Crochet the large, medium, and small cactus pads.
- Shape and add the spine details.
- Crochet the flower.
- Attach the cactus pads to the soil mound.
- Add the flower.
- Finish and secure all loose ends.
Original Crochet Prickly Pear Cactus Pattern
Soil Mound — Make 1
Color: Brown
Round 1
6 sc in MR. (6)
Round 2
6 inc. (12)
Round 3
(sc, inc) × 6. (18)
Round 4
(2 sc, inc) × 6. (24)
Round 5
(3 sc, inc) × 6. (30)
Round 6
(4 sc, inc) × 6. (36)
Round 7
36 sc. (36)
Round 8
36 sc. (36)
Round 9
36 sc. (36)
Begin stuffing gradually.
Round 10
(4 sc, dec) × 6. (30)
Round 11
(3 sc, dec) × 6. (24)
Add enough stuffing to create a firm but rounded mound.
Round 12
(2 sc, dec) × 6. (18)
Round 13
(sc, dec) × 6. (12)
Round 14
6 dec. (6)
FO and close the remaining opening.
Shape the base so the bottom is relatively flat and the upper surface forms a low rounded mound.
Small Cactus Pad — Make 3
Color: Cactus green
Round 1
6 sc in MR. (6)
Round 2
6 inc. (12)
Round 3
(sc, inc) × 6. (18)
Round 4
(2 sc, inc) × 6. (24)
Round 5
(3 sc, inc) × 6. (30)
Round 6
30 sc. (30)
Round 7
30 sc. (30)
Begin adding a small amount of stuffing.
Round 8
(3 sc, dec) × 6. (24)
Round 9
(2 sc, dec) × 6. (18)
Continue stuffing lightly. Avoid overfilling.
Round 10
(sc, dec) × 6. (12)
Round 11
6 dec. (6)
FO and close the opening securely.
Shape the Small Pads
Gently flatten each pad between your fingers so it becomes broader and less spherical.
For the center indentation, pass the tapestry needle through the front and back of the pad once. Pull gently to form a shallow dimple.
Repeat for all three small pads.
Medium Cactus Pad — Make 2
Color: Cactus green
Round 1
6 sc in MR. (6)
Round 2
6 inc. (12)
Round 3
(sc, inc) × 6. (18)
Round 4
(2 sc, inc) × 6. (24)
Round 5
(3 sc, inc) × 6. (30)
Round 6
(4 sc, inc) × 6. (36)
Round 7
36 sc. (36)
Round 8
36 sc. (36)
Round 9
36 sc. (36)
Begin stuffing lightly.
Round 10
(4 sc, dec) × 6. (30)
Round 11
(3 sc, dec) × 6. (24)
Continue adding stuffing as needed while keeping the pad soft enough to flatten.
Round 12
(2 sc, dec) × 6. (18)
Round 13
(sc, dec) × 6. (12)
Round 14
6 dec. (6)
FO and close the opening.
Gently flatten both medium pads and add a subtle center indentation using the same method as the small pads.
Large Cactus Pad — Make 1
Color: Cactus green
Round 1
6 sc in MR. (6)
Round 2
6 inc. (12)
Round 3
(sc, inc) × 6. (18)
Round 4
(2 sc, inc) × 6. (24)
Round 5
(3 sc, inc) × 6. (30)
Round 6
(4 sc, inc) × 6. (36)
Round 7
(5 sc, inc) × 6. (42)
Round 8
42 sc. (42)
Round 9
42 sc. (42)
Round 10
42 sc. (42)
Round 11
42 sc. (42)
Begin stuffing gradually.
Round 12
(5 sc, dec) × 6. (36)
Round 13
(4 sc, dec) × 6. (30)
Round 14
(3 sc, dec) × 6. (24)
Continue stuffing lightly while preserving a soft, rounded shape.
Round 15
(2 sc, dec) × 6. (18)
Round 16
(sc, dec) × 6. (12)
Round 17
6 dec. (6)
FO and close the opening.
Shape the Large Pad
Flatten the pad gently from front to back.
Use the tapestry needle to create one shallow center indentation. Pull carefully so the center is defined without pulling the pad too tightly.
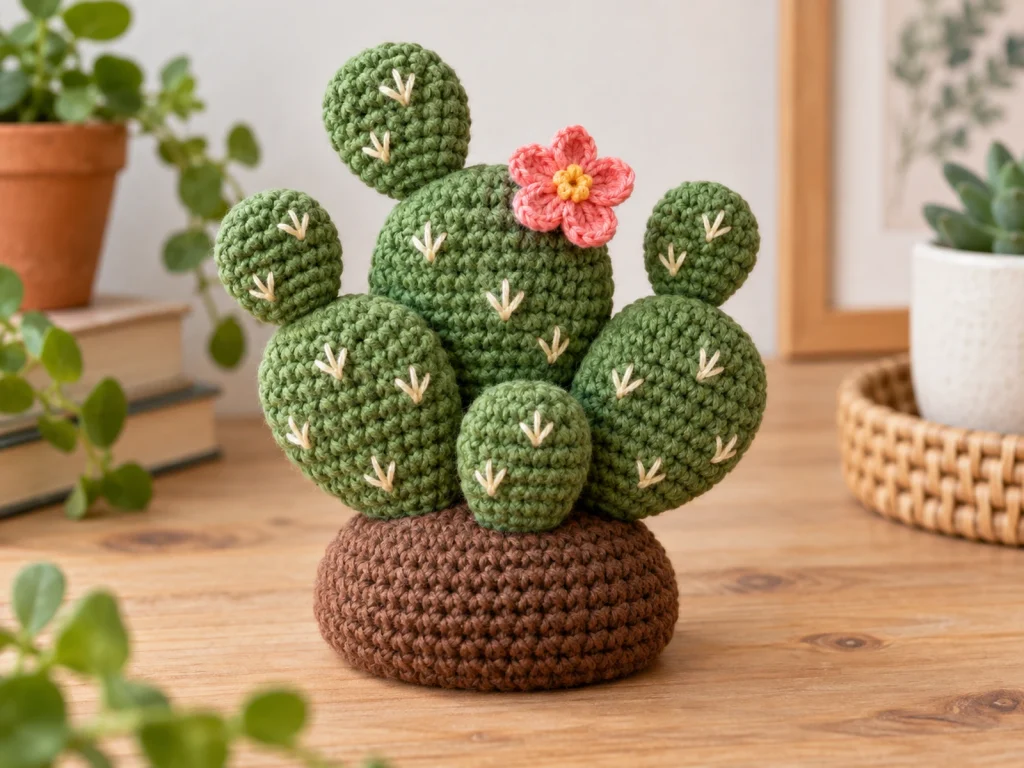
Crochet Flower — Make 1
Color: Coral or pink
Center
Work 6 sc into a magic ring. (6)
Do not fasten off.
Six-Petal Flower
In each of the 6 center stitches, work:
sl st, ch 2, 2 dc, ch 2, sl st
Repeat around all 6 center stitches.
Join with a sl st to the starting center stitch and FO, leaving a sewing tail.
Flower Center
Using warm yellow yarn, embroider several short straight stitches in the center of the flower.
Cactus Spine Details
Using cream yarn and an embroidery needle, add small groups of short diagonal stitches across the cactus pads.
For the most natural look:
- Leave some green space between groups.
- Avoid the lower attachment areas.
- Spread the details across the visible front of each pad.
- Keep the overall density similar without forcing every pad to match exactly.
Assemble the Prickly Pear Cactus
Step 1: Prepare the Finished Pieces
Before sewing:
- Make sure all six cactus pads are lightly stuffed.
- Check that the pads have been gently flattened.
- Add the center indentations.
- Finish the spine embroidery.
- Arrange the pieces around the soil mound.
Look at the arrangement before sewing anything permanently.
Step 2: Attach the Large Pad
Place the large pad toward the back of the soil mound.
Let it lean slightly backward rather than sitting perfectly vertical.
Sew the lower section securely to the soil mound.
Check the silhouette from the front before securing the final stitches.
Step 3: Add the Medium Pads
Position one medium pad on the left side of the large pad and the second on the right.
Allow the lower portions to overlap the large pad slightly.
The goal is a balanced cactus cluster rather than exact mirror symmetry.
Hold or pin both pieces in place first, then sew them securely.
Step 4: Add the Small Pads
Use the three small pads to build the upper and front areas of the cluster.
A useful arrangement is:
- One toward the upper left
- One toward the upper right
- One toward the front-center or lower-center gap
Before sewing them permanently, check the overall shape.
Move any pad that makes one side look noticeably heavier than the other.
Step 5: Attach the Flower
Place the flower near the upper outer area of the large pad.
Sew through the flower center and several points around its base.
For a more organic appearance, angle the flower slightly rather than placing it perfectly horizontal.
Step 6: Final Finishing
Inspect the finished cactus for:
- Loose yarn tails
- Exposed stuffing
- Insecure attachments
- Uneven shaping
- Overly tight embroidery
- Flower placement
Weave in all remaining ends and trim the excess yarn.
Helpful Tips
Keep the cactus pads lightly stuffed
Overstuffing can make the pads look round instead of flat and can make the center indentation harder to shape.
Shape before sewing
It is much easier to flatten and sculpt each pad while it is still separate from the rest of the project.
Compare paired pads together
When positioning the two medium pads, compare them side by side before attaching them permanently. They do not need to be identical, but the finished cactus should feel balanced.
Check your stitch count often
The increase and decrease rounds follow a consistent pattern. If a round seems to have the wrong number of stitches, stop and recount before continuing.
Troubleshooting
My cactus pads look too round
The most common reason is overstuffing.
Remove or redistribute some filling, then gently press the front and back together to create the broader pad shape.
My center indentation is too deep
Loosen the shaping yarn slightly. The indentation should be subtle rather than creating a strong fold.
The cactus leans too far to one side
Check the position of the medium and small pads before changing the large pad.
Small placement changes can shift the visual weight of the entire cactus.
My sewn joins are visible
Try taking smaller stitches around the attachment area and match your sewing yarn color to the cactus wherever possible.
The flower looks too flat
Slightly angle the flower before securing it. A small change in orientation can make it look more naturally attached to the cactus.
Customization Ideas
Change the flower color
Try soft yellow, peach, white, or another contrasting shade while keeping the cactus pads green.
Create a monochrome version
Use different shades of the same green family for the pads and base details.
Change the cactus arrangement
The pattern uses one large, two medium, and three small pads, but the pieces can be positioned differently to create a taller, wider, or more asymmetrical silhouette.
Experiment with spine colors
Cream gives a subtle contrast, but a very light tan or pale yellow can create a slightly different look.
Adjust the overall size carefully
The easiest way to create a different-sized project is to change your yarn and hook while maintaining the same pattern proportions. Final dimensions will vary with those choices and your tension.
Frequently Asked Questions
What yarn weight is used for this crochet prickly pear cactus?
The pattern is designed around medium/worsted-weight #4 yarn.
How many cactus pads does this pattern include?
The design uses six cactus pads in total: one large, two medium, and three small.
Does the cactus have a flower?
Yes. The finished design includes a six-petal crochet flower with a small warm-yellow center.
How do you get the cactus pads to look flat?
The pads are lightly stuffed and then gently flattened by hand. A shallow center indentation also helps create a broader cactus-pad shape.
Is this pattern physically tested?
Not yet. The pattern has been mathematically reviewed and constructionally checked, but a physical prototype has not yet been crocheted and evaluated.
Can I rearrange the cactus pads?
Yes. The assembly guidance provides a suggested arrangement, but the pads can be positioned differently to create your preferred silhouette.
Final Thoughts
This crochet prickly pear cactus is built from simple repeating shapes, but the finished look comes from the way the pieces are shaped, layered, and assembled.
Take your time with the pad shaping and final arrangement. Those finishing details have the biggest effect on the silhouette of the completed cactus.