
Crochet Aloe Vera Pattern: A Step-by-Step Crochet Plant Tutorial
Bring a little handmade greenery into your space with this…
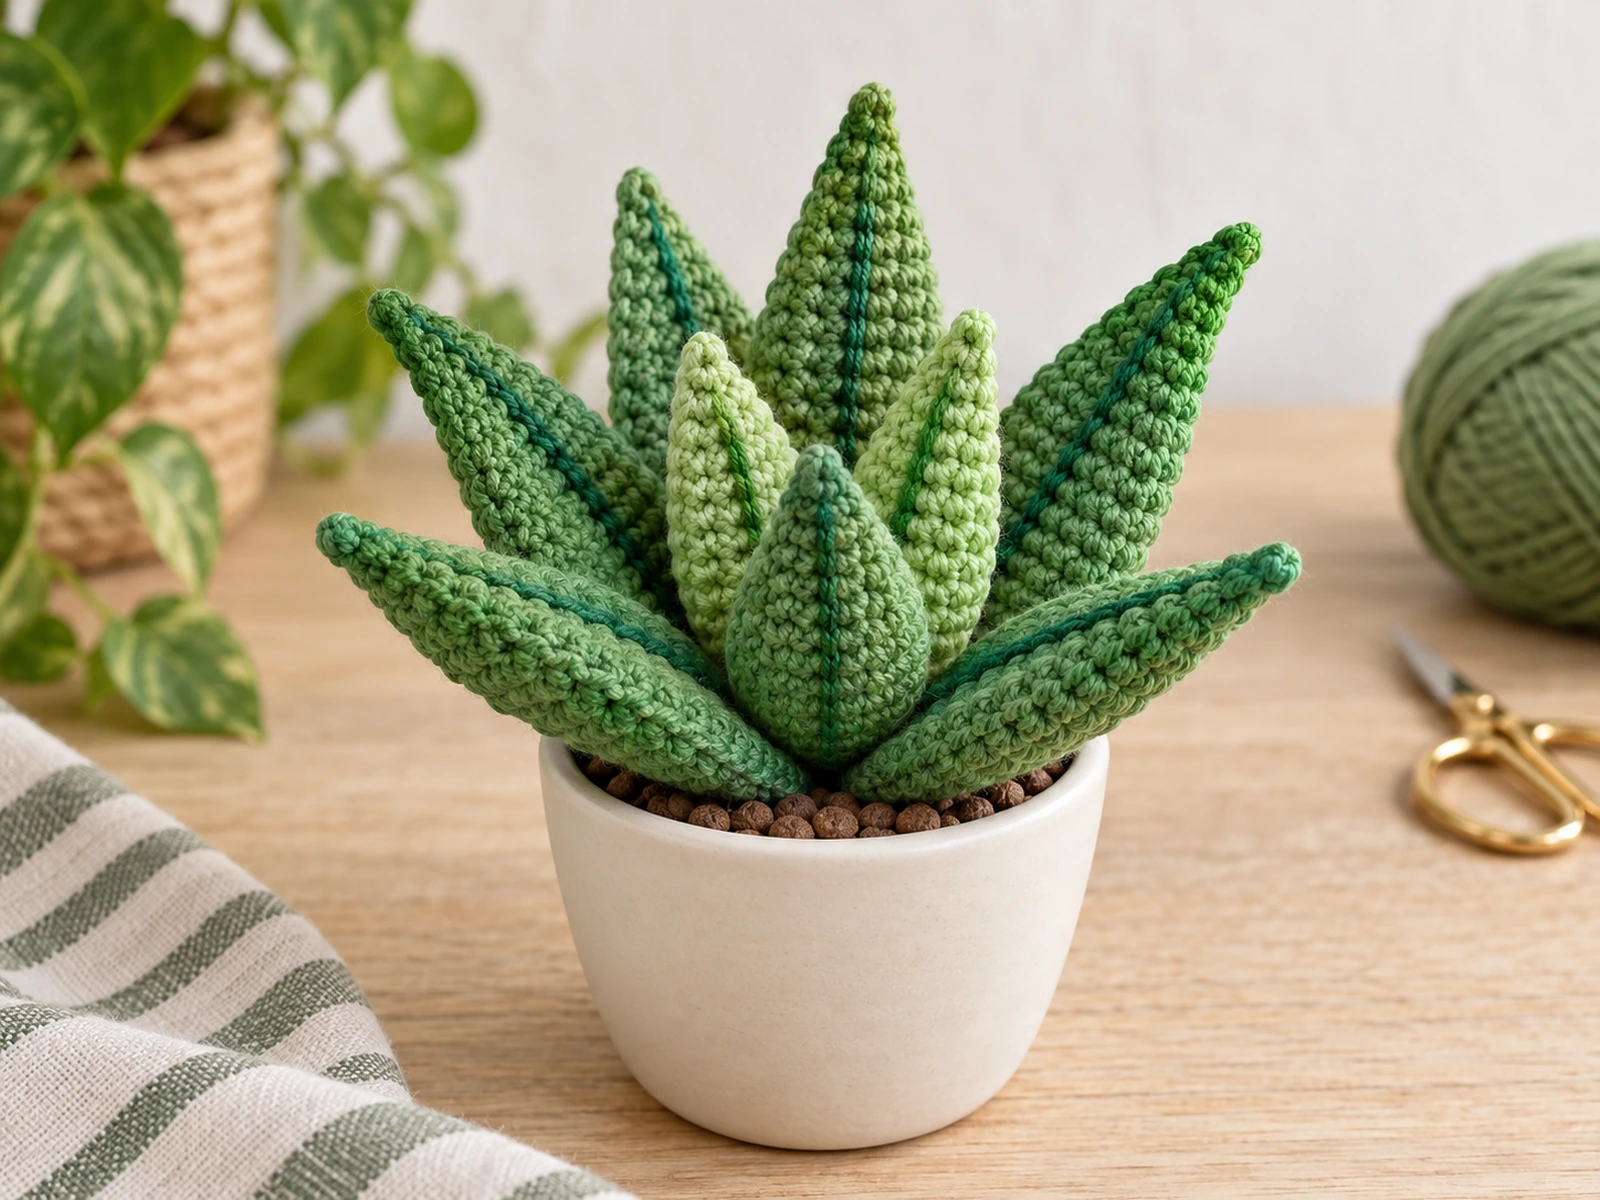
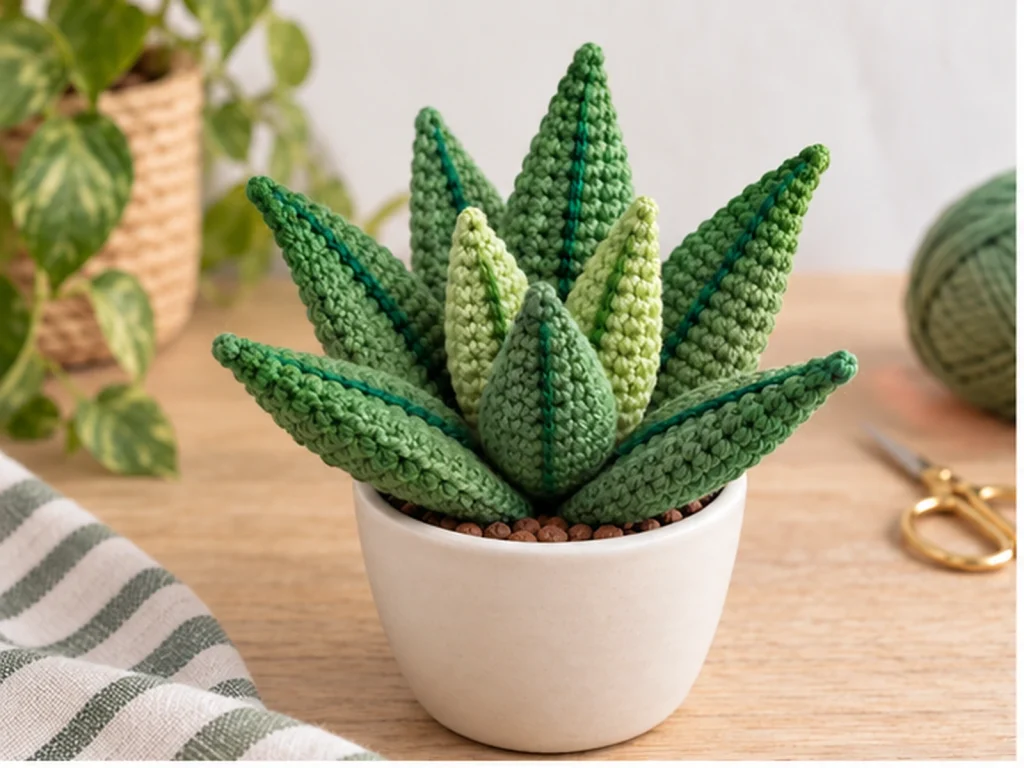
Bring a little handmade greenery into your space with this crochet aloe vera pattern. This decorative crochet plant is built from two sizes of tapered leaves arranged around a small stuffed center.
The larger leaves create the outer layer, while smaller leaves fill the center for a layered aloe vera shape. A simple surface-slip-stitch vein adds definition to each leaf without changing the main crochet structure.
The finished plant is approximately 4.5–5.5 inches tall, depending on yarn, hook size, tension, and individual technique.
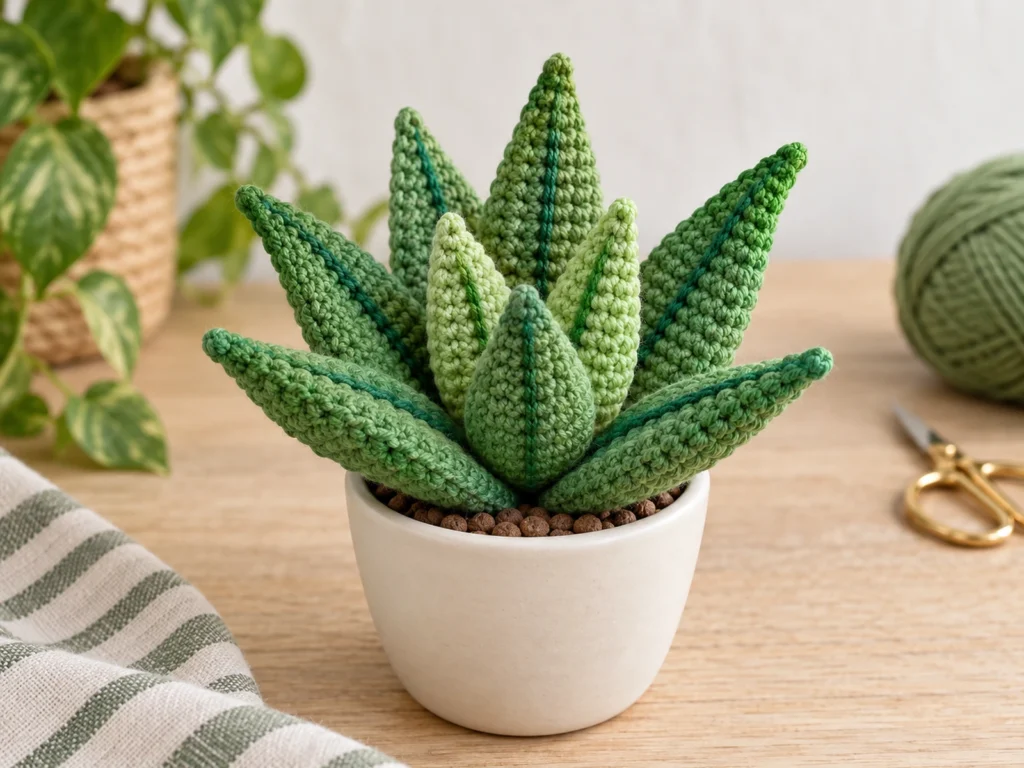
Project Overview
This crochet aloe vera is made from three main components: six large leaves, four small leaves, and one central core.
The leaves are crocheted flat in rows and gradually tapered toward the tip. The central core is worked in continuous rounds and lightly stuffed before the leaves are attached.
What You’ll Make
- 6 large outer leaves
- 4 small inner leaves
- 1 stuffed leaf core
- Surface-slip-stitch center veins on each leaf
The finished rosette can be displayed in a small decorative pot or container. The pot is not included in this pattern.
Project Details
- Project: Crochet Aloe Vera Plant
- Approximate finished size: 4.5–5.5 inches tall
- Yarn: Worsted-weight cotton
- Hook: 3.5 mm crochet hook
- Main colors: Medium green, light green, and dark green
- Stuffing: Polyester fiberfill
- Construction: Flat crocheted leaves attached to a stuffed central core
- Gauge: No formal gauge is required
- Crochet terminology: US terms
The stitch counts and construction have been mathematically reviewed and constructionally checked. This pattern has not been physically crocheted and tested yet, so the final size and shaping may vary.
Materials & Tools
- Worsted-weight cotton yarn in medium green
- Worsted-weight cotton yarn in light green
- A small amount of dark green yarn
- 3.5 mm crochet hook
- Polyester fiberfill
- Yarn needle
- Scissors
- Stitch marker, optional
No specific yarn brand or yardage is provided for this design.
Abbreviations
This pattern uses standard US crochet terminology.
- MR — magic ring
- ch — chain
- sc — single crochet
- inc — increase; work 2 sc in the same stitch
- dec — decrease; single crochet 2 together
- sl st — slip stitch
- BLO — back loop only
- FO — fasten off
Before You Start
The leaves are worked flat in rows rather than continuous rounds. This creates a tapered leaf with a wider base and pointed tip.
The center veins are added after each leaf is finished using surface slip stitches. Keep these stitches loose enough to define the center without puckering the fabric.
Only the central Leaf Core is stuffed. The individual leaves remain unstuffed so they can keep their flat, tapered shape.
For the best result, keep the repeated leaves as consistent as possible and arrange all the pieces before permanently tightening the assembly.
Crochet Aloe Vera Pattern
Large Leaf — Make 6
Use medium green yarn.
Row 1
Ch 11. Sc in the 2nd ch from the hook and in each chain across. (10 sc)
Row 2
Ch 1, turn. Sc across. (10)
Row 3
Ch 1, turn. Sc across. (10)
Row 4
Ch 1, turn. Sc across. (10)
Row 5
Ch 1, turn. Sc across. (10)
Row 6
Ch 1, turn. Dec, sc in the next 6 sts, dec. (8)
Row 7
Ch 1, turn. Sc across. (8)
Row 8
Ch 1, turn. Dec, sc in the next 4 sts, dec. (6)
Row 9
Ch 1, turn. Sc across. (6)
Row 10
Ch 1, turn. Dec, sc in the next 2 sts, dec. (4)
Row 11
Ch 1, turn. Sc across. (4)
Row 12
Ch 1, turn. Dec twice. (2)
Row 13
Ch 1, turn. Dec. (1)
FO and leave a long yarn tail for assembly.
Add the Center Vein
Using dark green yarn, work a loose line of surface slip stitches from the wide base toward the pointed tip.
Follow the visual center of the leaf and avoid pulling the yarn tightly.
Small Leaf — Make 4
Use light green yarn.
Row 1
Ch 9. Sc in the 2nd ch from the hook and in each chain across. (8 sc)
Row 2
Ch 1, turn. Sc across. (8)
Row 3
Ch 1, turn. Sc across. (8)
Row 4
Ch 1, turn. Sc across. (8)
Row 5
Ch 1, turn. Dec, sc in the next 4 sts, dec. (6)
Row 6
Ch 1, turn. Sc across. (6)
Row 7
Ch 1, turn. Dec, sc in the next 2 sts, dec. (4)
Row 8
Ch 1, turn. Sc across. (4)
Row 9
Ch 1, turn. Dec twice. (2)
Row 10
Ch 1, turn. Dec. (1)
FO and leave a long yarn tail for assembly.
Add the Center Vein
Using dark green yarn, work a loose surface-slip-stitch line from the base toward the tip.
Keep the vein visually centered and do not pull it tight enough to distort the leaf.
Leaf Core — Make 1
Use dark or medium green yarn.
Work continuously in rounds.
Round 1
6 sc in MR. (6)
Round 2
6 inc. (12)
Round 3
(sc, inc) × 6. (18)
Round 4
(2 sc, inc) × 6. (24)
Round 5
24 sc in BLO. (24)
Round 6
(2 sc, dec) × 6. (18)
Round 7
(sc, dec) × 6. (12)
Add a small amount of polyester fiberfill. Use enough stuffing to give the core structure without making it overly firm.
Round 8
6 dec. (6)
FO and close the remaining opening. Weave in the end securely.
Add the Center Veins
The center vein is one of the simplest details in this crochet aloe vera design.
For each finished leaf:
- Thread the dark green yarn onto a yarn needle or crochet hook.
- Start at the wider base of the leaf.
- Work surface slip stitches toward the pointed tip.
- Keep the line centered visually.
- Avoid pulling the stitches tightly.
The goal is a subtle raised line rather than a deep indentation.
Assemble the Crochet Aloe Vera
Step 1: Prepare the Finished Pieces
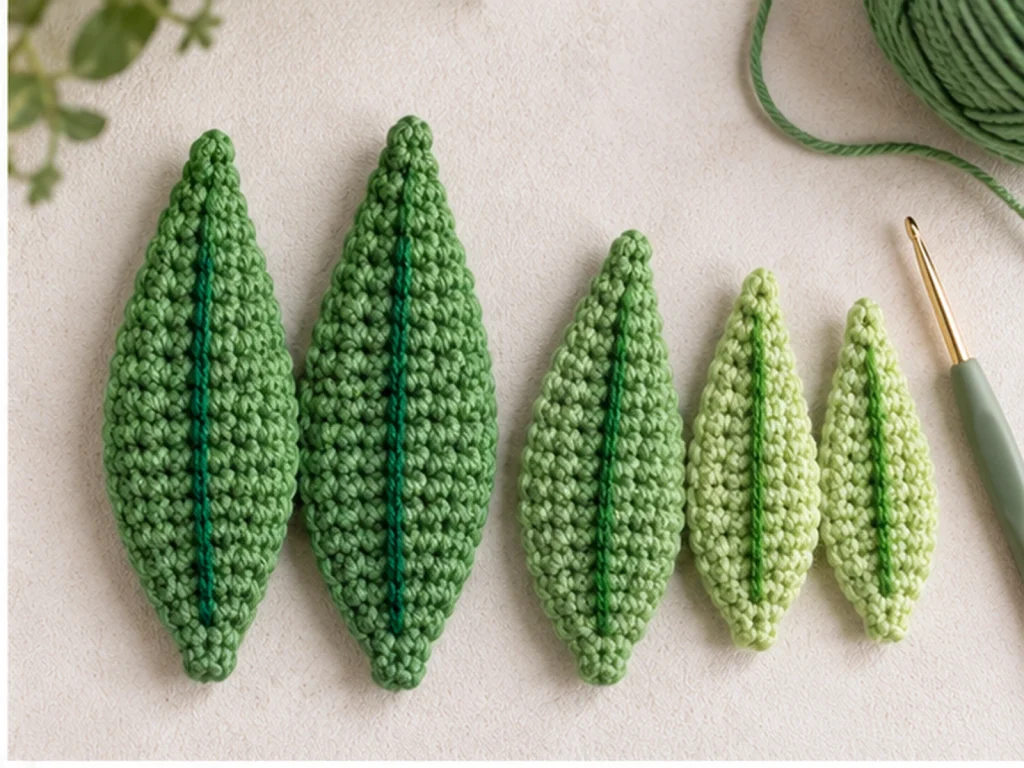
Lay all 10 leaves on your work surface and divide them into:
- 6 large outer leaves
- 4 small inner leaves
Compare the leaves within each group before sewing so obvious differences in tension or shape can be adjusted.
Step 2: Attach the Large Leaves
Arrange the six large leaves around the outside of the Leaf Core.
Position the wider lower ends around the outer edge of the core, allowing a small amount of overlap between neighboring leaves.
Using the long yarn tails, sew the lowest 2–3 rows of each large leaf securely to the core.
Work around the plant before fully tightening the attachment points so you can adjust the spacing as needed.
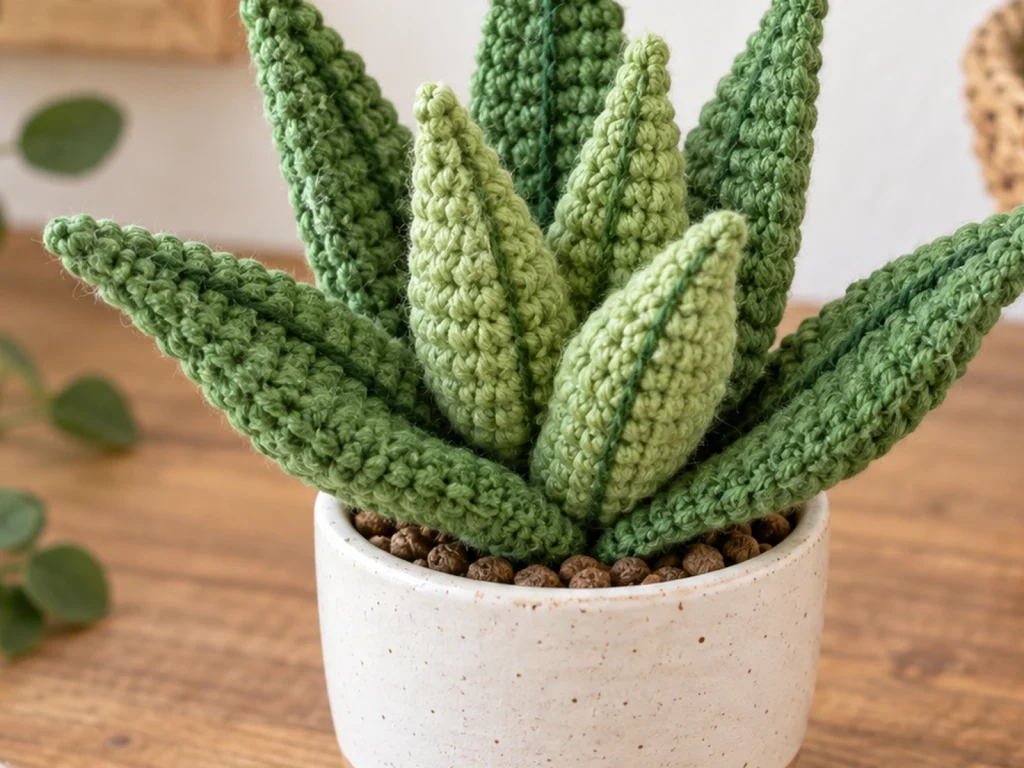
Step 3: Add the Small Leaves
Place the four small leaves between the larger leaves.
Position them slightly higher and more upright so they fill the center of the rosette instead of forming another flat outer ring.
Sew the lower portion of each small leaf to the upper area of the Leaf Core.
Step 4: Shape the Plant
Once all the leaves are attached, gently shape the rosette with your fingers.
Let the larger outer leaves curve outward while keeping the smaller inner leaves more upright.
Look at the plant from several angles and adjust the spacing so the center remains balanced.
The leaves do not need to be positioned at perfectly identical angles. Small variations can give the finished plant a more natural appearance.
Finishing
Check every attachment point and secure any loose yarn ends.
Trim excess yarn after the ends have been woven in securely.
Gently reshape the leaves so the tapered tips remain visible and the center veins can be seen.
The finished crochet aloe vera can be placed inside a small decorative pot or container.
Helpful Tips
Keep Your Leaf Tension Consistent
Because the leaves are worked flat, noticeable changes in tension can alter their width and shape. Try to maintain a steady tension throughout each leaf and across the repeated pieces.
Keep the Center Vein Relaxed
The surface-slip-stitch vein should sit on the leaf rather than pull it inward. A lighter touch will help the leaf retain its shape.
Arrange Before Tightening
When attaching the large leaves, loosely position all six first. This makes it easier to create an even outer layer before securing every seam.
Avoid Overstuffing the Core
The Leaf Core only needs enough fiberfill to provide structure. Too much stuffing can make the center overly rounded and bulky.
Troubleshooting
Why does my leaf look uneven?
Check your tension from row to row. Since the leaf gradually narrows through decreases, even small tension changes can affect the final outline.
Why is my center vein puckering the leaf?
The surface slip stitches may be too tight. Loosen the working yarn as you move toward the tip.
Why don’t my leaves sit evenly around the center?
Arrange all six large leaves before permanently tightening the seams. Make small spacing adjustments until the outer layer looks balanced.
Why does the center look too bulky?
Reduce the amount of stuffing in the Leaf Core. It should provide structure without becoming a large rounded ball.
Why does my plant look too flat?
Check the small inner leaves. They should sit slightly higher and more upright than the larger outer leaves.
Customization Ideas
Color is the simplest way to customize this crochet aloe vera pattern without changing the stitch structure.
Try:
- alternating medium and light green leaves
- using dark green for all center veins
- combining two shades of green throughout the leaf groups
- displaying the finished plant in a decorative pot with a contrasting color
Keep the written stitch counts unchanged when making simple color variations.
Frequently Asked Questions
How many leaves are used in this crochet aloe vera pattern?
The design uses 6 large leaves and 4 small leaves, for a total of 10 leaves.
Does the crochet aloe vera need stuffing?
Only the central Leaf Core is stuffed. The individual leaves are crocheted flat and are not stuffed.
Does this pattern require a specific gauge?
No formal gauge is required. Consistent tension is more important for maintaining the intended leaf shape.
Can I put the finished crochet aloe vera in a pot?
Yes. The finished rosette is designed as a decorative crochet plant and can be displayed in a small pot or container. The pot is not included in the pattern.
Can I change the yarn colors?
Yes. Changing the green shades is a simple way to customize the appearance while keeping the stitch structure the same.
Has this crochet aloe vera pattern been physically tested?
The stitch counts and construction have been mathematically reviewed and constructionally checked, but the pattern has not been physically crocheted and tested yet. Final size and shaping may therefore vary.
Final Thoughts
This crochet aloe vera pattern uses tapered leaves, a compact central core, and layered assembly to create a handmade plant with a simple botanical silhouette.
The two leaf sizes add depth to the rosette, while the surface-stitched center veins give the leaves extra definition. Take your time during assembly and adjust the spacing and angles before permanently securing the leaves for the most balanced finished shape.