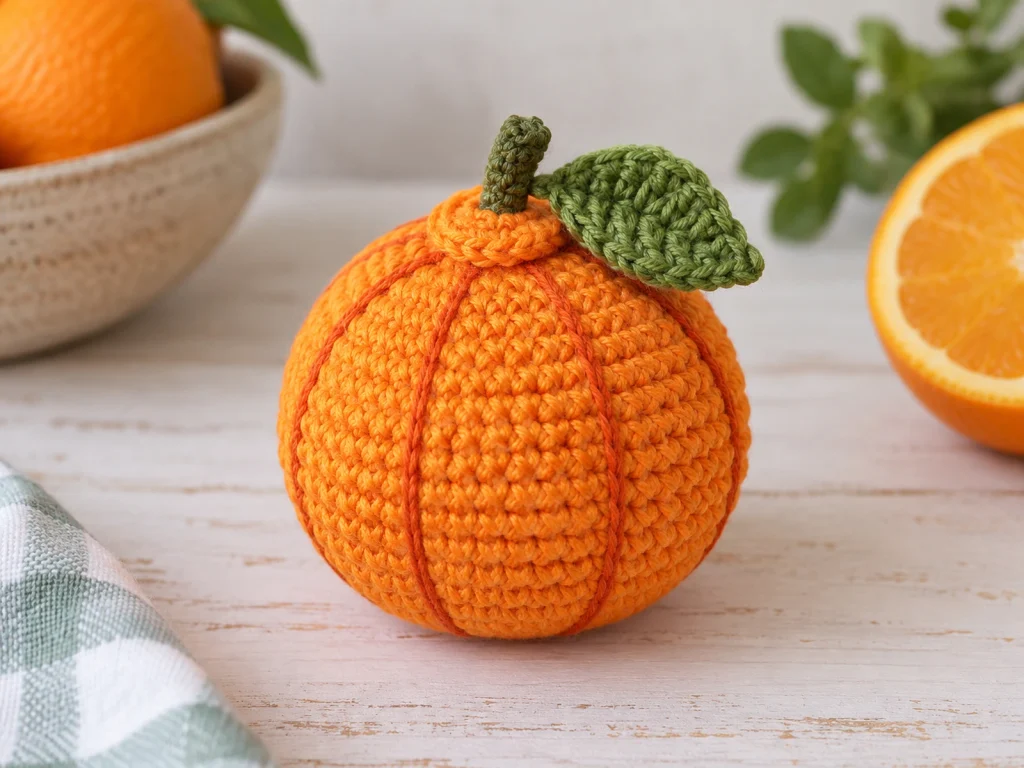
Crochet Orange Amigurumi Pattern
Make a rounded crochet orange amigurumi with a simple citrus…
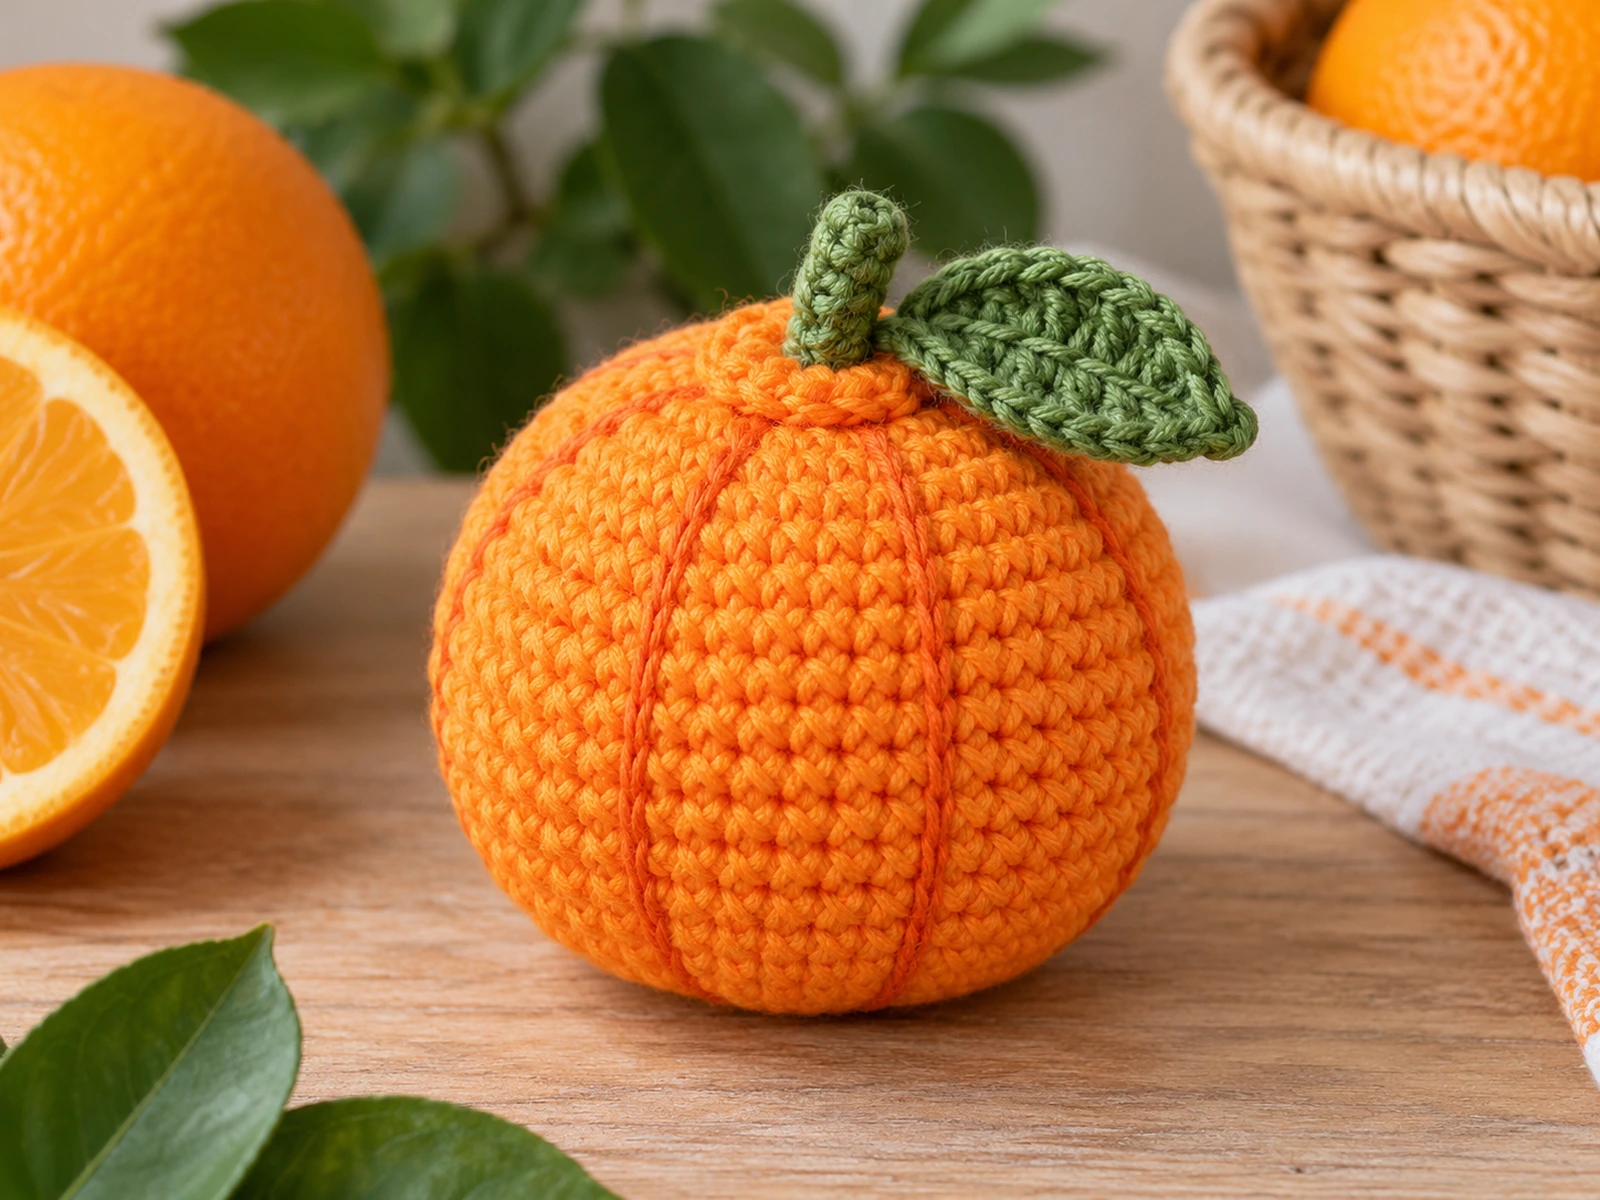
Make a rounded crochet orange amigurumi with a simple citrus shape, a small top navel, a leafy detail, and subtle segment lines. The main fruit is worked in continuous rounds with increases and decreases to create its three-dimensional shape.
The finished orange is approximately 2.5–3.5 inches tall, depending on yarn, hook size, tension, stuffing, and individual technique.
Project Overview
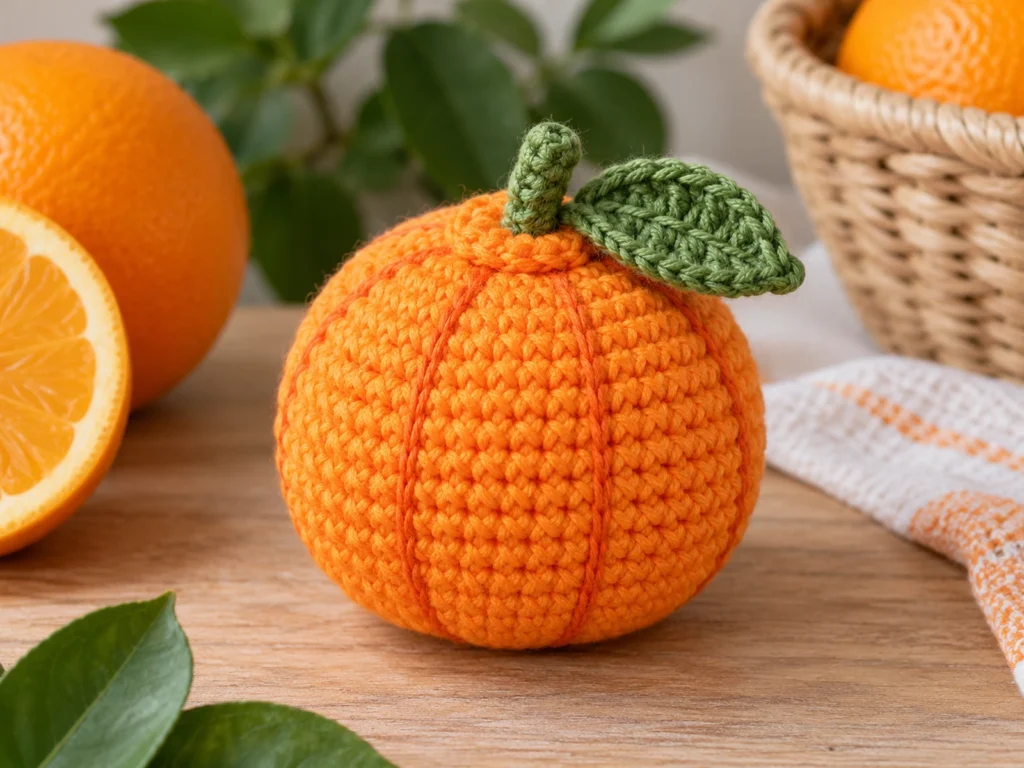
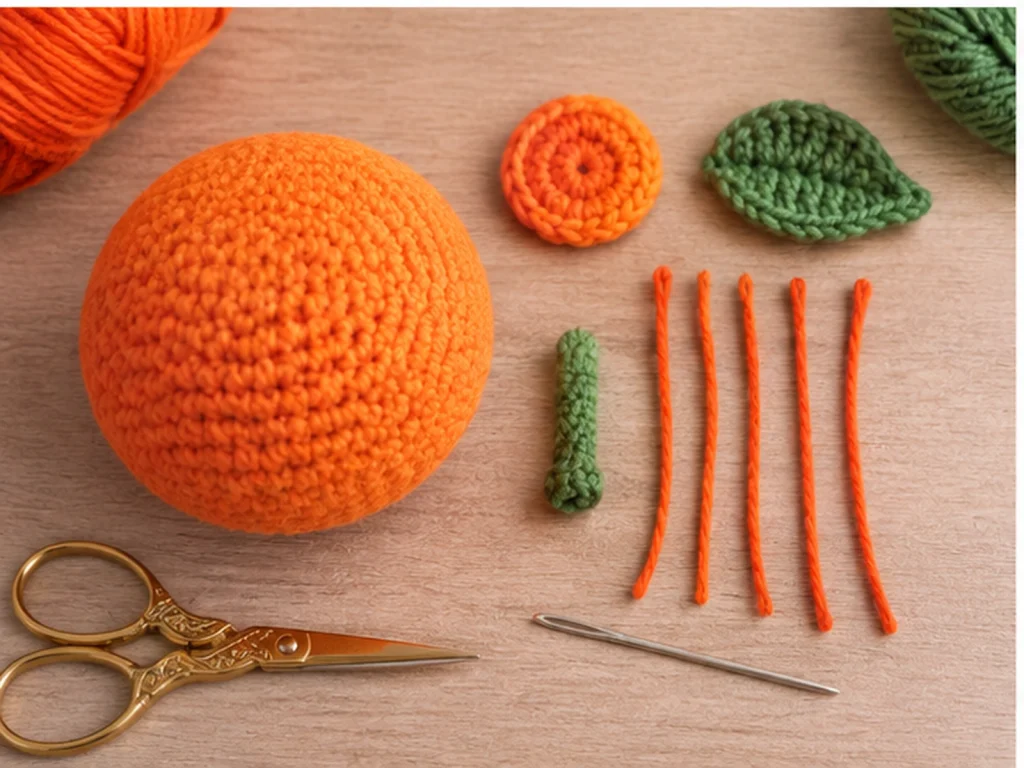
This crochet orange is built as one main stuffed fruit body with a few separate decorative pieces.
The finished design includes:
- One crocheted orange body
- One small top navel
- One leaf
- One short stem
- Eight darker-orange segment lines
The body is worked from the bottom center upward, reaches its widest point at 40 stitches, and then decreases toward the top.
Project Details
- Project: Crochet orange amigurumi
- Approximate size: 2.5–3.5 inches tall
- Yarn: Medium/worsted weight yarn
- Hook: 3.5 mm crochet hook
- Main color: Orange
- Accent color: Darker orange
- Leaf and stem: Green
- Filling: Polyester fiberfill
- Construction: Continuous crochet rounds
This pattern has been mathematically reviewed and constructionally checked, but it has not been physically crocheted and tested yet. The finished size and final physical proportions should therefore be considered approximate.
Materials & Tools
Yarn
You will need:
- Medium/worsted weight orange yarn
- A small amount of darker orange yarn
- A small amount of green yarn
Tools
- 3.5 mm crochet hook
- Polyester fiberfill
- Yarn needle
- Scissors
- Stitch marker
Abbreviations
US crochet terminology is used throughout the pattern.
- MR — magic ring
- sc — single crochet
- inc — increase, 2 sc in the same stitch
- dec — decrease, single crochet 2 stitches together
- sl st — slip stitch
- ch — chain
- hdc — half double crochet
- dc — double crochet
- FO — fasten off
Before You Start
The orange body is worked in continuous rounds, so do not join at the end of each round.
Place a stitch marker in the first stitch of each round and move it upward as you work.
Keeping an accurate stitch count is important because the rounded shape depends on the specific increase and decrease sequence.
For the stuffing, begin gradually after Round 12, as indicated in the pattern. Add fiberfill little by little so you can maintain an even, rounded shape without stretching the stitches.
Crochet Orange Pattern
Orange Body
With orange yarn, begin with a magic ring.
Round 1: 8 sc in MR (8)
Round 2: 8 inc (16)
Round 3: (3 sc, inc) × 4 (20)
Round 4: (4 sc, inc) × 4 (24)
Round 5: (5 sc, inc) × 4 (28)
Round 6: (6 sc, inc) × 4 (32)
Round 7: (7 sc, inc) × 4 (36)
Round 8: (8 sc, inc) × 4 (40)
Round 9: 40 sc (40)
Round 10: 40 sc (40)
Round 11: 40 sc (40)
Round 12: 40 sc (40)
Begin adding stuffing gradually.
Round 13: (8 sc, dec) × 4 (36)
Round 14: (7 sc, dec) × 4 (32)
Round 15: (6 sc, dec) × 4 (28)
Round 16: (5 sc, dec) × 4 (24)
Round 17: (4 sc, dec) × 4 (20)
Add or adjust stuffing as needed. Keep the body rounded without forcing the stitches apart.
Round 18: (3 sc, dec) × 4 (16)
Add a little more stuffing if needed.
Round 19: 8 dec (8)
Make any final stuffing adjustments while the opening is still accessible.
Round 20: 4 dec (4)
Round 21: 2 dec (2)
Fasten off, leaving a yarn tail. Thread the tail through the remaining stitches and gently pull to close the opening. Secure the yarn and weave in the end.
Top Navel
With orange yarn:
Round 1: 6 sc in MR (6)
Round 2: 6 inc (12)
Fasten off, leaving a sewing tail.
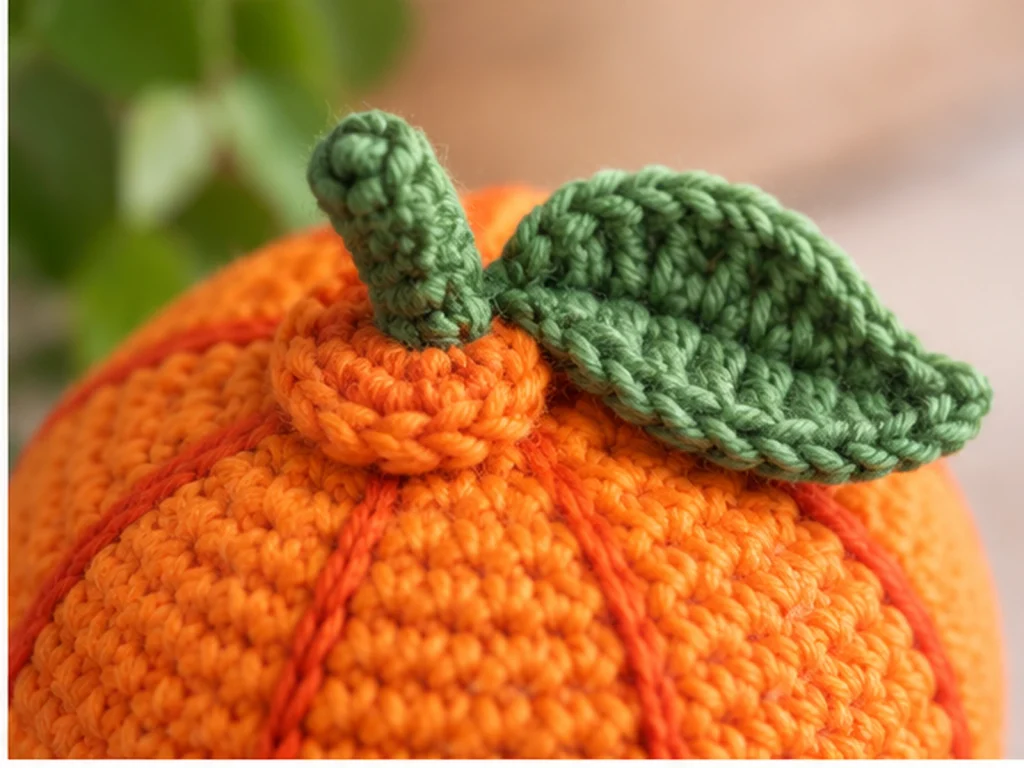
Flatten the disk slightly and sew it over the top center of the orange, covering the body closure.
Leaf
With green yarn:
Ch 7.
Row 1: Sc in 2nd ch from hook, hdc in next ch, dc in next 2 ch, hdc in next ch, 3 sc in last ch; continue along the opposite side of the foundation chain with hdc in next ch, dc in next 2 ch, hdc in next ch, sc in the final ch. Sl st to the first sc. (13 stitches)
Fasten off, leaving a yarn tail for sewing.
A small surface slip stitch or embroidered center vein can be added for extra definition.
Stem
With green or brown-green yarn:
Ch 4.
Sl st in 2nd ch from hook and in each remaining ch. (3 sl sts)
Fasten off, leaving a yarn tail.
Orange Segment Details
Using darker orange yarn and a yarn needle, add 8 evenly spaced segment lines to the fruit.
Begin around the top navel area and work each line toward the lower center of the orange. Keep the lines gently curved so they follow the rounded shape.
Before securing the final line, check the spacing from several angles and adjust as needed.
Weave the ends into the body and trim the excess yarn.
Assembly & Finishing
Once the pieces are complete, assemble the orange in this order:
- Make sure the orange body is fully stuffed and closed.
- Add the darker-orange segment details.
- Sew the navel disk over the top closure.
- Position the leaf beside the navel.
- Attach the stem close to the leaf.
- Check the placement from several angles before permanently sewing the pieces.
- Weave in all remaining yarn ends.
- Gently shape the finished fruit into a compact, rounded form.
Helpful Tips
Keep Your Stitch Count Accurate
If the number of stitches suddenly changes, check for a missed increase, decrease, or stitch before continuing.
Stuff Gradually
Begin stuffing after Round 12 and continue adding fiberfill as the opening becomes smaller. This makes it easier to keep the fruit evenly shaped.
Avoid Overstuffing
Too much fiberfill can stretch the crochet fabric and make the stitches look uneven. Aim for a firm but rounded shape.
Check the Decorative Placement
Before sewing the leaf and stem permanently, look at the orange from multiple angles. Small positioning changes can make the finished fruit look more balanced.
Space the Segment Lines Carefully
The eight segment lines should enhance the rounded shape rather than pull against the crochet fabric. Take a moment to balance the spacing before weaving in the ends.
Troubleshooting
My Orange Looks Uneven
Check the stuffing first. Redistribute the fiberfill gently rather than adding more immediately.
My Stitch Count Is Wrong
Stop at the round where the count changed and check the previous round for a missed increase, decrease, or skipped stitch.
My Orange Looks Too Flat
The body is designed around a gradual increase to 40 stitches followed by a controlled decrease. Make sure the increase and decrease rounds have been worked correctly and that the stuffing is distributed evenly.
The Segment Lines Look Uneven
Temporarily loosen or reposition them before weaving in the yarn ends. Checking the orange from several directions can make spacing easier to judge.
Customization Ideas
Change the Orange Shade
Try a warm golden orange, a brighter citrus shade, or a deeper orange for a different look.
Try a Different Leaf Color
A darker or muted green can create a different visual style while keeping the same construction.
Adjust the Overall Scale
Changing yarn weight and hook size can change the finished size. Because tension and proportions also change, the final dimensions should be treated as approximate.
Build a Fruit Collection
The orange can work as part of a larger collection of independently designed crochet fruit projects.
Frequently Asked Questions
How big is the finished crochet orange?
The design is intended to produce an orange approximately 2.5–3.5 inches tall. Final size varies with yarn, hook, tension, stuffing, and individual technique.
What yarn weight is used?
The design uses medium/worsted weight yarn.
What crochet hook size is used?
The pattern uses a 3.5 mm crochet hook.
How is the orange body shaped?
The body begins with 8 stitches, increases gradually to 40 stitches, maintains that circumference for several rounds, and then decreases toward the top.
When should I start stuffing?
Begin adding stuffing after Round 12 and continue adjusting the filling as you work through the decrease rounds.
Does the pattern include a leaf and stem?
Yes. The finished design includes one small crocheted leaf and one short stem.
How are the orange segments created?
The eight segment lines are embroidered onto the finished body using darker orange yarn.
Can I change the finished size?
Changing yarn weight or hook size can alter the overall scale, but the final dimensions will vary with tension and technique.
More Crochet Fruit Projects
Once you’ve finished this orange, it can become part of a broader crochet fruit collection featuring small, colorful amigurumi projects.