
Crochet Snake Plant Pattern: A Step-by-Step Amigurumi Tutorial
Bring a little handmade greenery into your space with this…
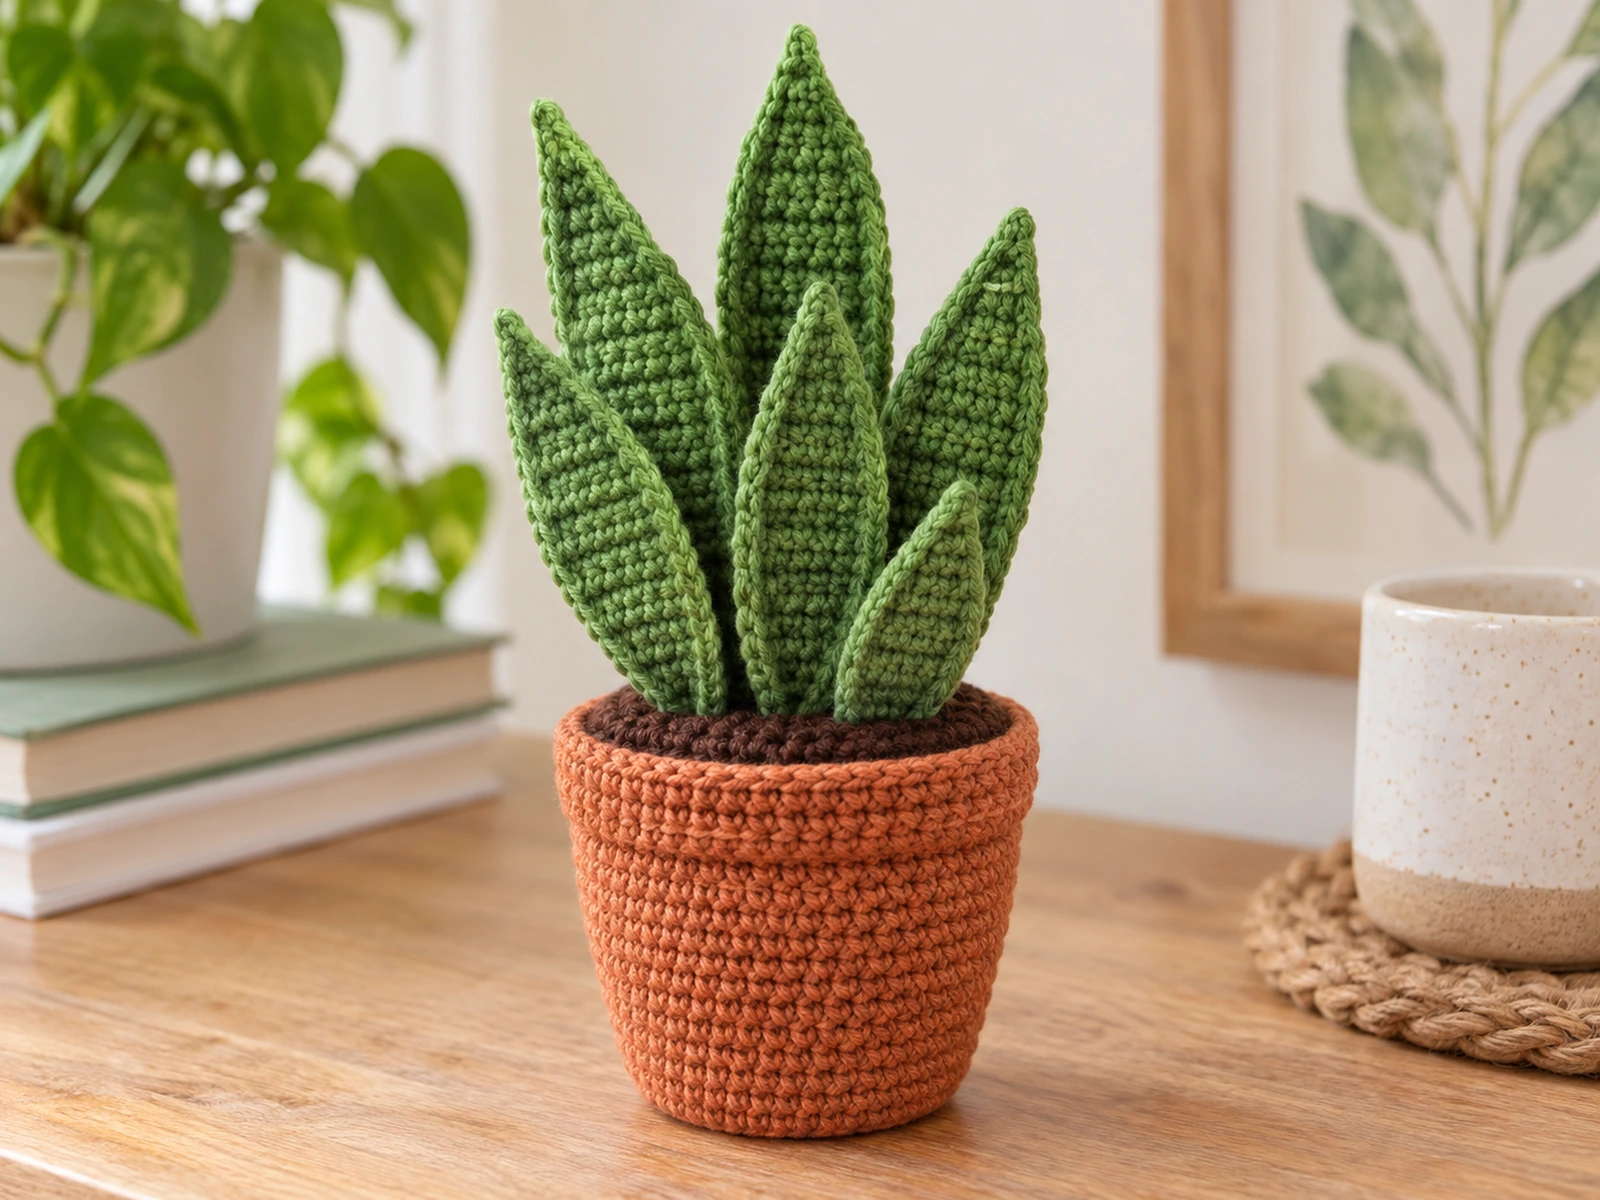
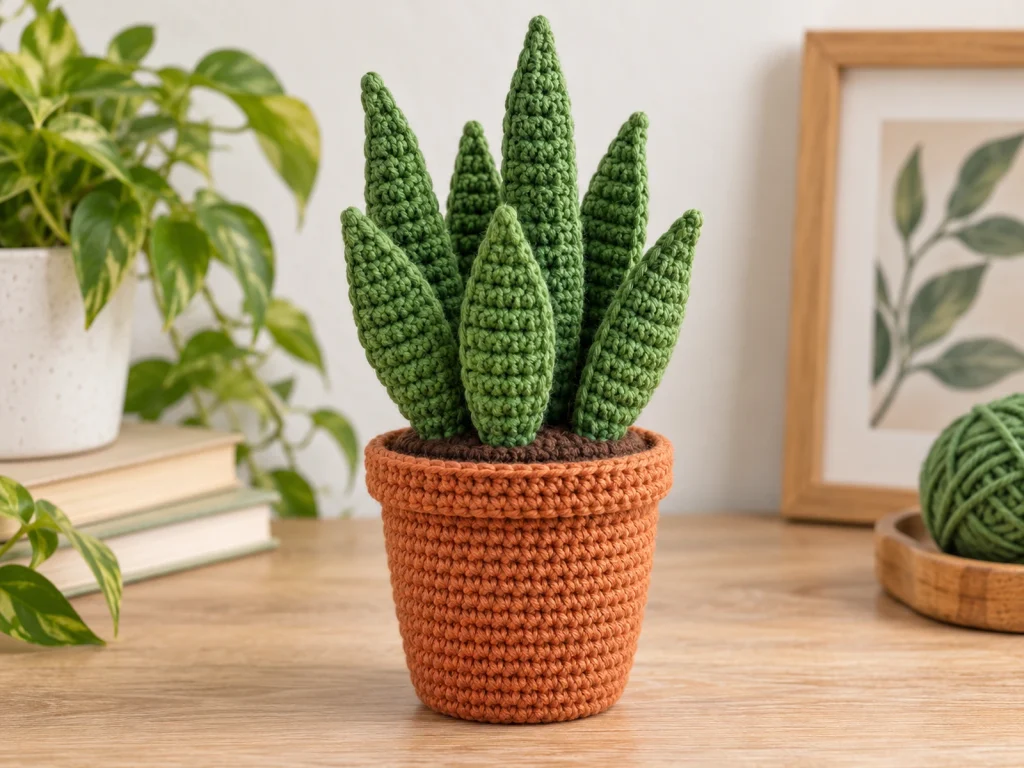
Bring a little handmade greenery into your space with this crochet snake plant amigurumi. The design combines a tapered terracotta-style pot, a crochet soil disk, and eight pointed green leaves arranged in three different heights for a layered houseplant silhouette.
The project is made in separate components and finished with a straightforward assembly process. The pot and soil disk are worked in rounds, while the leaves are crocheted flat in rows and attached to the soil before the plant is assembled.
The finished plant is approximately 7–8.5 inches tall, although the final size can vary depending on yarn, hook size, tension, stuffing, and individual crochet technique.
Pattern note: The stitch counts have been mathematically reviewed and the construction has been checked, but this pattern has not been physically crocheted and tested yet.
Project Overview
What You’ll Make
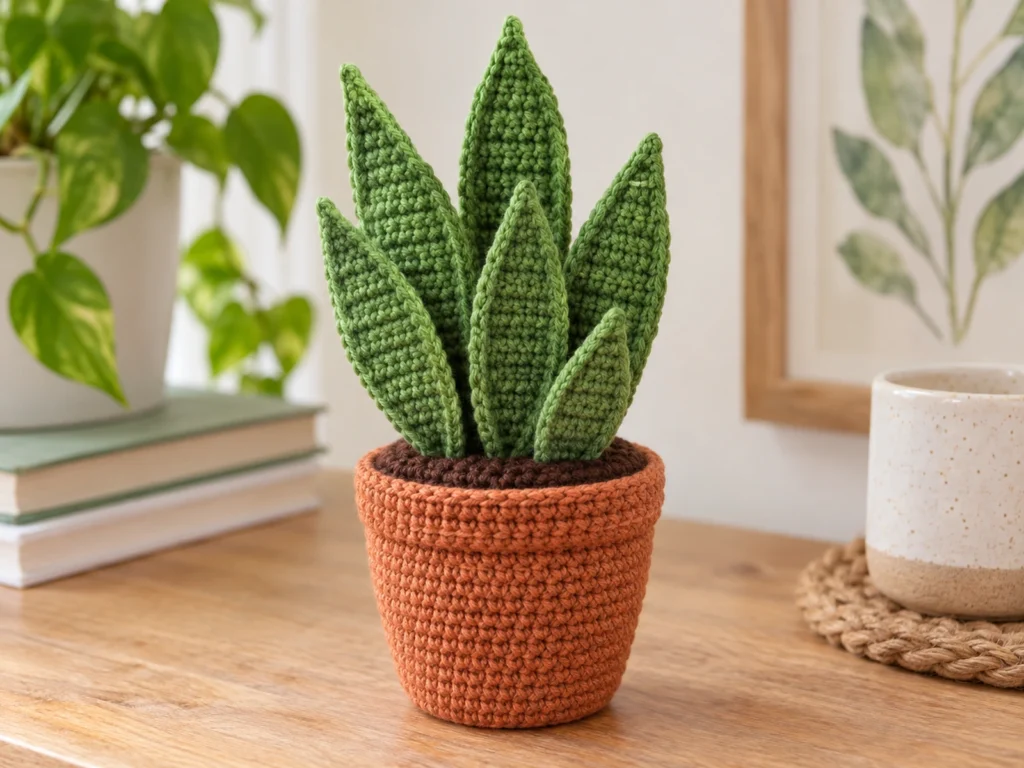
This crochet snake plant is a decorative botanical amigurumi made from:
- 1 crocheted pot
- 1 dark-brown soil disk
- 2 Small Leaves
- 3 Medium Leaves
- 3 Tall Leaves
The different leaf heights help create a fuller, layered plant shape.
Project Details
Approximate finished height: 7–8.5 inches
Yarn: DK/light-worsted yarn
Hook: 3.0 mm crochet hook
Pot color: Terracotta
Soil color: Dark brown
Leaf color: Green
Stuffing: Polyester fiberfill
Facial features: None
Construction: Separate crocheted components assembled after completion
The finished size is approximate and may vary with yarn choice, hook size, tension, stuffing, and individual technique.
Materials & Tools
Yarn
You will need DK/light-worsted yarn in:
- Terracotta
- Dark brown
- Green
Use terracotta for the pot, dark brown for the soil, and green for all of the leaves.
Other Supplies
- 3.0 mm crochet hook
- Polyester fiberfill
- Tapestry needle
- Scissors
- Stitch marker
Abbreviations
This pattern uses standard US crochet terminology.
| Abbreviation | Meaning |
|---|---|
| MR | Magic Ring |
| ch | Chain |
| sc | Single Crochet |
| inc | Increase — 2 sc in the same stitch |
| dec | Decrease — single crochet 2 together |
| BLO | Back Loop Only |
| FO | Fasten Off |
Before You Start
Work the Pot in Continuous Rounds
The pot is worked in continuous rounds rather than joined at the end of each round. A stitch marker can help you keep track of the beginning of the round.
Count Your Stitches
Each round or row includes the expected stitch count in parentheses. Check your count before moving on, especially after increase and decrease rounds.
The Leaves Are Worked Flat
Turn your work at the end of every leaf row.
Rows 2 and onward are worked in BLO.
Do Not Stuff the Leaves
The leaves are designed as flat pieces and are not stuffed.
Stuff the Pot Lightly to Moderately
Use enough fiberfill to help the pot hold its shape and remain upright. Avoid overstuffing, which can distort the opening.
Follow the Construction Order
Make all of the leaves first, attach them to the soil disk, and then attach the completed soil-and-leaf section to the pot.
Original Crochet Snake Plant Pattern
Pot — Make 1
Color: Terracotta
Round 1
6 sc in MR. (6)
Round 2
6 inc. (12)
Round 3
(sc, inc) × 6. (18)
Round 4
(2 sc, inc) × 6. (24)
Round 5
(3 sc, inc) × 6. (30)
Round 6
(4 sc, inc) × 6. (36)
Round 7
(5 sc, inc) × 6. (42)
Round 8
42 sc. (42)
Round 9
42 sc. (42)
Round 10
42 sc. (42)
Round 11
42 sc. (42)
Round 12
42 sc. (42)
Round 13
42 sc. (42)
Round 14
42 sc. (42)
Round 15
(5 sc, dec) × 6. (36)
Round 16
36 sc. (36)
Round 17
36 sc. (36)
Round 18
36 sc. (36)
Round 19
36 BLO sc. (36)
Fasten off, leaving a long yarn tail for assembly.
Keep the top opening available for the soil disk.
Soil Disk — Make 1
Color: Dark Brown
Round 1
6 sc in MR. (6)
Round 2
6 inc. (12)
Round 3
(sc, inc) × 6. (18)
Round 4
(2 sc, inc) × 6. (24)
Round 5
(3 sc, inc) × 6. (30)
Round 6
(4 sc, inc) × 6. (36)
Fasten off, leaving a long sewing tail.
Small Leaf — Make 2
Color: Green
Leave a long starting tail for assembly.
Turn your work after every row. Rows 2–16 are worked in BLO.
Row 1
Ch 4. Sc in 2nd ch from hook and across. (3)
Row 2
Inc, sc, inc. (5)
Row 3
Inc, 3 sc, inc. (7)
Row 4
7 sc. (7)
Row 5
Inc, 5 sc, inc. (9)
Row 6
9 sc. (9)
Row 7
9 sc. (9)
Row 8
9 sc. (9)
Row 9
9 sc. (9)
Row 10
9 sc. (9)
Row 11
9 sc. (9)
Row 12
Dec, 5 sc, dec. (7)
Row 13
Dec, 3 sc, dec. (5)
Row 14
Dec, sc, dec. (3)
Row 15
Dec, sc. (2)
Row 16
Dec. (1)
Fasten off.
Medium Leaf — Make 3
Color: Green
Leave a long starting tail for assembly.
Turn your work after every row. Rows 2–20 are worked in BLO.
Row 1
Ch 4. Sc in 2nd ch from hook and across. (3)
Row 2
Inc, sc, inc. (5)
Row 3
Inc, 3 sc, inc. (7)
Row 4
7 sc. (7)
Row 5
Inc, 5 sc, inc. (9)
Row 6
9 sc. (9)
Row 7
9 sc. (9)
Row 8
9 sc. (9)
Row 9
9 sc. (9)
Row 10
9 sc. (9)
Row 11
9 sc. (9)
Row 12
9 sc. (9)
Row 13
9 sc. (9)
Row 14
9 sc. (9)
Row 15
9 sc. (9)
Row 16
Dec, 5 sc, dec. (7)
Row 17
Dec, 3 sc, dec. (5)
Row 18
Dec, sc, dec. (3)
Row 19
Dec, sc. (2)
Row 20
Dec. (1)
Fasten off.
Tall Leaf — Make 3
Color: Green
Leave a long starting tail for assembly.
Turn your work after every row. Rows 2–26 are worked in BLO.
Row 1
Ch 4. Sc in 2nd ch from hook and across. (3)
Row 2
Inc, sc, inc. (5)
Row 3
Inc, 3 sc, inc. (7)
Row 4
7 sc. (7)
Row 5
Inc, 5 sc, inc. (9)
Row 6
9 sc. (9)
Row 7
9 sc. (9)
Row 8
9 sc. (9)
Row 9
9 sc. (9)
Row 10
9 sc. (9)
Row 11
9 sc. (9)
Row 12
9 sc. (9)
Row 13
9 sc. (9)
Row 14
9 sc. (9)
Row 15
9 sc. (9)
Row 16
9 sc. (9)
Row 17
9 sc. (9)
Row 18
9 sc. (9)
Row 19
9 sc. (9)
Row 20
9 sc. (9)
Row 21
9 sc. (9)
Row 22
Dec, 5 sc, dec. (7)
Row 23
Dec, 3 sc, dec. (5)
Row 24
Dec, sc, dec. (3)
Row 25
Dec, sc. (2)
Row 26
Dec. (1)
Fasten off.
Assembly
Step 1: Prepare the Leaves
You should now have:
- 2 Small Leaves
- 3 Medium Leaves
- 3 Tall Leaves
Keep the three sizes separate so you can arrange them by height.
Step 2: Attach the Leaves to the Soil Disk
Place the leaves on the dark-brown soil disk before sewing them permanently.
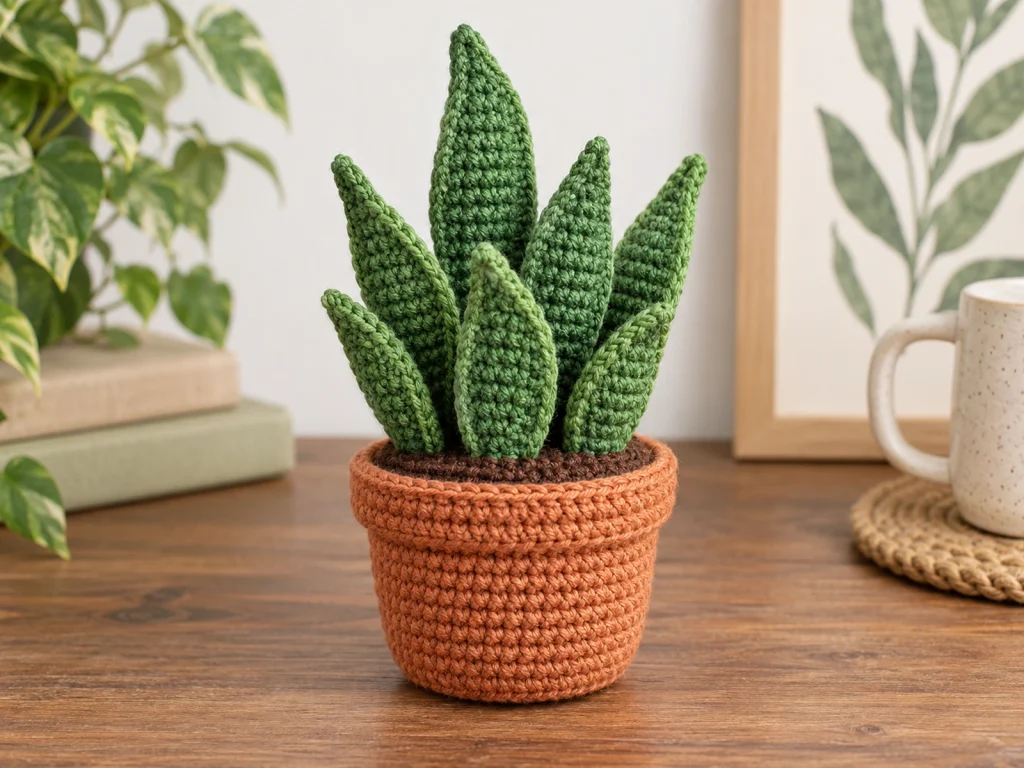
For a layered plant shape:
- Place the Tall Leaves toward the back.
- Place the Medium Leaves through the middle.
- Place the Small Leaves toward the front.
Slightly vary the angles of the leaves so the finished plant has a natural silhouette.
Use the long starting tails to sew the lower portion of each leaf securely to the soil disk.
Before tightening everything permanently, check the arrangement from different angles and make any small positioning adjustments.
Step 3: Stuff the Pot
Add polyester fiberfill to the terracotta pot.
Use enough stuffing to help the pot remain upright while keeping the top opening reasonably flat.
Avoid overstuffing the pot, as this can distort the opening.
Step 4: Attach the Soil Disk
Place the completed soil-and-leaf section over the pot opening.
The soil disk has 36 stitches, matching the 36-stitch top edge of the pot.
Using the long sewing tail from the soil disk, sew around the full circumference, matching the soil edge with the pot opening.
Secure the seam, fasten off, and weave in the remaining yarn end.
Step 5: Shape the Leaves
Once the soil disk is securely attached, gently arrange the leaves.
Let the Tall Leaves create the main vertical shape, while the Medium and Small Leaves fill the middle and foreground.
Avoid forcing sharp bends into the yarn. Gentle curves can help create a more natural plant silhouette.
Finishing
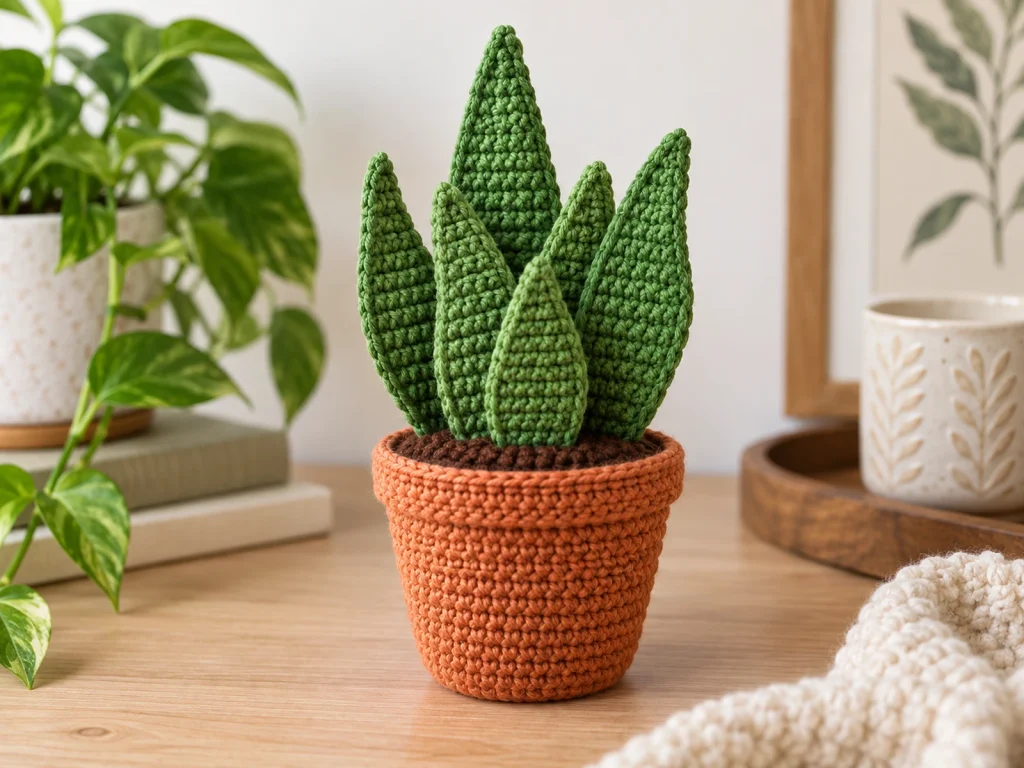
Take a final look around the finished plant and make sure:
- The soil disk is securely attached.
- All eight leaves are firmly sewn.
- Loose yarn tails are woven in.
- The pot keeps its upright shape.
- The leaves are arranged in a balanced way.
Helpful Tips
Check your stitch counts
The leaf shape depends on the increase and decrease sequence. If your stitch count is off, correct it before continuing.
Keep repeated leaves consistent
When making several leaves of the same size, try to maintain similar tension so they have a consistent appearance.
Arrange before sewing permanently
Place all eight leaves on the soil disk before completing the final attachment. Small angle changes can make a noticeable difference in the finished silhouette.
Avoid overstuffing
The pot should be supported by the stuffing rather than stretched out of shape by it.
Troubleshooting
My leaf looks wider or narrower than expected.
Check your stitch count first. Each increase row and decrease row should end with the listed number of stitches.
If the stitch count is correct but the leaf still looks different, your personal tension may be affecting the proportions.
My repeated leaves do not look the same.
Compare the pieces side by side before assembly. Differences in tension can make identical patterns appear slightly different in size.
The pot opening looks distorted.
Check the amount of stuffing. Too much fiberfill can push the sides outward and change the shape of the opening.
The soil disk does not sit evenly.
Confirm that the pot opening has 36 stitches and that the soil disk has 36 stitches.
When sewing, match the stitches around the opening and avoid pulling the yarn excessively tight.
My finished plant looks too symmetrical.
Try repositioning the leaves before completing the final attachment. Slight variations in direction can give the plant a more organic appearance.
Customization Ideas
Change the Pot Color
Try another pottery-inspired color while keeping the dark-brown soil and green foliage.
Experiment With Leaf Arrangement
You can change the arrangement of the eight leaves to create a fuller or more open silhouette while keeping the original leaf sizes.
Use a Different Green
A lighter or darker green can change the overall look of the finished plant without changing the construction.
Changing yarn weight or hook size will affect the finished dimensions and fabric characteristics.
Frequently Asked Questions
How many leaves does this crochet snake plant have?
The pattern includes eight leaves in total:
- 2 Small Leaves
- 3 Medium Leaves
- 3 Tall Leaves
Are the leaves stuffed?
No. The leaves are worked flat and are not stuffed.
Does this crochet snake plant use safety eyes?
No. This design does not have facial features or safety eyes.
What stitches are used in the pattern?
The pattern uses single crochet, increases, decreases, a magic ring, chains, and BLO single crochet where specified.
How is the soil attached to the pot?
The soil disk has 36 stitches, matching the 36-stitch opening at the top of the pot. The disk is sewn around the full opening after the leaves have been attached.
What size is the finished crochet snake plant?
The design is approximately 7–8.5 inches tall. Actual size can vary with yarn, hook size, tension, stuffing, and individual technique.
Is this crochet snake plant pattern physically tested?
Not yet. The stitch counts have been mathematically reviewed and the construction has been checked, but a finished physical prototype has not been crocheted and evaluated yet.
Can I use a different yarn weight?
You can experiment with another yarn weight, but the finished size and fabric characteristics will change.
Final Thoughts
This crochet snake plant combines simple crochet components into a decorative piece of handmade greenery. The tapered pot, dark soil disk, and three leaf heights work together to create a layered upright plant silhouette.
The final assembly is just as important as the individual crochet pieces, so take your time arranging the leaves before sewing them permanently.
The finished size is approximate, and the pattern has not yet been physically tested with a completed prototype, so treat the stated dimensions and construction as the current design specification rather than a guaranteed result.