
Crochet Mini Puppy Amigurumi Pattern
This crochet mini puppy amigurumi is a small dog character…
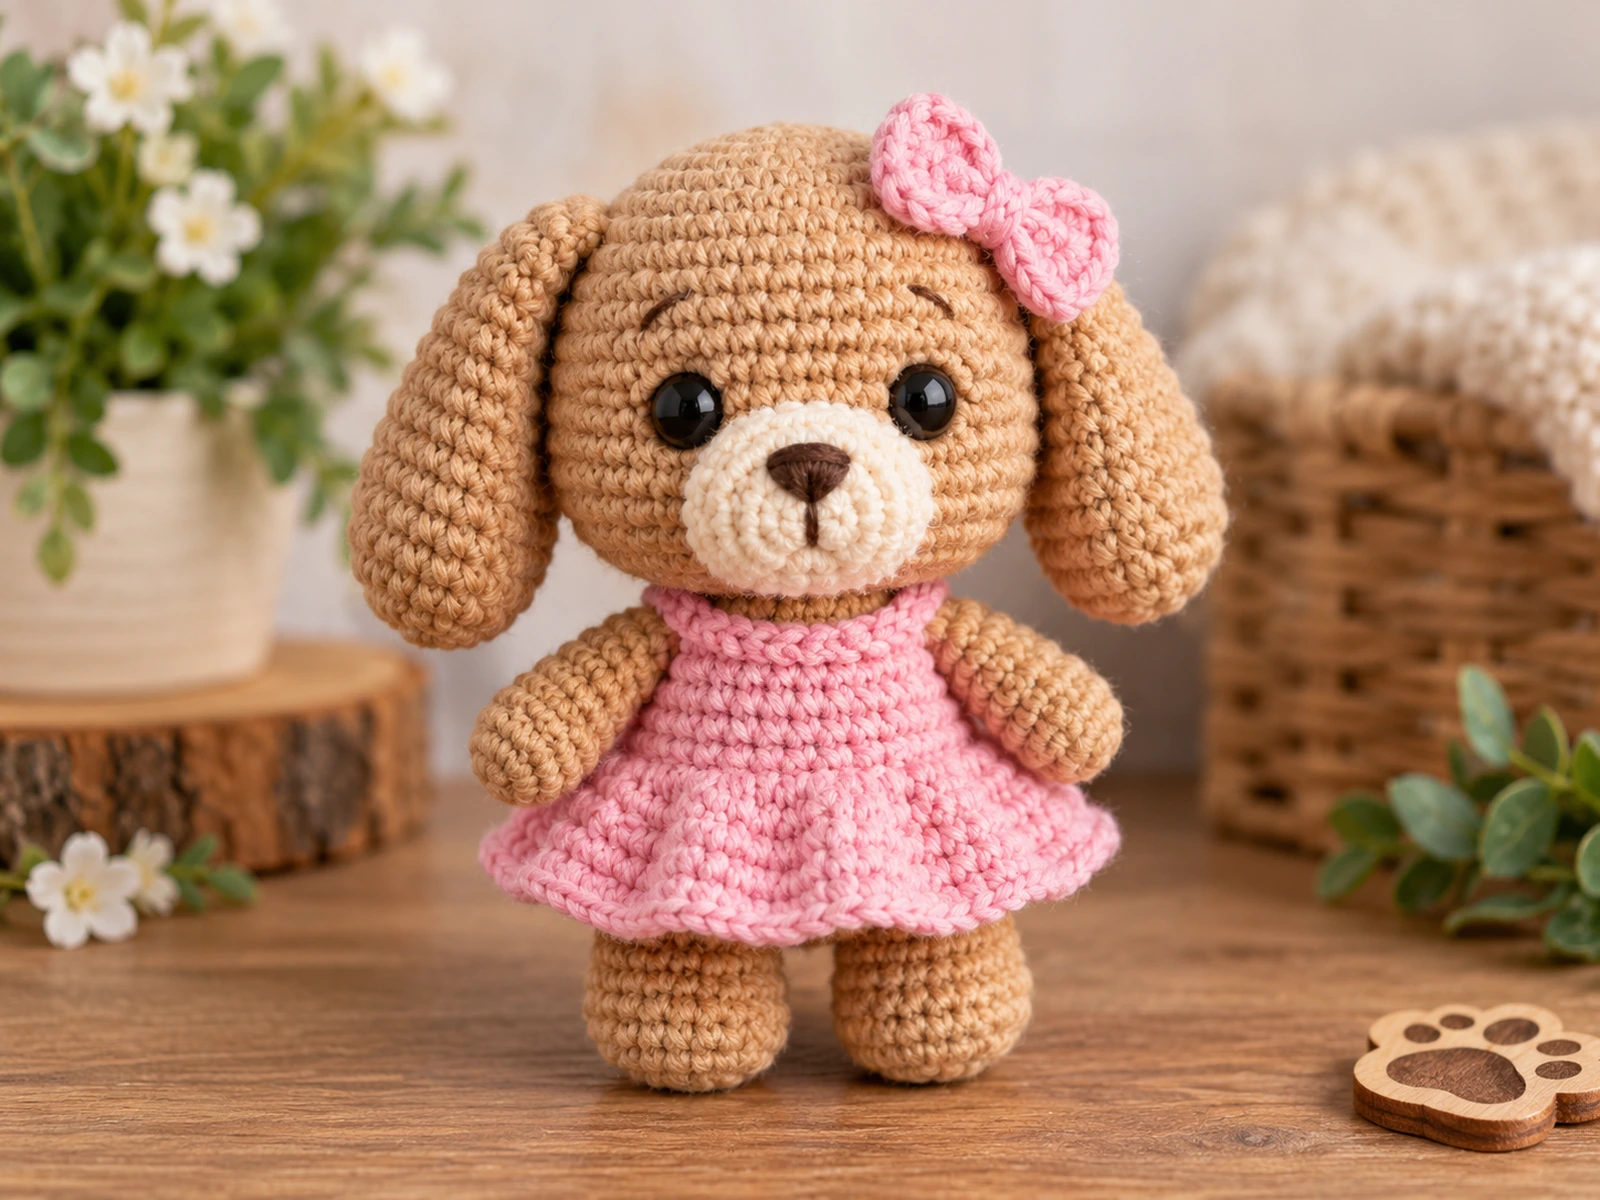
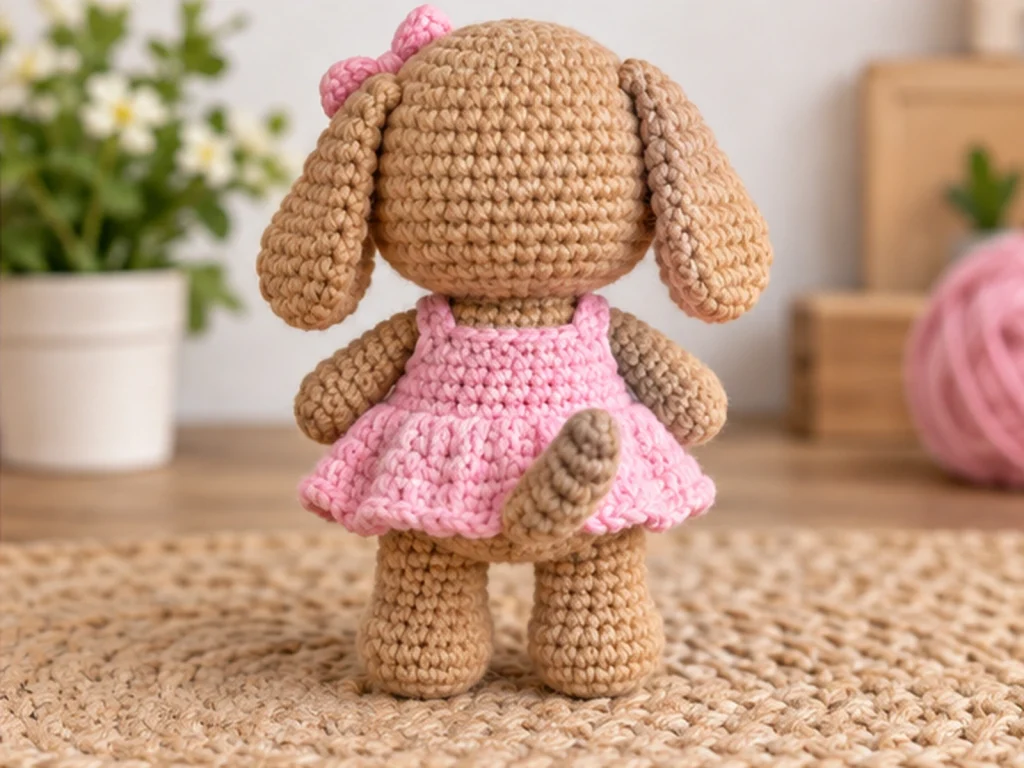
This crochet mini puppy amigurumi is a small dog character with floppy ears, a rounded face, a simple dress, and a tiny bow. The design uses separate crocheted pieces that are assembled after the main parts are complete.
The pattern uses a magic ring, single crochet, increases, decreases, stuffing, and sewn assembly. The finished puppy is designed to be approximately 5–6 inches tall, although the final size will vary with yarn, hook size, tension, stuffing, and individual crochet technique.
Pattern status: This pattern has been mathematically reviewed and constructionally reasoned, but it has not been physically crocheted and tested yet. Treat the finished measurements and fit as approximate until a prototype has been crocheted and evaluated.
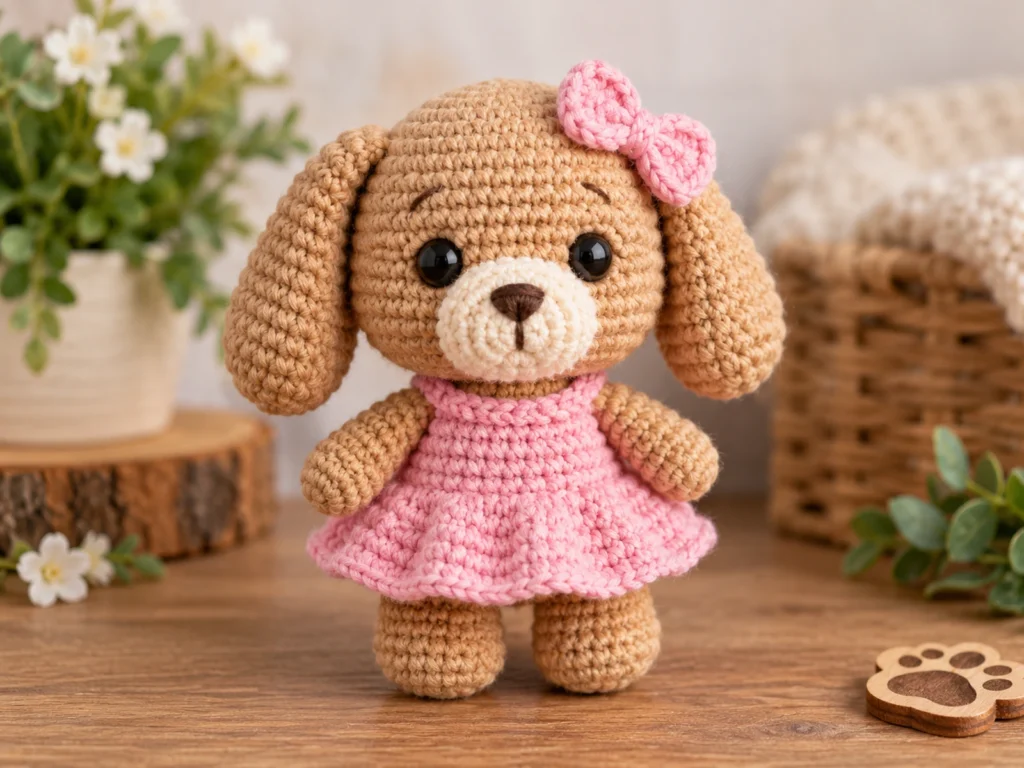
Project Overview
What You’ll Make
You’ll crochet a small puppy with:
- A rounded head
- Floppy ears
- A compact body
- Four short legs
- Two small arms
- A short tail
- A cream muzzle
- Embroidered nose
- A pink pull-on dress
- A small matching bow
The puppy is made from separate crocheted components and assembled after the pieces are finished.
Project Details
- Approximate finished size: 5–6 inches tall
- Yarn: Worsted-weight, Category 4
- Hook: 3.25 mm crochet hook
- Main color: Warm tan or light brown
- Accent color: Cream
- Dress: Soft pink
- Bow: Pink
- Eyes: 8 mm safety eyes
- Filling: Polyester fiberfill
- Construction: Separate crocheted pieces with sewn assembly
The size is an approximate design target. Your finished puppy may be slightly larger or smaller depending on yarn, hook, tension, stuffing, and technique.
Materials & Tools
Yarn
Use worsted-weight yarn, approximately Category 4.
Suggested colors:
- Warm tan or light brown for the puppy
- Cream for the muzzle
- Soft pink for the dress
- Pink for the bow
- Black embroidery thread or black yarn for the nose
Exact yarn quantities have not been established.
Crochet Hook
- 3.25 mm crochet hook
Other Supplies
- 8 mm safety eyes
- Polyester fiberfill
- Yarn needle
- Scissors
- Stitch marker
Safety Note
Safety eyes can present a choking hazard and are not appropriate for children under 3. Do not describe the finished puppy as baby-safe or child-safe simply because safety eyes are used.
Abbreviations
- MR — magic ring
- sc — single crochet
- inc — increase, 2 sc in the same stitch
- dec — decrease
- sl st — slip stitch
- ch — chain
- FO — fasten off
Before You Start
This puppy is worked mainly in continuous rounds. Use a stitch marker to keep track of the beginning of each round.
Small amigurumi pieces can make stitch counting easy to lose, so check the stitch count at the end of each round, especially after increases and decreases.
Add fiberfill gradually rather than all at once. The pieces should hold their shape without stretching the stitches enough for stuffing to show.
For paired pieces such as the ears, arms, and legs, make the second piece with similar tension and compare both pieces before sewing them permanently.
Work in Continuous Rounds
Unless the instructions say otherwise, work each round continuously without joining.
Count Your Stitches
The stitch count in parentheses at the end of each round is the expected number of stitches after completing that round.
Stuff as You Go
Add stuffing as the shape develops. Small amounts make it easier to control the shape and avoid overfilling.
Compare Paired Pieces
Before attaching the second ear, arm, or leg, compare it with the first one for size, shape, and tension.
Construction Order
The dress is placed on the body before the head is permanently attached. This makes it easier to position the clothing without stretching it over the finished head.
Crochet Mini Puppy Amigurumi Pattern
Head — Make 1
Work in the main color.
Round 1
6 sc in MR. (6)
Round 2
6 inc. (12)
Round 3
(sc, inc) × 6. (18)
Round 4
(2 sc, inc) × 6. (24)
Round 5
(3 sc, inc) × 6. (30)
Rounds 6–10
sc around. (30)
Round 11
(3 sc, dec) × 6. (24)
Round 12
(2 sc, dec) × 6. (18)
Round 13
(sc, dec) × 6. (12)
Round 14
6 dec. (6)
Begin stuffing once the head has enough depth to hold its shape. Continue adding small amounts as the opening becomes smaller.
Place the two 8 mm safety eyes symmetrically around Rounds 8–9. Use the same horizontal round for both eyes and compare both sides visually before securing them.
Fasten off, leaving a long yarn tail for attaching the head to the body.
Body — Make 1
Work in the main color.
Round 1
6 sc in MR. (6)
Round 2
6 inc. (12)
Round 3
(sc, inc) × 6. (18)
Round 4
(2 sc, inc) × 6. (24)
Rounds 5–8
sc around. (24)
Round 9
(2 sc, dec) × 6. (18)
Round 10
sc around. (18)
Round 11
(sc, dec) × 6. (12)
Round 12
6 dec. (6)
Begin stuffing around Round 6 and continue gradually through the shaping rounds.
Keep the stuffing moderately firm so the body can support the head without becoming overly stiff.
Fasten off with a long sewing tail.
Legs — Make 4
Work each leg in the main color.
Round 1
6 sc in MR. (6)
Round 2
6 inc. (12)
Round 3
sc around. (12)
Round 4
(2 sc, dec) × 3. (9)
Rounds 5–8
sc around. (9)
Add a small amount of stuffing.
Flatten the opening and sew it closed with the working tail.
Make all four legs before attaching them so you can compare their length and overall shape.
Arms — Make 2
Work in the main color.
Round 1
6 sc in MR. (6)
Round 2
(sc, inc) × 3. (9)
Rounds 3–5
sc around. (9)
Round 6
(sc, dec) × 3. (6)
Stuff lightly.
Fasten off with a sewing tail and close the opening.
Ears — Make 2
Work in the main color.
Round 1
6 sc in MR. (6)
Round 2
6 inc. (12)
Round 3
(sc, inc) × 6. (18)
Round 4
sc around. (18)
Round 5
(sc, dec) × 6. (12)
Round 6
sc around. (12)
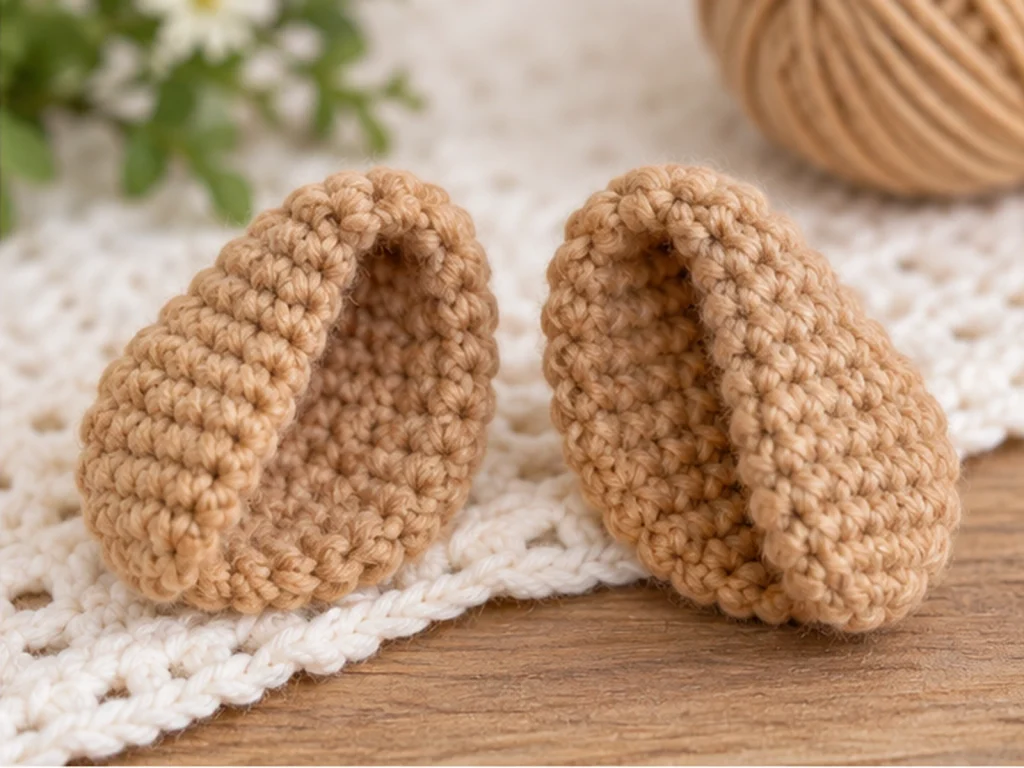
Do not heavily stuff the ears. They are designed to stay flexible so they can sit naturally beside the head.
Flatten gently and leave a long sewing tail.
Muzzle — Make 1
Work in cream.
Round 1
6 sc in MR. (6)
Round 2
6 inc. (12)
Round 3
(sc, inc) × 6. (18)
Fasten off, leaving a sewing tail.
A very small amount of stuffing can be added if you want the muzzle to stand slightly proud from the face.
Embroider the nose with black embroidery thread or black yarn before attaching the muzzle to the head.
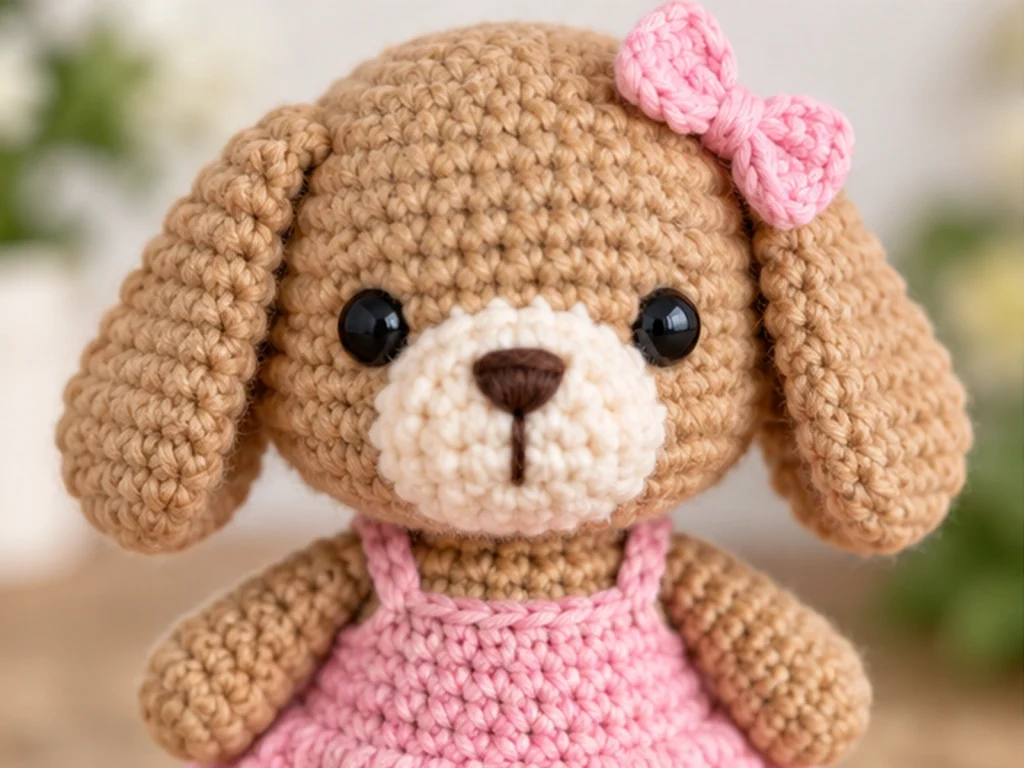
Place the muzzle centrally on the front of the head, below the eyes.
Tail — Make 1
Work in the main color.
Round 1
6 sc in MR. (6)
Round 2
(sc, inc) × 3. (9)
Rounds 3–5
sc around. (9)
Round 6
(sc, dec) × 3. (6)
Round 7
sc around. (6)
Stuff lightly.
Fasten off with a long sewing tail for attaching the tail to the body.
Dress — Make 1
Work in pink.
The dress is designed as a simple pull-on accessory and is placed around the body before the head is permanently attached.
Foundation
Ch 24.
Join the chain with a sl st, making sure the chain is not twisted.
Round 1
sc around the foundation chain. (24)
Round 2
sc around. (24)
Round 3
(3 sc, inc) × 6. (30)
Round 4
sc around. (30)
Round 5
(4 sc, inc) × 6. (36)
Round 6
sc around. (36)
Round 7
(5 sc, inc) × 6. (42)
Round 8
sc around. (42)
Round 9
(6 sc, inc) × 6. (48)
Round 10
sc around. (48)
Fasten off and weave in the end.
The opening sits around the upper body while the increasing rounds create the flared shape of the skirt.
Bow — Make 1
Work in pink.
Row 1
Ch 9 and sc across. (8)
Row 2
sc across. (8)
Row 3
sc across. (8)
Row 4
sc across. (8)
Fasten off, leaving a long tail.
Fold the rectangle into a compact bow and wrap the center several times with the yarn tail. Secure the center firmly.
The finished bow can be sewn near one ear or attached near the upper front of the dress.
Assemble the Puppy
Step 1: Finish the Face
Attach the safety eyes and sew the cream muzzle to the front of the head.
Embroider the black nose before attaching the muzzle, while you still have easy access to the facial area.
Step 2: Attach the Legs
Position all four legs around the lower part of the body.
Before sewing them down, place the puppy on a flat surface and compare the leg height and spacing. The goal is an even stance.
Once you’re happy with the placement, sew each leg securely.
Step 3: Attach the Arms
Sew one arm to each side of the body.
Compare both sides carefully before finishing the second arm so the arms sit at similar heights.
Step 4: Attach the Tail
Sew the tail to the back of the body.
Keep the tail centered unless you prefer a slightly angled pose.
Step 5: Add the Dress
Place the finished dress around the body before attaching the head.
Adjust it so the opening sits evenly and the skirt falls around the lower body.
Step 6: Attach the Ears
Pin both ears in place before sewing.
Compare:
- Ear height
- Ear angle
- Distance from the eyes
- Distance from the top of the head
Only sew them permanently once they look balanced.
Step 7: Join the Head and Body
Center the head over the body opening.
The head and body each finish with a six-stitch opening, allowing them to be sewn together around the neck.
Work slowly around the connection and keep the head centered as you sew.
Step 8: Add the Bow
Finish by sewing the bow near one ear or onto the upper area of the dress.
Finishing
Once all of the pieces are attached, check the completed puppy from the front, back, and sides.
Make sure:
- No stuffing is visible
- Yarn tails are woven in or trimmed
- The eyes are secure
- The nose embroidery is secure
- The ears are firmly attached
- The limbs are reasonably symmetrical
- The dress sits evenly
- The bow is firmly stitched
Helpful Tips
Keep the Stuffing Gradual
Adding small amounts at a time makes it easier to control the final shape.
Avoid Overstuffing the Head
The head should feel firm, but the stitches should not be stretched enough for stuffing to show through.
Keep the Ears Matched
Because the puppy’s ears are a prominent part of the silhouette, compare both pieces before attaching them.
Check the Face Before Sewing
Place the muzzle and inspect the face from straight on before committing to the final position.
Use the Floor as a Reference
When attaching the legs, place the puppy on a flat surface and make sure the body sits evenly.
Troubleshooting
My Stitch Count Is Off
Go back to the last round where the count was correct and check each stitch group individually. Small counting errors can change the shape several rounds later.
The Puppy Looks Uneven
Check whether the difference is coming from stuffing, tension, or the placement of sewn pieces. Pin both sides first and compare them visually before making permanent stitches.
The Ears Don’t Match
Lay the ears side by side and compare their width, height, and final round count. Also check that both were crocheted with similar tension.
The Head Looks Crooked
Before sewing the head completely, pin or temporarily hold it in place and view the puppy from the front. Adjust the angle before completing the neck seam.
The Stuffing Is Showing
Reduce the amount of stuffing and redistribute it instead of forcing more fiberfill into the piece.
Customization Ideas
Change the Color Palette
Try a different main color such as cream, gray, caramel, black, or a mixed neutral palette.
The dress can also be changed to a contrasting color for a different character.
Try a Different Ear Look
The floppy ears can be positioned slightly lower or at a different angle to create a new expression while keeping the same crocheted pieces.
Change the Outfit Accent
The dress is a separate accessory, so the finished puppy can also be displayed without it.
You can also place the bow in a different position to create a slightly different character.
Finished Size & Care
The target finished height is approximately 5–6 inches, but this should be treated as an estimate until the design has been physically tested.
For care, consider the properties of the yarn and any attached safety components before cleaning. Avoid treating the puppy as machine-washable unless the actual yarn and construction have been verified for that method.
For long-term storage, keep the finished amigurumi dry and protected from excessive pressure that could distort the ears or facial features.
Crochet Mini Puppy Amigurumi FAQ
How Long Does This Mini Puppy Amigurumi Take to Finish?
An exact completion time has not been established. It will vary depending on crochet speed, experience, tension, sewing time, and how carefully the pieces are assembled.
What Hook Size Works Best?
The current design specification uses a 3.25 mm crochet hook with worsted-weight yarn.
Can I Use a Different Yarn?
The pattern is designed around Category 4 yarn. A different yarn weight or fiber can change the final size, stitch definition, stuffing needs, and fit of the dress, so substitutions should be treated as a variation rather than an exact match.
Is the Dress Necessary?
No. The dress is a separate accessory. The puppy itself is complete without the dress, although the outfit is part of the intended finished look.
How Do I Keep Both Ears Identical?
Make both ears with the same number of rounds and similar tension. Before sewing them on, place them beside each other and compare their shape, then pin them symmetrically on the head.
Can I Make the Puppy Larger?
A larger version may be possible by changing yarn and hook size, but the final proportions and dress fit would need to be rechecked rather than assumed.
Are the Safety Eyes Suitable for Young Children?
Safety eyes can present a choking hazard and are not appropriate for children under 3. Do not treat the finished puppy as child-safe simply because safety eyes are installed.
More Animal Amigurumi
Explore more crochet animal projects from Tiny Yarn Tales as you build your handmade collection.
Final Thoughts
This mini puppy amigurumi combines a rounded puppy face, floppy ears, a compact body, and a simple outfit into one small handmade character.
The most important part of the project is not rushing the assembly. Take time to compare the ears, check the face placement, balance the legs, and center the head before sewing everything permanently.
The pattern has been mathematically reviewed and constructionally reasoned, but it has not been physically crocheted and tested. A crocheted prototype should be evaluated for actual size, fit, proportions, assembly, stability, and ease of following the written instructions before the pattern is treated as fully tested.