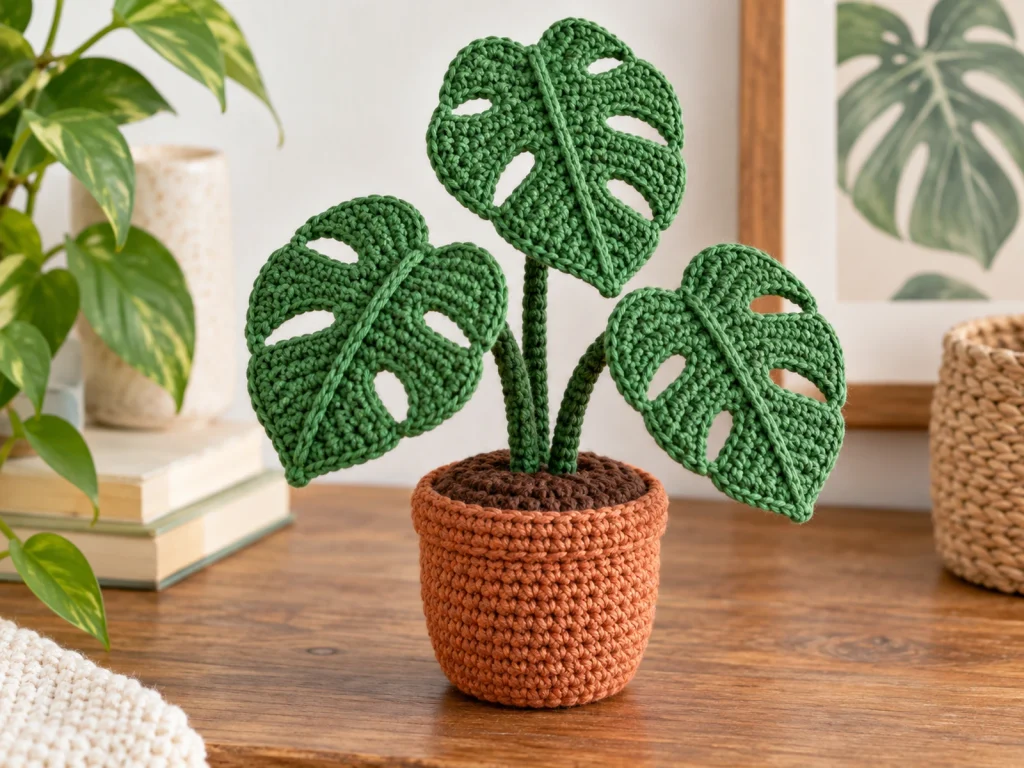
Crochet Monstera Plant Pattern: A Tropical-Inspired Crochet Project
Add a touch of handmade greenery to your space with…
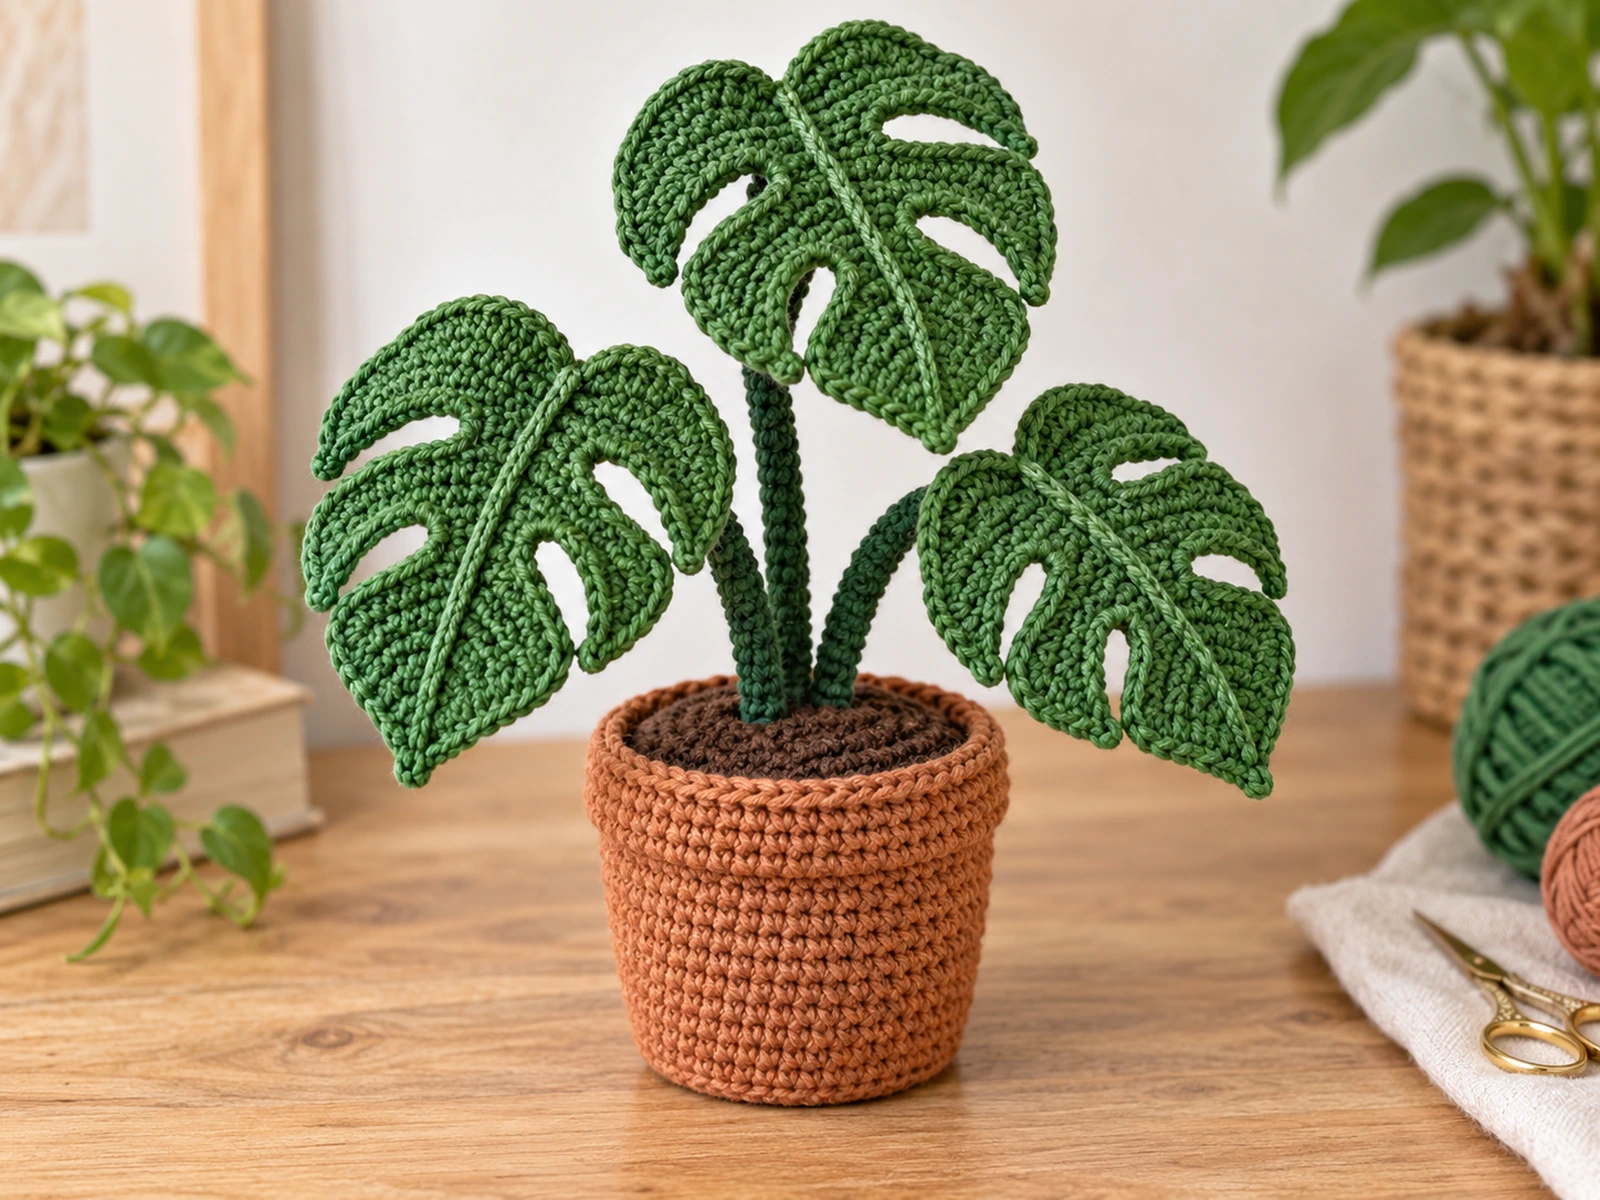
Add a touch of handmade greenery to your space with this crochet Monstera plant pattern. The project combines three decorative Monstera leaves, crocheted stems, a stuffed terracotta-colored pot, and a brown soil disk to create a small botanical display.
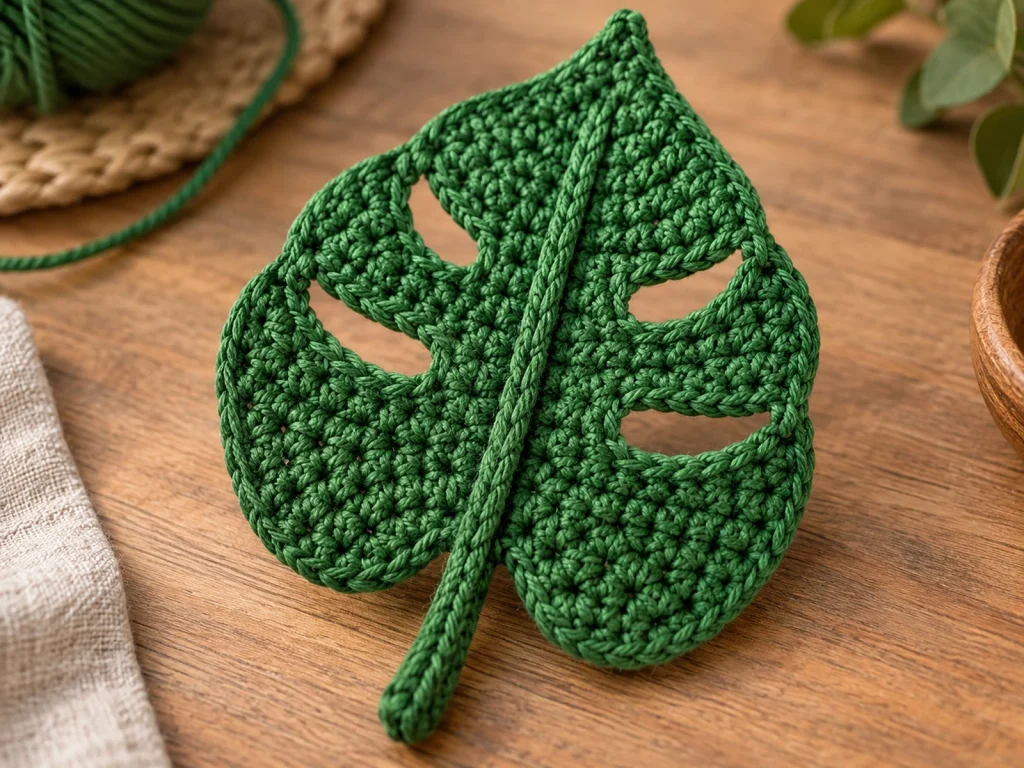
The leaves feature a pointed silhouette, four decorative openings, and a surface-crocheted center vein for extra definition. Three different stem lengths give the finished plant a layered, natural-looking arrangement.
Pattern note: This pattern has been mathematically reviewed and constructionally checked, but it has not been physically crocheted and tested yet. The finished size is approximate and can vary with yarn, hook size, tension, and individual technique.
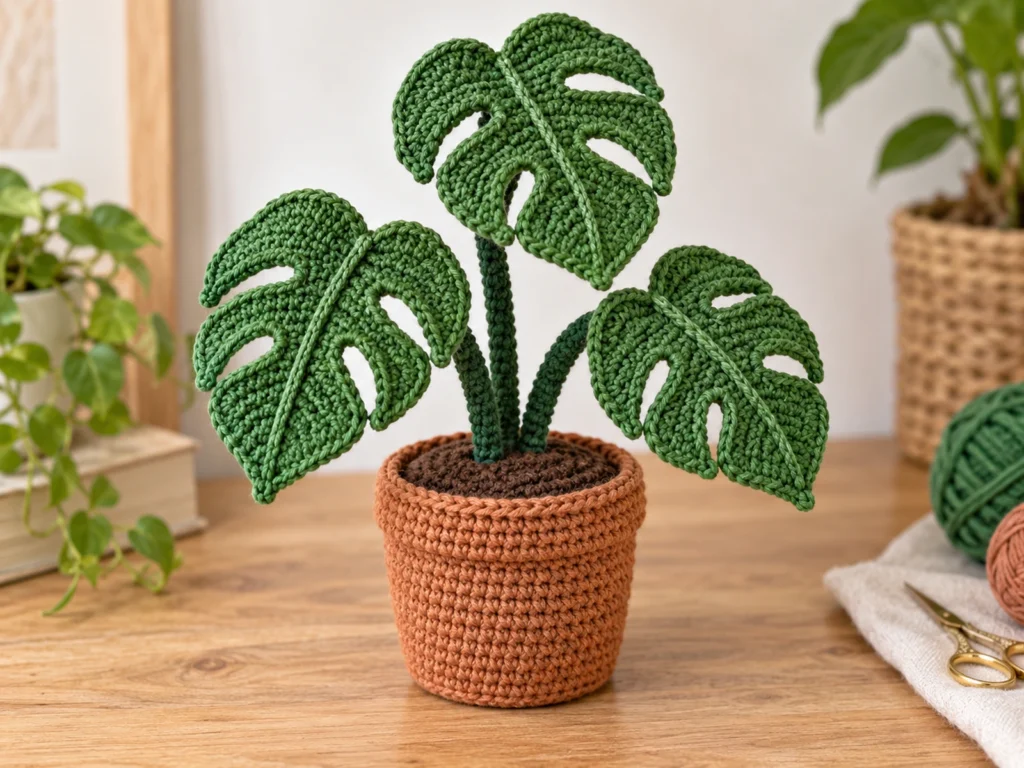
Project Overview
What You’ll Make
- 3 Monstera leaves
- 1 short stem
- 1 medium stem
- 1 tall stem
- 1 crocheted pot
- 1 crocheted soil disk
The finished plant is approximately 7–9 inches tall, depending on your yarn, hook, and tension.
Project Details
| Detail | Information |
|---|---|
| Project | Crochet Monstera Plant |
| Yarn | #4 worsted-weight yarn |
| Hook | 4.0 mm crochet hook |
| Leaf color | Medium or deep green |
| Stem color | Dark green |
| Pot color | Terracotta |
| Soil color | Dark brown |
| Filling | Polyester fiberfill |
| Technique | US crochet terminology |
| Finished size | Approximately 7–9 inches tall |
Exact yarn yardage has not been established, so have sufficient yarn available in each color before starting.
Materials & Tools
You will need:
- #4 worsted-weight yarn in green
- Dark green yarn for the stems
- Terracotta-colored yarn for the pot
- Dark brown yarn for the soil
- 4.0 mm crochet hook
- Polyester fiberfill
- Yarn needle
- Optional floral or craft wire for additional stem support
Abbreviations
This pattern uses standard US crochet terms.
| Abbreviation | Meaning |
|---|---|
| MR | Magic ring |
| ch | Chain |
| sc | Single crochet |
| inc | Increase: 2 sc in the same stitch |
| dec | Decrease: sc 2 stitches together |
| sc3tog | Single crochet 3 stitches together |
| sl st | Slip stitch |
| BLO | Back loop only |
| FO | Fasten off |
Before You Start
Work the Leaves in Rows
The Monstera leaves are worked flat in rows. Turn your work at the end of each row.
Work the 3D Components in Rounds
The stems, pot, and soil disk are worked in continuous rounds.
Count Your Stitches
The number in parentheses at the end of each row or round is the expected stitch count. Check your count before moving on, particularly after increases, decreases, and the decorative leaf openings.
Shape the Leaves Carefully
The leaves are not stuffed. Gently shape each finished leaf by hand and keep the center vein relaxed so it does not pull the fabric inward.
Construction Order
Make all three leaves first, then the stems, followed by the pot and soil disk. Assemble the leaves onto the stems before securing the stems inside the pot.
Original Crochet Monstera Plant Pattern
Monstera Leaves — Make 3
Each leaf is worked flat.
Leaf Base
Row 1: 3 sc. (3)
Row 2: Inc, sc 1, inc. (5)
Row 3: Inc, sc 3, inc. (7)
Row 4: Inc, sc 5, inc. (9)
Row 5: Inc, sc 7, inc. (11)
Row 6: Inc, sc 9, inc. (13)
Row 7: Inc, sc 11, inc. (15)
Row 8: Inc, sc 13, inc. (17)
Row 9: Inc, sc 15, inc. (19)
Row 10: Inc, sc 17, inc. (21)
Decorative Leaf Openings
Row 11: Sc 4, ch 3, skip the next 3 sts, sc 7, ch 3, skip the next 3 sts, sc 4. (15 sc + 2 ch-3 spaces)
Row 12: Sc 4, 3 sc in first ch-3 space, sc 7, 3 sc in second ch-3 space, sc 4. (21)
Row 13: Sc 5, ch 3, skip the next 3 sts, sc 5, ch 3, skip the next 3 sts, sc 5. (15 sc + 2 ch-3 spaces)
Row 14: Sc 5, 3 sc in first ch-3 space, sc 5, 3 sc in second ch-3 space, sc 5. (21)
Shape the Upper Leaf
Row 15: Inc, sc 19, inc. (23)
Row 16: Inc, sc 21, inc. (25)
Row 17: Inc, sc 23, inc. (27)
Taper Toward the Tip
Row 18: Dec, sc 23, dec. (25)
Row 19: Dec, sc 21, dec. (23)
Row 20: Dec, sc 19, dec. (21)
Row 21: Dec, sc 17, dec. (19)
Row 22: Dec, sc 15, dec. (17)
Row 23: Dec, sc 13, dec. (15)
Row 24: Dec, sc 11, dec. (13)
Row 25: Dec, sc 9, dec. (11)
Row 26: Dec, sc 7, dec. (9)
Row 27: Dec, sc 5, dec. (7)
Row 28: Dec, sc 3, dec. (5)
Row 29: Dec, sc 1, dec. (3)
Row 30: Sc3tog. (1)
FO and weave in the end.
Add the Center Vein
Using green yarn, surface crochet a line from the narrow base of the leaf toward the tip.
Work gently so the center vein adds definition without pulling the leaf inward.
Make all three veins visually similar.
Short Stem — Make 1
Round 1
6 sc in MR. (6)
Rounds 2–12
Sc around. (6)
FO, leaving a long tail for sewing.
Medium Stem — Make 1
Round 1
6 sc in MR. (6)
Rounds 2–15
Sc around. (6)
FO, leaving a long tail for sewing.
Tall Stem — Make 1
Round 1
6 sc in MR. (6)
Rounds 2–18
Sc around. (6)
FO, leaving a long tail for sewing.
Optional Stem Support
For a more structured decorative plant, suitable floral or craft wire can be placed inside the stems before the assembly is completed.
Crochet Pot — Make 1
Using terracotta yarn:
Round 1
6 sc in MR. (6)
Round 2
6 inc. (12)
Round 3
(Sc 1, inc) × 6. (18)
Round 4
(Sc 2, inc) × 6. (24)
Round 5
(Sc 3, inc) × 6. (30)
Round 6
(Sc 4, inc) × 6. (36)
Round 7
36 sc BLO. (36)
Round 8
36 sc. (36)
Round 9
36 sc. (36)
Round 10
36 sc. (36)
Round 11
36 sc. (36)
Round 12
(Sc 5, inc) × 6. (42)
Round 13
42 sc. (42)
FO, leaving a long tail for finishing.
Stuff the pot firmly enough to hold its shape without excessively stretching the crochet fabric.
Crochet Soil Disk — Make 1
Using brown yarn:
Round 1
6 sc in MR. (6)
Round 2
6 inc. (12)
Round 3
(Sc 1, inc) × 6. (18)
Round 4
(Sc 2, inc) × 6. (24)
Round 5
(Sc 3, inc) × 6. (30)
Round 6
(Sc 4, inc) × 6. (36)
Round 7
(Sc 5, inc) × 6. (42)
Round 8
(Sc 13, ch 3, skip the next st) × 3.
(39 sc + 3 ch-3 spaces)
FO, leaving a long sewing tail.
The three chain-3 spaces are used as the stem openings.
Assembly
Step 1: Attach the Leaves to the Stems
Match one leaf to each stem.
Use the long sewing tail from each stem to secure it to the narrow base of the corresponding leaf.
Keep the center vein facing in the same general direction on all three leaves.
Step 2: Prepare the Pot
Make sure the pot is stuffed and holding its shape while the top opening remains accessible.
Step 3: Place the Stems Through the Soil Disk
Pass one stem through each of the three chain-3 openings in the brown soil disk.
Arrange the stems so they sit at three different positions rather than directly on top of one another.
Step 4: Arrange the Plant
Place the tallest stem toward the back.
Position the shorter stems toward the front and slightly apart from each other.
Step 5: Secure the Soil Disk to the Pot
Place the soil disk over the top of the pot.
Align the 42-position edge of the disk with the 42-stitch rim of the pot.
Sew the soil disk to the pot around the available single-crochet sections while keeping the three chain-3 stem openings open.
Step 6: Make Final Adjustments
Check the position of all three stems before completing the final sewing.
Spread the leaves so each one remains visible and the finished plant has a balanced silhouette.
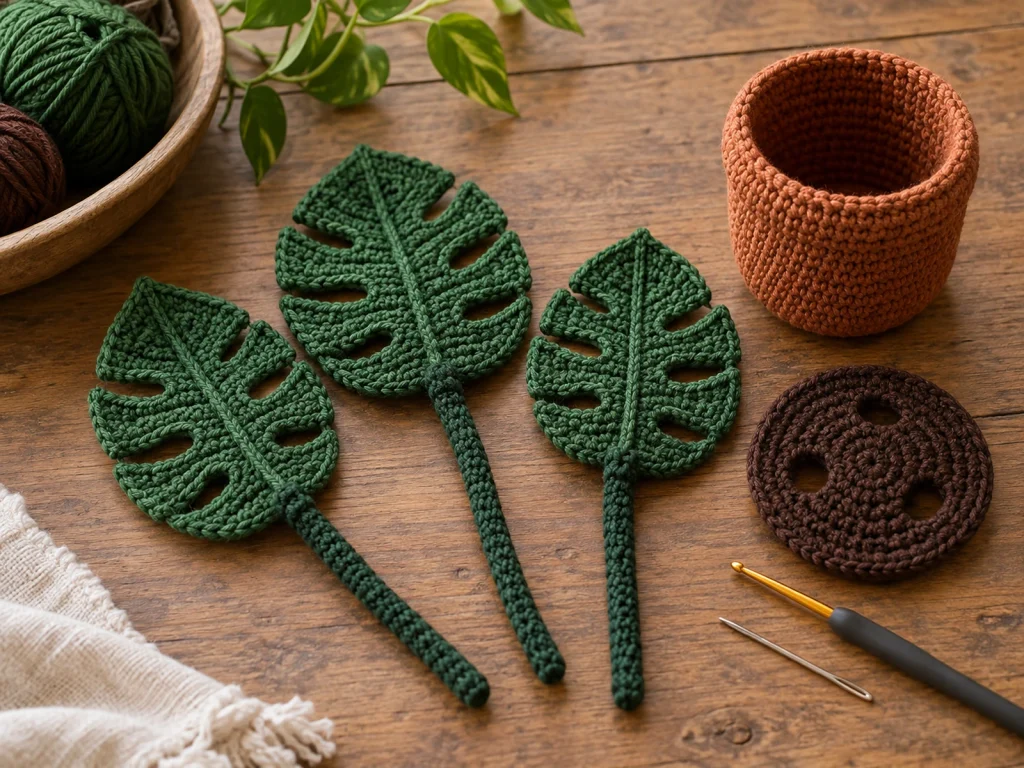
Finishing
Weave in all remaining yarn ends and trim them neatly.
Check each leaf-to-stem connection and make sure the soil disk is securely attached around the pot opening.
Gently shape the leaves by hand and adjust the stems until the plant sits the way you like.
Helpful Tips
Keep your tension even
The shape of the leaves depends on consistent increases and decreases, so try to maintain similar tension throughout each leaf.
Count after shaping rows
The leaf has several transitions. Checking the stitch count at the end of each row can help catch an error before it affects later shaping.
Keep the center vein relaxed
Avoid pulling the surface crochet too tightly. A relaxed vein gives the leaf definition without causing excessive curling.
Compare all three leaves
Making the leaves side by side makes it easier to spot differences in size or tension before assembly.
Shape before the final assembly
It is easier to shape individual leaves while they are still separate from the completed plant.
Troubleshooting
My leaf looks too narrow.
Check your tension and confirm the stitch counts at the end of the shaping rows. Tighter tension can produce a smaller or denser leaf.
My leaf is uneven.
Check both sides of the leaf for missed increases or decreases. The shaping is designed symmetrically.
The leaf openings do not look even.
Make sure the chain spaces are worked in the specified rows and that the following row places three sc into each chain-3 space.
My stems do not stay upright.
Recheck the stem arrangement inside the pot. Optional internal floral or craft wire can provide additional structure.
The soil disk looks loose around the stems.
Make sure each stem passes through one chain-3 opening and that the three stems are distributed around the disk before the disk is sewn to the pot.
The soil disk does not sit evenly.
Check that the pot has been stuffed evenly and that the disk is aligned around the full 42-stitch rim before sewing.
Customization Ideas
Try different shades of green
A darker green can create a deeper botanical look, while a lighter shade gives the project a softer appearance.
Change the stem arrangement
The three stem lengths allow you to create different visual arrangements by changing their positions and angles.
Create a fuller botanical display
The Monstera leaves can be used as inspiration for a larger handmade plant arrangement alongside other crochet greenery.
Frequently Asked Questions
What yarn is used for this crochet Monstera plant?
The pattern is designed for #4 worsted-weight yarn.
What crochet hook size do I need?
The pattern uses a 4.0 mm crochet hook.
How many leaves does the project include?
The design includes three Monstera leaves, each attached to its own stem.
Is the Monstera leaf stuffed?
No. The leaves are worked flat and shaped by hand after crocheting.
Does the plant use stuffing?
Yes. Polyester fiberfill is used for the crocheted pot. The stems may also receive light stuffing if desired.
Can I add support inside the stems?
Yes. Suitable floral or craft wire can be used inside the stems to add structure to the decorative plant.
What is the approximate finished size?
The finished plant is approximately 7–9 inches tall, although the final dimensions vary with yarn, hook size, tension, and individual technique.
Has the pattern been physically tested?
No. The pattern has been mathematically reviewed and constructionally checked, but it has not yet been physically crocheted and tested.
Final Thoughts
This crochet Monstera plant combines simple crochet construction with a distinctive botanical shape. The three different stem lengths create a layered arrangement, while the decorative leaf openings and center veins give the foliage its Monstera-inspired character.
Take your time with the leaf shaping and final arrangement, especially when positioning the three stems. Small adjustments at the finishing stage can make a noticeable difference in the overall silhouette.