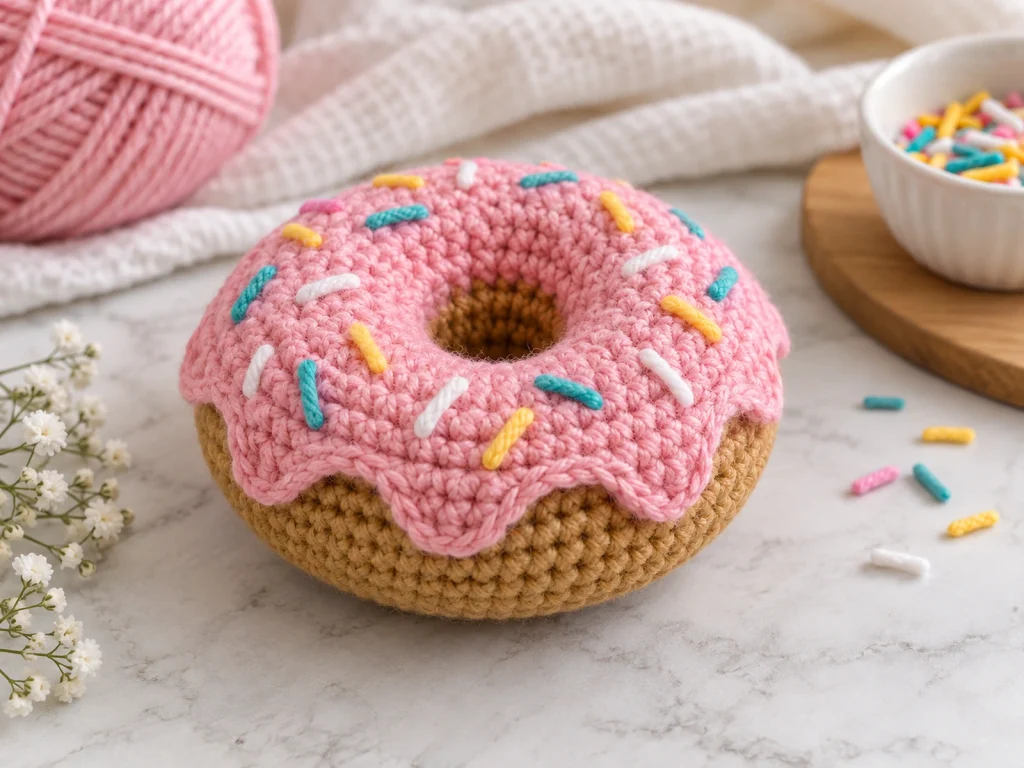
Donut Amigurumi Crochet Pattern
This donut amigurumi is a small stuffed crochet treat with…
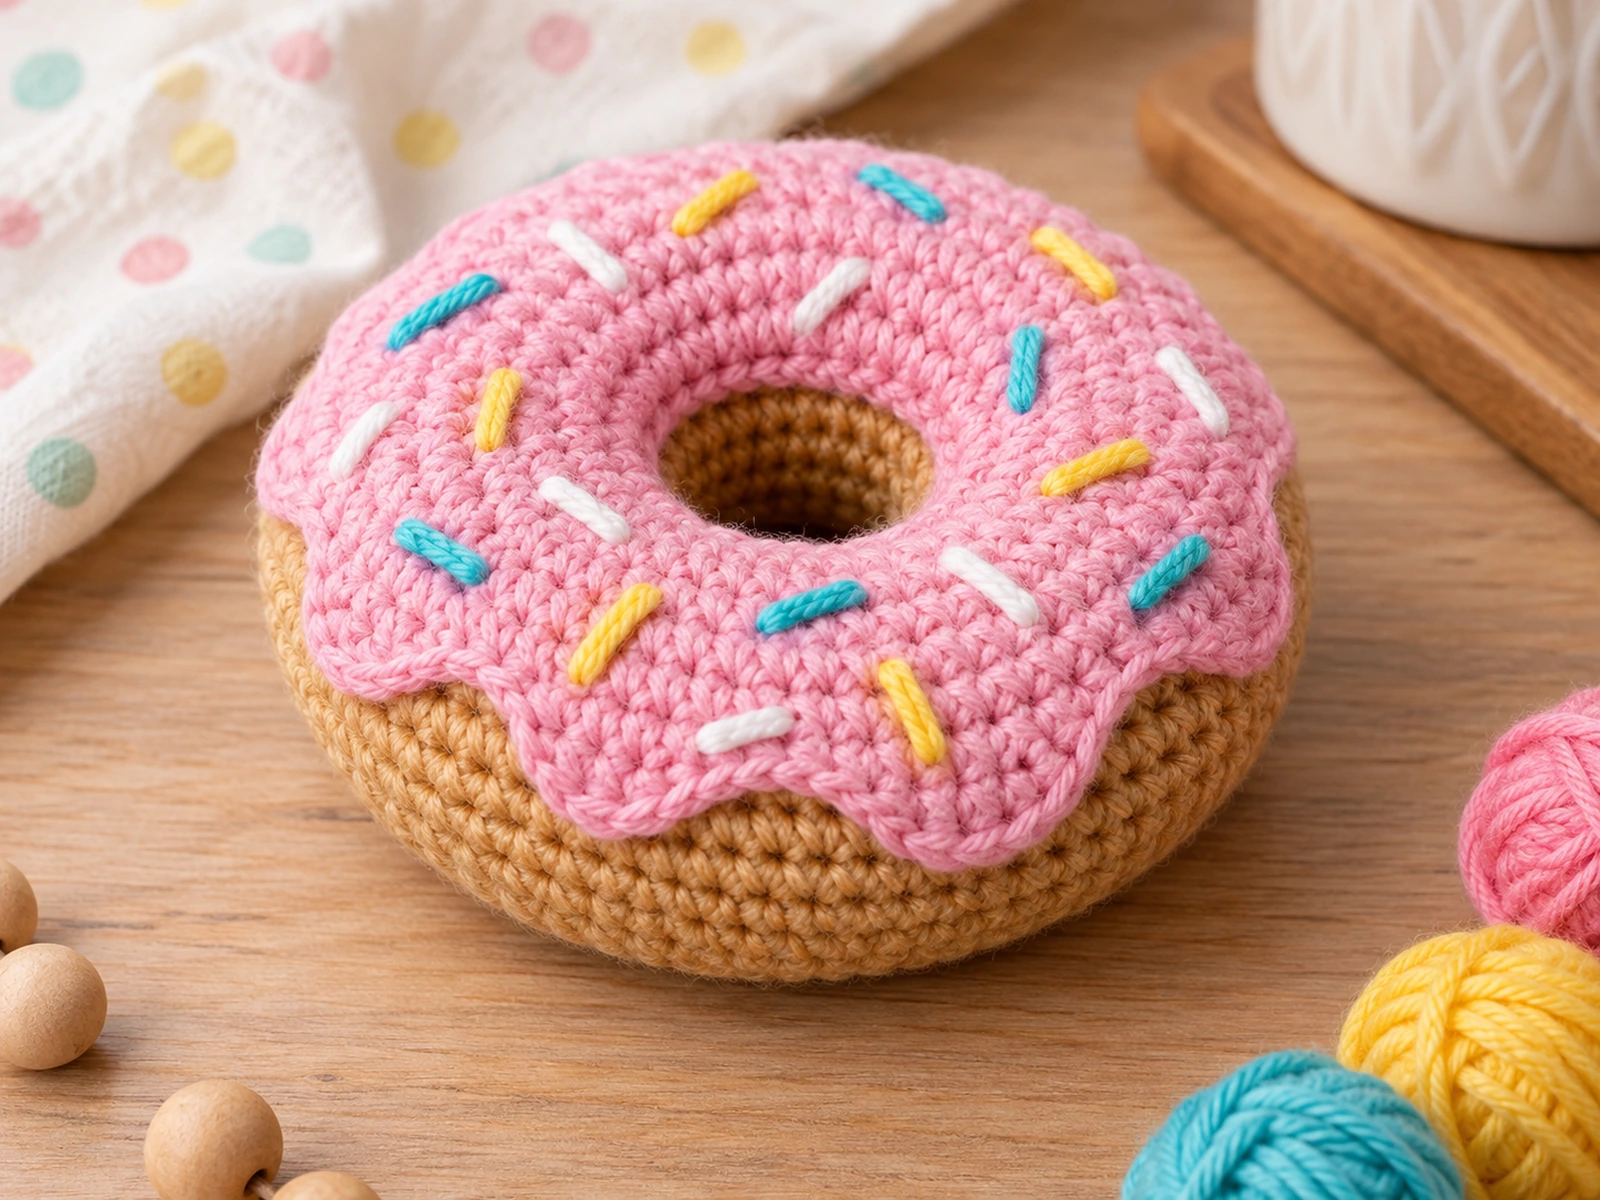
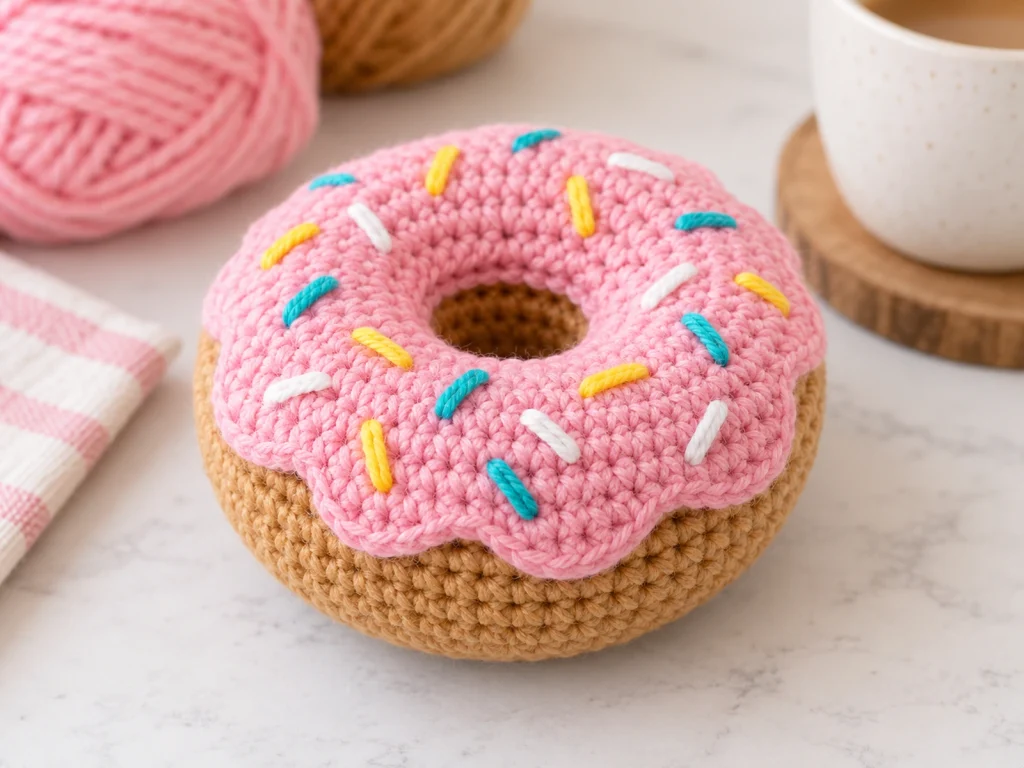
This donut amigurumi is a small stuffed crochet treat with a soft rounded shape, pink scalloped icing, and colorful embroidered sprinkles. The design is made from two matching donut panels that are joined, stuffed, and finished with a separate icing layer.
The finished piece is approximately 4–4.5 inches across, depending on your yarn, hook, tension, stuffing, and individual crochet style.
Project Overview
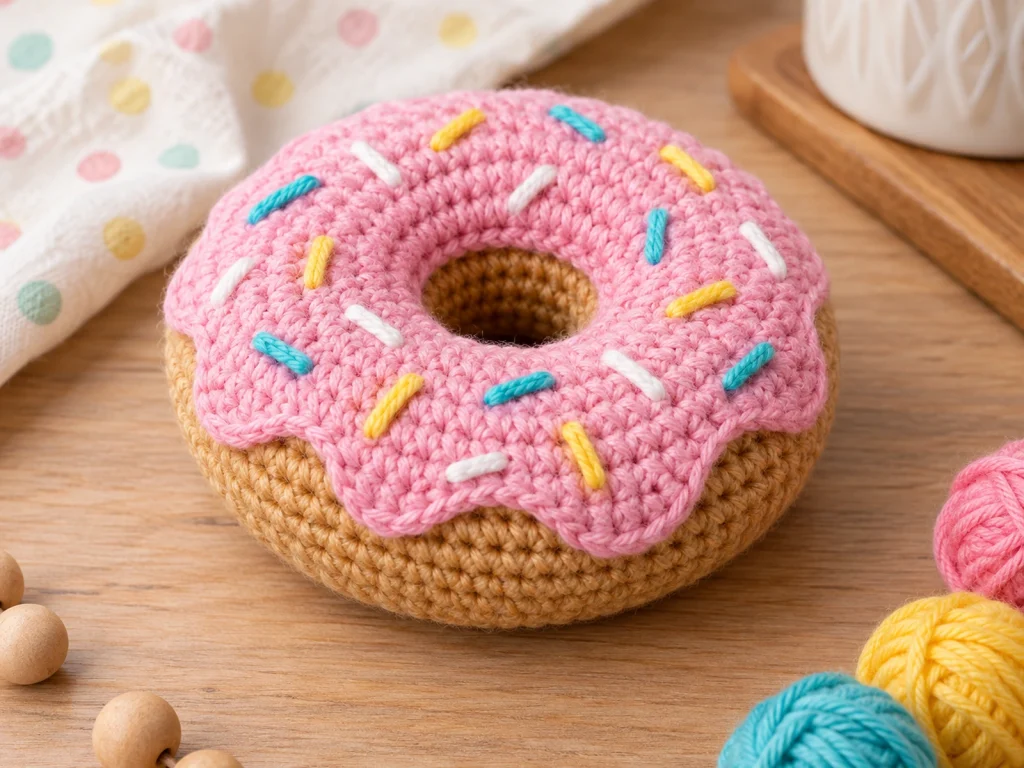
What You’ll Make
You’ll make a three-dimensional crochet donut with:
- A warm golden-brown donut body
- A separate pink icing layer
- A scalloped icing edge
- Colorful embroidered sprinkles
- An open center hole
The donut body is constructed from two matching annular panels. The panels are joined around the outside, lightly stuffed, and then closed around the center opening. The icing is attached after the donut body is finished.
Project Details
- Project: Donut Amigurumi
- Technique: Crochet amigurumi
- Yarn: Medium/worsted-weight yarn
- Hook: 3.5 mm (US E/4)
- Main color: Warm golden-brown or tan
- Icing: Pink
- Stuffing: Polyester fiberfill
- Finished size: Approximately 4–4.5 inches across
The finished size is approximate and can vary with yarn, hook size, tension, stuffing, and individual technique.
Materials & Tools
Yarn
You’ll need medium/worsted-weight yarn in:
- Warm golden-brown or tan for the donut
- Pink for the icing
- Several contrasting colors for the sprinkles
Suggested sprinkle colors include white, yellow, and teal, but you can use any combination you like.
Other Supplies
- 3.5 mm (US E/4) crochet hook
- Polyester fiberfill
- Yarn needle
- Scissors
- Stitch marker, optional
No safety eyes are required for this design.
Abbreviations
This pattern uses standard US crochet terminology.
- ch — chain
- sl st — slip stitch
- sc — single crochet
- hdc — half double crochet
- dc — double crochet
- inc — increase; work 2 stitches into the same stitch
- FO — fasten off
Before You Start
The donut body and icing are worked as annular crochet panels, beginning from a small chain loop.
Take care when forming the starting chain and join it without twisting before beginning Round 1.
Keep track of your stitch count at the end of each round. The expansion rounds increase by 10 stitches at a time until the panels reach 60 stitches.
The two donut body panels are identical, which makes them easier to align during assembly.
The center opening remains open throughout the crochet portion. Do not fill the center hole with stuffing.
For the finished donut body, use moderate stuffing. Too much fiberfill can distort the center opening and make the icing more difficult to position.
Donut Amigurumi Pattern
Donut Body
You will make two identical donut panels.
Bottom Donut Panel — Make 1
Use warm tan yarn.
Foundation:
Ch 10 and join with a sl st to the first chain to form a ring.
Round 1
Sc in each chain around. (10)
Round 2
Inc in each stitch around. (20)
Round 3
(Sc, inc) × 10. (30)
Round 4
(2 sc, inc) × 10. (40)
Round 5
(3 sc, inc) × 10. (50)
Round 6
(4 sc, inc) × 10. (60)
Round 7
Sc in each stitch around. (60)
FO and leave a long yarn tail for assembly.
Top Donut Panel — Make 1
Make a second panel using the same warm tan yarn.
Foundation:
Ch 10 and join with a sl st to the first chain to form a ring.
Round 1
Sc in each chain around. (10)
Round 2
Inc in each stitch around. (20)
Round 3
(Sc, inc) × 10. (30)
Round 4
(2 sc, inc) × 10. (40)
Round 5
(3 sc, inc) × 10. (50)
Round 6
(4 sc, inc) × 10. (60)
Round 7
Sc in each stitch around. (60)
FO and leave a long yarn tail for assembly.
Icing
Icing Panel — Make 1
Use pink yarn.
Foundation:
Ch 10 and join with a sl st to the first chain to form a ring.
Round 1
Sc in each chain around. (10)
Round 2
Inc in each stitch around. (20)
Round 3
(Sc, inc) × 10. (30)
Round 4
(2 sc, inc) × 10. (40)
Round 5
(3 sc, inc) × 10. (50)
Round 6
(4 sc, inc) × 10. (60)
Round 7
(Sl st, sc, hdc, dc, hdc, sc) × 10. (60)
FO and leave a long yarn tail for attaching the icing.
Sprinkles
Use small amounts of contrasting yarn to embroider 12 sprinkle marks across the icing.
For each sprinkle:
- Bring your needle up through the icing where you want the sprinkle to begin.
- Make one short straight stitch across approximately 2–3 visible stitch spaces.
- Bring the needle back through the icing.
- Secure the yarn on the underside.
A simple color combination is four white, four yellow, and four teal sprinkles. You can change the colors to suit your design.
Vary the direction and spacing of the sprinkles slightly for a natural handmade look.
Assembly & Finishing
Step 1: Align the Donut Panels
Place the Top Donut Panel over the Bottom Donut Panel.
Match the center openings and outer circumference carefully.
Both outer edges contain 60 stitches, so the panels are designed to line up directly.
Step 2: Join the Outer Edge
Using the long yarn tail from one panel, sew the two panels together around the outer edge.
Work through corresponding stitches of both panels and continue all the way around.
Keep the layers aligned as you sew.
Leave the center area open.
Step 3: Add the Stuffing
Once the outer edge is secured, begin adding small amounts of polyester fiberfill between the two panels.
Work around the donut gradually so the stuffing is evenly distributed.
The body should feel softly rounded rather than overly firm.
Avoid overstuffing, especially around the center opening.
Step 4: Close the Center Opening
When the donut has reached the desired firmness, sew around the inner opening to join the two panels.
Keep the opening as circular as possible while closing it.
Secure the yarn and weave in the end.
The basic stuffed donut body is now complete.
Step 5: Attach the Icing
Place the pink icing panel over the top of the donut.
Align the center opening first, then adjust the scalloped outer edge so the icing sits evenly across the top.
Use the long yarn tail from the icing to sew it to the top donut panel.
Work around the inner opening first, then secure the outer portion of the icing.
Keep the icing attached to the top panel rather than passing through to the underside.
Step 6: Add the Sprinkles
Once the icing is securely attached, check the placement of the embroidered sprinkles.
Make any final adjustments, then weave in all remaining yarn ends on the underside of the icing.
Give the donut a gentle final shaping so the body, icing, and center opening look balanced.
Helpful Tips
Keep your stitch count consistent
The donut panels progress through:
10 → 20 → 30 → 40 → 50 → 60 → 60
Count your stitches at the end of every round, especially on the increase rounds.
Stuff gradually
Add small amounts of fiberfill rather than filling one section at a time. This helps create a more even rounded shape.
Protect the center opening
Avoid concentrating stuffing around the inner edge. Too much pressure there can distort the donut hole.
Align before sewing permanently
Before securing the icing or closing the donut completely, check the center opening and overall shape from several angles.
Troubleshooting
My stitch count is off. What should I do?
Stop and recount before continuing.
Check that every increase was worked correctly and that no extra stitch was added between repeats.
My donut looks too flat.
Add small amounts of fiberfill evenly around the body and gently shape it as you go.
The center opening looks distorted.
Avoid overstuffing near the center and keep the two panels aligned while sewing the inner edge.
My icing does not sit evenly.
Align the center opening first, then distribute the scalloped outer edge evenly around the donut before sewing it down.
My sprinkles look too uniform.
Vary their colors, spacing, and angles. A slightly irregular arrangement can give the finished donut a more handmade appearance.
Customization Ideas
Change the icing color
Try:
- White
- Cream
- Light blue
- Lavender
- Mint
- Chocolate brown
Change the sprinkle palette
Choose a coordinated palette that contrasts with the icing, or use several bright colors for a playful bakery-style look.
Create different donut themes
Color combinations can suggest different visual flavors, such as:
- Chocolate with vanilla icing
- Strawberry-style pink icing
- Birthday-cake colors
- Pastel bakery colors
- Rainbow sprinkles
These variations change the visual appearance without changing the basic crochet construction.
Care
Because this project contains embroidered yarn details and stuffing, handle it gently and keep the finished piece clean and dry.
Avoid pulling on the embroidered sprinkles or the scalloped icing edge.
Frequently Asked Questions
How big is the finished donut?
The design is approximately 4–4.5 inches across, although the final size can vary with yarn, hook size, tension, stuffing, and individual technique.
What crochet terminology does this pattern use?
The pattern uses standard US crochet terminology, including single crochet, half double crochet, double crochet, increases, and slip stitches.
Does the donut have a center hole?
Yes. The center opening is intentionally maintained throughout the construction and remains visible in the finished donut.
When should I add the stuffing?
Stuff the donut after the outer edges of the two body panels have been joined and before the center opening is closed.
How are the sprinkles attached?
The sprinkles are embroidered onto the icing with short straight stitches using contrasting yarn.
Can I change the icing color?
Yes. Changing the icing color does not require changing the crochet structure.
Can I use different sprinkle colors?
Absolutely. The sprinkle colors are decorative, so you can choose any combination you like.
Is the pattern physically tested?
The pattern has been mathematically reviewed and constructionally checked, but it has not been physically crocheted and tested yet.
More Crochet Amigurumi Projects
Explore more crochet projects and amigurumi patterns from Tiny Yarn Tales.