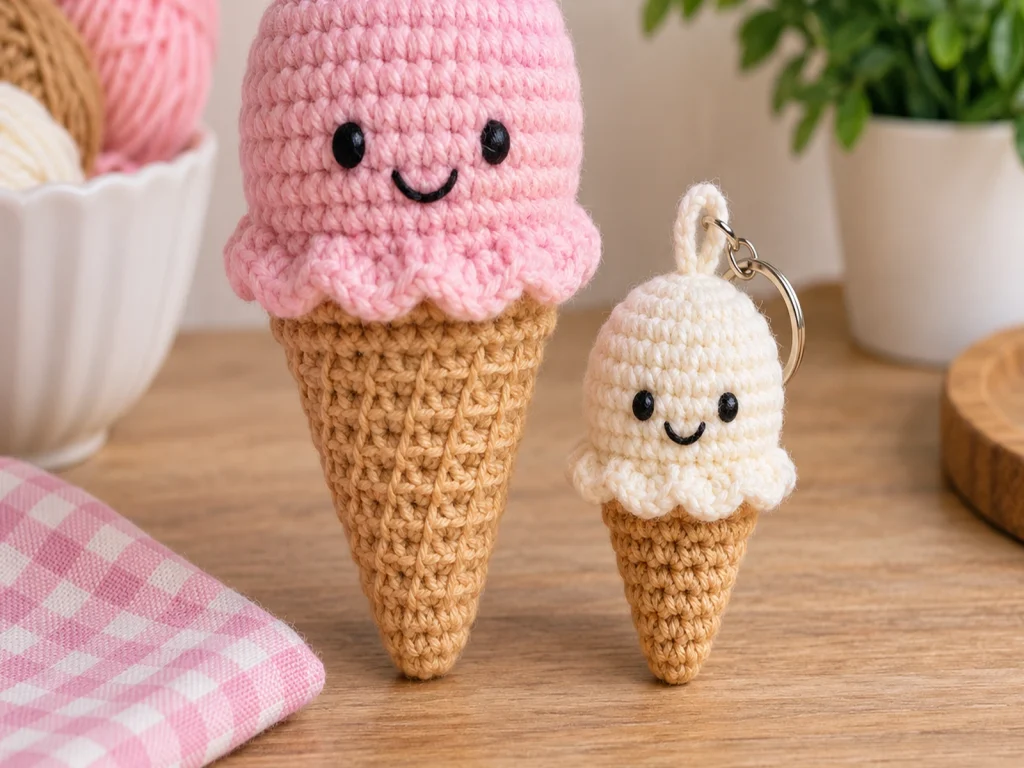
Ice Cream Amigurumi Crochet Pattern: Big & Mini Designs
Make a cute ice cream amigurumi in two sizes with…
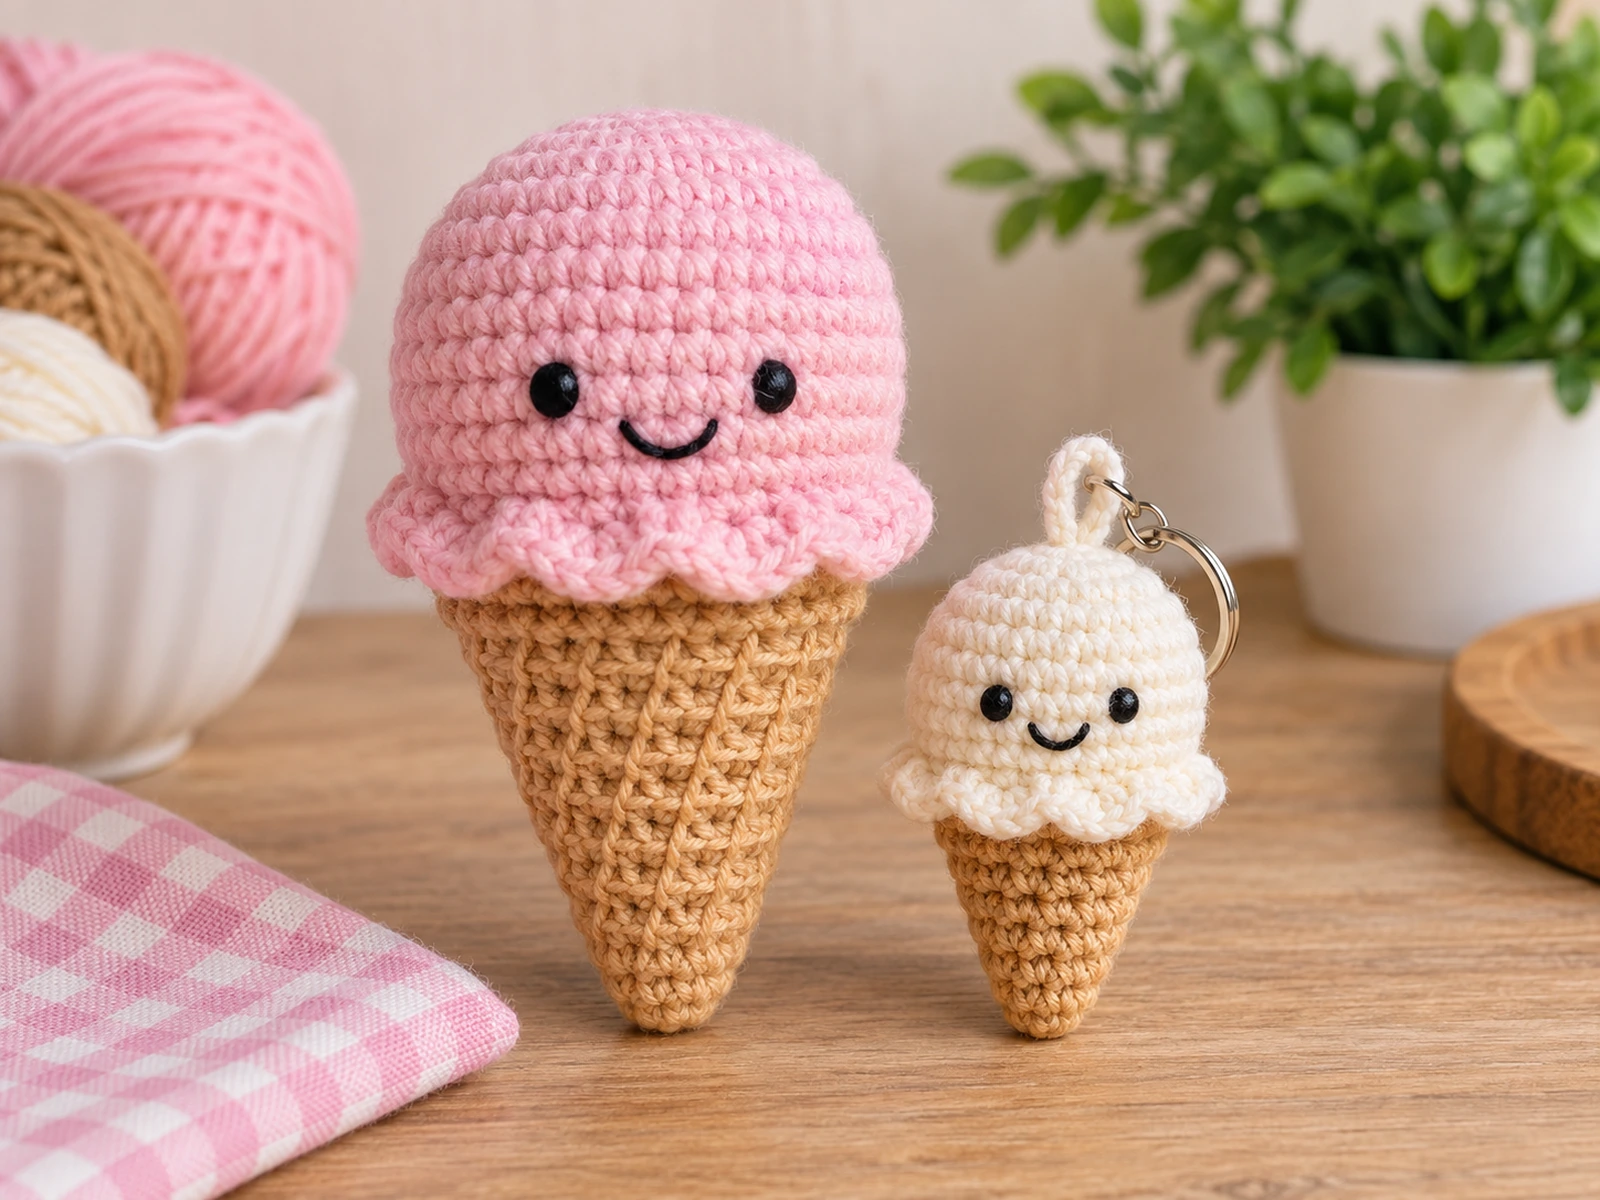
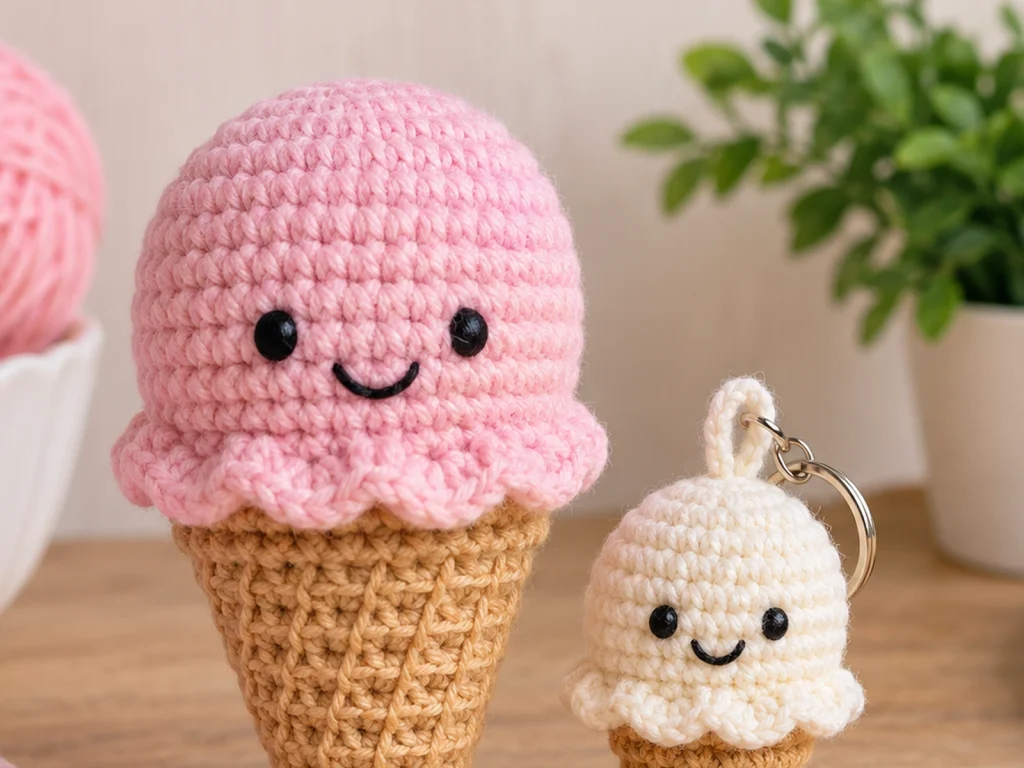
Make a cute ice cream amigurumi in two sizes with this original crochet pattern. The larger version creates a full-size design, while the mini version can also be finished with a yarn loop for a keychain.
Both versions are built from two main crocheted pieces—a rounded ice cream scoop and a tapered cone—then finished with simple embroidered facial details.
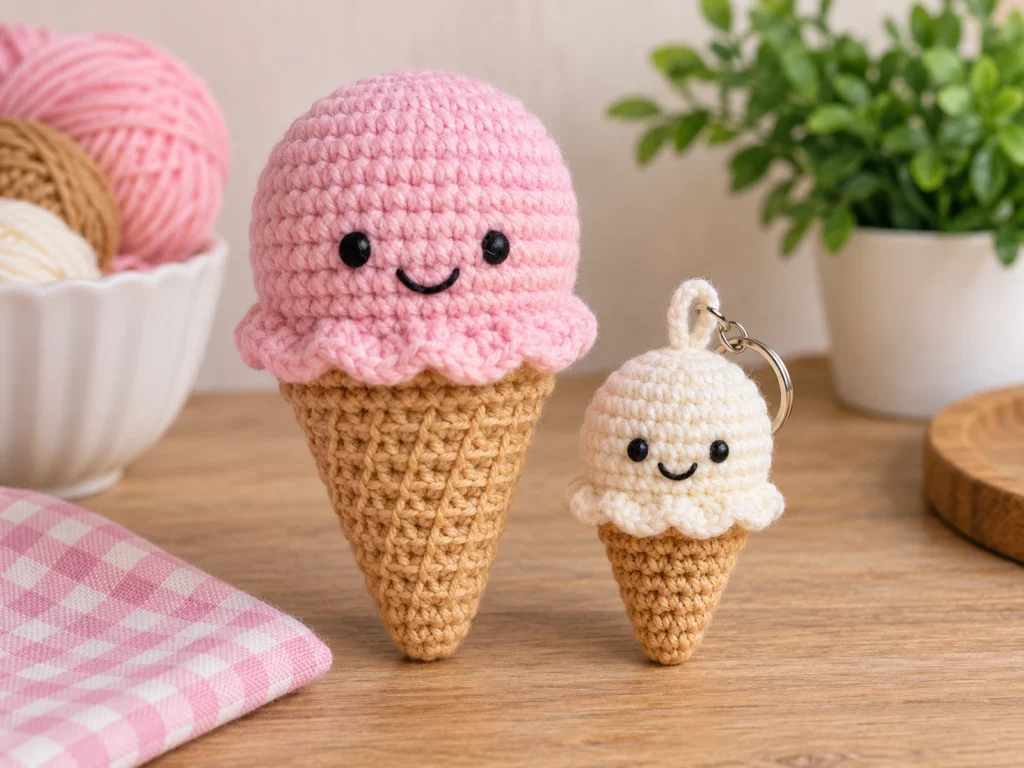
Pattern status: This pattern has been mathematically reviewed and constructionally checked, but it has not been physically crocheted and tested yet. Final size and shaping may vary with yarn, hook, tension, stuffing, and individual technique.
Project Overview
This ice cream amigurumi pattern includes:
- A big ice cream version
- A mini ice cream version
- A tapered crochet cone
- Embroidered eyes and a smile
- Optional waffle-cone embroidery
- An optional keychain loop for the mini version
The big and mini versions use different stitch counts, so follow the section for the size you want to make.
Big Ice Cream
The big version uses a 36-stitch scoop base and a 36-stitch cone rim. Its approximate design target is 4.5–5.5 inches tall.
Mini Ice Cream
The mini version uses a 24-stitch scoop base and a 24-stitch cone rim. Its approximate design target is 2.5–3.25 inches tall.
These are approximate design targets rather than physically tested finished measurements.
Materials & Tools
You will need:
- Medium/Worsted (#4) yarn in your chosen ice cream color
- Medium/Worsted (#4) yarn in tan or light brown for the cone
- Small amount of black embroidery thread
- 3.5 mm crochet hook
- Polyester fiberfill
- Tapestry or yarn needle
- Stitch marker
- Scissors
Optional:
- Matching or contrasting yarn for cone texture
- Small keychain ring for the mini version
No specific yarn brand or exact yardage is specified in this pattern.
Crochet Abbreviations
This pattern uses standard US crochet terminology.
| Abbreviation | Meaning |
|---|---|
| MR | Magic ring |
| sc | Single crochet |
| inc | Increase — 2 sc in the same stitch |
| dec | Decrease — single crochet 2 stitches together |
| ch | Chain |
| sl st | Slip stitch |
| FO | Fasten off |
Before You Start
Work in continuous rounds unless otherwise noted.
Use a stitch marker to identify the beginning of each round, and count your stitches at the end of every round.
When stuffing the rounded pieces, use enough fiberfill to support the shape without stretching the crochet fabric.
The facial details are embroidered rather than made with safety eyes.
The big and mini versions are separate pattern paths, so keep their stitch counts separate as you work.
Big Ice Cream Pattern
Big Ice Cream Scoop
Make 1 in your main ice cream color.
Start with a magic ring.
Round 1
36 sc in MR. (36)
Round 2
36 sc. (36)
Round 3
36 sc. (36)
Round 4
36 sc. (36)
Round 5
(4 sc, dec) × 6. (30)
Round 6
(3 sc, dec) × 6. (24)
Round 7
(2 sc, dec) × 6. (18)
Round 8
(sc, dec) × 6. (12)
Add polyester fiberfill before closing the top. Shape the scoop as you stuff it so the lower edge stays reasonably even for assembly.
Round 9
6 dec. (6)
Fasten off. Leave a tail if needed for closing the remaining opening. Weave the tail through the final stitches and gently pull to close.
Big Ice Cream Cone
Make 1 in tan or light brown.
Start with a magic ring.
Round 1
6 sc in MR. (6)
Round 2
6 inc. (12)
Round 3
(sc, inc) × 6. (18)
Round 4
(2 sc, inc) × 6. (24)
Round 5
(3 sc, inc) × 6. (30)
Round 6
(4 sc, inc) × 6. (36)
Round 7
36 sc. (36)
Round 8
36 sc. (36)
Round 9
36 sc. (36)
Round 10
36 sc. (36)
Fasten off, leaving the top open for assembly.
Add a light to moderate amount of stuffing. Avoid packing the cone too firmly so the rim remains easy to sew to the scoop.
Optional Waffle-Cone Texture
For a more textured cone, add diagonal embroidery lines with a tapestry needle after crocheting the cone.
Work one set of diagonal lines, then cross them with a second set running in the opposite direction. Keep the spacing visually even and avoid pulling the embroidery so tightly that it distorts the cone.
This decorative step does not change the crochet stitch count.
Big Ice Cream Assembly
The large scoop and cone have matching attachment counts:
Scoop base: 36 stitches
Cone rim: 36 stitches
- Position the open top of the cone underneath the scoop.
- Match the cone-rim stitches with the edge of the scoop base.
- Check that the scoop is centered over the cone.
- Sew around the full circumference, joining the pieces stitch by stitch.
- Check the silhouette from the front and sides before completing the seam.
- Secure the seam and weave in the yarn ends.
Big Ice Cream Face
Use black embroidery thread for the facial details.
Eyes
Add two small embroidered eyes to the front of the scoop. Use the visual center of the scoop as your guide.
Smile
Add a small curved smile below the eyes.
Check the face from straight in front before securing the embroidery permanently.
Mini Ice Cream Pattern
The mini version uses the same overall scoop-and-cone concept with a smaller stitch architecture.
Mini Ice Cream Scoop
Make 1 in your main ice cream color.
Start with a magic ring.
Round 1
24 sc in MR. (24)
Round 2
24 sc. (24)
Round 3
24 sc. (24)
Round 4
(2 sc, dec) × 6. (18)
Round 5
(sc, dec) × 6. (12)
Add polyester fiberfill before the final round.
Round 6
6 dec. (6)
Fasten off. Weave the tail through the remaining stitches and gently pull closed.
Mini Ice Cream Cone
Make 1 in tan or light brown.
Start with a magic ring.
Round 1
6 sc in MR. (6)
Round 2
6 inc. (12)
Round 3
(sc, inc) × 6. (18)
Round 4
(2 sc, inc) × 6. (24)
Round 5
24 sc. (24)
Round 6
24 sc. (24)
Round 7
24 sc. (24)
Round 8
24 sc. (24)
Fasten off, leaving the top open.
Add a light amount of stuffing before assembly.
Mini Ice Cream Assembly
The mini version uses matching attachment counts:
Mini scoop base: 24 stitches
Mini cone rim: 24 stitches
- Place the cone underneath the mini scoop.
- Match the 24 cone-rim stitches with the scoop base.
- Check that the scoop is centered.
- Sew around the full circumference.
- Check the finished silhouette.
- Secure the seam and weave in the ends.
Mini Ice Cream Face
Use black embroidery thread to add:
- Two small eyes
- A small smile
Use visual symmetry when positioning the facial details.
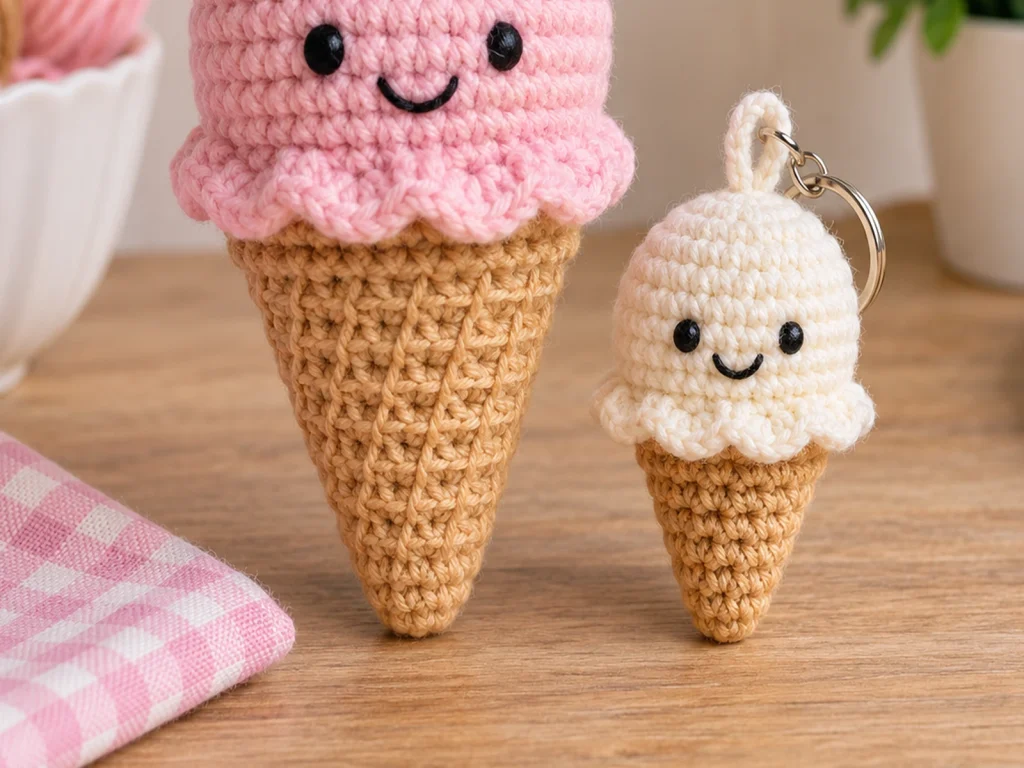
Add a Keychain Loop
The keychain option is intended for the mini ice cream.
- Chain 10.
- Slip stitch into the starting point to form a loop.
- Fasten off.
- Sew both ends securely into the top or back area of the mini piece.
- Add a keychain ring through the finished loop.
Before using the finished keychain, gently test the yarn loop and its sewn attachment to make sure it is secure.
Facial Details
The embroidered face is one of the simplest ways to customize the look of your finished ice cream.
Keep the eyes balanced around the visual center of the scoop, then add the smile underneath. Because the exact physical placement has not been tested, use the shape of your finished scoop as the guide rather than relying on fixed measurements.
Tips for a Neat Finish
Count your stitches
The shaping rounds change the stitch count quickly. If a later round does not match its expected count, stop and recheck the previous round before continuing.
Stuff gradually
Add stuffing gradually and distribute it evenly so the scoop keeps a rounded shape.
Check the assembly before sewing
Place the cone beneath the scoop and look at the project from several angles before completing the seam.
Add the face after shaping
Embroider the facial details after the scoop has been stuffed and shaped. This makes it easier to center the features.
Compare both sides
Before permanently securing the face or keychain loop, check the placement from the front.
Troubleshooting
My stitch count is off. What should I do?
Stop before moving to the next round and recheck the previous round, especially any increase or decrease groups.
The scoop looks too flat.
Check the amount and distribution of stuffing. Make sure the fiberfill is supporting the entire shape instead of collecting in one area.
The scoop looks lumpy.
Redistribute the stuffing before closing the opening so the filling is spread more evenly.
The cone and scoop do not line up.
Check that you are assembling the correct version:
- Big: 36 stitches to 36 stitches
- Mini: 24 stitches to 24 stitches
If the counts match but the pieces still look uneven, compare the circumference visually before sewing.
The face looks off-center.
Adjust the embroidery before weaving in the final ends. Use the center of the scoop as your visual reference.
The keychain loop feels loose.
Reinforce the points where both ends of the loop are sewn into the mini piece. Make sure the attachment is secure before adding the hardware.
Customization Ideas
Change the scoop color
Use different scoop colors to create different ice cream styles.
Create different flavors
Changing the main scoop color gives the same pattern a different look without changing the basic construction.
Change the expression
Experiment with slightly different embroidered smiles while keeping the facial features balanced.
Add cone texture
Use a contrasting thread for a more noticeable waffle pattern, or leave the cone plain for a cleaner finish.
Make a mini collection
Try several scoop colors and use the mini version as a small standalone piece or keychain.
Frequently Asked Questions
What size is the big ice cream?
The big version has an approximate design target of 4.5–5.5 inches tall. Final size will vary according to yarn, hook, tension, stuffing, and individual technique.
What size is the mini ice cream?
The mini version has an approximate design target of 2.5–3.25 inches tall. These are approximate design targets rather than physically tested measurements.
Do the big and mini versions use the same construction?
They follow the same overall scoop-and-cone concept, but the stitch counts are different. The big version uses a 36-stitch scoop base and cone rim, while the mini version uses 24.
Can I use the mini version without a keychain?
Yes. The keychain loop is optional, so the mini ice cream can be finished as a standalone amigurumi.
Does this pattern use safety eyes?
No. The eyes are embroidered with black embroidery thread.
Can I change the ice cream colors?
Yes. Different scoop and cone colors can be used without changing the basic construction.
How do I keep the face centered?
Use the visual center of the finished scoop as your guide. Position both eyes first, check the balance from the front, and then add the smile.
More Crochet Amigurumi
The big and mini ice cream versions can be made as individual pieces or as a small collection of different colors and finishes. The mini version also gives you an optional keychain format without changing the main crochet construction.