
Round Cactus Crochet Keychain Pattern
This round cactus crochet keychain is a compact amigurumi project…
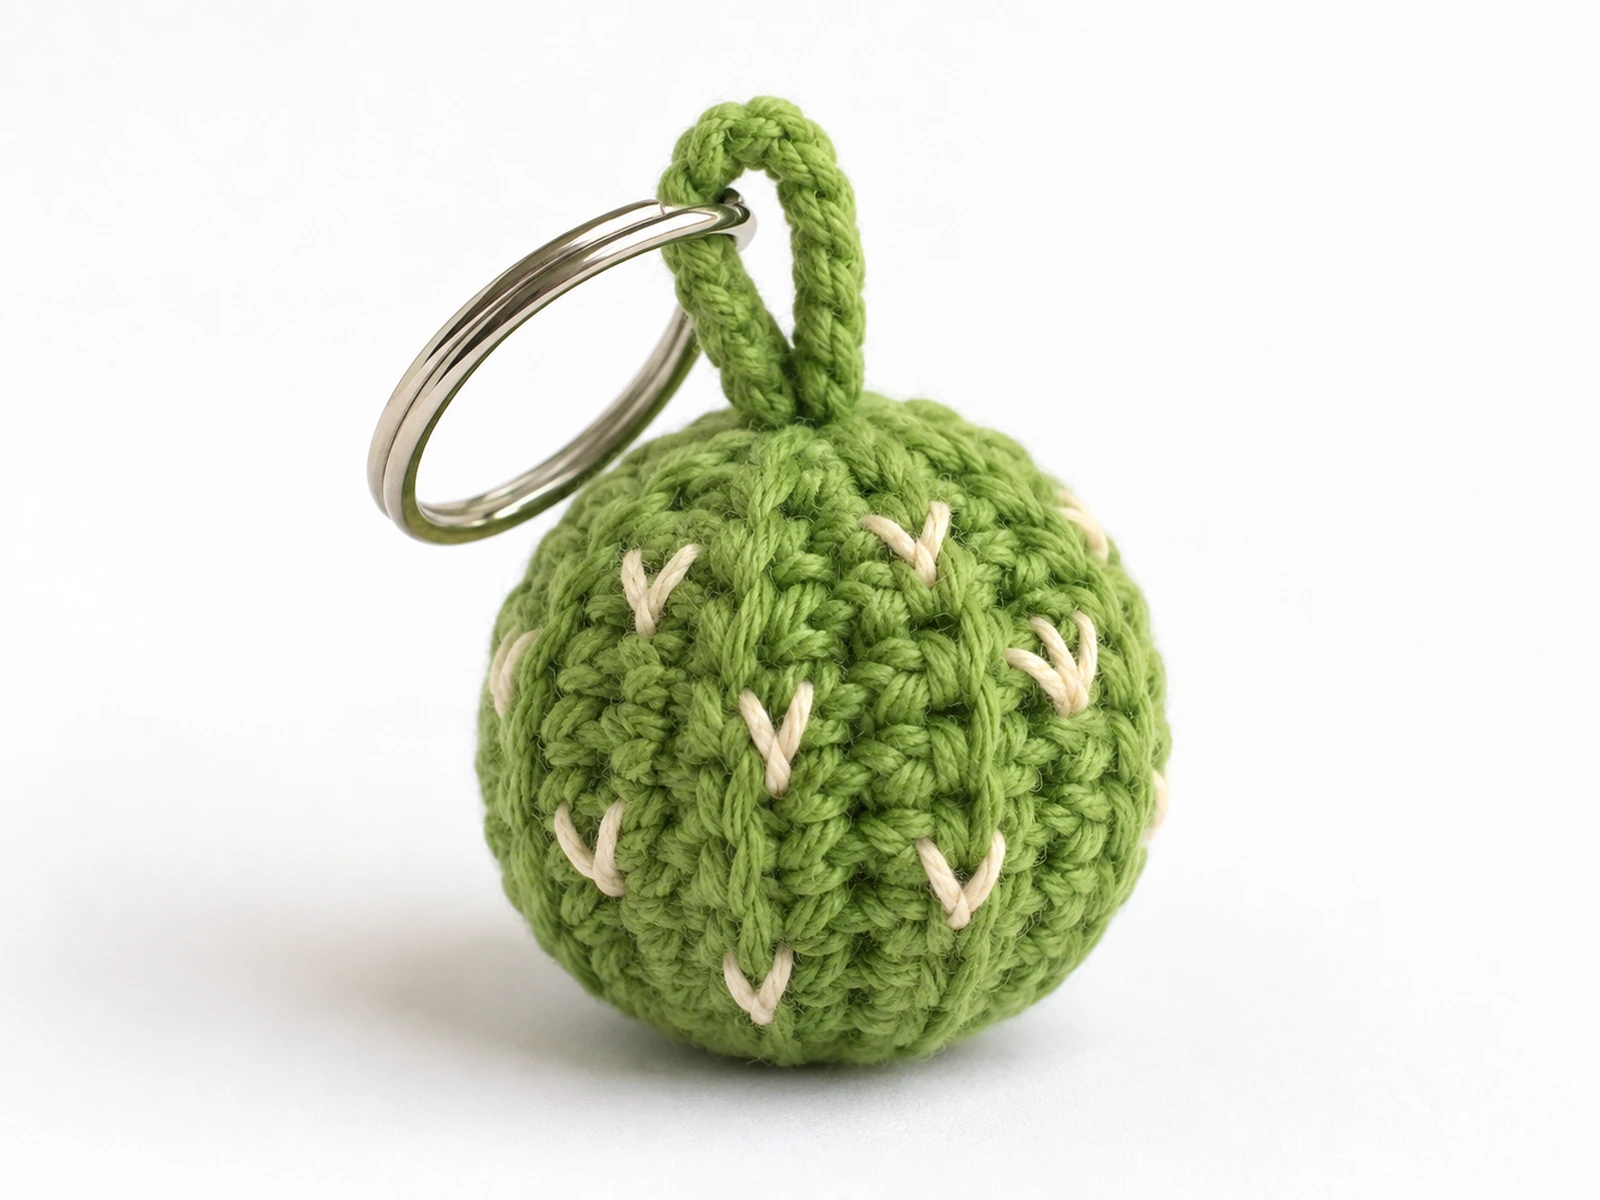
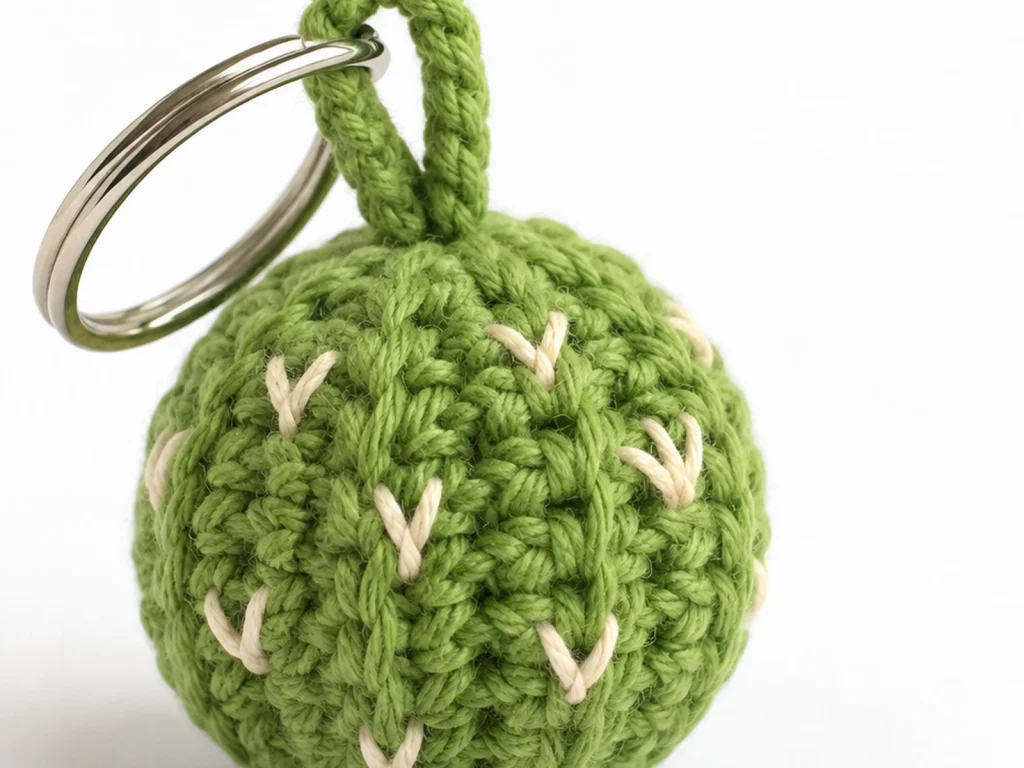
This round cactus crochet keychain is a compact amigurumi project with a simple rounded shape, subtle embroidered cactus spine details, and a crocheted hanging loop for attaching keychain hardware.
The cactus body is worked in continuous rounds from the bottom up, then stuffed and shaped before the opening is closed. A separate crocheted loop is securely sewn to the top, making the finished piece ready to pair with a keyring or other suitable hardware.
Project Overview
What You’ll Make
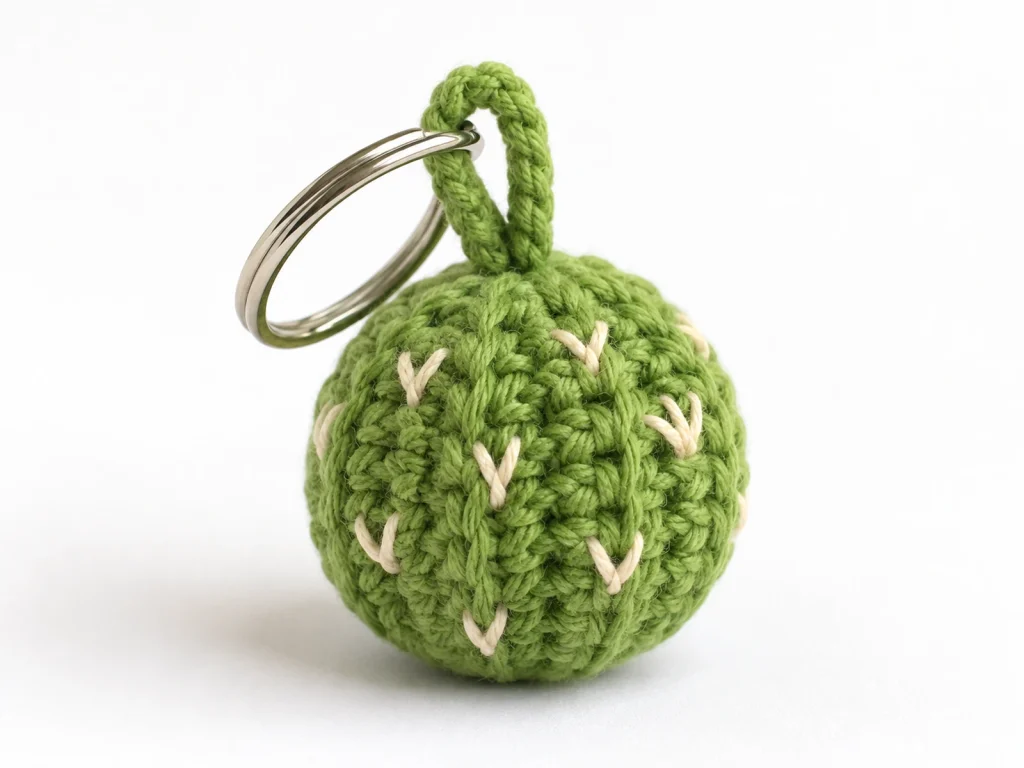
You’ll make one rounded cactus body, one crocheted hanging loop, and embroidered cactus spine details.
The finished cactus is approximately 2.5–3 inches tall, including the hanging loop. Final size may vary depending on yarn, hook size, tension, stuffing, and individual crochet technique.
Project Details
- Project: Round cactus crochet keychain
- Technique: Amigurumi crochet
- Yarn: Medium/worsted-weight yarn
- Main color: Green
- Accent color: Cream or off-white
- Hook: 3.0 mm
- Filling: Polyester fiberfill
- Eyes: None
- Construction: Bottom-up, rounded amigurumi body
- Testing status: Mathematically reviewed and constructionally checked, but not physically crocheted and tested yet
Materials & Tools
Materials
- Medium/worsted-weight green yarn
- Small amount of cream or off-white yarn
- Polyester fiberfill
- Keyring or keychain hardware
Tools
- 3.0 mm crochet hook
- Tapestry needle
- Scissors
Abbreviations
The pattern uses standard US crochet terminology:
- MR — magic ring
- ch — chain
- sc — single crochet
- inc — increase, 2 sc in the same stitch
- dec — decrease, sc2tog
- FO — fasten off
Before You Start
Work in Continuous Rounds
The cactus body is worked in continuous rounds rather than joined rounds. A stitch marker can help you keep track of the first stitch of each round.
Count Your Stitches
Keep the stitch count consistent as you work. The body gradually increases to 36 stitches, remains at 36 stitches through the middle section, and then decreases toward the top opening.
Stuff as You Go
Begin adding fiberfill during the decrease section. Add small amounts at a time so the cactus stays rounded without becoming overly firm.
Shape Before Closing
Before finishing the final rounds, check the shape from several angles and adjust the stuffing as needed.
Construction Order
The project is completed in this order:
- Crochet the cactus body.
- Stuff and close the body.
- Make the hanging loop.
- Sew the loop to the top.
- Add the embroidered cactus spine details.
- Attach the keyring hardware.
Round Cactus Crochet Keychain Pattern
Cactus Body — Make 1
Work in continuous rounds with green yarn.
Round 1
6 sc in MR. (6)
Round 2
6 inc. (12)
Round 3
(sc, inc) × 6. (18)
Round 4
(2 sc, inc) × 6. (24)
Round 5
(3 sc, inc) × 6. (30)
Round 6
(4 sc, inc) × 6. (36)
Round 7
36 sc. (36)
Round 8
36 sc. (36)
Round 9
36 sc. (36)
Round 10
36 sc. (36)
Round 11
36 sc. (36)
Round 12
36 sc. (36)
Begin adding stuffing gradually as you continue.
Round 13
(4 sc, dec) × 6. (30)
Round 14
(3 sc, dec) × 6. (24)
Round 15
(2 sc, dec) × 6. (18)
Add or adjust the stuffing so the body keeps its rounded shape.
Round 16
(sc, dec) × 6. (12)
Finish the stuffing.
Round 17
6 dec. (6)
Fasten off, leaving a yarn tail. Use a tapestry needle to close the remaining opening and weave in the end securely.
Make the Hanging Loop
Using green yarn, chain 14.
Fasten off, leaving a long tail for sewing.
Fold the chain into a loop and position both ends together at the top center of the cactus. Sew the two ends securely across several stitches so the loop has a stable attachment point.
Before trimming the yarn, check that the loop is centered and positioned to support the keyring without pulling on a single stitch.
Add the Cactus Spine Details
Thread the cream or off-white yarn onto your tapestry needle.
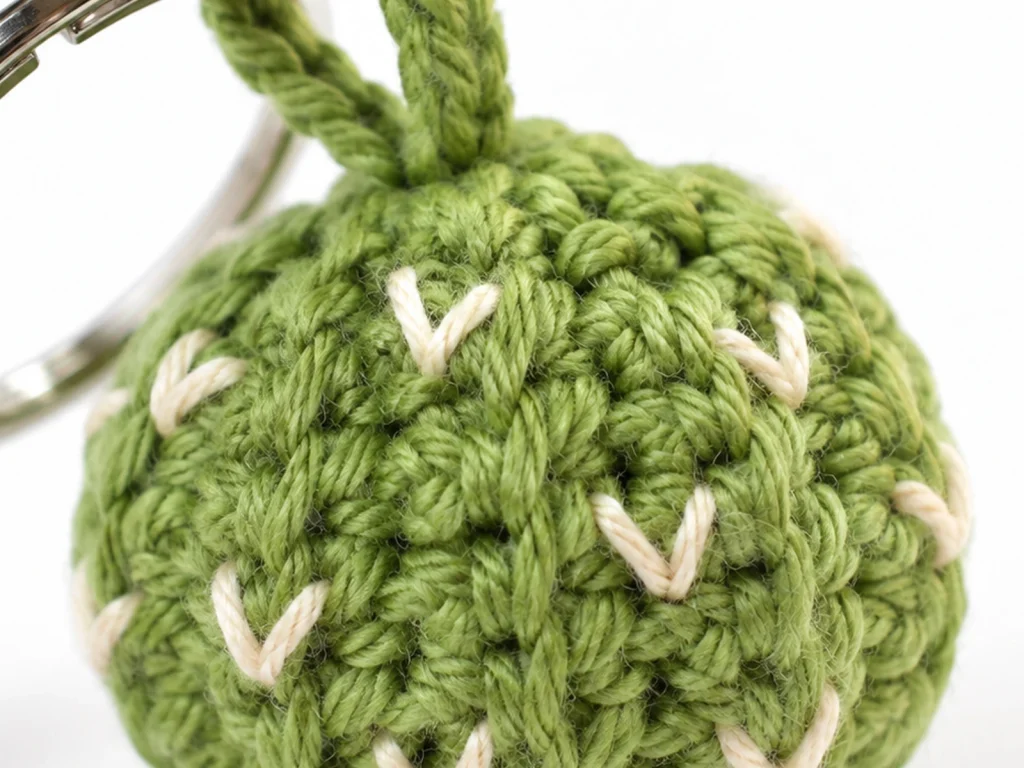
Add several short embroidered marks around the cactus body to suggest cactus spines. Keep them small and distribute them around the visible surface for a balanced look.
Avoid placing the embroidery directly over the hanging-loop attachment.
Because these details are decorative, their exact spacing can be adjusted visually to suit your finished cactus.
Assembly
Step 1: Finish the Cactus Body
Make sure the cactus is completely stuffed, the final opening is closed, and all loose ends are secured.
Step 2: Attach the Hanging Loop
Center the crocheted loop at the top of the cactus and sew both ends securely across several stitches.
Step 3: Add the Decorative Details
Complete the embroidered cactus spine details if you have not already done so.
Step 4: Attach the Keyring
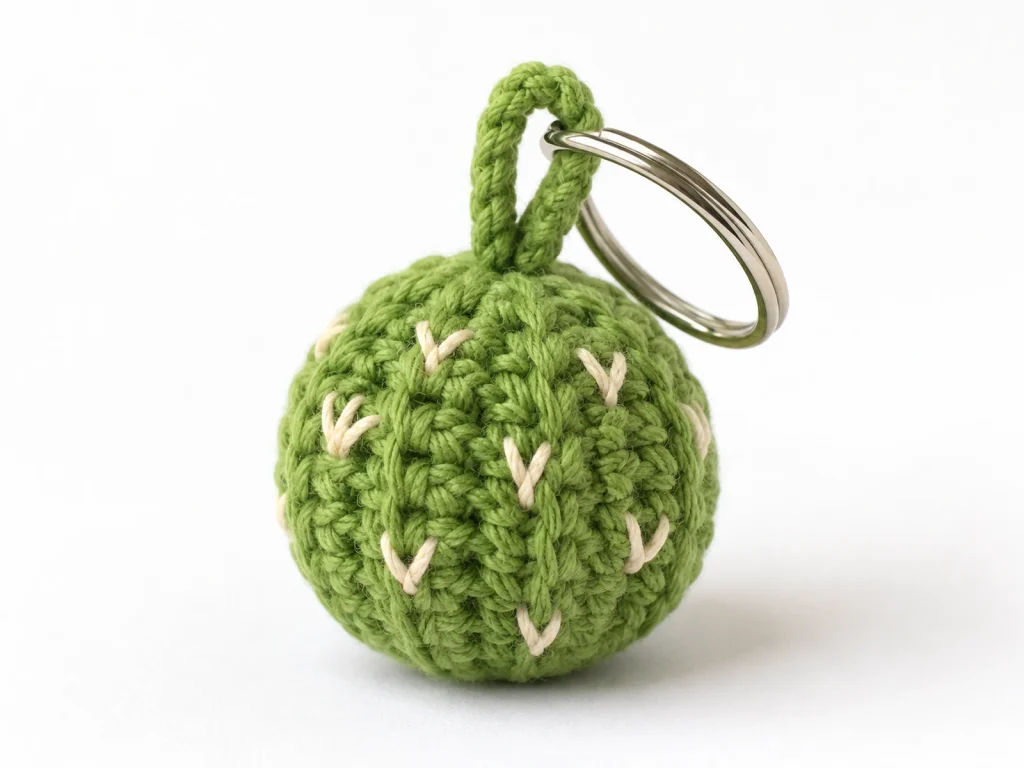
Pass the keyring through the crocheted hanging loop.
Step 5: Check the Finished Shape
Make sure the cactus remains rounded, the loop is centered, and the keyring attachment feels secure before using the finished piece.
Finishing
- Weave in any remaining yarn ends.
- Trim excess yarn neatly.
- Check that no stuffing is visible through the stitches.
- Make sure the hanging loop is firmly attached.
- Adjust the cactus shape gently before the final use.
Helpful Tips
Keep the stuffing even
Add fiberfill gradually rather than packing the body all at once. This makes it easier to maintain an even, rounded shape.
Check your stitch count
If your count is off at the end of a round, correct it before continuing. The shaping depends on the stitch counts remaining consistent.
Shape before closing
Small adjustments to the stuffing can make a noticeable difference in the finished silhouette, especially during the final decrease rounds.
Center the loop
Take a moment to check the loop from the front and back before sewing it permanently into place.
Keep the embroidery balanced
Use the finished cactus itself as your guide for placing the spine details rather than relying on rigid measurements.
Troubleshooting
My cactus looks too flat
Check the amount and distribution of stuffing. Add small amounts gradually and shape the body as you work.
The stitches look stretched
The body may be overstuffed. Remove a small amount of filling and reshape the cactus.
The top does not close neatly
Check that the decrease rounds have the correct stitch counts and that the final opening has not been overfilled.
The hanging loop feels unstable
Reinforce both ends of the loop by sewing across several stitches rather than anchoring the loop to only one stitch.
The cactus spine details look uneven
Because the embroidery is decorative, you can reposition the marks to create a more balanced appearance before fully securing the yarn.
Customization Ideas
Change the cactus color
Use a different green shade or another color that suits your preferred style.
Change the spine color
Cream or off-white creates a subtle contrast, while another contrasting yarn color can create a bolder look.
Try a different size
Changing yarn weight and hook size can alter the finished size, although the result will depend on tension and materials.
Use it as a bag charm
The crocheted hanging loop can also be paired with suitable bag hardware instead of a traditional keyring.
Frequently Asked Questions
What yarn is used for this cactus keychain?
The pattern is designed around medium/worsted-weight yarn, with green for the main cactus and a small amount of cream or off-white yarn for the embroidered details.
How big is the finished cactus?
The finished piece is approximately 2.5–3 inches tall, including the hanging loop. Actual size varies with yarn, hook, tension, stuffing, and individual technique.
Does this cactus have a face?
No. The design is intentionally made without eyes or other facial features.
How is the keychain attached?
A separate 14-chain loop is crocheted and sewn securely to the top center of the cactus. The keyring passes through this loop.
Can I change the colors?
Yes. The cactus color and embroidered detail color can be changed without altering the basic body construction.
Can I use the finished piece as a bag charm?
Yes. The crocheted loop can be paired with suitable bag hardware as an alternative to a standard keyring.
More Plant & Mini Amigurumi
Tiny Yarn Tales has more crochet projects to explore, from plant-inspired amigurumi to other small handmade designs.
Final Notes
This round cactus crochet keychain combines a rounded amigurumi body with a crocheted hanging loop and simple embroidered cactus details.
The pattern has been mathematically reviewed and constructionally checked, but it has not been physically crocheted and tested yet. A physical sample should be made before publication to confirm the final proportions, size, stuffing level, loop strength, assembly, and overall appearance.